Where creativity knows no bounds and personal style takes center stage. Your hair can be a canvas for self-expression, and crafting your own hair accessories allows you to add unique, personalized touches to your everyday look.
From elegant headbands to playful scrunchies, the possibilities are as diverse as your imagination. Whether you’re a crafting enthusiast or a newbie looking for a fun project, this DIY journey promises to be both enjoyable and rewarding.
In this guide, we’ll explore various techniques and ideas to help you create stunning hair accessories that reflect your personality and elevate your style. Let’s dive into the world of DIY hair accessories and unlock your inner designer.
1. Peppermint Candy Christmas Hair Bows
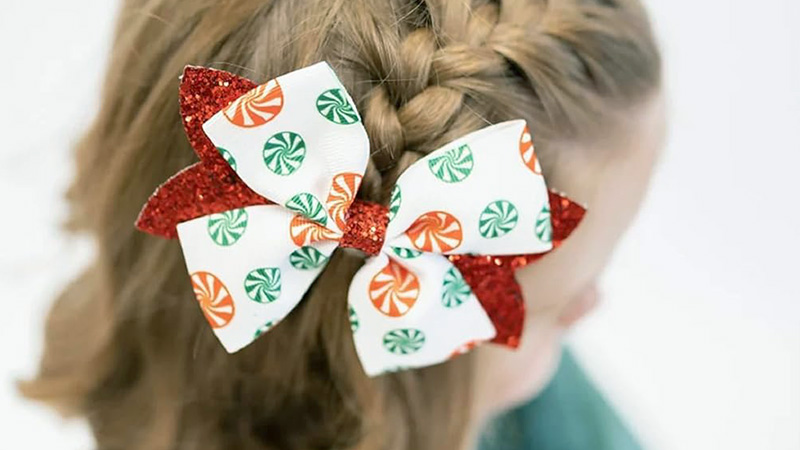
Crafting peppermint candy Christmas hair bows adds a festive flair to your holiday style. Start by selecting a red and white striped ribbon, resembling peppermint candies.
Create two identical loops by folding the ribbon, and securing the centers with a thin wire or thread. Attach a smaller loop in the center to create the bow shape.
Cut a shorter piece of ribbon to wrap around the center, concealing the wire or thread. Secure it in the back with glue. Attach a hairpin or clip, and your sweet and playful peppermint candy hair bow is ready. These whimsical bows are perfect for adding a dash of holiday spirit to your hair.
2. Bandana Headband
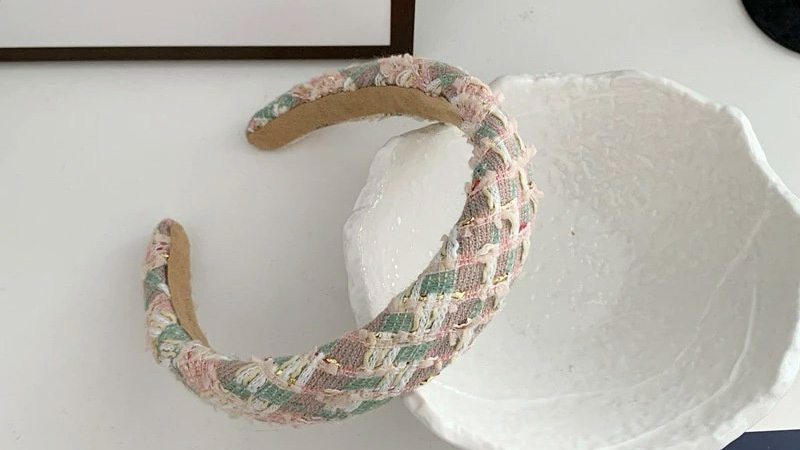
Crafting a bandana headband is a quick and stylish DIY project. Begin by selecting a bandana in your preferred color or pattern. Lay it flat and fold it into a triangle.
Roll the bandana tightly from the folded edge, creating a long strip. Place the rolled bandana around your head, tying it securely at the back. Adjust it for your desired fit and style by leaving the knot on top, to the side, or at the nape of your neck.
Bandana headbands offer a versatile and trendy accessory that complements a range of outfits, making them perfect for adding a touch of flair to your look.
3. Leather Bow Using a Cricut
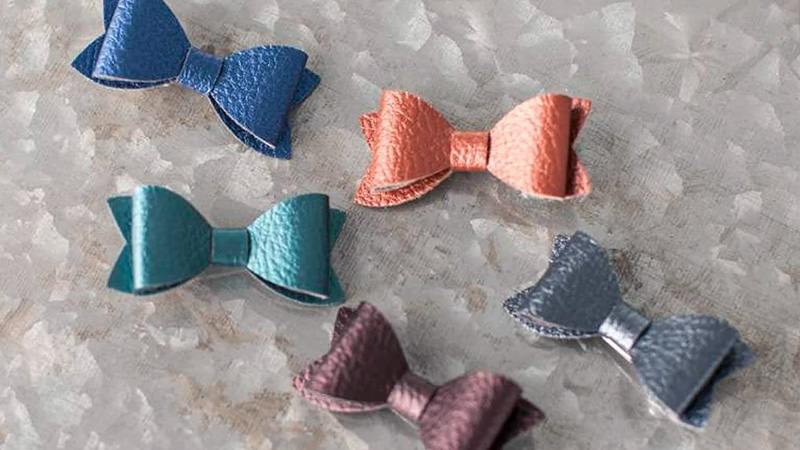
Crafting a leather bow using a Cricut machine adds a modern twist to a classic accessory. Begin by selecting a leather sheet in your preferred color and thickness.
Create a bow template in your Cricut design software, ensuring it has slits in the center to form the bow shape. Load the leather onto the cutting mat and let the Cricut machine precisely cut out your bow pieces.
Assemble the bow by threading the slits together and securing the center with glue. This DIY leather bow, crafted with precision and style, makes for a chic and customizable addition to hair accessories, fashion, or gifts.
4. Diy Wax Print Headwrap
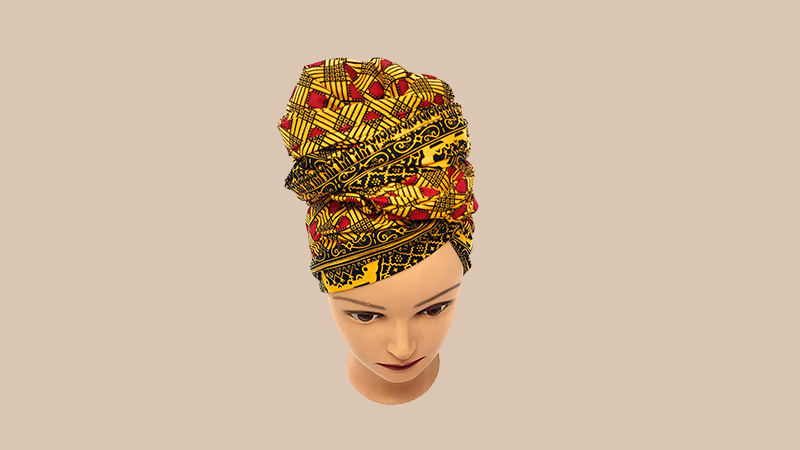
Creating a DIY wax print headwrap celebrates African culture and style. Start by selecting vibrant wax print fabric, approximately 2 yards in length.
Fold it in half lengthwise, creating a long strip. Secure the ends with a hem or by sewing them together. Wrap the fabric around your head, forming a stylish headwrap, and secure it in place with pins or knots.
Wax print headwraps are a bold and beautiful way to showcase your heritage, adding a pop of color and flair to your outfit. This versatile accessory can be worn casually or for special occasions, making it a cherished symbol of African identity and fashion.
5. Felt Bows
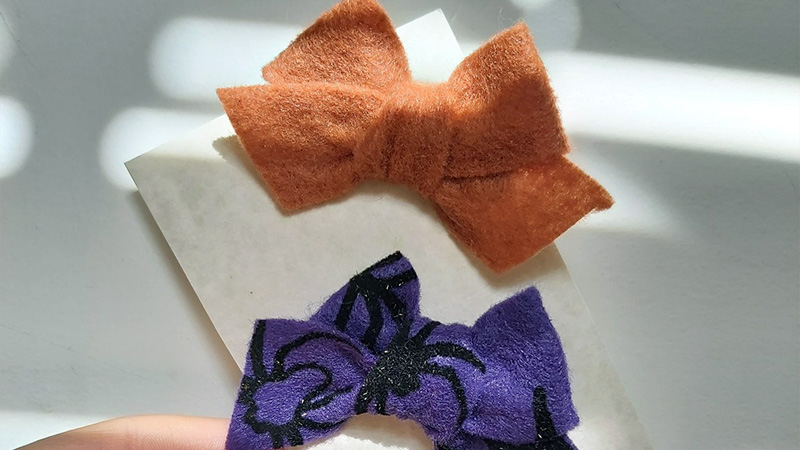
Crafting felt bows is a delightful DIY project. Begin by selecting your desired color of felt and cutting it into a rectangular strip, about 4-5 inches long and 1-1.5 inches wide.
Fold the strip in half lengthwise, creating a bow shape. Secure the center with a small piece of felt or fabric glue. Trim the ends into the desired bowtail shape.
Attach a small hairpin or clip to the back, and your charming felt bow is ready to adorn your hair, clothing, or accessories. These felt bows offer a fun and customizable way to add a touch of whimsy and color to your style.
6. Diy Glittery Barrettes
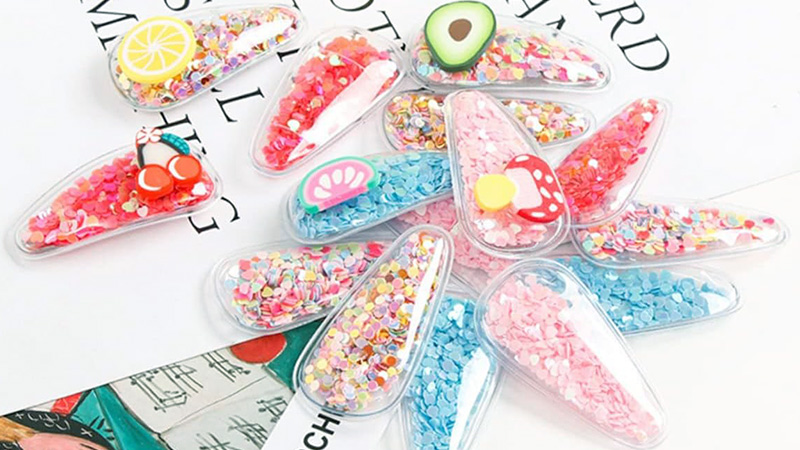
Crafting glittery barrettes is a sparkling DIY project. Start with plain metal or plastic barrettes. Apply a thin layer of clear glue or Mod Podge to the top surface.
Sprinkle an even layer of fine glitter over the glue. Allow it to dry completely. To prevent glitter from shedding, apply a clear sealant or another layer of glue over the glitter, sealing it in place.
These glittery barrettes add a touch of glamour to your hairdo, making them perfect for parties, special occasions, or when you simply want to shine. With endless glitter color options, you can match them to any outfit or mood.
7. Diy Nautical Headband
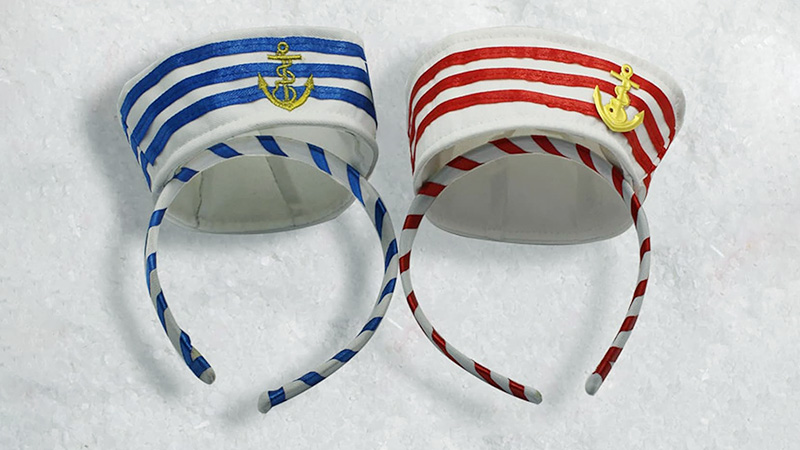
Crafting a nautical headband exudes coastal charm. Begin by selecting a navy blue or white ribbon, about 1 inch wide, as the base. Attach two small, decorative anchors or sailor-themed charms using a strong adhesive or hot glue.
Ensure they are evenly spaced along the ribbon. Fasten the ribbon into a comfortable headband size, securing the ends with stitches or glue. The result is a stylish DIY nautical headband that beautifully complements beach-themed outfits, evoking the serene ambiance of the seaside.
This simple and creative project allows you to showcase your love for all things maritime while adding a unique accessory to your ensemble.
8. Flower Hair Barrette
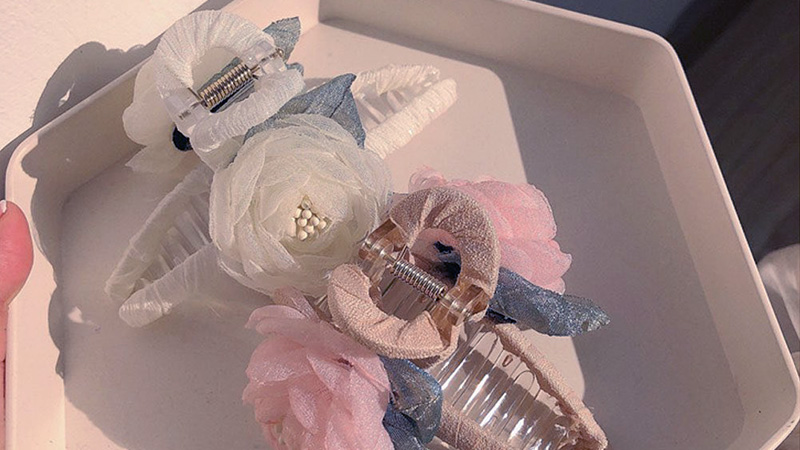
Crafting a flower hair barrette is a delightful DIY project. Begin by selecting the fabric or silk flowers of your choice and carefully removing the stems.
Attach a small piece of felt to the back of each flower using hot glue, creating a flat surface. Next, glue a hair barrette or clip to the felt base.
You can add leaves, beads, or other embellishments for extra flair. The result is a charming and personalized flower hair accessory that effortlessly adds a touch of nature-inspired elegance to your hairstyle, perfect for weddings, parties, or any occasion when you want to bloom with style.
9. Scrunchies
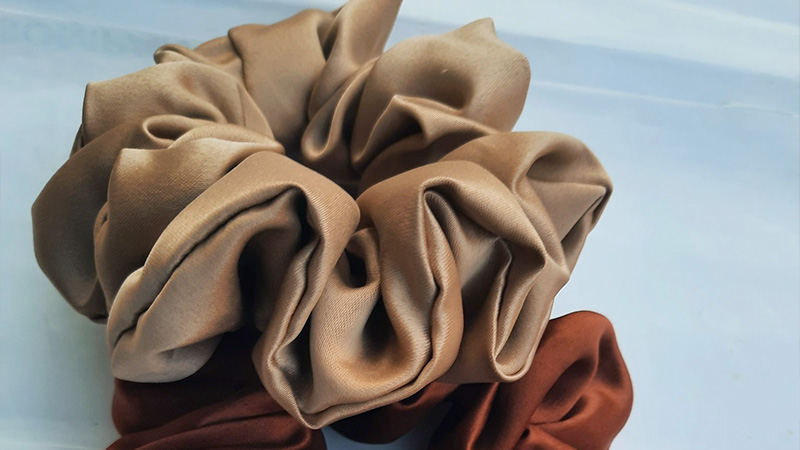
Scrunchies are a timeless and easy-to-make DIY hair accessory. Start by cutting a strip of fabric, approximately 3-4 inches wide and 18-20 inches long.
Fold it in half lengthwise, right sides facing each other, and sew the long edge together, forming a fabric tube. Turn it inside out, so the right side is facing out.
Thread an elastic band through the tube and sew the ends together. Gather the fabric around the elastic, forming a scrunchie. These versatile and customizable hair ties come in various fabrics and colors, making them perfect for matching any outfit and adding a touch of retro charm to your hairstyle.
10. Diy Hair Accessories Bows
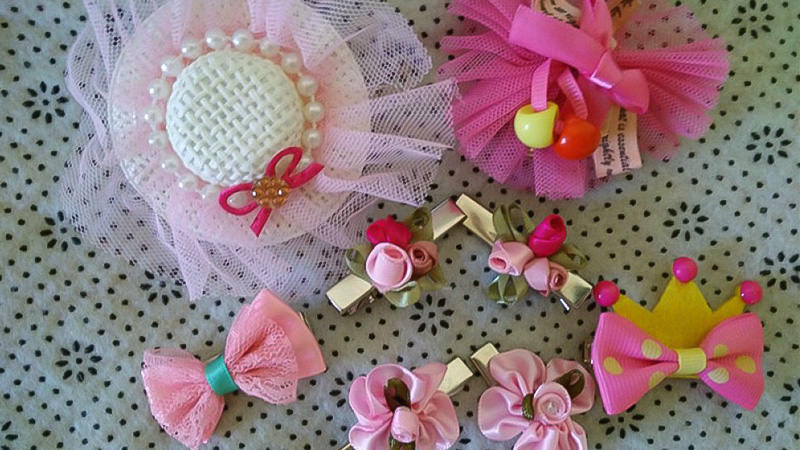
Crafting DIY hair accessory bows is a delightful way to add flair to your style. Begin by cutting a rectangular piece of fabric, approximately 4-5 inches wide and 7-8 inches long.
Fold it in half lengthwise, right sides facing each other, and sew along the edge, leaving a small opening. Turn it inside out, so the right side is now visible.
Shape the fabric into a bow, securing the center with a piece of thread. Attach a hairpin or clip to the back, and your custom hair accessory bow is ready to adorn your locks with a touch of charm and individuality, perfect for any occasion.
11. Lined Aligator Clips
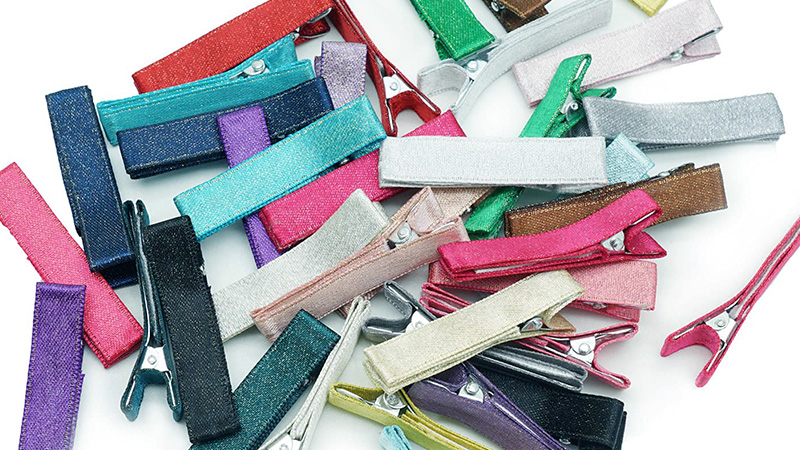
Crafting lined alligator clips is a simple yet charming DIY project. Start by cutting a narrow strip of fabric, about 1 inch wide and 4-5 inches long.
Fold it in half lengthwise, right sides facing each other, and sew along the edge, creating a fabric tube. Turn it inside out, so the right side is now facing out.
Slide the fabric over an alligator clip, securing it with a dot of glue. Trim any excess fabric. These lined alligator clips are perfect for holding back stray hairs or adding a pop of color to your hairdo, offering both functionality and style.
12. Diy Feather Suede Headwrap
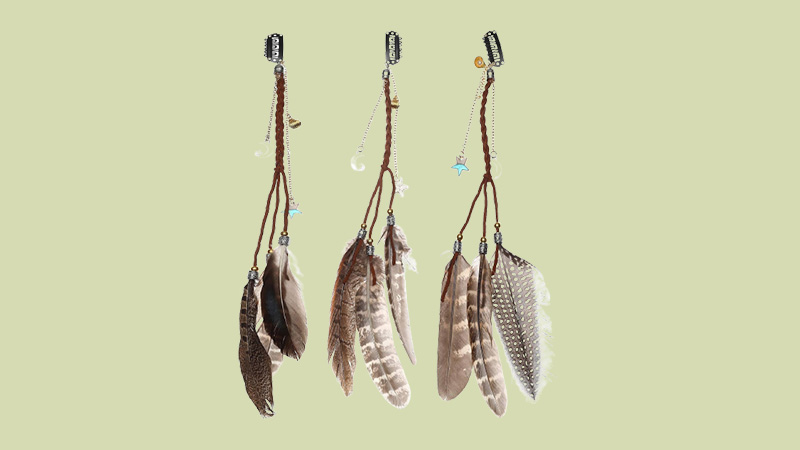
Create a trendy DIY feather suede headwrap to elevate your boho chic style. Begin by cutting a strip of suede fabric, about 2 inches wide and long enough to wrap around your head comfortably.
Attach small, colorful feathers along the length, securing them with hot glue. Ensure the feathers overlap slightly for a textured look. Add decorative beads or charms for extra flair, securing them between the feathers.
Finally, fasten the ends together to form a stylish headwrap. This fashionable accessory not only adds a touch of whimsy to your outfit but also showcases your unique creativity and love for bohemian fashion.
13. Diy Gemstone Bobby Pins
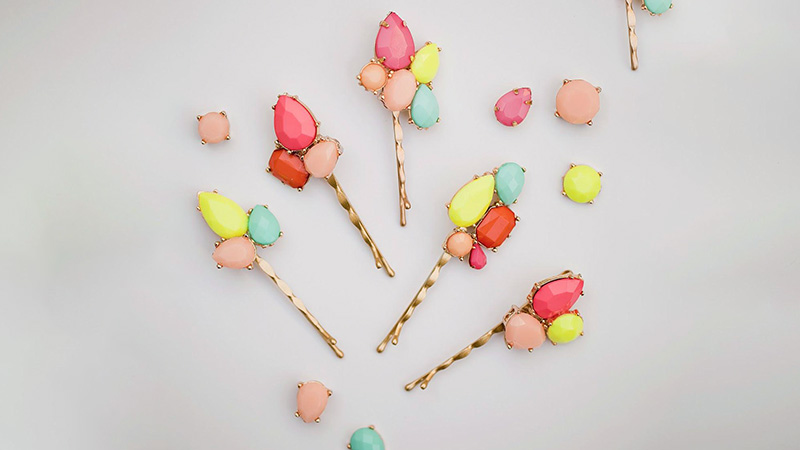
Elevate your hairstyle with DIY gemstone bobby pins. Begin by selecting small, flat-backed gemstones in your desired colors and shapes. Using strong adhesive or jewelry glue, attach the gems securely to the bobby pins’ flat surfaces.
Allow them to dry thoroughly. These elegant and customizable gemstone bobby pins can instantly glam up your hairdo, whether for a special occasion or daily flair.
They are a stylish and cost-effective way to add a touch of sophistication to your look, allowing you to express your unique style while keeping your hair neatly in place.
14. Diy T-shirt Headbands
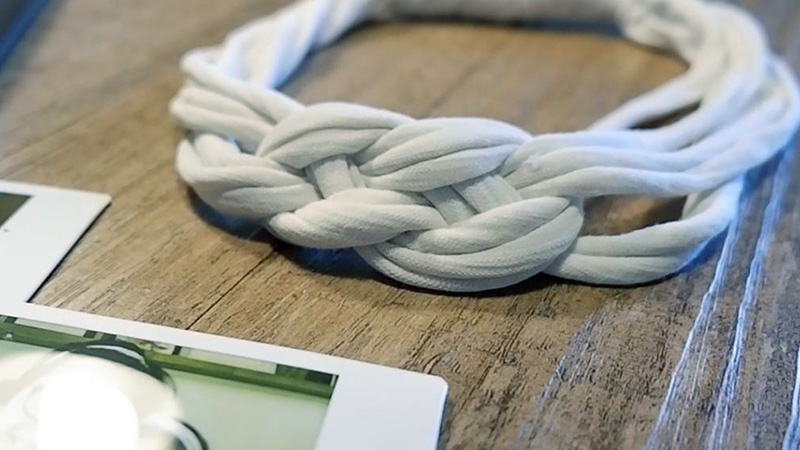
Creating DIY T-shirt headbands is a quick and eco-friendly way to repurpose old shirts. Start by cutting a strip from the hem to the armpit, about 1.5 inches wide.
Stretch the strip gently to curl the edges. Wrap it around your head to measure the length needed. Once cut to size, secure the ends with a knot or sewing.
Add your personal touch with fabric paint, beads, or tie-dye for a unique accessory. These comfy and stylish headbands are not only budget-friendly but also a sustainable way to breathe new life into old clothing while adding a trendy touch to your look.
Conclusion
Crafting your own DIY hair accessories opens up a world of creativity and self-expression. Whether you’re making bows, headbands, barrettes, or scrunchies, the process allows you to infuse your unique style into every piece.
These accessories not only enhance your hairdo but also serve as a reflection of your personality and creativity. Plus, they make for thoughtful and personalized gifts for friends and loved ones.
The satisfaction of wearing something you’ve created with your own hands is immeasurable. So, grab your crafting supplies, unleash your imagination, and embark on a journey of DIY hair accessory creation. The possibilities are endless, and the results are sure to impress and delight.
Leave a Reply