Sewing stripes can add a touch of sophistication and style to your garments, but aligning those lines perfectly can be a daunting task.
Whether you’re a sewing enthusiast looking to elevate your skills or a beginner ready to take on a new challenge, mastering the art of sewing stripes is well within your reach.
In this comprehensive guide, we will unravel how to sew stripes perfectly. From selecting the right fabric to matching and pinning your stripes, we’ll walk you through every step of the process.
No more frustration over crooked lines or mismatched patterns. With our expert tips and techniques, you’ll be able to create polished, professional-looking striped garments that showcase your attention to detail.
Say goodbye to uneven stripes and hello to picture-perfect precision. Let’s dive into the world of stripe sewing and turn your next project into a masterpiece of pattern perfection.
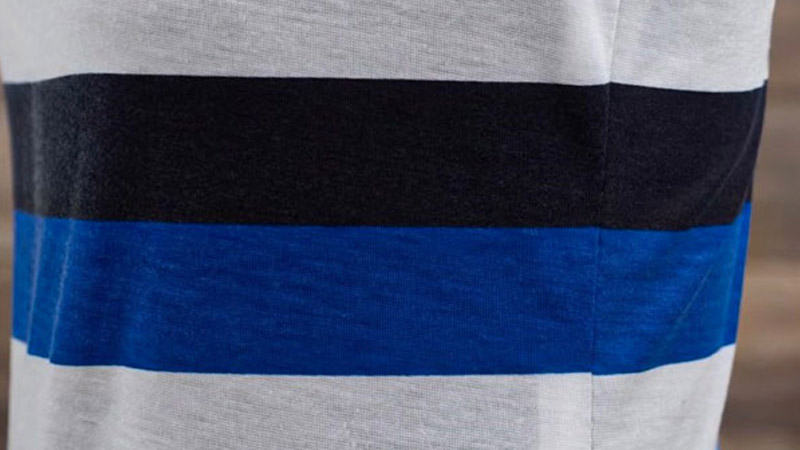
How to Sew Stripes Perfectly? 9 Steps
Sewing stripes perfectly requires attention to detail and precision. Here’s a step-by-step guide to help you achieve impeccable results:
Materials You’ll Need
- Striped fabric
- Sewing machine
- Matching thread
- Fabric scissors
- Pins
- Seam gauge or ruler
- Iron and ironing board
Step 1: Choose the Right Fabric
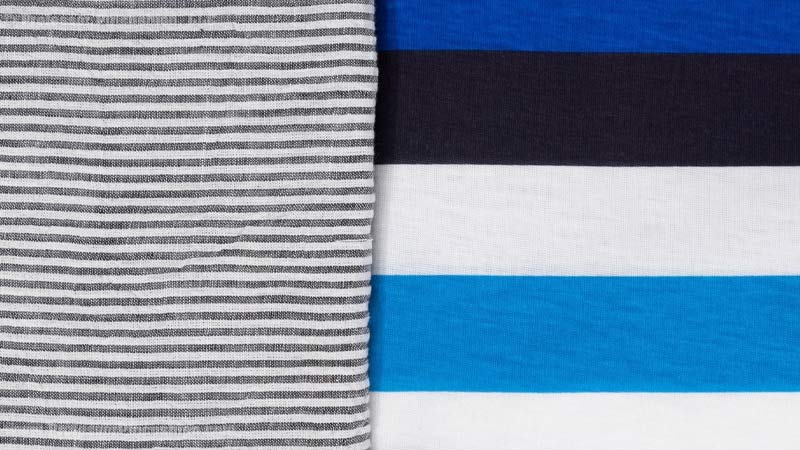
Start by selecting a high-quality striped fabric. Ensure the stripes are printed or woven evenly, with clear, distinct lines. The better the quality of the fabric, the easier it will be to match the stripes.
Step 2: Pre-Wash and Iron

Wash and iron your fabric before sewing. This helps to eliminate any shrinkage that may occur after washing the finished garment and ensures the fabric lies flat and smooth.
Step 3: Pattern Layout
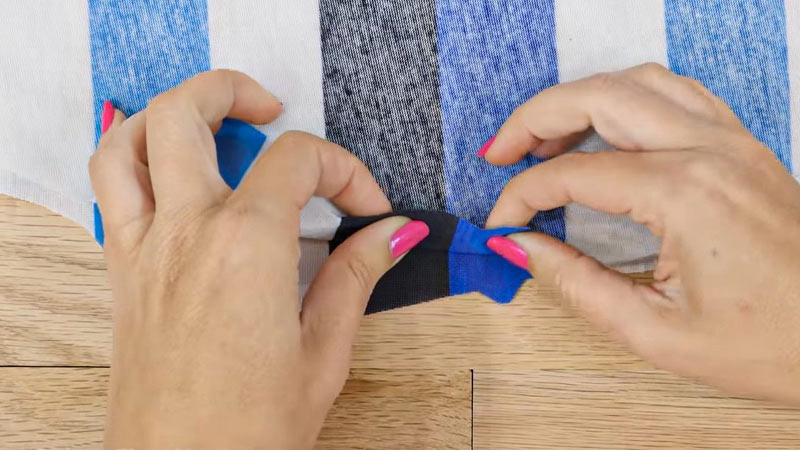
Lay your fabric pieces flat on your work surface. Pay careful attention to the placement of your pattern pieces to ensure the stripes match up as intended. Align the stripes along the selvage edge or any other reference line you choose.
Step 4: Pin and Match Stripes
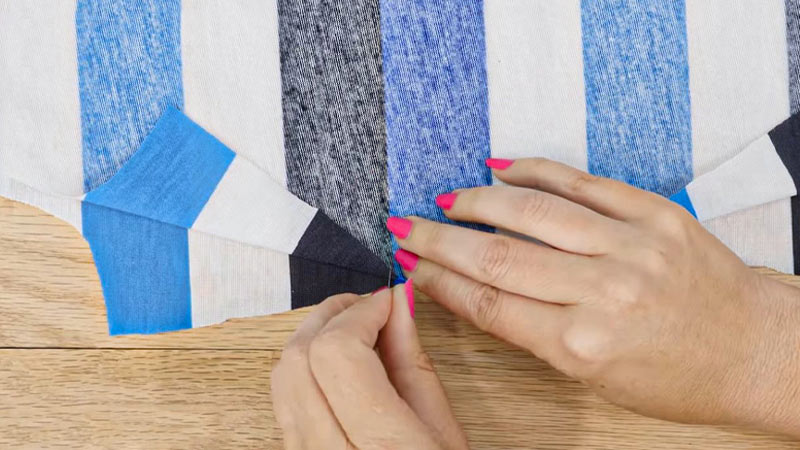
Pin the fabric layers together along the stripes, matching them precisely. Use plenty of pins to secure the layers and prevent any shifting during sewing.
Step 5: Seam Allowance
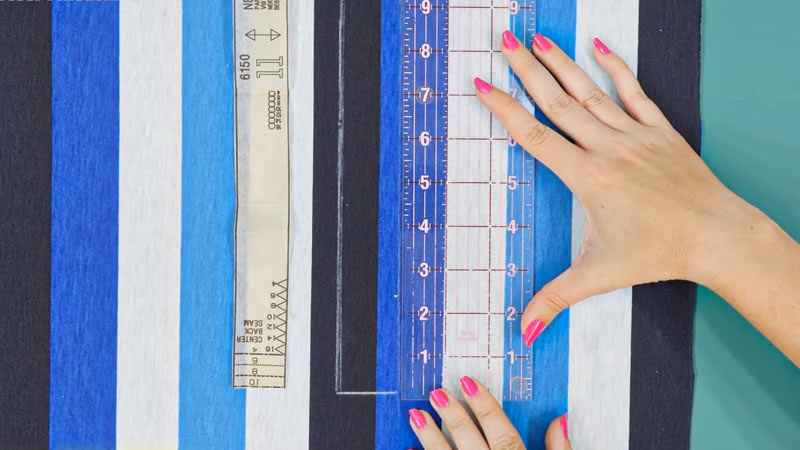
Use a seam gauge or ruler to measure and mark your seam allowance accurately. Ensure your seam allowance is consistent for all seams.
Step 6: Stitch Slowly
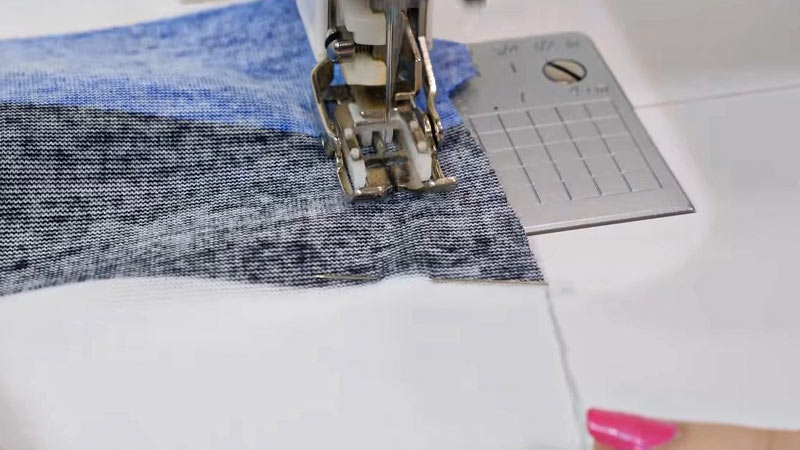
Set your sewing machine to the appropriate stitch length and width for your project. Sew slowly and carefully, following the seam allowance marks, and keep an eye on the stripe alignment as you sew.
Step 7: Check and Adjust
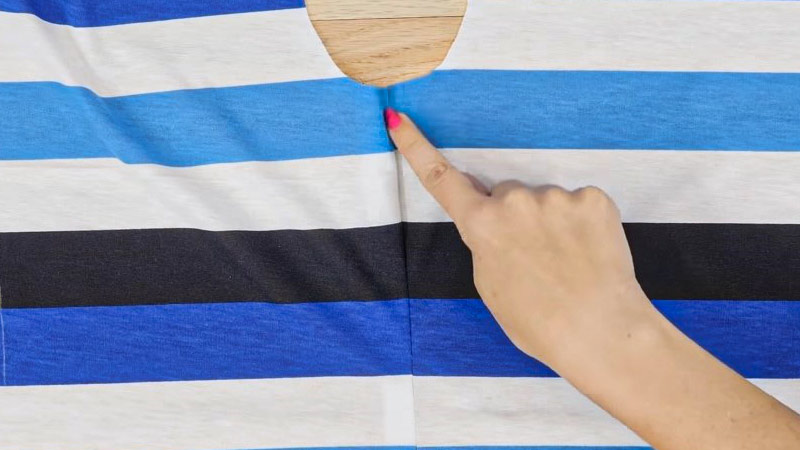
After sewing each seam, check the alignment of the stripes. If any adjustments are needed, use your seam ripper to carefully undo the stitching and resew as necessary.
Step 8: Press Seam Open
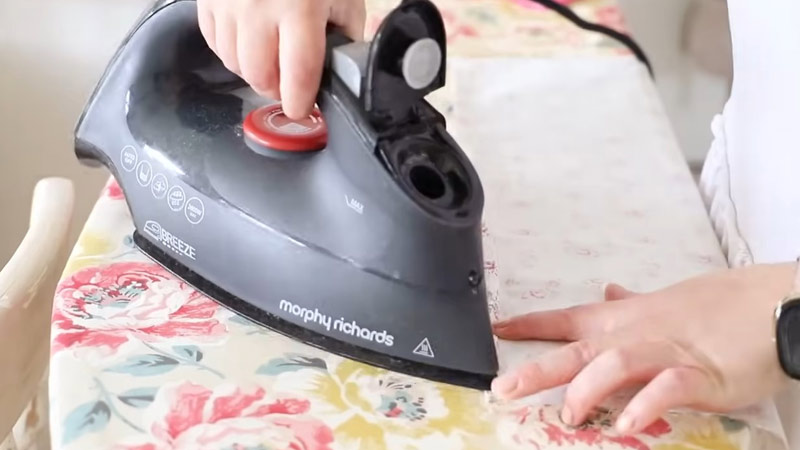
Use an iron to press the seam open. Be gentle and avoid stretching the fabric. Steam can help set the stitches and make the seam lie flat.
Step 9: Repeat and Finish
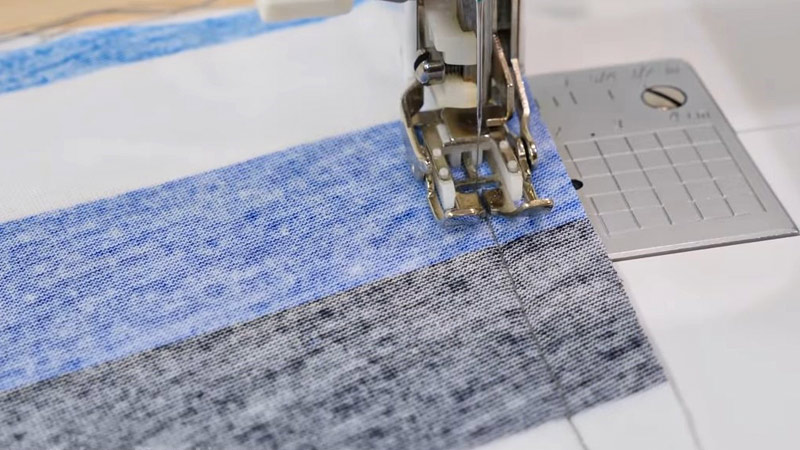
Continue sewing and matching your stripes for all seams, whether it’s for clothing, accessories, or home decor items. Press each seam open as you go. After completing your project, give it a final pressing to ensure all seams are flat and the stripes look their best.
With practice and attention to detail, you can consistently sew stripes perfectly, creating stunning and professional-looking projects that showcase your sewing skills.
How Do You Make Fabric Stripes?
Creating fabric stripes can be done in various ways, depending on your preferred method and the desired outcome. Here are a few common methods to make fabric stripes:
Purchasing Striped Fabric
The simplest way to get fabric with stripes is to purchase pre-made striped fabric from a fabric store. This fabric comes with the stripes already printed, woven, or dyed onto the fabric.
Painting or Printing Stripes
If you have plain fabric and want to add stripes, you can use fabric paint, fabric markers, or even screen printing to create your desired stripe pattern. Use masking tape or stencils to ensure clean and even lines.
Sewing Strips of Fabric
To create fabric stripes from scratch, cut strips of fabric in the desired width and length. These strips can be sewn together to make a striped fabric. Make sure to sew them together with precise seam allowances to maintain even stripes.
Dyeing or Tie-Dyeing
Another method is to dye or tie-dye fabric to create stripes. You can use fabric dyes or tie-dye techniques to achieve your desired stripe pattern.
Appliqué or Patchwork
You can create fabric stripes by attaching strips of fabric onto a base fabric using appliqué or patchwork techniques. This method allows for creative and unique stripe designs.
Weaving or Loom Work
If you’re looking for intricate striped patterns, consider weaving or using a loom. This method involves weaving different colored threads or fabric strips together to create stripes.
Quilting Techniques
Quilting offers various methods to create fabric stripes. You can piece together strips of fabric or use techniques like log cabin or rail fence blocks to achieve striped patterns.
Fabric Tape or Ribbon Embellishment
For a quick and easy way to add stripes, you can use fabric tape or ribbon and attach it to your fabric. This is often used for decorative purposes.
Choose the method that best suits your project and the look you want to achieve. Experiment with different techniques to create unique and custom fabric stripes for your sewing and crafting projects.
What Method Is Used to Draw Lines?
In sewing and fabric-related crafts, there are several methods used to draw lines on fabric for various purposes. The choice of method depends on the type of project and the desired outcome. Here are some common methods:
Fabric Marking Pens or Markers
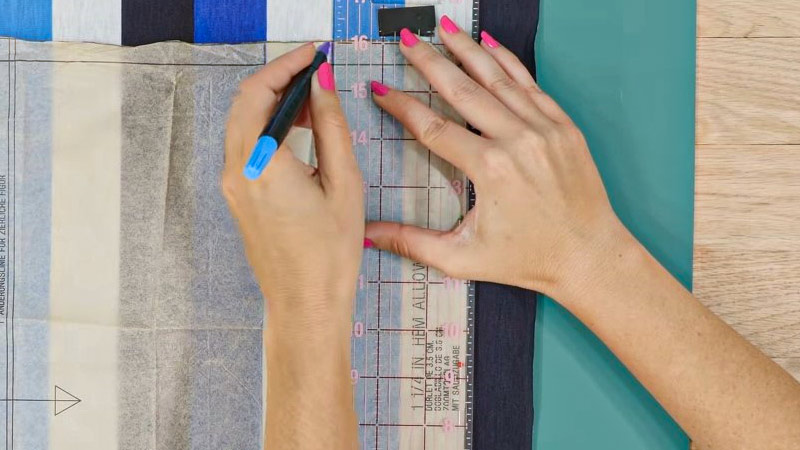
These specially designed pens or markers are used to draw precise lines directly onto the fabric. They come in various types, including water-soluble, air-erasable, and heat-erasable markers, each with its own purpose and removal method.
Tailor’s Chalk
Tailor’s chalk is a traditional tool for marking fabric. It comes in solid or powder form and can be applied directly to the fabric. It’s easy to brush or wipe away and is suitable for temporary markings.
Tracing Paper and Wheel
This method involves placing tracing paper (often wax-free) between the fabric layers and using a tracing wheel to transfer a pattern or markings onto the fabric. It’s commonly used for pattern tracing and transferring embroidery or quilting designs.
Rulers and Templates
Using rulers and templates made of plastic or cardboard with pre-cut shapes, you can draw lines and shapes onto fabric with precision.
Freehand Drawing
Sometimes, freehand drawing with a fabric marker, chalk, or pencil is used for creative or artistic purposes. This method allows for more organic and unique designs.
Pattern Paper and Carbon Paper
You can place a pattern paper or carbon paper beneath your fabric and trace over a pattern or design. This transfers the markings or designs onto the fabric.
Stencils
Fabric stencils, often made of plastic or cardboard, allow you to create consistent and repeated designs by tracing or painting through the openings in the stencil.
Basting or Stitching Lines
In quilting, lines can be drawn with basting stitches or temporary thread to mark quilting lines or guide stitching.
Fabric Tape or Masking Tape
For straight lines or borders, you can apply fabric tape or masking tape directly onto the fabric and then draw along the edge of the tape. This creates crisp, even lines.
The method you choose depends on the specific requirements of your sewing or crafting project. Some methods are suitable for temporary markings, while others are intended for permanent design elements.
Always consider the type of fabric, the purpose of the markings, and whether they need to be removed or remain on the finished project when selecting a marking method.
What Tool is Used to Draw Lines on Fabric?
A commonly used tool to draw lines on fabric is a fabric marking pen or fabric marker. These pens are specifically designed for use on fabric and come in various types, each with its own characteristics:
Water-Soluble Fabric Markers
These markers allow you to draw lines on fabric that disappear when exposed to water or when laundered. They are ideal for temporary markings that you want to remove before completing your sewing project.
Air-Erasable Fabric Markers
Air-erasable markers create marks on fabric that gradually fade over time when exposed to air. These are suitable for short-term markings that you plan to sew over relatively quickly.
Heat-Erasable Fabric Markers
Heat-erasable markers create marks on fabric that disappear when heat is applied, typically with an iron. They are useful for precise markings that you can easily remove once your sewing is complete.
Chalk Marking Tools
Chalk markers or chalk pencils use chalk to draw lines on fabric. They are available in various colors and can be easily brushed or washed away.
Tailor’s Chalk
Tailor’s chalk is a traditional marking tool used in sewing. It’s available in various forms, including solid chalk or chalk powder in a holder. Tailor’s chalk marks can be brushed or wiped away when no longer needed.
Tracing Wheels
Tracing wheels, often used with tracing paper or transfer paper, can create temporary lines or patterns on fabric by transferring markings through pressure.
The choice of fabric marking tool depends on your specific needs and preferences. When using any marking tool, it’s a good practice to test it on a scrap piece of fabric to ensure it doesn’t leave permanent marks or stains on your project.
Always follow the manufacturer’s instructions for each type of fabric marker to ensure proper use and removal of markings.
FAQs
To align stripes perfectly, match the pattern at the seam lines, pin the fabric together, and baste or use a temporary adhesive spray before sewing. Take your time to ensure the stripes match up.
A straight stitch or a narrow zigzag stitch works well for sewing stripes. Use a matching thread color and adjust the stitch length to suit your fabric.
Cutting stripes on the straight grain is common and preserves the stripe pattern’s integrity. Cutting on the bias can create interesting diagonal stripes but may distort the pattern.
To prevent stretching, handle striped fabric gently and avoid pulling it. Use a walking foot or engage your machine’s even feed feature for stable stitching.
For a clean finish, consider using French seams or serging for woven fabrics. For knit stripes, use a stretch stitch or overlock/serge the edges.
Conclusion
Sewing stripes perfectly is a skill that can transform your projects from ordinary to extraordinary. As we conclude our journey through this guide, you’ve gained valuable insights into the techniques and tricks required to achieve impeccable results.
Remember, it all begins with careful fabric selection and pattern layout. Taking the time to align and pin your stripes accurately is crucial for a polished finish. Seam matching and precision stitching ensure your stripes flow seamlessly across seams, creating a harmonious look.
By following the steps outlined in this guide and practicing your newfound skills, you’re well on your way to becoming a stripe-sewing maestro.
So, go ahead and tackle your next striped project with confidence. With patience and practice, you’ll consistently produce beautifully striped creations that reflect your sewing prowess. Here’s to your future endeavors in the world of flawless stripe sewing!
Leave a Reply