Sewing with fur fabric adds a touch of luxury and warmth to your projects, whether you’re crafting cozy winter wear, plush toys, or elegant home decor.
Yet, working with fur requires some specialized techniques to achieve professional-looking results.
So, how to sew fur fabric? In this comprehensive guide, we’ll take you through the steps of sewing fur fabric, helping you navigate its unique challenges and unlock its creative potential.
Fur can be both intimidating and rewarding to work with. It offers a rich texture and appearance, but its long fibers can pose challenges in terms of cutting, sewing, and finishing. Fear not; we’re here to demystify the process.
From selecting the right fur type to essential tools, cutting techniques, and sewing methods, we’ll provide you with the knowledge and confidence you need to create stunning fur-lined garments, cozy blankets, or furry companions.
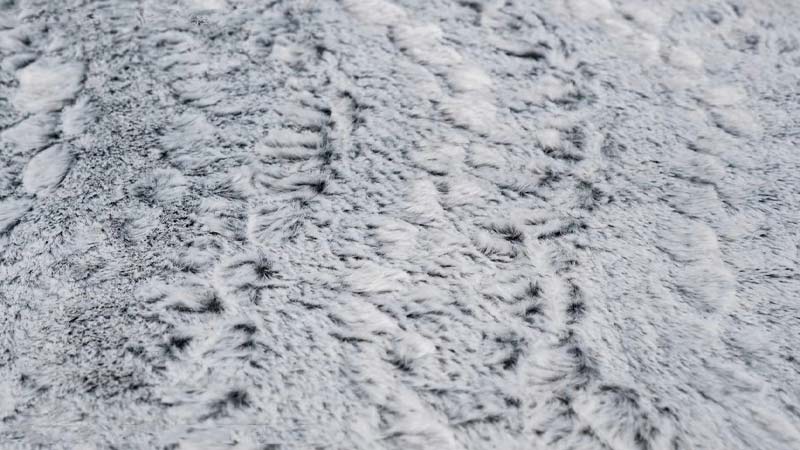
How to Sew Fur Fabric? 7 Steps
Sewing with fur fabric can be a rewarding experience, but it does require some specific techniques. Here’s a step-by-step guide on how to sew fur fabric:
Materials You’ll Need
- Fur fabric
- Matching thread
- Sharp fabric scissors
- Hand-sewing needle or sewing machine
- Pins
- Seam ripper (optional)
- Iron and ironing board (optional)
Step 1: Prepare Your Fur Fabric
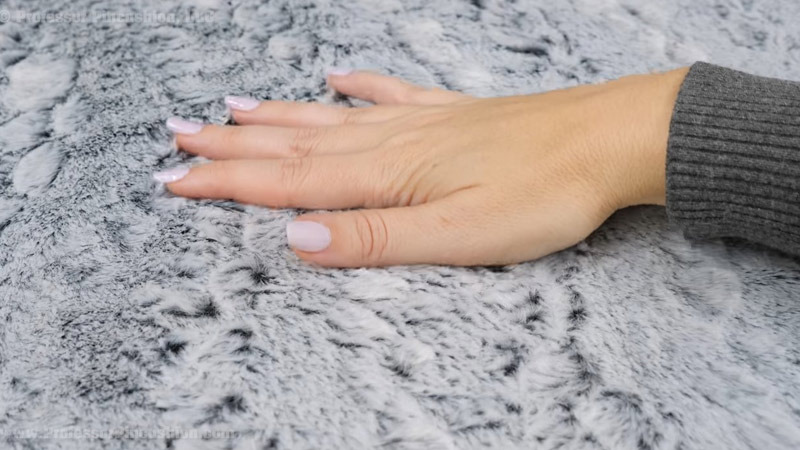
Lay your fur fabric with the right side facing down on a flat surface. Brush the fur in the direction of the nap (the natural direction of the fur) to reveal the fabric backing. You can use a comb or a special fur brush for this.
Step 2: Cut Your Fur Fabric

Use sharp fabric scissors to cut your fur fabric from the backside to minimize cutting the fur fibers. Cut through the fabric backing only. Cut your fabric pieces according to your project pattern or measurements.
Step 3: Pin and Sew
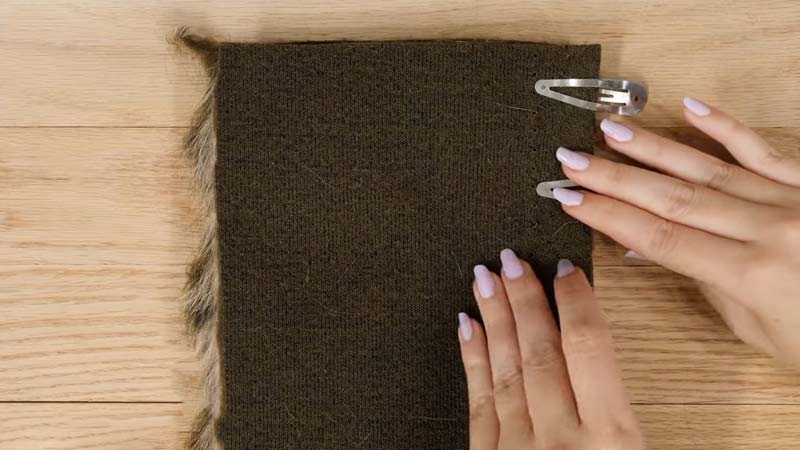
Pin your fur fabric pieces together with the right sides facing each other, just like you would with regular fabric.
Use a long stitch length on your sewing machine or sew by hand, as fur fabric can be thick and bulky.
Sew along the marked seam allowance, making sure to backstitch at the beginning and end of each seam.
Step 4: Check and Trim
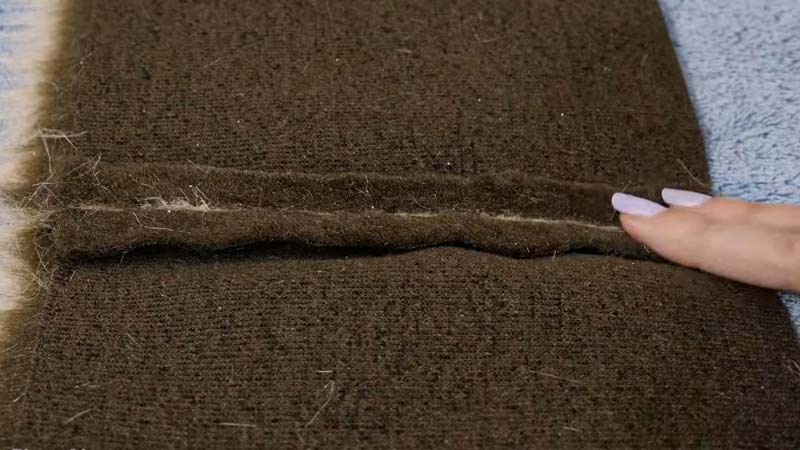
After sewing, gently turn your fur fabric right side out. Inspect your seams and trim any excess fur that may be caught in the seams.
Step 5: Finish Edges (Optional)
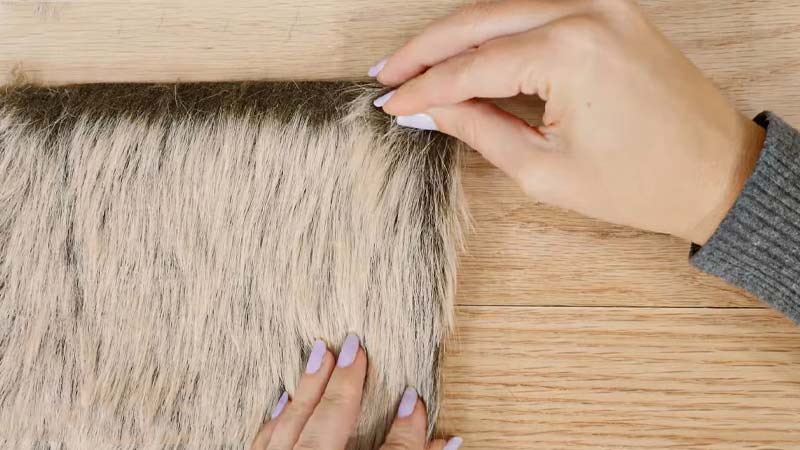
To prevent fur from shedding, you can finish the raw edges of your seams by gluing or hand-stitching a fabric or ribbon binding over them.
Step 6: Press (Optional)
If your fur fabric allows, use a low-heat setting on your iron and a pressing cloth to gently press the seams open. Be cautious not to flatten the fur.
Step 7: Care and Maintenance
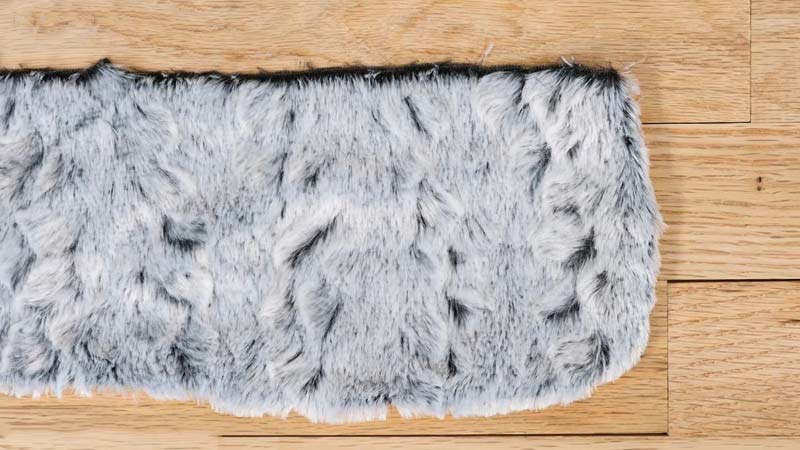
Fur fabric requires special care. Avoid excessive friction or pressing, as it can mat the fur. Store your fur projects in a cool, dry place, and consider using a garment bag to protect them.
Sewing with fur fabric may take some practice to perfect, but with patience and attention to detail, you can create beautiful, cozy projects that showcase the luxurious texture of fur.
What Stitches Are Best for Sewing Fur?
When sewing fur, the choice of stitches can significantly impact the final result. Here are the best stitches for sewing fur fabric:
Straight Stitch
A straight stitch is the most commonly used stitch for sewing fur fabric. It’s simple and effective for joining seams. Use a longer stitch length to prevent the fur from getting caught in the stitches.
Zigzag Stitch
A zigzag stitch is excellent for finishing raw edges on fur fabric. It helps prevent shedding and provides a neater edge. Adjust the stitch width and length as needed for your project.
Hand Basting Stitch
Hand basting with a large, loose stitch can be useful when aligning fur pieces before machine sewing.
It allows you to adjust the fur alignment without the commitment of permanent stitching.
Whipstitch or Blanket Stitch
These hand-sewn stitches work well for closing small openings, such as turning holes in fur projects. They provide a neat and secure finish.
Topstitching
Topstitching can be done using a straight stitch or a zigzag stitch along the edges of your fur fabric. It adds a decorative touch and helps flatten the fur along seams.
Basting Stitch
Use a basting stitch to temporarily hold fur pieces together before final machine sewing. This can help ensure that your seams align correctly without the fur shifting.
Remember, when sewing fur fabric, it’s essential to use a longer stitch length on your sewing machine, as fur can be thick and bulky.
Additionally, test your stitches on a scrap piece of fur fabric to determine the best settings for your specific project.
Always be mindful of the direction of the fur nap when sewing and use sharp scissors or a rotary cutter to cut fur fabric to avoid damaging the fur fibers.
With the right stitches and techniques, you can create beautiful, professional-looking projects with fur fabric.
What Needles Do You Use for Fur?
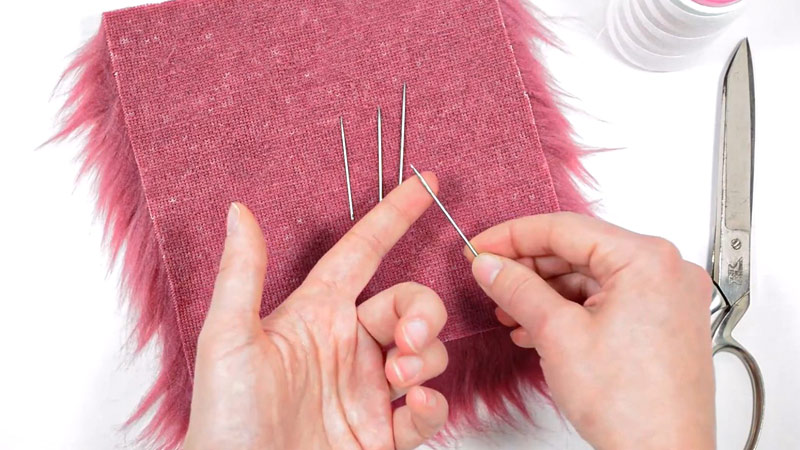
When sewing with fur fabric, it’s crucial to choose the right type of needle to achieve clean and professional results. Here are the types of needles you can use for sewing fur:
Universal Needles
Universal needles with a regular or ballpoint tip can be suitable for sewing fur fabric, especially if the fur is not too thick or dense.
They work well for lighter-weight fur materials.
Jeans/Denim Needles
If you’re working with thicker or denser fur fabric, consider using jeans or denim needles. These needles have a stronger shaft and a sharper point, making them better equipped to handle thicker fabrics.
Leather Needles
Leather needles have a cutting point designed for piercing through tough materials, including fur. They are an excellent choice when working with particularly dense or plush fur.
Twin Needles
Twin needles can create parallel lines of stitching, which can be a decorative choice for topstitching along seams on fur fabric. Ensure that the needle size is appropriate for your fur’s thickness.
Walking Foot
While not a needle type, a walking foot attachment for your sewing machine can be beneficial when sewing fur.
It helps feed the fabric evenly through the machine, preventing the fur from shifting or bunching during stitching.
When selecting a needle, consider the thickness and density of the fur fabric you’re working with. Thicker fur requires a stronger needle, while lighter fur may work well with a universal needle.
Always test your needle on a scrap piece of fur fabric to ensure it pierces the fabric cleanly without causing damage to the fur fibers.
Additionally, use a longer stitch length on your sewing machine to accommodate the thickness of the fur and prevent it from getting caught in the needle.
Proper needle selection and stitch length will contribute to the success of your fur sewing projects.
How to Cut Faux Fur for Sewing?
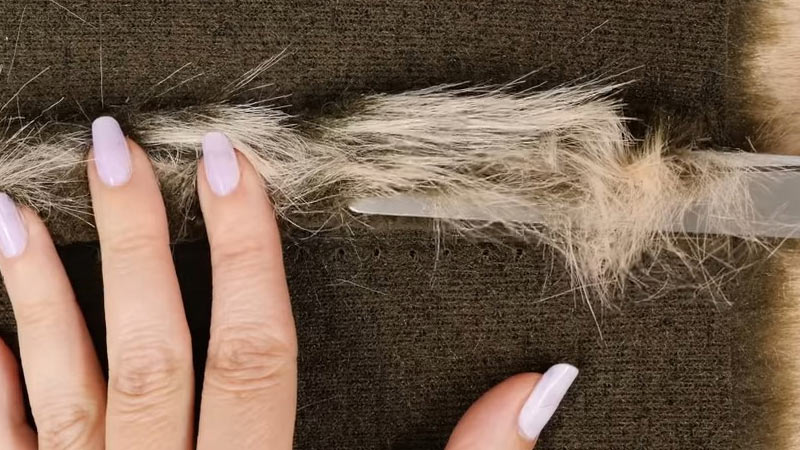
Cutting faux fur correctly is essential to achieve clean and professional results without damaging the fur fibers. Here’s a step-by-step guide on how to cut faux fur:
Materials You’ll Need
- Faux fur fabric
- Sharp fabric scissors or a rotary cutter with a fresh blade
- A comb or fur brush
- Fabric marker or chalk (optional)
Step 1: Prepare Your Workspace
Choose a clean, well-lit area to work on your faux fur fabric. Lay the faux fur fabric with the backing side facing up. The fur side should be facing down.
Step 2: Brush the Fur
Use a comb or a fur brush to gently comb the fur fibers away from the seam allowance or the area you intend to cut. Brushing helps reveal the fabric backing and prevents fur from getting caught in the scissors.
Step 3: Mark Your Cutting Line (Optional)
If you need to cut the fabric along a specific line or pattern, you can mark it lightly on the backing side of the faux fur using a fabric marker or chalk. Be cautious not to press too hard to avoid visible markings on the fur side.
Step 4: Cut the Fabric
Using sharp fabric scissors or a rotary cutter with a fresh blade, cut through the fabric backing only. Do not cut through the fur fibers.
Cut with slow and steady motions, following the marked line if you’ve used one. If you didn’t mark the fabric, cut along your desired seam allowance or pattern line.
As you cut, lift the fur fibers away from the cutting line to ensure they don’t get caught in the scissors.
Step 5: Inspect and Clean
Once you’ve cut the faux fur fabric, inspect the cut edge to ensure it’s clean and free of any uneven or jagged edges. If you notice any fur fibers caught in the seam allowance, gently pull them out with your fingers or use the comb or fur brush to clean the edge.
Remember to take your time when cutting faux fur and use smooth, controlled motions. Rushing can lead to uneven edges and damage to the fur fibers.
With practice and patience, you can achieve precise and clean cuts, allowing you to create beautiful projects with faux fur fabric.
FAQs
It’s generally not recommended to machine wash or dry fur fabric projects. Instead, spot clean them with a damp cloth or consult the care instructions specific to your fur fabric. Excessive washing and drying can damage the fur fibers and backing.
Use a polyester or nylon thread when sewing fur. These threads are strong and durable, ensuring that your stitches hold up well, even with the added weight and texture of fur.
To hide seams on fur, sew with the fur sides facing each other, then turn the project right-side out. This way, the fur covers the seam, creating an invisible or concealed appearance.
A regular sewing machine can handle most fur sewing projects, especially if you choose the appropriate needle and stitch settings.
However, for exceptionally thick or heavy fur, a heavy-duty sewing machine may be more suitable.
Store fur fabric in a cool, dry place away from direct sunlight. Avoid hanging fur fabric, as it can stretch and distort the fibers over time.
Instead, store it flat or rolled in a breathable garment bag or cotton sheet to protect it from dust and moisture.
Conclusion
Sewing with fur fabric is a rewarding endeavor that can result in stunning, luxurious creations. Throughout this guide, we’ve explored the essential steps and techniques required to work with fur successfully, from selecting the right fur type to mastering cutting, sewing, and finishing.
Remember, practice is key when it comes to sewing fur. Don’t be discouraged by initial challenges, as they are part of the learning process.
As you gain experience, you’ll develop a keen eye for fur textures, become skilled at handling this unique material, and create projects that exude warmth, elegance, and style.
Now that you possess the knowledge and skills to sew fur fabric, let your creativity run wild.
Whether you’re crafting winter fashion, home decor, or furry companions, embrace the art of sewing with fur, and bring a touch of luxury and coziness to your projects. Happy sewing!
Leave a Reply