Prewashing fabric before embarking on a sewing project is akin to laying a strong foundation for a sturdy structure.
This essential preliminary step may seem like a minor detail, but it plays a pivotal role in ensuring the success and longevity of your sewing creations.
By meticulously cleaning and preparing your fabric prior to cutting and stitching, you can avoid potential pitfalls such as unwanted shrinkage, color bleeding, and distorted shapes.
This guide will walk you through the art of fabric prewashing, providing a comprehensive overview of the process, from sorting and selecting the right detergent to determining the ideal washing machine settings and caring for various fabric types.
With these insights, you’ll be well-equipped to embark on your sewing journey with confidence and precision.
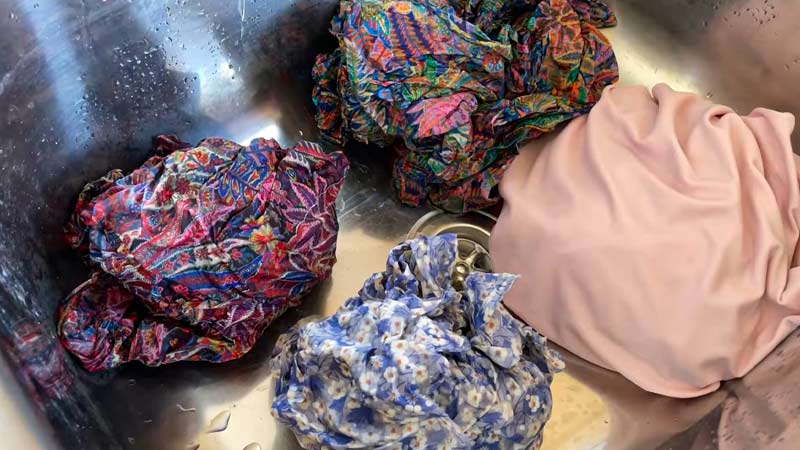
Step-by-Step Guide to Prewash Fabric Before Sewing
Prewashing fabric before sewing is an essential step in any sewing project. This process involves washing the fabric before you cut and stitch it, and it serves several important purposes.
Prewashing helps to remove dirt, chemicals, and sizing from the fabric, which can affect the final look and feel of your project. It also prevents shrinkage and color bleeding after your project is complete.
Here’s a step-by-step guide on how to prewash fabric before sewing:
Materials You’ll Need:
- Fabric
- Mild Detergent
- Washing Machine
- Measuring Cup
- Mesh Laundry Bag (optional)
- Laundry Basket or Clothesline
Steps to Prewash Fabric:
Step 1: Sort Your Fabric

Before you even think about washing, take the time to sort your fabric. This step is especially important if you have a mix of light and dark-colored fabrics. Separating them will help prevent color bleeding, which can be disastrous for your project.
If you have very delicate or loosely woven fabrics, consider washing them separately from heavier, more robust materials.
Step 2: Check for Fabric Care Instructions
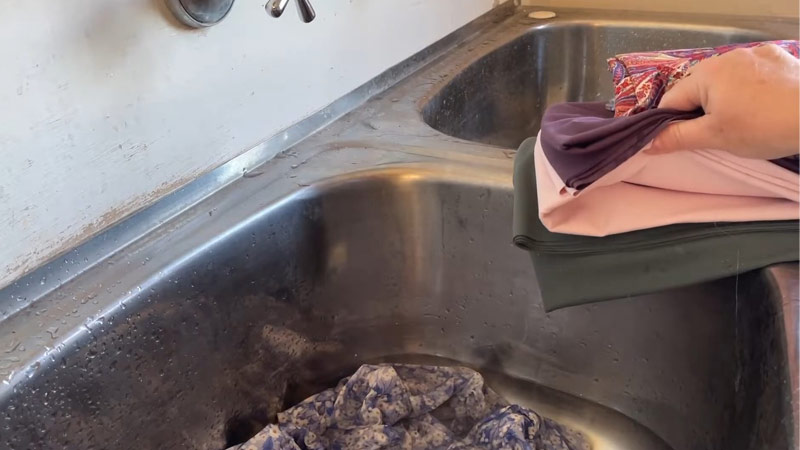
Each fabric has its unique properties, and it’s crucial to read the care labels on your fabric bolts or remnants. These labels provide essential information on how to wash and care for the fabric properly.
They may recommend specific washing temperatures, detergent types, and drying methods. Always follow any care instructions provided to maintain the fabric’s integrity.
Step 3: Measure and Add Detergent
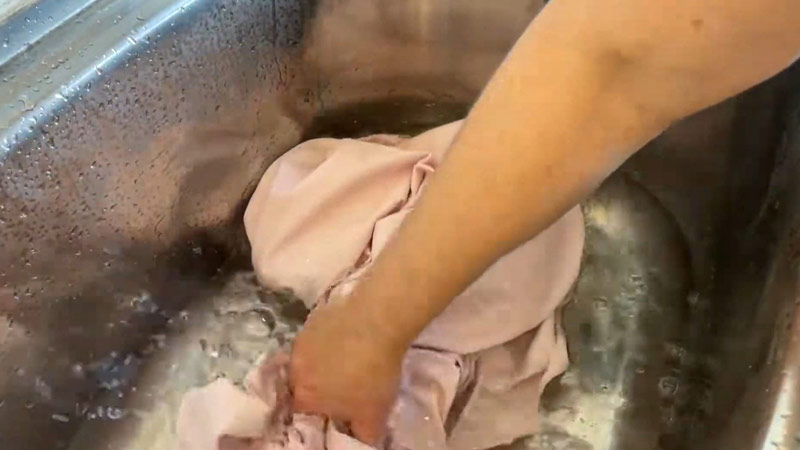
To ensure that you use the correct amount of detergent, use a measuring cup to add the appropriate quantity to your washing machine. The detergent amount may vary based on your machine’s capacity, so check the detergent’s label for guidance.
Using too much detergent can leave a residue on your fabric, affecting its texture and appearance.
Step 4: Load the Machine
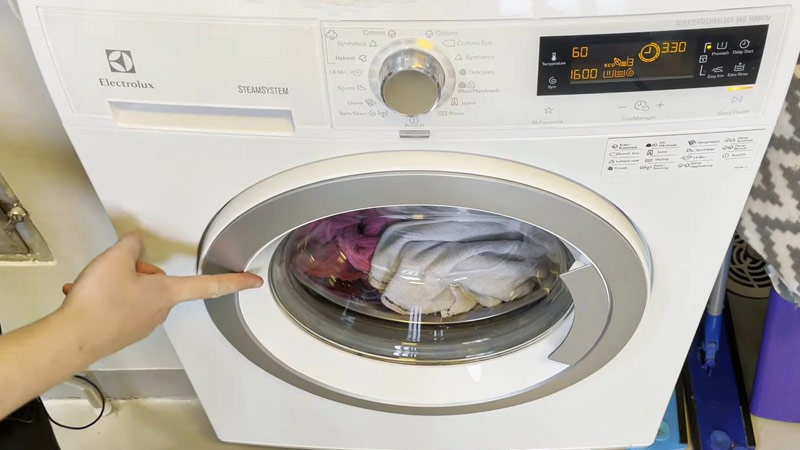
Place your sorted fabric into the washing machine, making sure not to overcrowd it. Overloading the machine can prevent the fabric from washing thoroughly and lead to uneven cleaning.
If you’re concerned about fabric fraying or tangling during the wash, consider placing it inside a mesh laundry bag before loading it into the machine.
Step 5: Choose the Right Settings
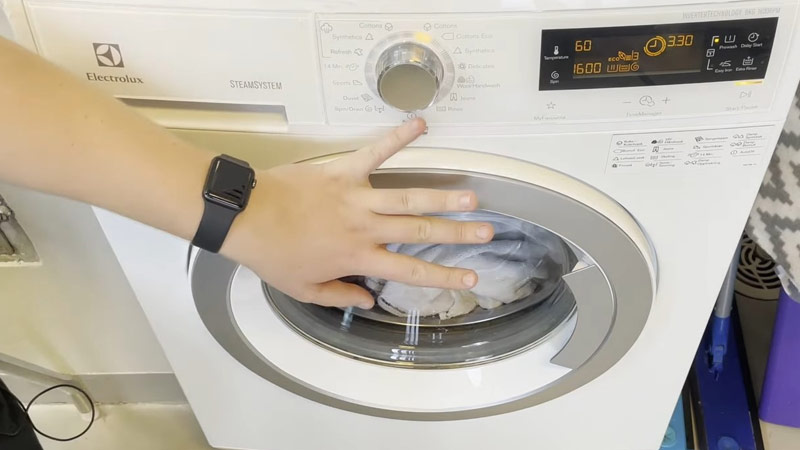
Select a washing machine cycle that’s suitable for your fabric. Generally, opt for a gentle cycle with cold or lukewarm water. Avoid using hot water, as it can cause excessive shrinkage or damage to certain fabrics.
Gentle cycles are designed to minimize agitation, reducing wear and tear on delicate materials.
Step 6: Start the Wash Cycle
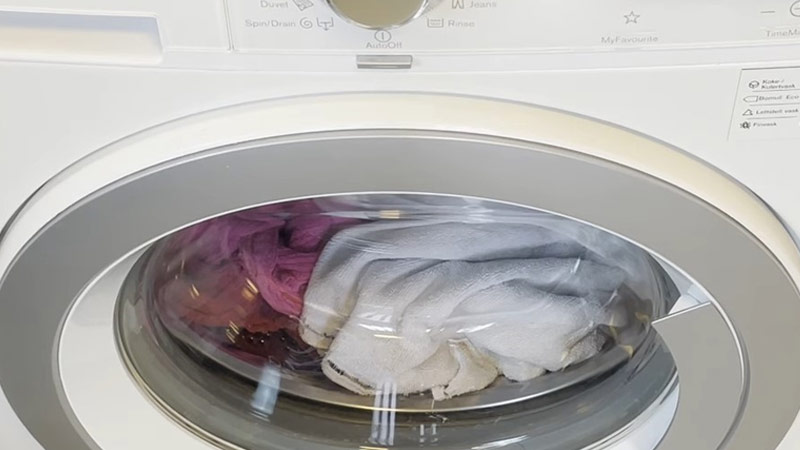
Once you’ve set the appropriate cycle and water temperature, start the washing machine. Allow it to complete the full cycle. When the cycle finishes, promptly remove the fabric to prevent wrinkles from setting in.
Step 7: Inspect the Fabric
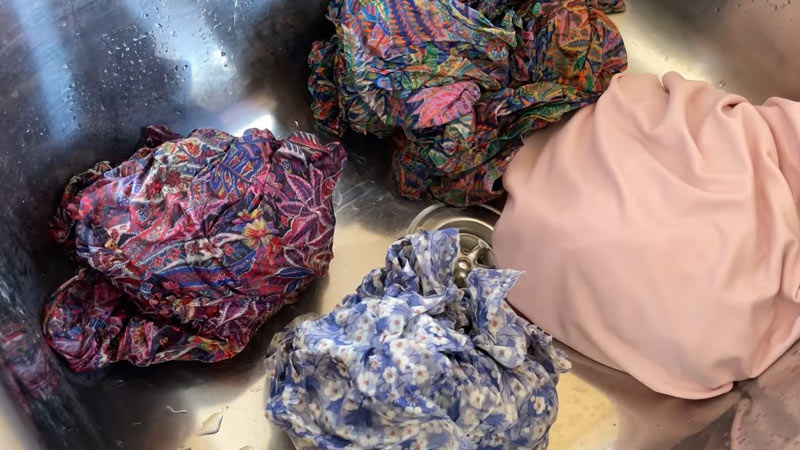
After washing, carefully inspect the fabric to ensure it’s clean and free from any stains or residues. If you notice any lingering stains or dirt, consider repeating the wash cycle or spot-treating the affected areas.
Step 8: Dry the Fabric
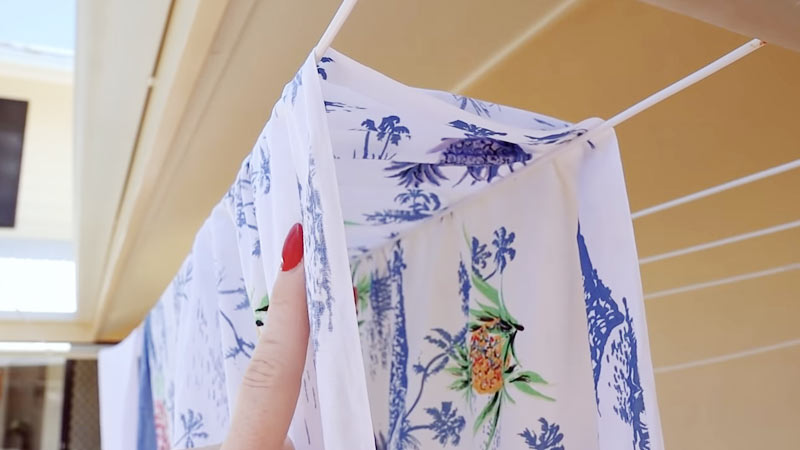
For best results, avoid using a dryer, as it can cause further shrinkage and damage to the fabric, especially if it’s delicate. Instead, opt for air drying. You can hang the fabric on a clothesline or lay it flat on a clean surface to dry.
If you’re concerned about fading due to direct sunlight, choose a shaded area or dry the fabric indoors.
Step 9: Iron or Press
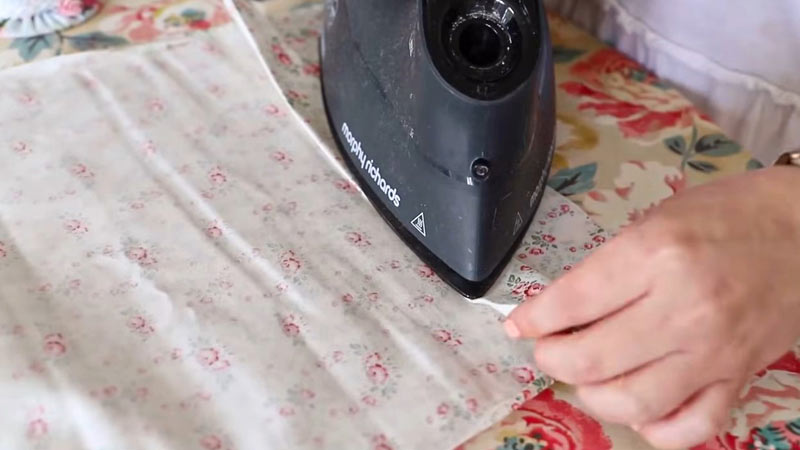
Depending on your project and the fabric type, you may want to iron or press the fabric before cutting and sewing. Follow the ironing instructions provided for your fabric, adjusting the temperature setting to match the fabric’s needs.
Ironing or pressing helps remove wrinkles, ensuring your fabric is ready for precise cutting and sewing.
Step 10: Store or Use
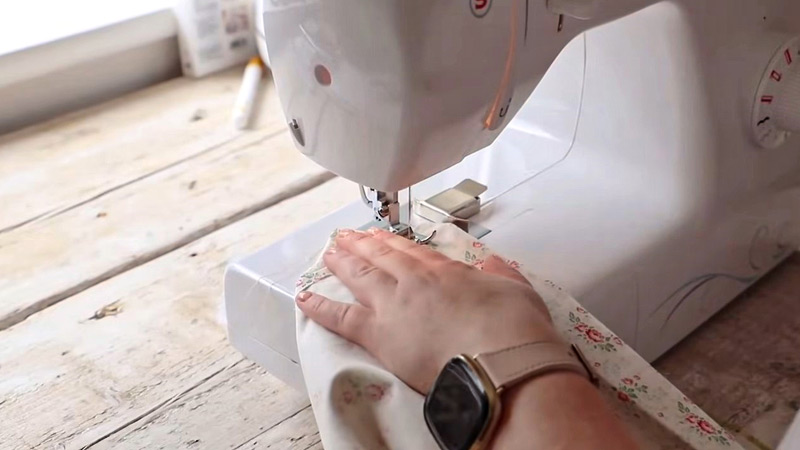
Once your fabric is clean, dry, and properly pressed, you can store it in a cool, dry place until you’re ready to begin your sewing project.
Alternatively, if you’re eager to start sewing, you can immediately begin cutting and stitching your fabric with confidence, knowing that it’s been prewashed and prepared to deliver the best results in your project.
Benefits of Prewashing Fabric Before Sewing
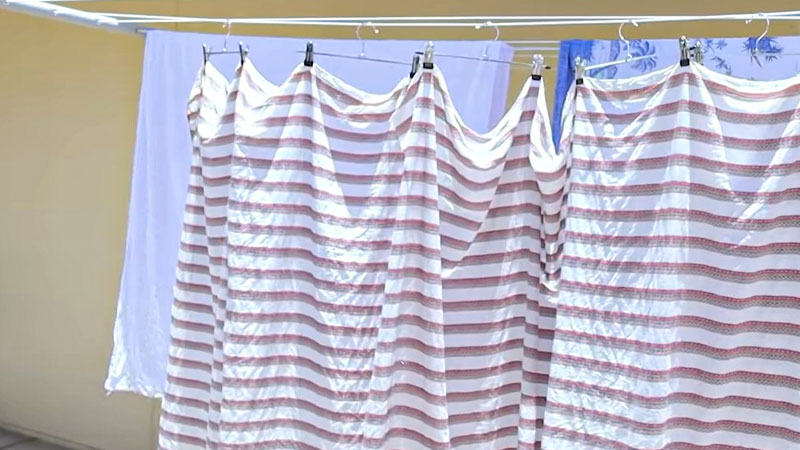
Prewashing fabric before sewing offers several important benefits that can significantly impact the outcome and longevity of your sewing projects.
Here are the key advantages of prewashing fabric:
Prevents Shrinkage
Prewashing allows the fabric to undergo its natural shrinkage process before you cut and sew it.
Without this step, you risk your finished project shrinking unpredictably after its first wash, potentially rendering it unwearable or misshapen. Prewashing ensures that your garment maintains its intended size and fit.
Removes Chemicals
Fabrics often undergo treatments to enhance their appearance and handling during manufacturing. These treatments can leave behind sizing, chemicals, and residues that may be uncomfortable to wear and cause skin irritation.
Prewashing eliminates these substances, leaving you with a clean and comfortable fabric.
Prevents Color Bleeding
Fabrics, especially those with vibrant or dark colors, can release excess dye during the first wash. Prewashing helps to remove this excess dye, reducing the risk of color bleeding or fading when the garment is washed in the future.
This is particularly important when working with fabrics of contrasting colors or patterns.
Enhances Fabric Softness
Some fabrics, especially natural fibers like cotton, can feel stiff or rough when fresh off the bolt. Prewashing softens the fabric, making it more pleasant to the touch and enhancing the overall comfort of your finished project.
Improves Sewing Accuracy
Prewashing allows the fabric to settle into its natural state, removing any potential distortions or irregularities that may have occurred during manufacturing or storage.
This means that when you cut and sew prewashed fabric, you are working with a more stable and predictable material, resulting in greater sewing accuracy and smoother, more professional-looking seams.
Test Fabric Compatibility
When combining different types of fabrics in a single project, prewashing each fabric separately allows you to assess how they will interact.
Some fabrics may shrink or behave differently in the wash, and prewashing helps you identify any issues before you commit to your final design.
Removes Odors and Allergens
Prewashing can eliminate any odors that may have been absorbed by the fabric during storage or transportation. It also helps remove potential allergens, making the fabric safer and more comfortable for those with sensitivities or allergies.
Ensure Longevity
Prewashing is an investment in the longevity of your sewing projects. By addressing potential issues that can arise after washing or wearing, such as misshapen seams or puckering, you ensure that your creations continue to look and perform their best over time.
Professional Finish
Fabrics that have been prewashed often have better drapes and a more polished appearance. This contributes to a professional-looking final product, whether it’s clothing, home décor, or any other sewing project.
Peace of Mind
Prewashing fabric provides peace of mind, knowing that you’ve taken a proactive step to address potential problems. It allows you to have confidence in your sewing work, knowing that it’s less likely to be compromised by issues like unexpected shrinkage or color changes.
FAQS
A fabric steamer can help remove wrinkles, but it doesn’t replace prewashing. Prewashing serves to remove sizing, chemicals, and excess dye, which a steamer cannot accomplish.
While hand washing is gentler, it can be less effective in removing chemicals and dye than a machine with a gentle cycle.
Yes, it’s still a good idea to prewash fabrics you intend to dry clean.
Yes, prewashing is recommended even for precut fabric bundles or fat quarters.
Prewashing is advisable for all sewing projects, regardless of whether they’re one-time use or long-term.
To Recap
The seemingly simple act of prewashing fabric before sewing is a vital step that can make all the difference in the outcome of your sewing projects. It ensures that your creations remain true to size, colorfast, and free from unwanted surprises like shrinkage or dye bleeding.
By taking the time to sort, follow care instructions, and wash your fabric with care, you’re not only safeguarding the integrity of your textile investments but also setting yourself up for sewing success.
The extra effort expended in prewashing pays off in the long run, as your finished pieces will not only look better but also withstand the test of time. So, remember, sewing enthusiasts, embrace the prewash—it’s a stitch in time that truly saves nine!
Leave a Reply