Your sewing expertise won’t be complete without sashiko embroidery. Want to know why? The answer lies in the question, what is sashiko embroidery?
The beautiful twisted detailed design of sashiko embroidery on the fabric is bound to take your mind away. You can easily impress your clients with just one sample and keep the order coming in bulk!
That’s why today, we will learn more about this traditional form of art and discuss how you can integrate it with your personal and client’s projects.
What Is Sashiko Embroidery?
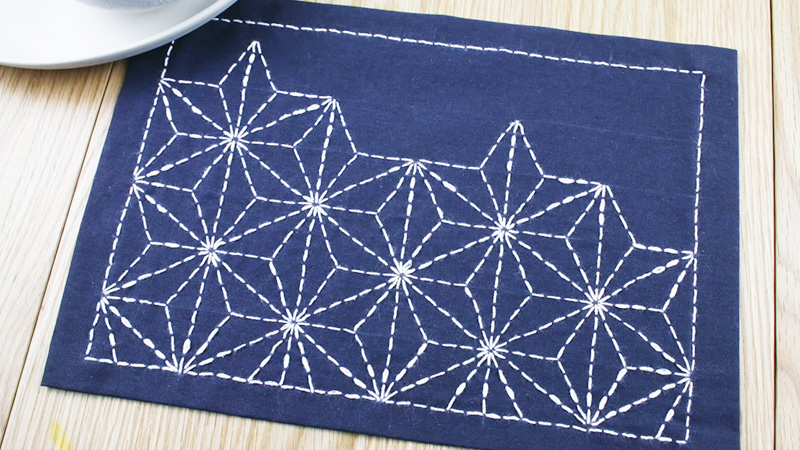
In short, Sashiko is a traditional Japanese art of sewing. It’s a form of hand-stitch and delivers a series of simple, evenly-spaced running stitches.
The term “Sashiko” translates to “little stabs” or “little pierce.” It comes from the way Sashiko is sewed – with lots of tiny, even stitches that look like little stabs into your fabric.
However, the patterns were not for looks only, they represented meanings also. Sometimes, the Sashiko artists had inspiration from nature like the sea or mountains. Besides, they also brought out the cultural or spiritual significance of their stroke!
Unlike genuine embroidery floss or threads, sashiko embroidery doesn’t have a sheen. Instead, the sashiko thread is more twisted and never usually divides.
People not familiar with Sashiko may confuse regular embroidery with sashiko embroidery without careful observation.
In Japan, the traditional sashiko embroidery is made of white cotton thread mostly for the indigo-dyed blue cloths.
History of Sashiko Embroidery
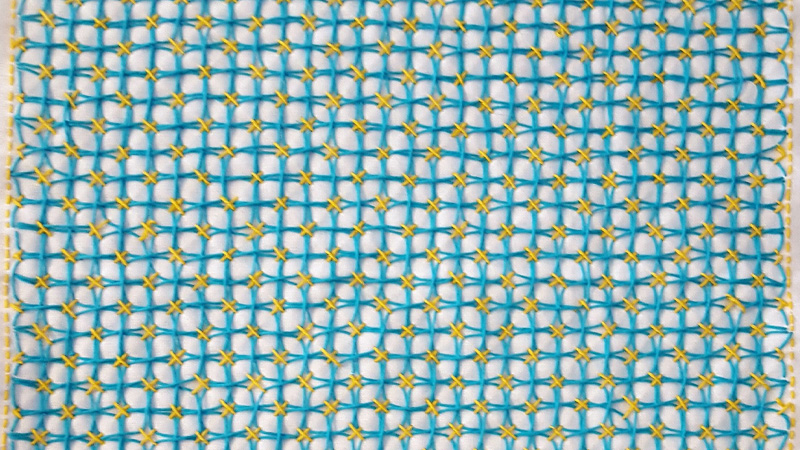
Interested to know about the origin of Sashiko Embroidery? Let’s learn more about where this pleasing art came from.
In simple, the traditional Japanese Sashiko started a long time ago, around the Edo period (1603–1867).
Back then, people in rural areas of Japan needed sturdy clothes and household items to withstand a lot of wear and tear. However, during that time, sewing machines rarely existed. So, they came up with Sashiko.
At first, Sashiko was used to hold together the old worn-out clothes with the new ones. Later in the Meiji period (1868–1912), Sashiko became popular among the northern farmers community, especially during the winter season.
Ever since then, this beautiful form of art evolved for regular use by common people. Earlier, it was used for three specific reasons,
- Improve previously restored clothes at worn spots.
- Additionally used to add patches to clothes.
- Used to provide warmth by layering thin fabrics.
Sashiko Today
Now, Sashiko isn’t just about fixing things. Rather, it has become a beloved art form and practiced all over the world. People, not limited to Japan only, use it to decorate clothing, home decor items, quilts, and accessories like bags and pouches.
It has become a bridge to connect history and culture together while making something remarkable and lasting.
How to Do Sashiko Embroidery?
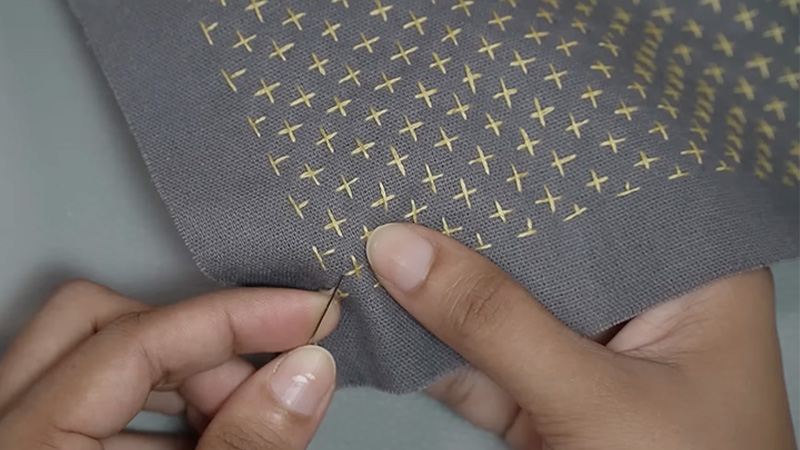
Here’s the interesting part! Now you know what is sashiko embroidery and its origin, let’s learn how to craft this beautiful form of artistry.
You will be indulged, it is a simple yet rewarding process. Let’s take a tour.
Get the Supplies
Fabric: Select the fabric you prefer. Generally, sashiko is on indigo-dyed fabric, often known as Aizome. However, you can use any color or type that you prefer.
Evenweave fabrics are preferable to tightly woven plain fabrics. The open structure of the even weave fabric allows threading the needle through the fabric layers more easily.
Sashiko Thread: Sashiko threads are strong and thick, usually a cotton thread. The majority of people use the color white for Sashiko thread but you can play with other colors too.
Sashiko Needle: Unlike regular sewing needles, Sashiko needles are long and thick; which makes them ideal for this type of embroidery.
Marker or Chalk: You’ll need a marker or chalk to draw your stitching pattern on the fabric.
Ruler: Before every sewing project, don’t forget to get the rulers and other measuring tools to get even and precise cuts.
Once you have the supplies mentioned here, follow the few steps with us,
Key Notes:
- You are genuinely making a running stitch with Sashiko Stitching. It uses a single thread and a long with a sharp Sashiko needle.
- Sashiko stitches are longer on the fabric top than the backside.
- You have to make the stitches even. Also, the top stitches shouldn’t overlap each other at the crossing lines.
Step 1: Prepare Your Workspace
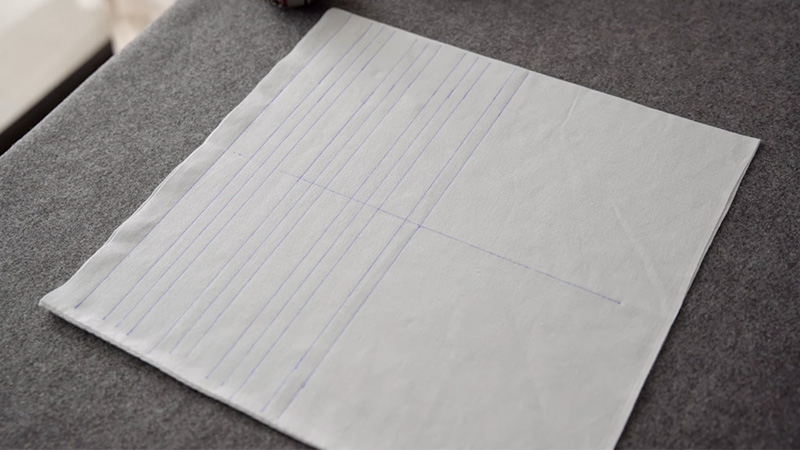
Get ready with your workspace. Use a sewing table and spread your fabric on it. Use a scissor to cut the fabric.
It’s wise to wash and iron the fabrics before you sew (for any projects). Regarding Sashiko embroidery, if you are working on a pillowcase or tablecloth, it is a must to iron and pre-wash the fabric. It will prevent shrinking and remove any dirt beforehand.
Step 2: Select and Trace Your Pattern
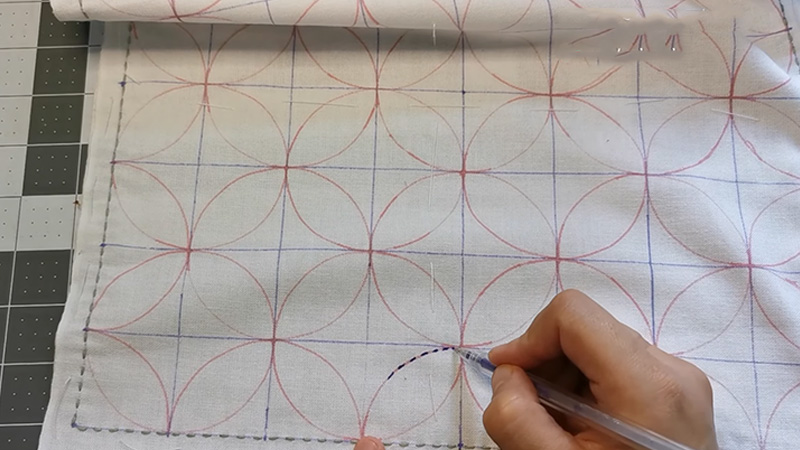
Sashiko patterns usually represent nature. They are repetitive and usually have interlocked lines, circles, squares, and triangles. This is why, traditional Sashiko patterns mostly include geometric shapes like waves, mountains, flowers, or clouds.
Decide on which Sashiko pattern you want to create. You can find them easily online or make your own. However, in case you want to discover something unique, we recommend creating your own design.
Next, use a fabric marker or chalk to trace the selected pattern onto the fabric. Each line should be clear and visible.
Step 3: Thread the Needle and Start Stitching
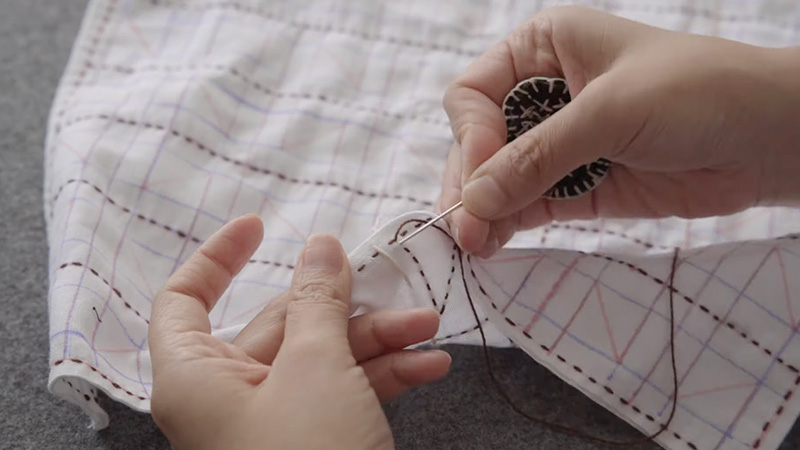
The serious part starts here. Cut a length of Sashiko thread, usually about 18-20 inches long. And, thread it through the Sashiko needle.
Begin at one end of your pattern, and insert the needle from the backside of the fabric to the front following the marked lines. Pull the thread through and leave a small tail on the backside.
Now, stitch along the marked lines with a running stitch. Insert the needle back down into the fabric along the line and don’t forget to space your stitches evenly.
You have to keep the stitches straight and maintain the same length. We keep the stitch length to 1/8 to 1/4 inch. Complete your embroidery with stitches along the marked line. When you reach the end of a thread, leave a small tail on the backside of the fabric and secure it with a knot.
In case you need to start a new thread, simply repeat the process, and start from the backside of the fabric.
Summary
This should do! You have finally mastered the art of Sashiko embroidery. But still, there’s a lot more to do to get to the expert level. Keep practicing and master more creative tricks of Sashiko. We will be here for you to guide.
Let us know in the comment section how it went for you the first time. We are happy to assist. Also, share our article with other creative minds around you and help us grow! We will come back soon.
Leave a Reply