Stenciling fabric is a captivating and versatile craft that allows you to transform ordinary textiles into personalized works of art. Whether you’re an experienced crafter or a newcomer to the world of DIY, fabric stenciling offers endless creative possibilities.
By following a few straightforward steps, you can adorn clothing, home decor, accessories, and more with your unique designs and patterns.
In this guide, we’ll walk you through the intricacies of stenciling fabric, from selecting the perfect materials and stencil designs to applying paint with precision.
Discover the joy of adding your personal touch to fabric surfaces and unlock a world of imaginative expression through the art of fabric stenciling.
What is Fabric Stenciling?
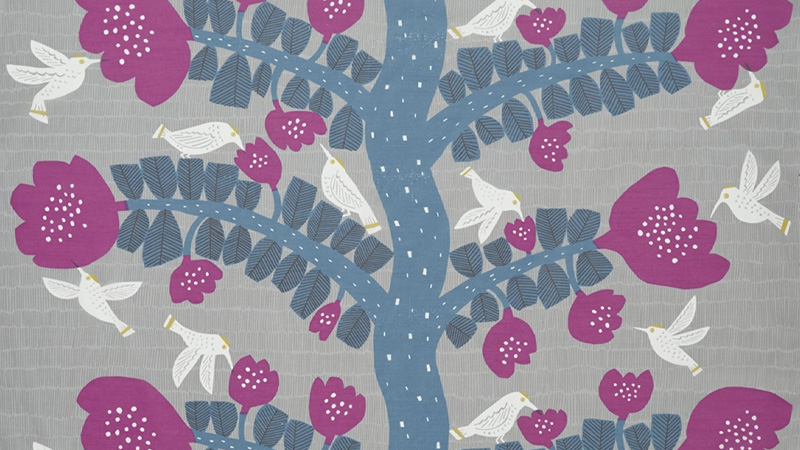
Fabric stenciling is a decorative art form that involves applying paint or dye through a stencil onto fabric surfaces. This technique allows for the creation of customized designs, patterns, or images on various fabric items like clothing, home decor, and accessories.
By carefully securing a stencil and using fabric-specific paint, individuals can achieve personalized and artistic results. Fabric stenciling offers a versatile means of adding creativity and flair to textiles.
How to Stencil Fabric? 10 Steps
Stenciling fabric is a delightful and creative way to add a personal touch to clothing, home decor items, and accessories. Whether you’re a crafting enthusiast or a DIY novice, stenciling fabric can be a fun and rewarding project.
Here’s a step-by-step guide on how to stencil fabric:
Step 1: Prepare Your Fabric
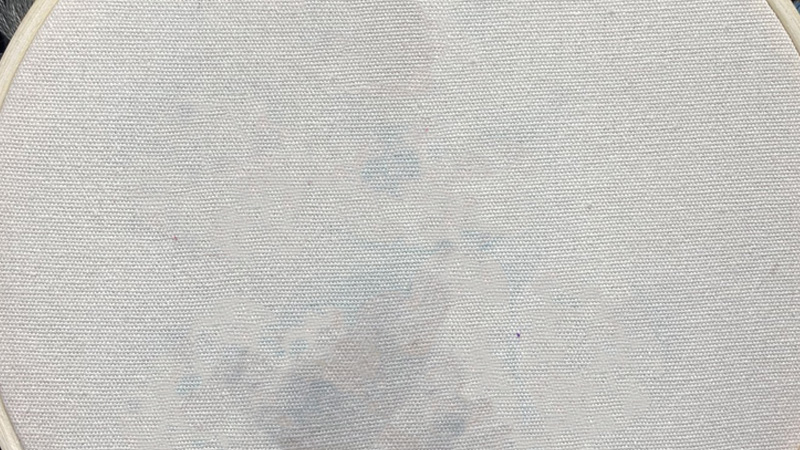
Begin by selecting your fabric and ensure it’s smooth and clean. Washing and ironing your fabric beforehand is essential to remove any dirt or wrinkles, providing you with a pristine canvas for your design.
Step 2: Choose Your Stencil
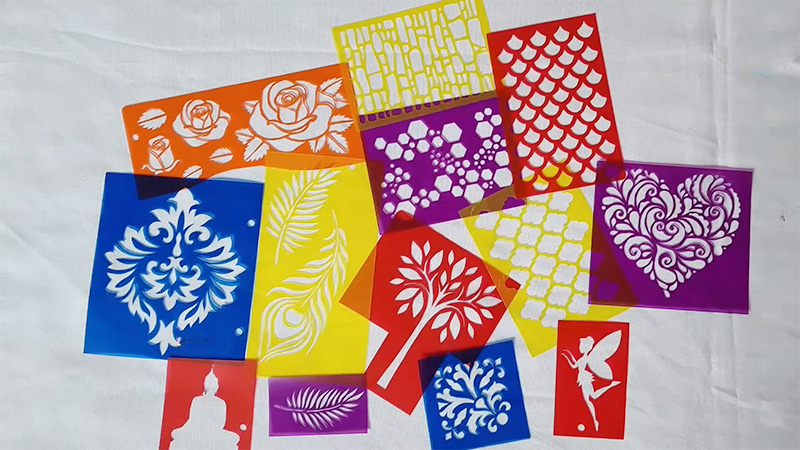
Next, choose a stencil that aligns with your creative vision. Stencils can be bought pre-made or crafted using materials like acetate, vinyl, or freezer paper.
Make sure your stencil includes bridges, small connecting elements that keep the stencil’s shape intact.
Step 3: Select the Right Paint
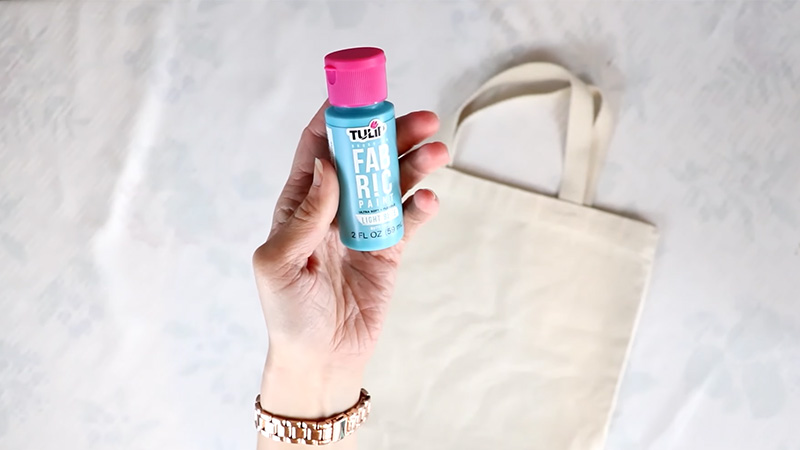
Select the appropriate fabric paint for your project. Fabric-specific paints like acrylic fabric paint or specialized fabric paint work best, as they adhere well to fabric and maintain color vibrancy.
If you have a specific color in mind, you can even mix paints to achieve your desired shade.
Step 4: Pick an Applicator
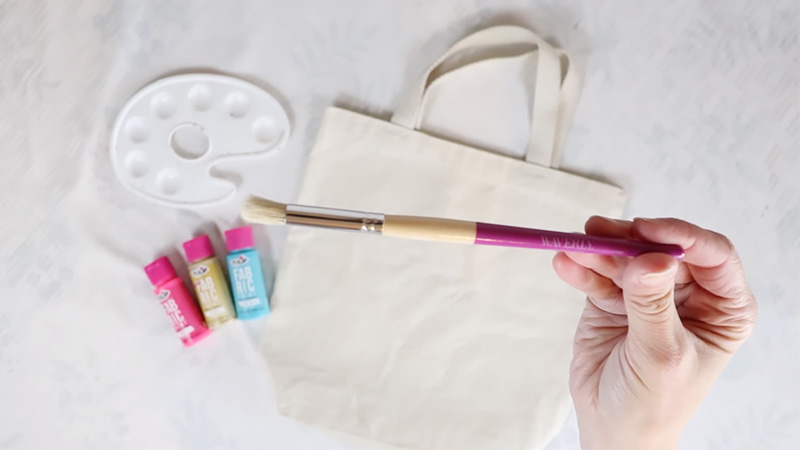
Your choice of applicator is crucial for achieving clean and precise stenciled results. Match the size and shape of your stencil with an appropriate applicator, such as stencil brushes, foam brushes, sponges, or even a piece of cardboard.
Ensure your applicator isn’t overly saturated with paint to avoid smudging.
Step 5: Prepare Your Workspace
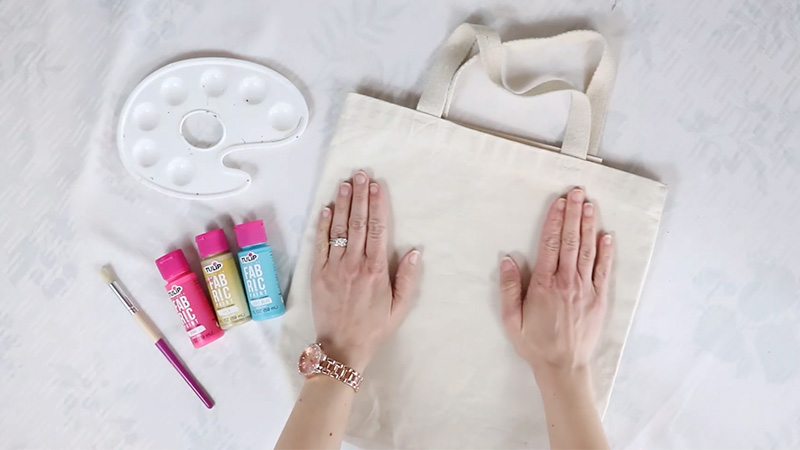
To safeguard your work surface and prevent paint from seeping through to the other side of the fabric, place a piece of cardboard or newspaper underneath the fabric.
Step 6: Secure the Stencil
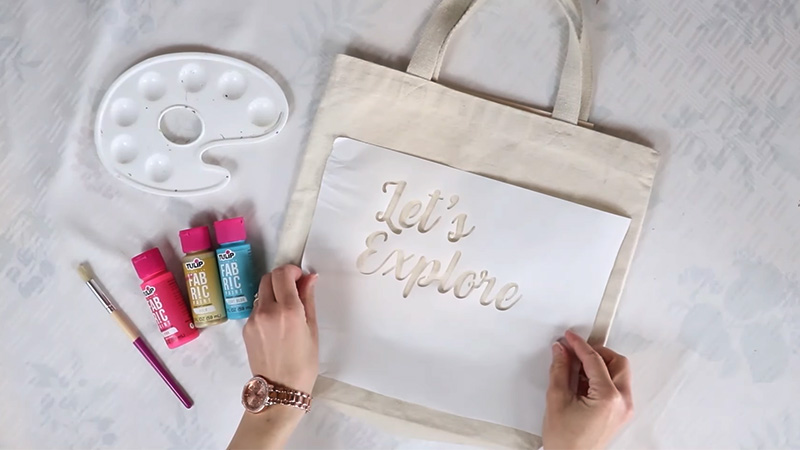
Depending on the stencil material you’re using, either tape or an iron can help secure it in place on the fabric. For freezer paper stencils, temporarily adhere them by ironing the shiny side onto the fabric.
Step 7: Apply the Paint
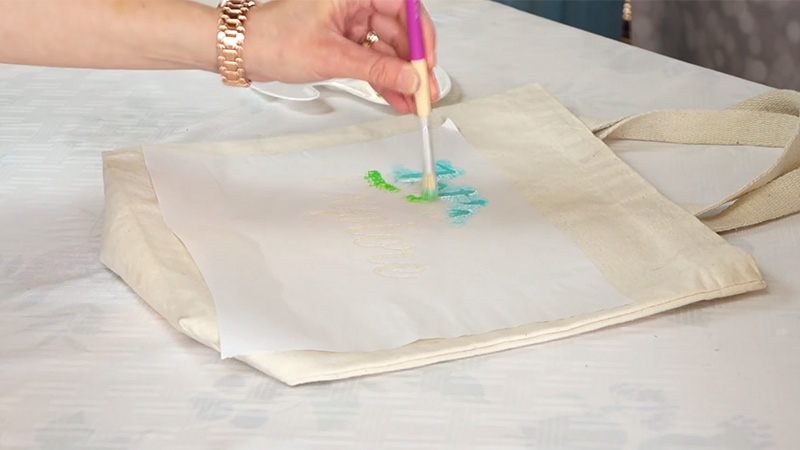
With your stencil secured in place, gently dab the fabric paint onto the stencil using your chosen applicator. Be cautious not to use excessive paint or apply too much pressure, as this may cause the paint to bleed under the stencil.
Begin at the edges of the stencil and work your way inward with light, even strokes. If you want a darker or more opaque color, consider applying multiple layers, allowing each layer to dry before adding the next.
Step 8: Remove the Stencil
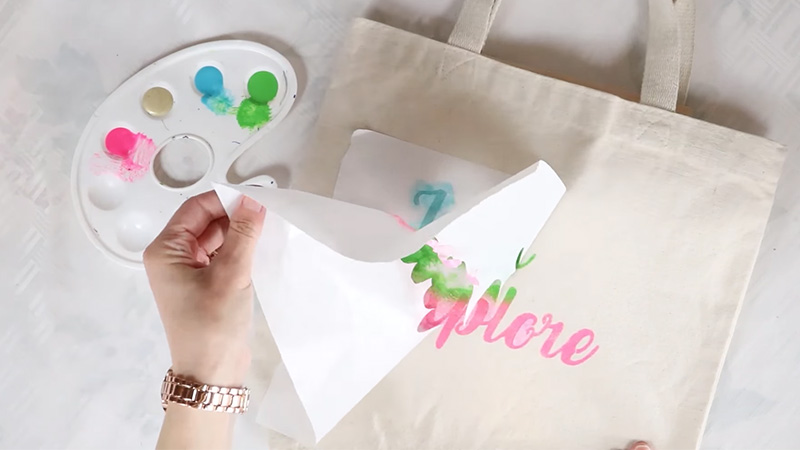
Once you’ve applied the paint to your satisfaction, carefully remove the stencil from the fabric. If you’re working with freezer paper stencils, peel them off slowly and gently.
For acetate or vinyl stencils, lift them with care and clean them with soap and water for future use.
Step 9: Heat Set the Paint
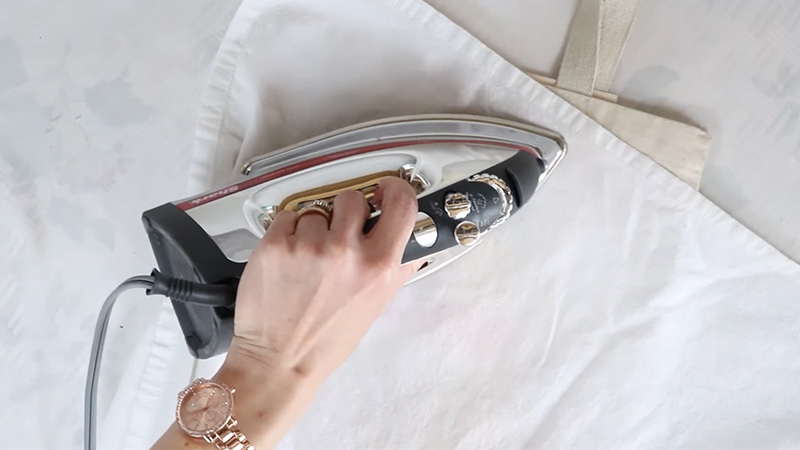
Enhance the durability and washability of your stenciled design by using an iron on the reverse side of the fabric for a few minutes. Be sure to follow the specific heat-setting instructions on the paint label for best results.
Step 10: Enjoy Your Stenciled Fabric
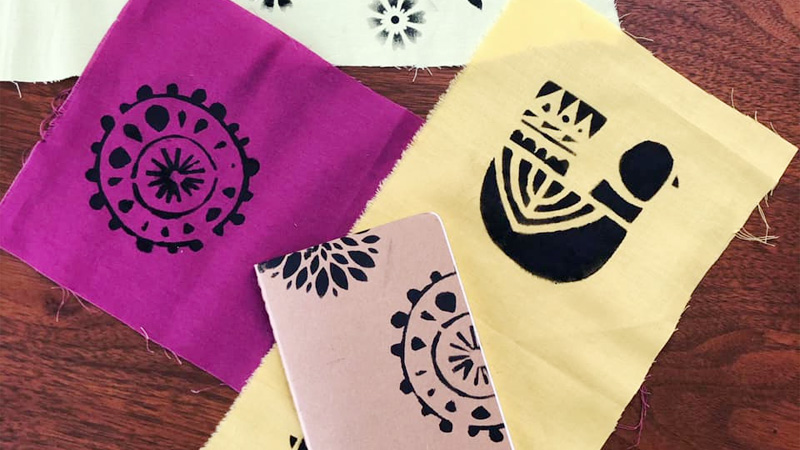
After the paint has fully dried, your stenciled fabric is ready to be incorporated into your creative projects. Whether you’re crafting custom clothing, stylish accessories, unique home decor, or thoughtful gifts, your stenciled fabric will infuse a personalized and artistic touch into your creations.
What Kind of Paint Do You Use to Stencil on Fabric?
When stenciling on fabric, it’s essential to use paint that is specifically designed for fabric to ensure good adhesion, flexibility, and washability.
There are two primary types of paint commonly used for fabric stenciling:
Acrylic Fabric Paint
Acrylic fabric paint is a versatile choice for fabric stenciling. It offers a broad color palette and various finishes, adheres well to fabric, and suits multiple fabric types.
Its vibrant, durable colors make it popular among crafters. Acrylic fabric paint can be diluted for transparency or mixed with a textile medium for enhanced washability and flexibility.
This flexibility and availability make it a common and practical option for fabric stenciling projects.
Specialized Fabric Paint
Specialized fabric paint is tailored for fabric stenciling. Engineered to bond effectively with fabric fibers, it maintains flexibility after drying and resists fading and cracking.
Available in matte, metallic, and glitter finishes, it provides creative versatility. Some specialized fabric paints require no heat setting, simplifying the process.
Ideal for projects subject to washing or wear, specialized fabric paint offers durability and an array of artistic possibilities, making it a top choice for fabric stenciling endeavors.
How Do You Paint a Fabric Stencil Without Bleeding?
Painting a fabric stencil without bleeding requires careful technique and attention to detail. Bleeding occurs when paint seeps under the stencil edges, resulting in fuzzy and imprecise lines.
To achieve clean and crisp stencil results on fabric, follow these tips:
Choose the Right Fabric
Start by selecting a fabric with a tight weave and minimal stretch, as these qualities reduce the chances of bleeding. Fabrics like cotton, linen, and canvas work well.
Prepare the Fabric
Ensure the fabric is clean and free of wrinkles. Washing and ironing the fabric beforehand will provide a smooth and even surface for your stencil.
Secure the Stencil
Properly adhere the stencil to the fabric to prevent paint from seeping underneath. You can use stencil adhesive, painter’s tape, or temporarily attach the stencil with an iron (for freezer paper stencils).
Choose the Right Paint
Opt for fabric-specific paints, such as acrylic fabric paint or specialized fabric paint. These paints are formulated to adhere to fabric and resist bleeding.
Minimal Paint on the Applicator
Dip your stencil brush, foam brush, or sponge lightly into the paint. Avoid overloading it with paint, as excess paint can lead to bleeding.
Blot and Dab, Don’t Brush
When applying paint, use a blotting or dabbing motion rather than brushing. This technique minimizes the chances of pushing paint under the stencil.
Start From the Edges
Commence stenciling from the outer edges of the stencil design and work your way toward the center. This approach prevents excess paint from accumulating along the stencil edges.
Layering Technique
If you desire a darker or more opaque color, apply multiple thin layers of paint, allowing each layer to dry before adding the next. This helps maintain clean lines and reduces bleeding.
Stencil Removal
Carefully remove the stencil while the paint is still wet. Peel it away slowly and gently to avoid smudging the design.
Heat Set the Paint
Enhance the durability of your stenciled design by using an iron on the reverse side of the fabric for a few minutes. Follow the paint manufacturer’s specific heat-setting instructions.
Practice and Patience
Stenciling on fabric may take some practice to perfect your technique. Don’t be discouraged by initial imperfections; with practice, you’ll achieve cleaner and more precise results.
FAQs
What materials do I need for fabric stenciling?
For fabric stenciling, you’ll need fabric, stencils, fabric paint, applicators (brushes or sponges), and a protected workspace, along with an iron for heat-setting.
Can I stencil on any type of fabric?
While possible on most fabrics, natural fibers like cotton and linen work best due to their absorbency, allowing for cleaner stenciled results.
Are there any specific stencil designs that work better for beginners?
Simple and large stencil designs with fewer intricate details are better for beginners. Gradually progress to more complex designs as your stenciling skills improve.
What are some creative fabric stenciling project ideas?
Fabric stenciling offers endless creativity: try custom T-shirts, decorative pillows, table linens, tote bags, personalized baby onesies, kitchen towels, or even stenciled wall art for a start.
Can I reuse stencils, and how should I clean and store them?
Yes, you can reuse stencils. Clean them immediately after use with soap and water. Store them flat or rolled to prevent warping or damage.
To Recap
Fabric stenciling is a captivating craft that empowers you to infuse your artistic vision into everyday textiles. With the right materials, techniques, and a dash of creativity, you can transform plain fabrics into bespoke masterpieces.
From personalized clothing that tells your story to custom home decor items that elevate your living space, the possibilities are boundless. As you’ve learned in this guide, proper preparation, stencil selection, and paint application are key to achieving stunning results.
So, whether you’re a seasoned crafter or just beginning your creative journey, embrace the art of fabric stenciling. It’s a fulfilling and rewarding endeavor that allows you to add a unique and artistic touch to your world of textiles.
Leave a Reply