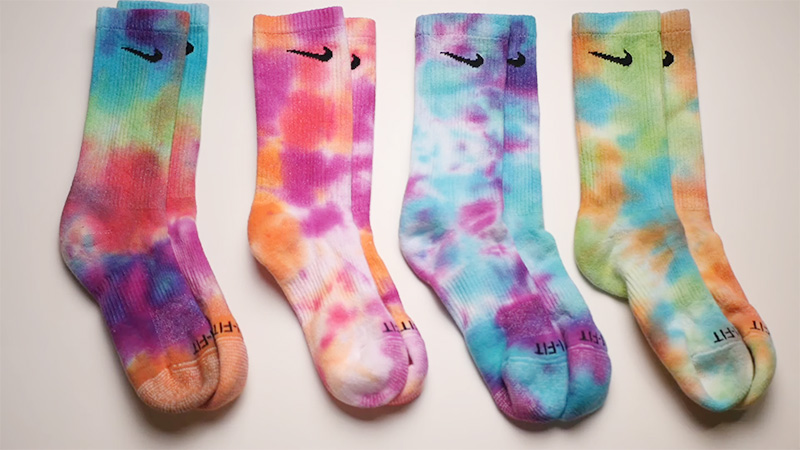
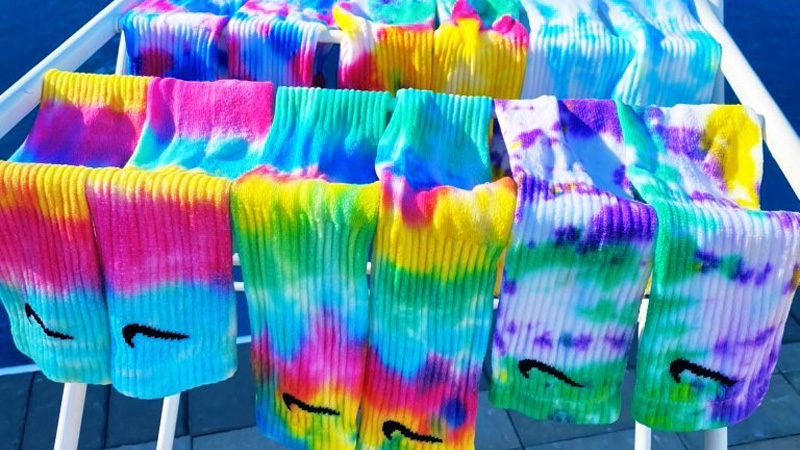
Tie-dyeing socks are a fun and creative way to add a pop of color to your wardrobe. This popular DIY technique allows you to transform plain, ordinary socks into vibrant, eye-catching accessories.
Whether you’re looking to make a fashion statement, express your individuality, or simply enjoy a crafty project, tie-dyeing socks are a fantastic choice.
So, how to tie dye socks? In this guide, we’ll take you through the colorful journey of tie-dyeing socks, transforming your plain footwear into eye-catching masterpieces.
Whether you’re looking to revamp your old socks or add a touch of individuality to new ones, tie-dyeing is a simple, enjoyable, and versatile way to achieve a unique look.
So, gather your materials, unleash your inner artist, and let’s get started on this tie-dye adventure for your feet. Your vibrant, handcrafted socks are just a few steps away from becoming your new fashion statement!

How to Tie Dye Socks?
Here, we’ll take you through the steps of how to tie-dye socks, from selecting the right materials to creating eye-catching patterns. Let’s get started.
Pre-Wash the Socks and Prepare the Dye
Start by washing your socks to remove any sizing or residues that might prevent the dye from properly adhering to the fabric. Dry them completely before dyeing.
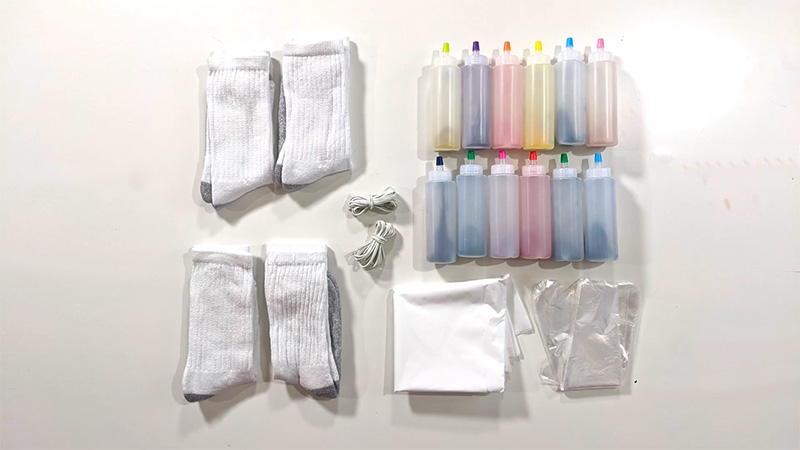
Follow the manufacturer’s instructions to prepare the fabric dye. Mix the dye in plastic buckets or containers, ensuring that the dye is well dissolved.
Create Your Dye Patterns
There are various tie-dye patterns you can create on your socks. Some popular patterns include the spiral, bullseye, and stripes. Here’s how to create a simple spiral pattern.
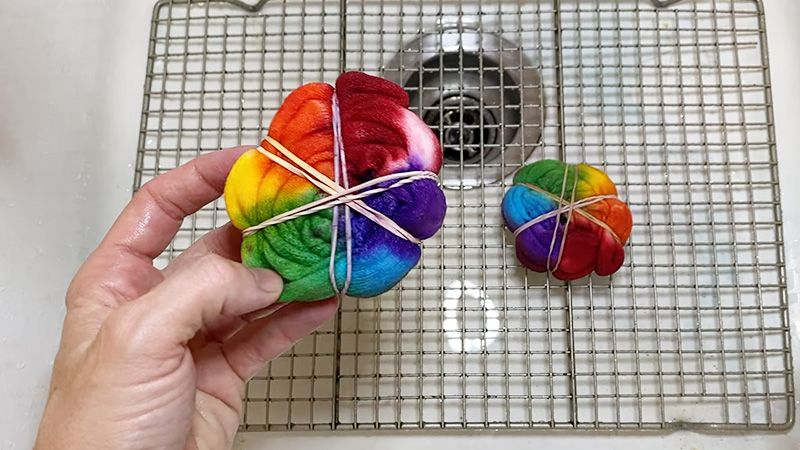
Lay the sock flat on your work surface. Pinch the center of the sock and twist it into a spiral shape. Use rubber bands to secure the sock in this spiral shape.
Apply the Dye
Wearing gloves, use the plastic squeeze bottles to apply the dye to your spiral-patterned socks. Be creative with your color choices and apply the dye in different sections for a multicolored effect.
Wrap in Plastic
After applying the dye, place each sock in a plastic bag or wrap them in plastic wrap. This helps keep the socks damp and allows the dye to set. Let them sit for the recommended time according to the dye instructions, usually several hours.
Rinse and Wash
After the dye has been set, carefully remove the rubber bands and rinse the socks under cold running water until the water runs clear. Gradually increase the water temperature to warm and then hot. This will help set the colors further.
Wash Separately
Wash the socks separately in cold water with a mild detergent to remove any excess dye. It’s essential to wash them separately to prevent the dye from bleeding onto other clothing items.
After washing, allow the socks to air dry or machine dry them according to the care label. Once dry, your vibrant, tie-dyed socks are ready to wear!
Tips for Successful Tie-Dyeing

Tie-dyeing socks are a fantastic way to infuse your wardrobe with colorful and playful patterns. Whether you’re personalizing your socks or creating unique gifts for friends and family, tie-dyeing is an enjoyable and creative process.
To help you make the most of your tie-dyeing adventure, here are some valuable tips for achieving stunning results:
Experiment with Colors
Embrace your inner artist and get creative with your color combinations. Don’t be afraid to mix and match different dye colors to create one-of-a-kind patterns. The beauty of tie-dye is in its unpredictability, so don’t hold back when selecting your colors.
Tie-Dye Techniques
Tie-dyeing offers a world of possibilities when it comes to creating patterns. Explore various techniques such as crumpling, folding, and scrunching your socks. Each method yields unique results, so try them all to discover your favorites.
Precision Matters
The level of precision you employ while applying the dye directly impacts the final look of your tie-dye socks. If you desire distinct patterns and sections, apply the dye carefully and with restraint. However, if you prefer a more blended and colorful appearance, feel free to apply the dye more liberally.
Safety Precautions
Before diving into your tie-dye project, it’s essential to prioritize safety. Ensure you’re working in a well-ventilated area to minimize exposure to fumes.
Additionally, follow safety precautions when handling fabric dyes, which include wearing gloves and an apron to protect your hands and clothing.
Clean Up
Tie-dyeing can get messy, so make sure to promptly clean up any dye spills or drips to prevent stains on your work surface. It’s easier to clean while the dye is still wet, so have some cleaning supplies ready just in case.
Tie-dyeing is a wonderful way to express your creativity and add a pop of color to your wardrobe. With these tips in mind, you’ll be well-prepared to embark on your tie-dyeing journey and produce socks that are as vibrant and unique as your imagination allows.
Whether it’s better to tie-dye wet or dry depends on your specific tie-dyeing goals and the techniques you plan to use. Both methods have their advantages and can yield different results, so the choice ultimately comes down to the effect you want to achieve.
Tie-Dyeing Wet Fabric

Tie-dyeing wet fabric, whether it’s pre-wet socks or other items, has several advantages:
Improved Dye Absorption
Wet fabric readily absorbs the dye, resulting in brighter and more vibrant colors. If you’re aiming for intensely saturated hues, tie-dyeing wet fabric is the way to go.
Color Blending
Pre-wetting fabric can facilitate the blending of dye colors. This is particularly useful if you want smoother color transitions and gradients in your design. It’s great for creating pastel or blended color effects.
Randomized Patterns
In some tie-dye techniques, like the crumple or scrunch method, pre-wetting the fabric encourages the dye to spread more evenly. This can lead to a more randomized and abstract pattern, which is desirable for certain tie-dye styles.
Tie-Dyeing Dry Fabric
Tie-dyeing dry fabric also offers unique benefits:
Sharp Contrast
If you want a tie-dye pattern with distinct lines and well-defined sections of color, working with dry fabric is the way to go. Dry fabric prevents the dye from bleeding or spreading too much, allowing you to achieve precise and segmented designs.
Design Control
Dry fabric provides greater control over where and how you apply the dye. This is important if you’re using specific tie-dye techniques that require precise placement of colors, such as the bullseye or mandala patterns.
Dye Concentration
Dry fabric can help maintain the concentration of dye in specific areas, resulting in bolder and more pronounced patterns. This is particularly advantageous if you want vibrant, high-contrast designs.
Is It Better to Tie-Dye Wet or Dry?

Choosing the Right Method
When it comes to the art of tie-dyeing, selecting the appropriate method, whether it’s working with wet or dry fabric, can significantly impact the final look of your creation. Here are some key considerations to guide your decision:
Dye Effect
The choice between wet or dry fabric influences the dye’s effect on your material. Wet fabric tends to absorb the dye more evenly, resulting in blended and saturated colors that flow into one another.
Conversely, dye applied to dry fabric often leads to bolder, more defined patterns, as it remains where it’s initially placed.
Tie-Dye Techniques
The tie-dye techniques you plan to use play a pivotal role in deciding between wet and dry fabric. Some techniques, like the classic spiral or crumple, work best with wet fabric.
This is because the dye can effortlessly penetrate the material, creating a harmonious, flowing design. On the other hand, techniques that involve precise folds and pleats often require dry fabric to maintain their sharpness and clarity.
Pattern Style
Consider the style of pattern you wish to achieve. If your goal is a freeform, abstract design with colors blending seamlessly into one another, working with wet fabric is an excellent choice.
It allows for a fluid and organic appearance. However, if you’re aiming for patterns with sharp contrasts, distinct lines, and a more geometric feel, then dry fabric may be the better canvas for your vision.
Experiment
Tie-dyeing is an art form that encourages creativity and experimentation. The best way to determine which method suits your project is to try both. By experimenting with wet and dry fabric, you can witness firsthand how each method affects the outcome.
This hands-on experience will help you understand the nuances and subtleties of tie-dyeing, allowing you to make informed choices based on your artistic preferences.
FAQs
Is it necessary to wash socks before tie-dyeing?
Yes, it’s a good practice to wash socks before tie-dyeing. This helps remove any sizing, residues, or contaminants from the fabric, ensuring that the dye adheres properly. Make sure the socks are dry before starting the tie-dye process.
What type of dye should I use for tie-dyeing?
You can use fabric dye, which is specifically designed for tie-dyeing and provides vibrant and long-lasting results. There are both liquid and powdered fabric dyes available in various colors.
How do I prevent colors from bleeding in tie-dye projects?
To prevent colors from bleeding or mixing, it’s important to rinse the dyed items thoroughly until the water runs clear. Wash the dyed items separately in cold water with a mild detergent to remove excess dye.
Can I tie-dye dark-colored socks?
While tie-dyeing is most commonly done on white or light-colored fabrics, you can attempt tie-dyeing dark-colored socks. Keep in mind that the dye colors may not appear as vivid on dark fabric, and you may achieve more subtle, earthy tones.
Can I tie-dye socks with patterns or logos on them?
Tie-dyeing over socks with existing patterns, logos, or designs can be done, but it may affect the overall appearance of your tie-dye project. The original patterns or logos may show through the tie-dye design or create unique visual effects. Consider this when choosing socks for tie-dyeing.
Conclusion
Tie-dyeing socks are not only a creative and enjoyable craft but also a fantastic way to add a burst of color and personality to your footwear. The vibrant and unique patterns you can achieve through tie-dyeing make your socks stand out and become a fun fashion statement.
As you’ve learned in this guide, the process is straightforward and open to endless possibilities. Whether you prefer bold and bright colors or a more subtle, pastel look, tie-dyeing allows you to express your individuality through your socks.
So, let your imagination run wild, gather your materials, and dive into the world of tie-dye socks. Experiment with different dyeing techniques, color combinations, and patterns to create socks that reflect your style and make every step a colorful adventure.
Your vibrant, handcrafted socks are sure to bring joy and a splash of personality to your everyday wardrobe.
Leave a Reply