Discover the captivating art of painting with tape on canvas, a technique that allows for striking precision and clean lines in your creations.
By strategically applying painter’s tape, you’ll achieve geometric shapes, intricate patterns, and defined edges with ease.
This guide unveils the steps and expert tips to master this versatile method. From choosing the right tape to executing intricate designs, we’ll navigate you through the process.
Unleash your creativity as you explore the seamless integration of tape and paint, opening a world of possibilities for your artistic expression on canvas. Elevate your artwork with this dynamic and visually stunning technique.
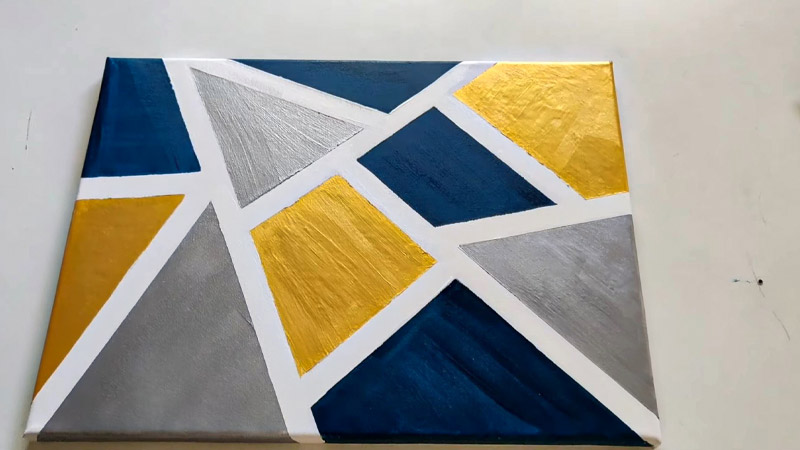
How to Paint With Tape on Canvas? 9 Steps
Painting with tape on canvas is a creative technique that allows you to create clean and precise lines in your artwork.
It’s commonly used in abstract art, geometric designs, and other styles where sharp edges and defined shapes are desired.
Here’s a step-by-step guide on how to paint with tape on canvas:
Materials You’ll Need:
- Canvas
- Paint (acrylic or oil)
- Paintbrushes
- Painter’s tape or masking tape
- Pencil
- Ruler or straightedge
- Palette or disposable palette paper
- Paper towels or rags
- Water or solvent (depending on your paint type)
- Easel (optional)
Step 1: Prepare Your Workspace

Set up your workspace in a well-lit area with good ventilation. Lay down a drop cloth, newspaper, or plastic sheeting to protect your work surface from any accidental spills or splatters.
Ensure all your materials are within easy reach, organized, and ready to use. If you’re using an easel, adjust it to a comfortable height and angle.
Step 2: Plan Your Design
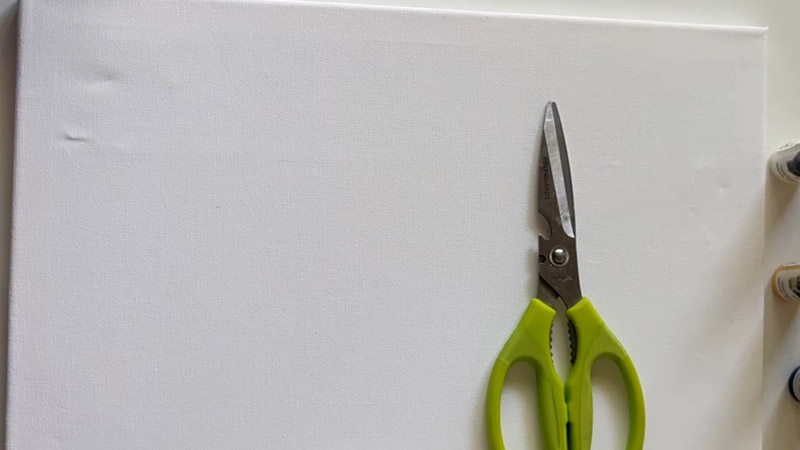
Take some time to refine your design idea. Consider the placement of shapes, the overall composition, and how the colors will interact.
Use a pencil and ruler to lightly sketch out the design on the canvas. This initial sketch serves as a guideline for applying the tape.
Step 3: Apply the Tape
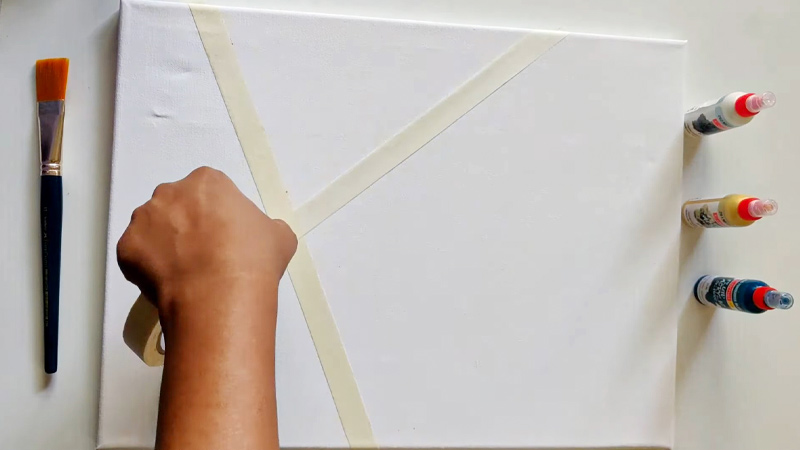
Begin applying the painter’s tape or masking tape along the edges of the shapes you’ve sketched. Press down firmly to ensure the tape adheres well to the canvas.
For curved lines or intricate shapes, you may need to cut the tape into smaller pieces and carefully align them to achieve the desired effect. Take your time to get clean, precise lines.
Step 4: Mix Your Paint
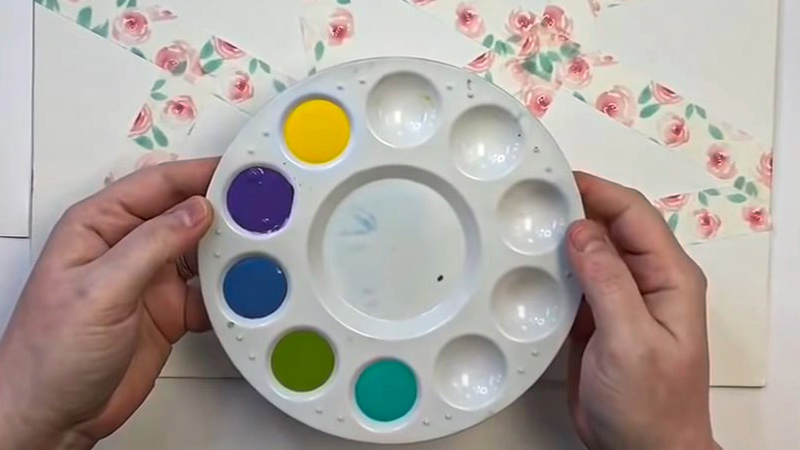
Prepare your paint colors on a palette, arranging them in a way that facilitates easy access while you work. If you’re using acrylics, you can adjust the opacity and consistency by adding water.
Experiment with different brush sizes and types to achieve various textures and effects.
Step 5: Start Painting
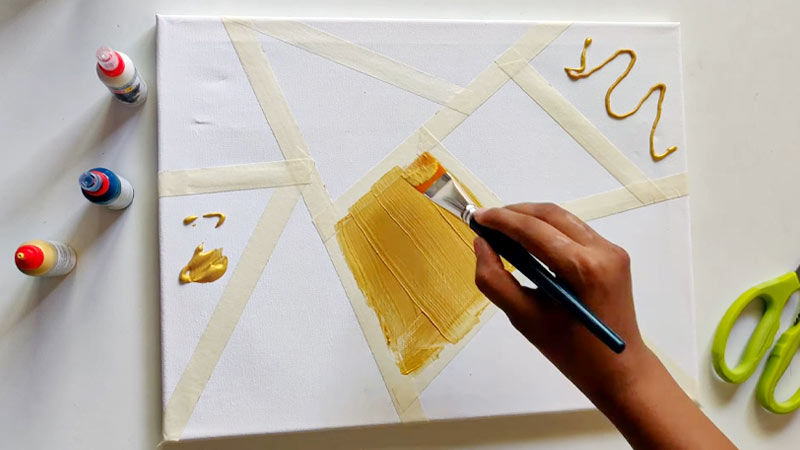
Begin applying the paint within the taped-off areas. Consider using different techniques such as stippling, glazing, or dry brushing to create interesting textures.
Pay attention to the color choices and how they interact with one another. Take your time and allow the layers to dry between applications if you’re using multiple coats.
Step 6: Allow the Paint to Dry
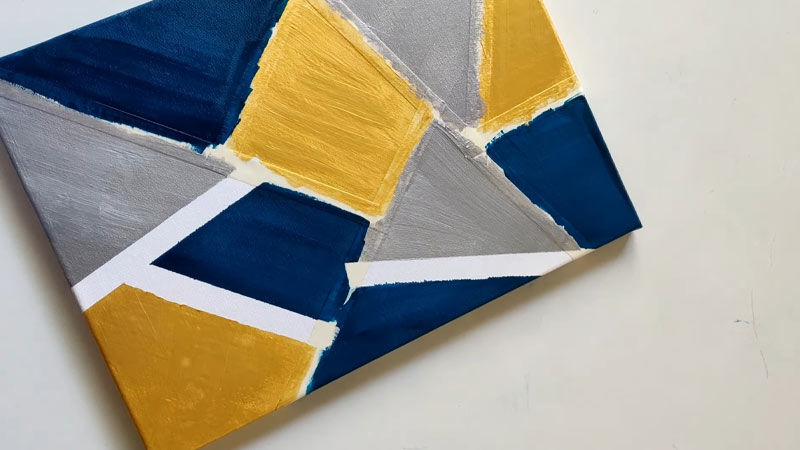
Patience is crucial in this step. Depending on the thickness of the paint, drying times can vary.
Acrylics generally dry faster than oils, but factors like humidity and temperature can influence drying times. Avoid touching the painted areas to prevent smudging.
Step 7: Remove the Tape
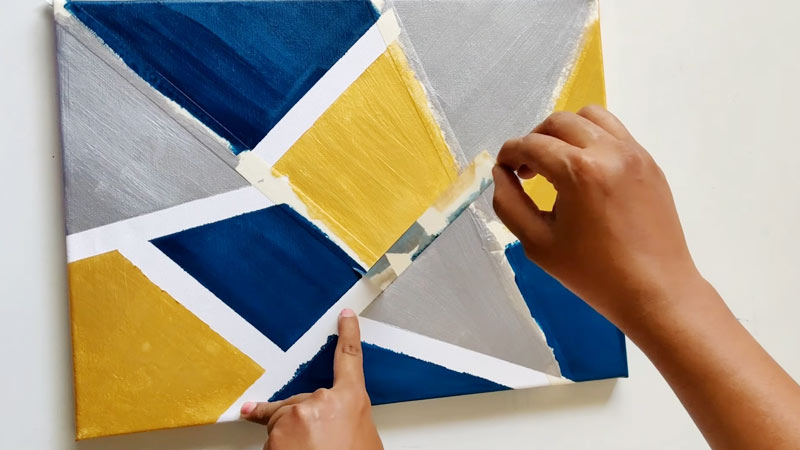
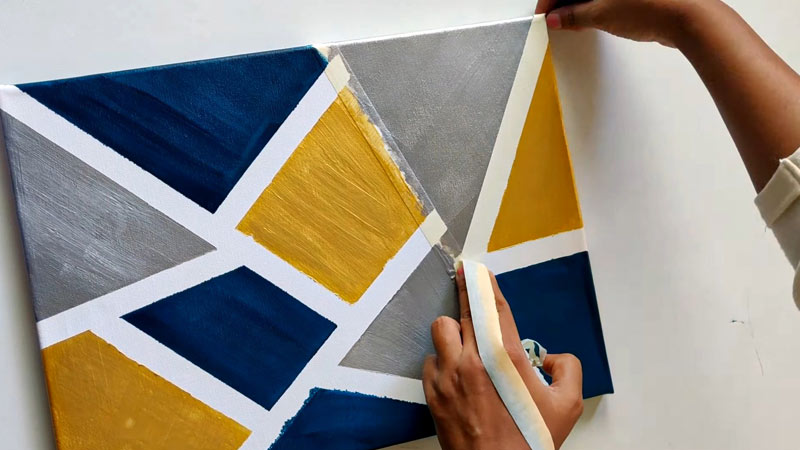
Once the paint is thoroughly dry, carefully and slowly peel off the tape. To ensure clean lines, pull the tape back on itself at a slight angle.
Take your time and be gentle to avoid damaging the canvas or lifting any paint. The reveal of the clean, sharp lines can be a gratifying moment in the process.
Step 8: Touch Up
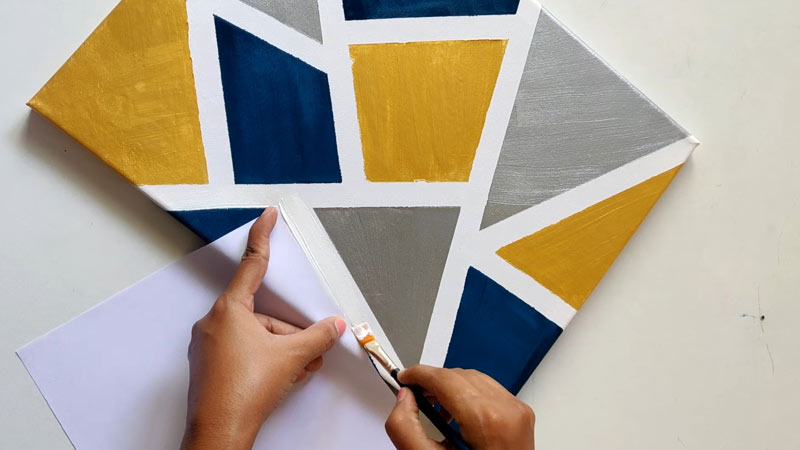
Examine your artwork for any areas that may need adjustments. Use a fine brush and matching paint colors to correct any imperfections or uneven edges.
This step allows you to fine-tune the details and ensure a polished finish.
Step 9: Seal the Artwork (Optional)
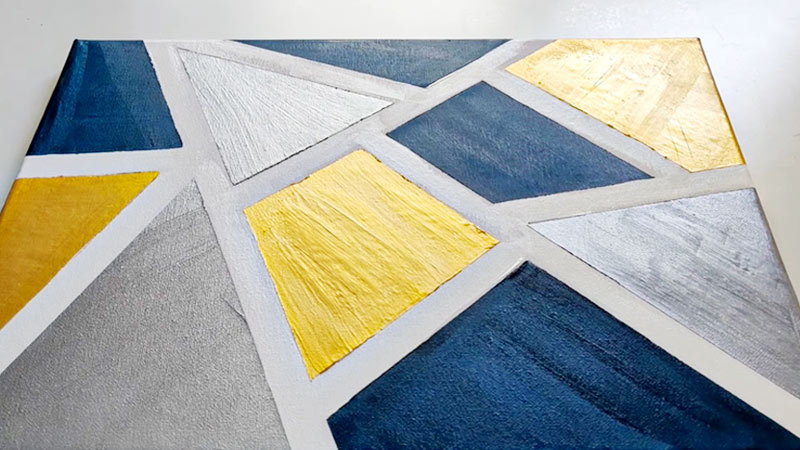
If you want to protect your artwork and enhance its longevity, consider applying a clear varnish or sealer.
This step is especially important if you’re using acrylic paints, as it provides an additional layer of protection.
What Tapes to Use for Canvas Painting?
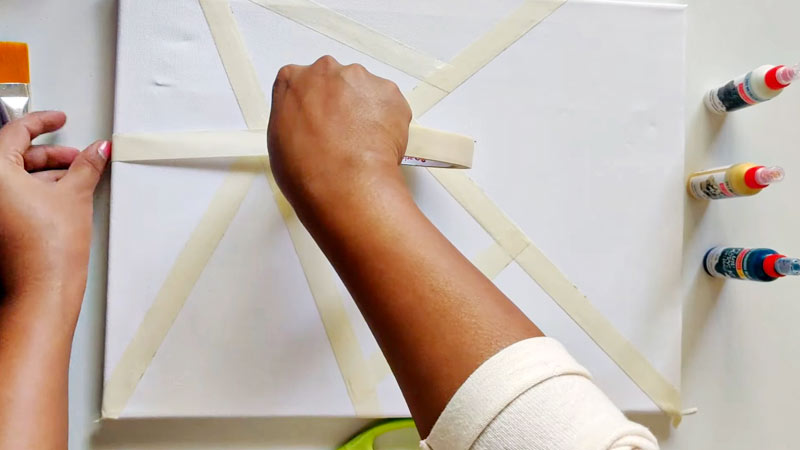
Choosing the right tape for canvas painting is important to ensure that your artwork turns out as intended and that you don’t damage the canvas during the process.
Here are some types of tapes for canvas painting:
Painter’s Tape
These are the most commonly used tapes for canvas painting. They are designed to be easily removable without leaving residue or damaging the surface.
However, not all painter’s tapes are created equal, so make sure to choose a high-quality brand to minimize the risk of paint bleed and damage.
Low-Tack Adhesive
Look for tapes with low-tack adhesive. Low-tack adhesive is less likely to damage the canvas surface or lift paint when removed.
Test a small piece of tape on your canvas before starting your artwork to ensure it doesn’t adhere too strongly.
Width and Thickness
Consider the width and thickness of the tape you plan to use. Thicker tapes may be more durable and provide cleaner lines, but they can also be more challenging to conform to curved or intricate shapes. Choose a width that suits your design needs.
Removability
Some tapes are designed specifically for delicate surfaces. These tapes are often labeled as “delicate surface” or “fine line” tapes. They are less likely to damage the canvas and are ideal for intricate designs.
Adhesion Time
Check the tape’s packaging for information on how long it can be left in place without damaging the canvas or leaving residue.
Some tapes are meant for short-term use and should be removed promptly after painting, while others are suitable for longer-term masking.
Temperature and Humidity
Consider the environmental conditions in your workspace. High humidity or extreme temperatures can affect the adhesion and performance of tape. Make sure the tape you choose is appropriate for your working conditions.
Compatibility with Paint Type
Some tapes may not adhere well to certain paint types. For example, oil-based paints can be more challenging to work with than acrylics, so ensure that the tape you choose is compatible with the paint you plan to use.
Testing
Before applying tape to your canvas, it’s a good idea to test it on a small, inconspicuous area of the canvas or a test canvas if available. This helps you assess how well the tape adheres and how easily it can be removed without causing damage.
Tape Application
Apply the tape carefully and firmly to the canvas, ensuring that it adheres well along the edges. Smooth down the tape to prevent paint from seeping underneath.
Remove Promptly
Remove the tape as soon as possible after you’ve finished painting in the taped-off areas. Waiting too long can make tape removal more difficult and increase the risk of damage.
How Do You Remove Tape Residue From Your Canvas?
Removing tape residue from your canvas can be done effectively with the right materials and techniques.
Here’s a step-by-step guide on how to remove tape residue from your canvas without damaging the artwork:
Materials You’ll Need:
- Goo Gone or similar adhesive remover
- Cotton balls or soft cloth
- Mild dish soap
- Warm water
- Paper towels
- Soft brush
- Clean, lint-free cloth
Test in an Inconspicuous Area
Before applying any adhesive remover, it’s essential to test it in an inconspicuous area of the canvas to ensure it won’t damage the paint or canvas material.
If the paint or canvas reacts negatively to the adhesive remover, consider using a milder solution or consulting with a professional art conservator.
Apply Adhesive Remover
Dampen a cotton ball or soft cloth with an adhesive remover like Goo Gone. Gently blot or rub the tape residue with the cloth.
Avoid scrubbing too vigorously, as this could damage the paint or canvas. Let the adhesive remover sit on the residue for a few minutes to soften it.
Gently Rub the Residue
After letting the adhesive remover sit, gently rub the tape residue with a soft cloth, cotton ball, or a soft brush if needed. Use a gentle, circular motion. The adhesive should start to lift off the canvas.
Remove Residue
Wipe away the loosened adhesive residue with a paper towel or another clean cloth. Be patient and continue this process until you’ve removed as much residue as possible. If some residue remains, repeat steps 2 and 3 until it’s gone.
Clean the Area
To ensure there’s no leftover adhesive remover on the canvas, mix a small amount of mild dish soap with warm water.
Dampen a clean cloth with soapy water and gently wipe the area where you removed the residue. This will help remove any remaining adhesive remover.
Rinse and Dry
Dampen another clean cloth with plain water and use it to wipe away any soap residue from the canvas. Ensure the canvas is clean and free of any cleaning agents. Pat the canvas dry with a paper towel or clean cloth.
Final Inspection
Inspect the canvas to ensure that all the tape residue is gone and that no damage has occurred during the cleaning process. If you notice any lingering residue or damage, consider seeking professional advice from an art conservator.
FAQS
What type of tape is best for painting on canvas?
High-quality painter’s tape or masking tape with low-tack adhesive is recommended. It adheres well without damaging the canvas when removed.
How do I prevent paint from bleeding under the tape?
Ensure the tape is applied firmly and evenly along the edges. You can also seal the edges with a thin layer of the background color before painting.
Can I reuse the tape for multiple paintings?
It’s generally best to use fresh tape for each painting to ensure clean lines. Reused tape may have reduced adhesion.
Can I use this technique with different paint types (acrylic, oil, etc.)?
Yes, you can use this technique with various paint types. Just be sure to choose a tape compatible with the specific paint you’re using.
How long should I wait before removing the tape after painting?
It’s recommended to remove the tape as soon as you’ve finished painting the taped-off areas to prevent it from sticking too firmly or causing damage.
To Wrap Up
The art of painting with tape on canvas offers a unique avenue for creativity, precision, and visual impact.
By following the steps and tips outlined in this guide, you can achieve clean, defined lines and intricate designs that enhance your artistic endeavors.
This technique allows you to experiment with shapes, patterns, and textures, resulting in striking and personalized artwork.
Whether you’re a seasoned artist or a beginner, the fusion of tape and paint on canvas offers boundless possibilities for self-expression.
Embrace this artistic journey, and let your imagination soar as you explore the endless potential of tape as a tool in your creative arsenal.
Leave a Reply