Sewing vinyl by hand is a skill that opens up a world of creative possibilities. This versatile material, known for its durability and water resistance, is often used for crafting bags, wallets, and even upholstery.
However, working with vinyl requires a different approach than traditional fabrics. With the right techniques and tools, you can achieve professional-grade results.
From selecting the appropriate needles and threads to mastering stitching methods, this guide will walk you through the steps to sew vinyl by hand.
Whether you’re a seasoned seamstress or a beginner, this process allows you to craft unique, long-lasting items with a modern edge.
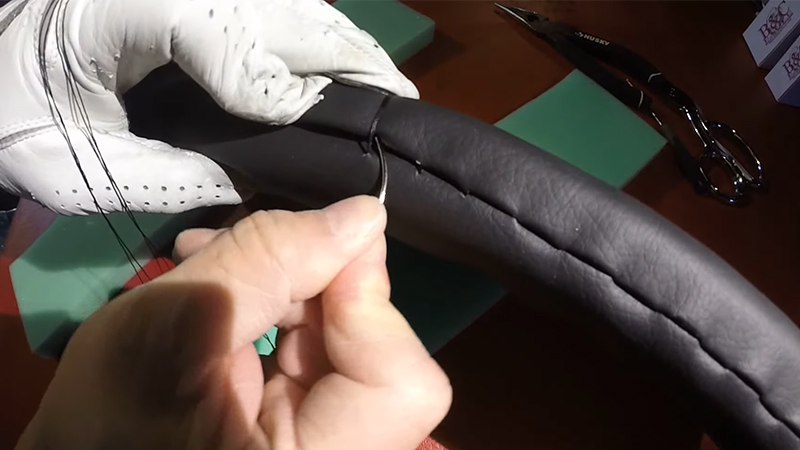
What Is Vinyl in Sewing?
In sewing, vinyl refers to a synthetic material made from polyvinyl chloride (PVC) resin. It is known for its durability, water resistance, and versatility. Vinyl comes in various thicknesses and finishes, including glossy, matte, and textured surfaces.
It is commonly used for crafting items like bags, wallets, raincoats, and even upholstery. Due to its unique properties, working with vinyl requires specialized techniques and tools.
This includes using heavy-duty needles like leather needles and employing heavy-duty thread for added strength. Additionally, clips or specialized pins are used instead of traditional pins to avoid leaving permanent holes.
Vinyl is an excellent choice for projects that require a material capable of withstanding wear and tear while providing a sleek, modern aesthetic.
How to Sew Vinyl by Hand? 10 Steps
Sewing with vinyl can be a bit different than working with other fabrics due to its unique properties. It’s durable, water-resistant, and often used for items like bags, wallets, and even upholstery.
Here’s a step-by-step guide on how to sew vinyl by hand:
Materials You’ll Need:
- Vinyl fabric
- Sharp, heavy-duty needles
- Heavy-duty thread
- Sewing pins or clips
- Fabric marker or chalk
- Ruler or measuring tape
- Scissors
- Paper clips
Steps:
Step 1: Prepare Your Workspace
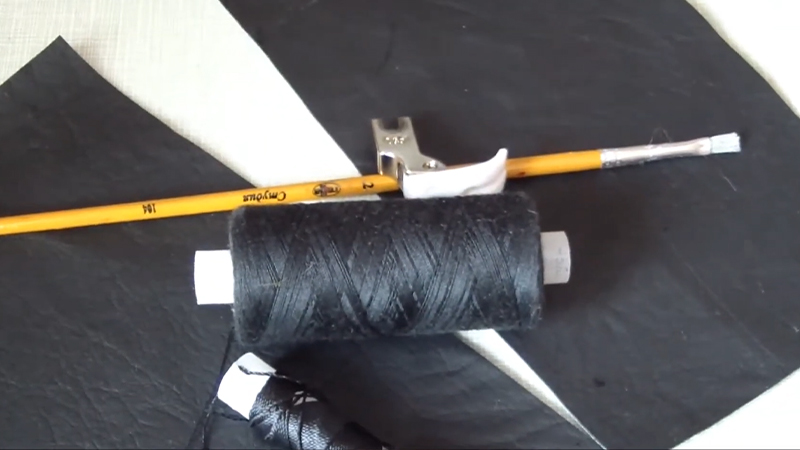
Set up a dedicated workspace with a clean, flat surface, ideally a spacious table. Ensure the area is well-lit with natural or artificial light. Remove any clutter or potential hazards from the workspace.
It’s a good idea to have a trash bin nearby for discarded scraps. Make sure you have enough space to lay out your vinyl fabric comfortably, without it hanging off the table or tangling.
Step 2: Select Your Pattern and Cut the Vinyl
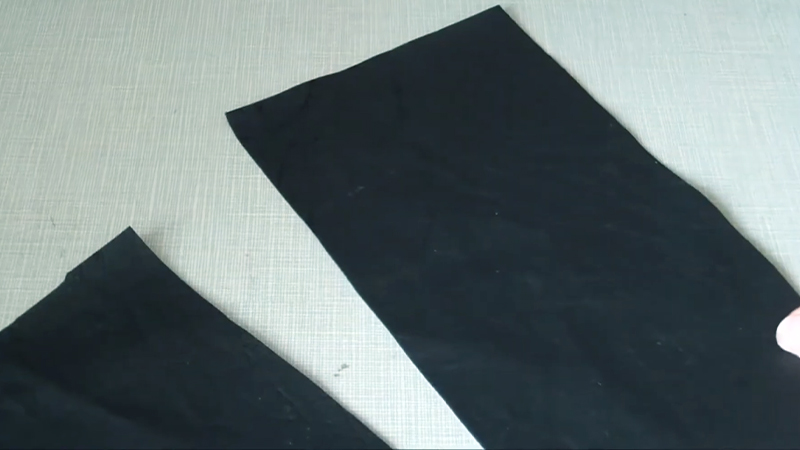
Carefully choose your pattern based on the project you’re undertaking. For beginners, it’s advisable to start with straightforward designs with minimal intricate details.
Lay the pattern onto the vinyl fabric, securing it in place with pattern weights or specialized vinyl pattern weights designed to avoid damage. Use a fabric marker or chalk designed for vinyl to trace the pattern onto the material.
Double-check your measurements and markings to ensure precision and minimize errors.
Step 3: Use the Right Needle and Thread
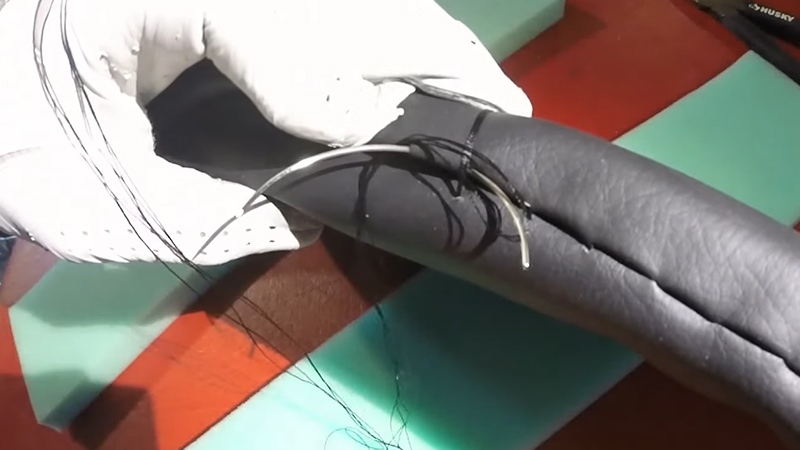
Select a heavy-duty needle specifically designed for sewing through tough materials like vinyl.
Leather needles with a sharp point are an excellent choice. Thread your needle with a generous length of heavy-duty thread, typically 18-24 inches. Tie a secure knot at one end to prevent it from slipping through the fabric as you sew.
Step 4: Pin or Clip the Pieces Together
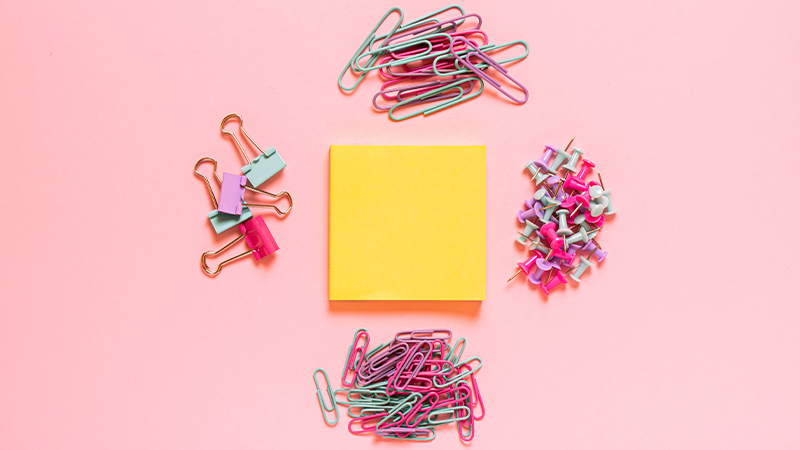
Vinyl can easily show permanent holes from pins, so consider using clips or specialized vinyl clips designed to hold pieces together securely.
Arrange the pieces and clips along the edges to ensure perfect alignment before sewing. Take your time with this step to avoid any misalignment issues later in your project.
Step 5: Begin Sewing
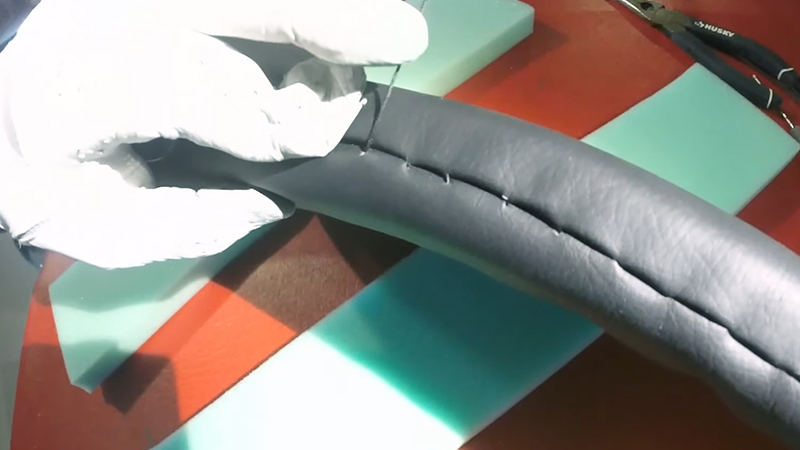
Start your stitching by inserting the threaded needle from the underside of the vinyl fabric to hide the knot.
Begin your stitching according to your pattern or project design, ensuring that you start and finish each seam smoothly. Maintain a steady pace, and ensure that each stitch is consistent in both spacing and tightness.
Step 6: Stitching Techniques
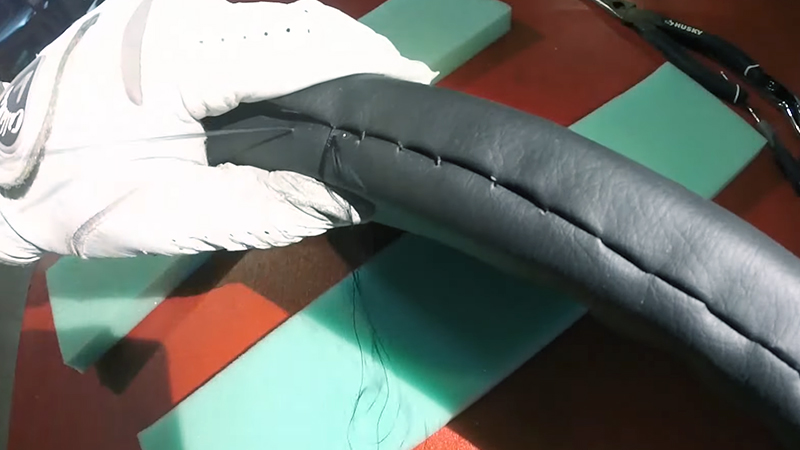
For maximum durability, employ the backstitch technique. Start by bringing the needle up from the underside, then insert it back into the fabric a short distance behind the previous stitch.
Continue this pattern, consistently going backward slightly with each stitch. The backstitch creates a robust, reinforced seam that can withstand stress and wear.
Step 7: Maintain Even Tension
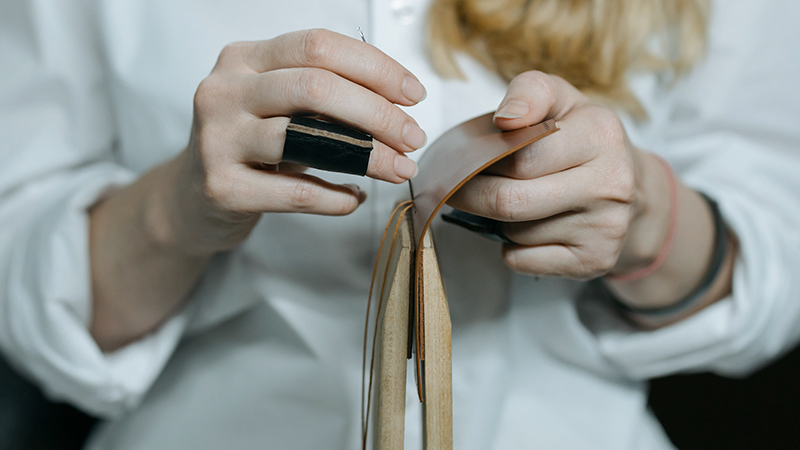
Vinyl can have some stretch, so be particularly mindful of your tension. Keep the stitches evenly spaced, and avoid pulling the thread too tightly, which can cause distortion or puckering in the vinyl. Maintain a consistent tension throughout your sewing for a professional finish.
Step 8: Pay Attention to Corners and Curves
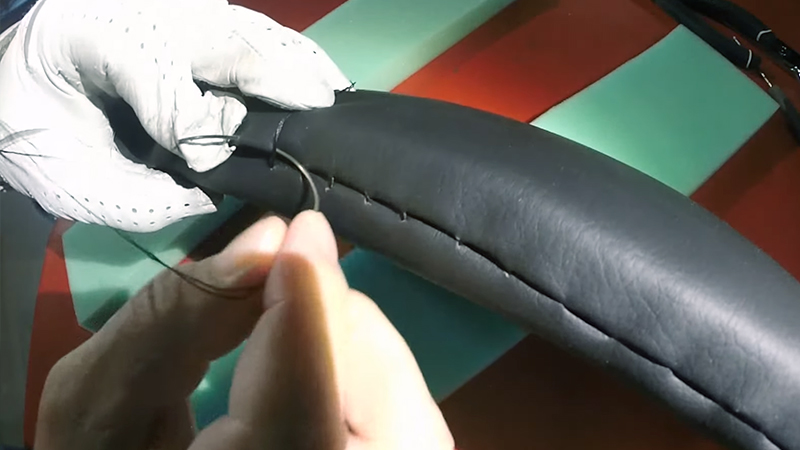
When you reach corners, pause with the needle down in the fabric, lift the presser foot (if using a sewing machine), and pivot the vinyl carefully to ensure sharp, clean corners.
For curves, sew slowly and gently adjust the fabric as you go, ensuring it lays flat without any wrinkles or bunching. Take your time to achieve precise corners and smooth curves.
Step 9: Finishing Off
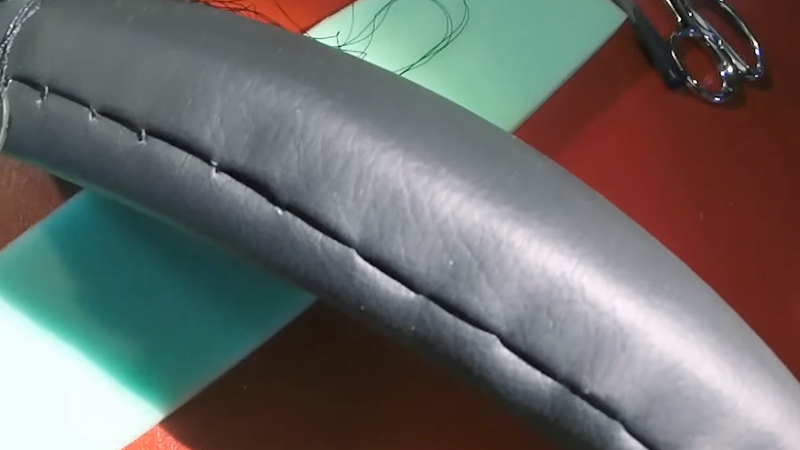
Upon completing your sewing, tie a secure knot on the underside of the fabric to prevent unraveling. Trim any excess thread using sharp scissors, ensuring a clean and tidy finish.
If your project involves stress points, such as handles on a bag, consider adding extra stitches or reinforcement to strengthen those areas for long-lasting durability.
Step 10: Clean Up and Inspect
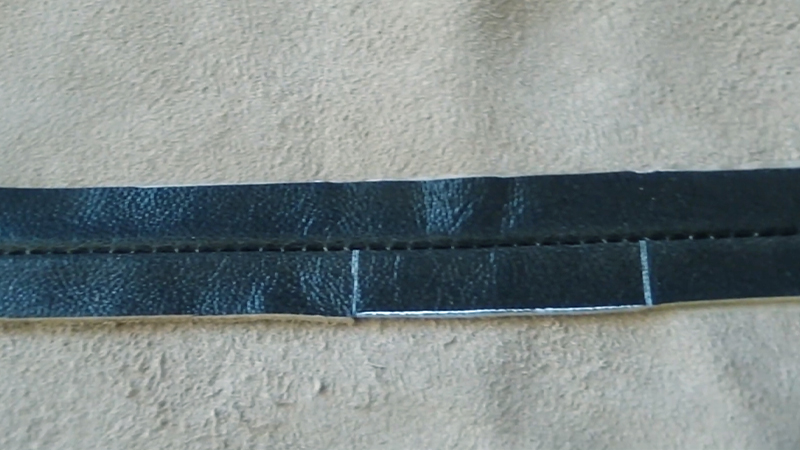
Give your project a meticulous inspection, checking for loose stitches, missed spots, or any imperfections that need attention. Make any necessary adjustments or repairs, using a seam ripper if required.
Clean up your workspace, removing any fabric scraps, thread ends, or debris. Store your sewing tools and materials properly for future use, keeping them organized and accessible.
Common Mistakes When Sewing Vinyl
Working with vinyl can be challenging, and several common mistakes can occur when sewing with this material.
Being aware of these mistakes can help you avoid them:
Using the Wrong Needle
Using a standard sewing machine needle instead of a heavy-duty needle designed for tough materials like vinyl is a common mistake. A standard needle can result in skipped stitches, damage to the vinyl, or broken needles.
Choosing the Wrong Thread
Using lightweight thread instead of heavy-duty thread can lead to thread breakage or weak seams. Make sure to select a thread that matches the strength and durability required for vinyl projects.
Improper Stitch Length and Tension
Incorrect stitch length and tension settings on your sewing machine can cause issues like puckering or stretching of the vinyl. Adjust the settings to match the thickness and texture of the vinyl you’re working with.
Not Using Clips
Regular sewing pins can leave visible holes and marks on vinyl. Using clips designed for vinyl or specialized pins can prevent damage and ensure a clean finish.
Neglecting to Test Sew
Failing to test your sewing machine’s settings on a scrap piece of vinyl before starting your project can lead to unforeseen issues. Test stitches and settings to ensure they are appropriate for the vinyl you’re using.
Rushing Through Curves and Corners
Vinyl can be less forgiving than other fabrics when it comes to sewing curves and corners. Rushing through these areas can result in uneven seams or distorted shapes. Take your time and sew slowly when navigating curves and corners.
Not Aligning Pieces Properly
Misalignment of pattern pieces or seams can be very noticeable on vinyl projects. Double-check your measurements and pattern placement to ensure that everything lines up correctly before sewing.
Using Excessive Heat
Vinyl can be sensitive to heat, so using a high-temperature iron or pressing too firmly when pressing seams can lead to melting or distortion. Use a lower heat setting and a pressing cloth to protect the vinyl while pressing seams.
Ignoring the Grainline
Vinyl often has a grainline or direction in which it stretches less. Ignoring this grainline can result in projects that don’t lay flat or have uneven tension. Pay attention to the grainline when cutting and sewing.
Not Securing the Beginning and End of Seams
Failing to backstitch or secure the beginning and end of seams can lead to unraveling over time. Always secure your stitches by backstitching or tying knots to prevent this issue.
Skipping Proper Cleaning and Maintenance
Vinyl projects can leave residue on your sewing machine’s needle and presser foot. Regularly clean and maintain your machine to prevent buildup that can affect sewing performance.
Overlooking Seam Allowances
Vinyl can be less forgiving than other fabrics when it comes to seam allowances. Ensure that you consistently maintain the appropriate seam allowance throughout your project to prevent uneven seams.
Tips and Tricks for Sewing Vinyl by Hand
Sewing vinyl by hand can be a rewarding but challenging endeavor.
Whether you’re working on a small project like a wallet or a larger one like an upholstery repair, these tips and tricks will help you achieve clean and professional results:
Choose the Right Needle and Thread
Selecting the appropriate needle and thread is paramount for successful vinyl sewing. A heavy-duty needle, such as a leather or denim needle, possesses the necessary sharpness and strength to penetrate vinyl without causing damage.
Pair this with a high-quality, heavy-duty thread made of materials like polyester or nylon. These threads are designed to withstand the rigors of sewing through dense materials.
Practice on Scrap Vinyl
For those new to working with vinyl, taking the time to practice on a spare piece of material can make a significant difference.
This allows you to familiarize yourself with the unique properties of vinyl, understand how your chosen needle and thread interact with it and refine your stitching techniques before committing to your main project.
Use Clips Instead of Pins
Opting for clips or paper clips over traditional pins when holding pieces together is a wise move when working with vinyl. Pins can leave permanent holes in the material, while clips offer a secure hold without causing any damage.
Employ a Running Stitch
A running stitch is a fundamental hand-sewing technique that works well for vinyl projects. This involves passing the needle in and out of the fabric in a straight line. To maintain a neat finish, keep your stitches evenly spaced.
Hand-Crank Your Sewing Machine
When using a sewing machine, consider using the hand-crank method, especially for intricate or delicate areas. This allows for precise control over each stitch and minimizes the risk of the material shifting, resulting in more accurate seams.
Sew Slowly and Carefully
Patience is a virtue when working with vinyl. Sewing slowly enables you to maintain control, particularly when navigating curves, corners, or intricate details. This careful approach ensures a high-quality, professional-looking end product.
Clip Notches on Curves
When dealing with curved seams, making small notches along the curve’s edge (on the seam allowance side) helps relieve tension.
This allows the vinyl to lie flat without puckering, resulting in a smooth, clean finish.
Store Your Vinyl Properly
To preserve the integrity of your vinyl fabric, store it flat or rolled rather than folded. This minimizes the risk of creases and wrinkles, ensuring that the material remains in optimal condition for future projects.
Clean Your Needle and Machine
Given that vinyl can leave residue on your needle and sewing machine, it’s important to clean them regularly.
This maintenance step ensures smooth sewing and prevents any buildup that could potentially affect your stitching or machine performance.
FAQs
Can I sew vinyl by hand with regular sewing needles?
No, it’s best to use heavy-duty needles, such as leather needles, specifically designed for sewing through thick materials like vinyl.
What type of thread should I use for sewing vinyl by hand?
Opt for heavy-duty threads like polyester or nylon. These threads offer strength and durability, ensuring your seams stay secure.
How do I prevent vinyl from sticking to the presser foot or machine when sewing?
To prevent sticking, use a Teflon or non-stick presser foot, or place a piece of tissue paper between the vinyl and the presser foot.
Is it possible to iron vinyl during the sewing process?
Yes, but use a low heat setting and always place a pressing cloth between the iron and the vinyl to avoid melting or damaging the material.
Can I sew curves and corners with vinyl by hand?
Yes, but sew slowly and make small notches along the seam allowance on curved edges to help the vinyl lie flat without puckering.
Wrap Up
In mastering the art of sewing vinyl by hand, you’ve unlocked a realm of creative potential.
The versatility of vinyl, with its durability and resistance to the elements, empowers you to craft an array of resilient and stylish items. Through careful selection of tools and techniques, you’ve learned to navigate the intricacies of this unique material.
From choosing the right needles and threads to perfecting stitching methods, your skills have grown exponentially. With each project, you’ve honed your ability to create bespoke, enduring pieces.
As you conclude this journey, take pride in knowing that your hand-sewn vinyl creations carry not only functionality but also a touch of your own artistry and craftsmanship.
Leave a Reply