Dyeing muslin fabric is a fascinating and versatile craft that offers countless opportunities for creative expression.
Whether you’re a seasoned artisan or a beginner looking to explore the world of textiles, muslin provides an ideal canvas for experimentation.
This guide explores two distinct methods for dyeing muslin: commercial fabric dyes like RIT and natural dyes like tea.
Each method presents unique possibilities, from achieving a spectrum of colors with RIT to harnessing the organic charm of tea’s warm, earthy tones.
By delving into the art of dyeing muslin, you’ll unlock a world of creative potential and learn how to transform this humble fabric into personalized works of art.
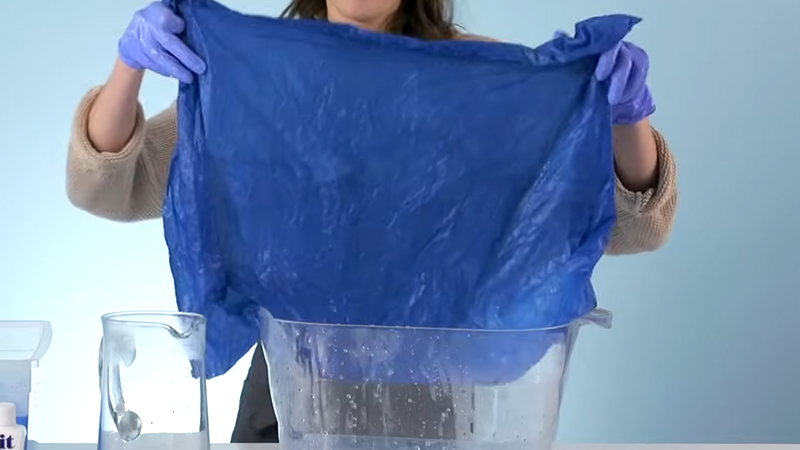
Can You Dye Muslin Fabric?
Yes. You can dye muslin fabric. Muslin is a lightweight, plain-weave cotton fabric that takes dye well.
When dyeing muslin fabric, or any fabric for that matter, several factors come into play to ensure a successful and satisfactory dyeing process.
Here are the key factors to consider:
Type of Dye
Choosing the suitable dye is crucial when dyeing muslin fabric. Opt for a dye that is specifically formulated for cotton fabrics.
Fiber-reactive dyes, including muslin, are commonly used for cotton. They chemically bond with the fibers, resulting in vibrant and long-lasting colors.
Fabric Preparation
Before dyeing, it’s essential to prepare the muslin fabric properly. Start by washing it in warm water with a mild detergent.
This step removes any sizing, dirt, or impurities that may hinder the absorption of the dye. Rinse the fabric thoroughly to ensure it’s clean and residue-free.
Pre-wet the fabric by immersing it in water or running it under the faucet. Squeeze out excess water just before dyeing to promote even dye absorption.
Dye Bath Preparation
Follow the dye manufacturer’s instructions for preparing the dye bath. This typically involves dissolving the dye in water. The temperature and concentration of the dye in the tub can influence the final color outcome.
Additionally, some dyes may require specific additives or chemicals for optimal results. Following the dye’s specific instructions is essential to ensure successful dyeing.
Dyeing Technique
When dyeing muslin fabric, submerge it fully into the dye bath. Ensure that the dye mixture completely covers the fabric.
Gently stir or agitate the fabric in the dye bath to promote even color distribution. It’s important to avoid vigorous stirring, as it could lead to uneven results.
Dyeing Time
The fabric’s duration in the dye bath is a critical factor in achieving the desired color. Longer dyeing times result in deeper colors. However, it’s essential to adhere to the recommended dyeing times provided in the dye’s instructions to avoid over-dyeing.
Rinsing
After dyeing, remove the fabric from the dye bath and rinse it thoroughly in cold water. Continue rinsing until the water runs clear, indicating that excess dye has been removed. Proper rinsing is essential for preventing color bleeding and ensuring the fabric’s longevity.
Setting the Dye
To enhance colorfastness, consider using a fabric fixative or mordant. These chemicals help set the dye and make it more resistant to fading during subsequent washes. Follow the fixative’s instructions carefully for best results.
Drying
Hang the dyed muslin fabric to air dry. Avoid exposing it to direct sunlight, as this can cause color fading over time. Allow the fabric to dry completely before use or additional washing. Ensure there is proper air circulation to aid in the drying process.
Washing
When washing the dyed fabric, use a gentle cycle on your washing machine with cold water. Select a mild detergent to prevent color loss and ensure the vibrancy of the dyed fabric.
Final Rinse
Give the fabric a final rinse in cold water to ensure all excess dye and detergent have been completely removed. This step helps prevent any residual dye from transferring to other items in future washes.
Dyeing Muslin with RIT Dye
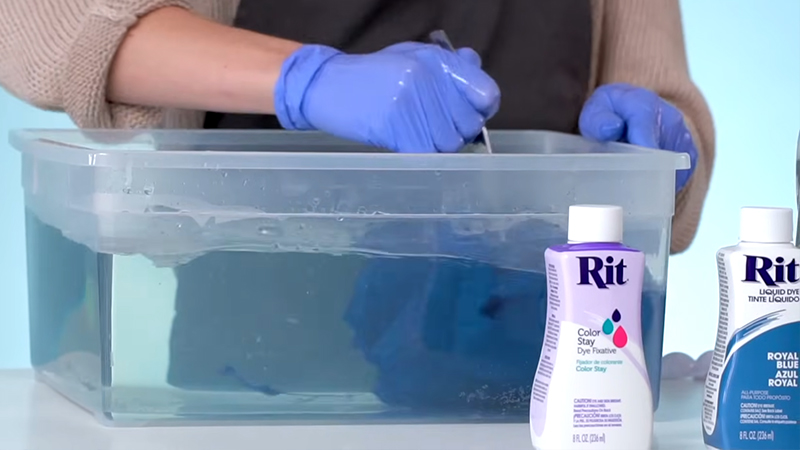
Dyeing muslin fabric with RIT Dye is a straightforward process. RIT Dye is a popular all-purpose dye that works well with various fabrics, including cotton, which muslin is made of.
Here’s a step-by-step guide on how to dye muslin with RIT Dye:
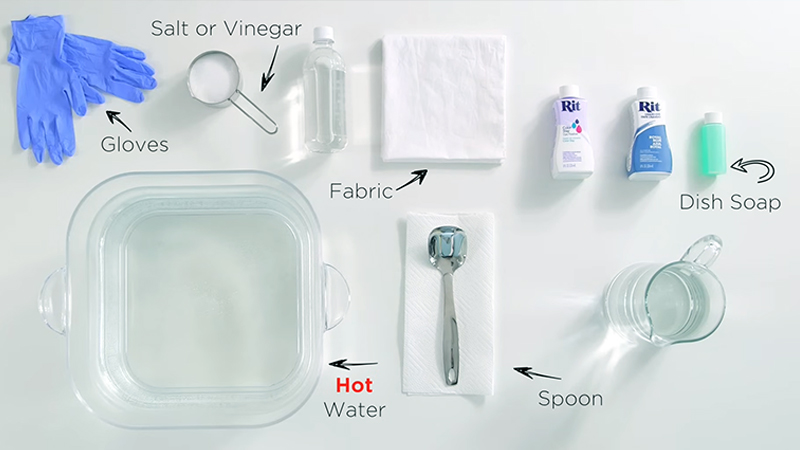
Materials Needed:
- Muslin Fabric.
- RIT Dye.
- Large Pot or Basin.
- Water.
- Stirring Utensil.
- Gloves.
- Plastic Bags or Wraps.
Steps:
Step 1: Preparation
Ensure that the muslin fabric is thoroughly cleaned before beginning the dyeing process. Use a mild detergent to wash the fabric, paying particular attention to removing any dirt, sizing, or impurities that may be present. This step is essential as it sets the foundation for even dye absorption.
Step 2: Pre-Wetting
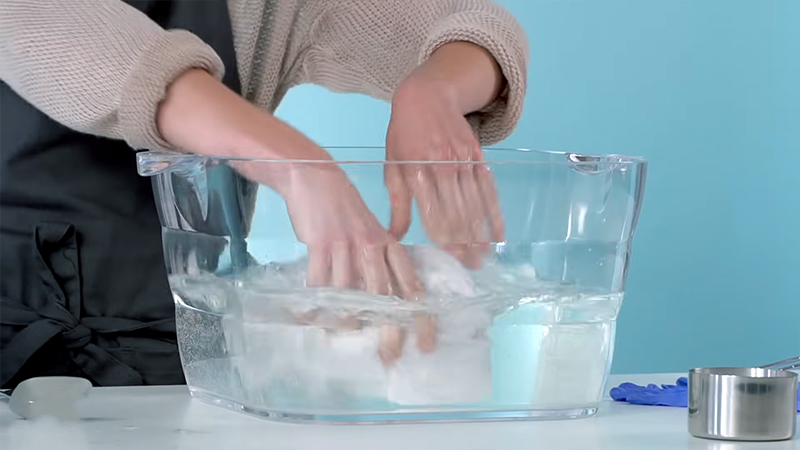
Pre-wetting the fabric is a crucial preparatory step. Immerse the fabric in water or run it under a faucet to saturate it. This creates an environment that encourages the fabric to readily absorb the dye, resulting in a more even and consistent coloration.
Step 3: Prepare the Dye Bath
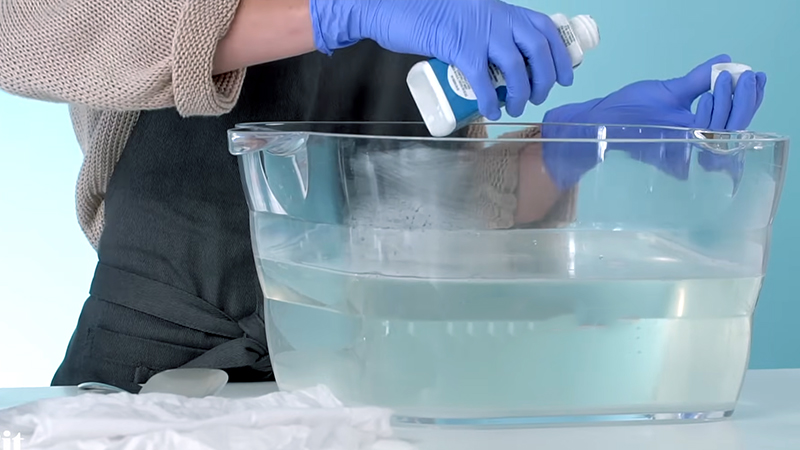
Select an appropriately sized pot or basin to accommodate the muslin fabric. Fill it with hot water at the recommended temperature per the RIT Dye package instructions.
Gently add the RIT Dye to the water and stir it thoroughly to ensure it is evenly distributed. This mixture will be the dye bath in which the fabric will be immersed.
Step 4: Dyeing
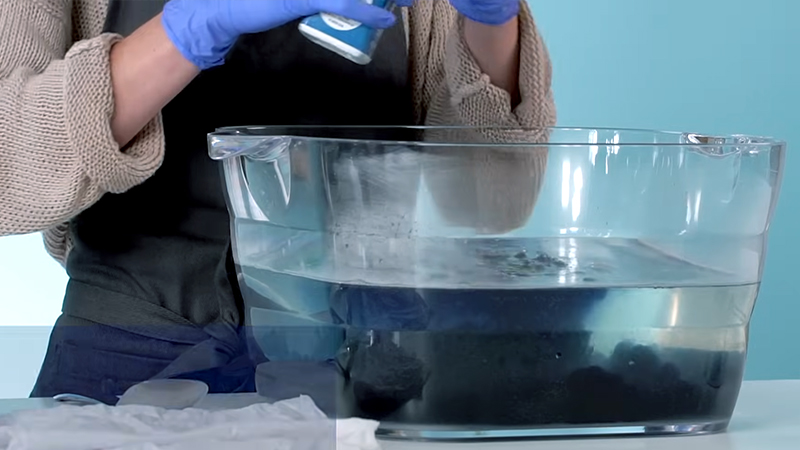
With care, submerge the pre-wet muslin fabric into the dye bath. Be attentive to ensure that the fabric is completely immersed, allowing the dye to saturate it thoroughly.
Utilize a stirring utensil to agitate the fabric gently. This aids in distributing the dye evenly, which is crucial for achieving a uniform color. The duration of time the fabric spends in the dye bath is a critical factor.
Longer immersion times result in more profound, more intense colors. Pay heed to the recommended dyeing times specified on the RIT Dye package to avoid over-saturation.
Step 5: Rinsing
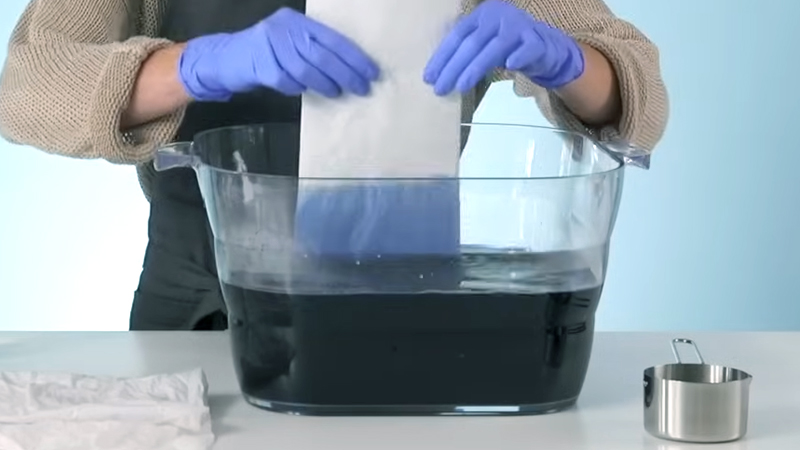
Once the desired color is attained, carefully remove the fabric from the dye bath. It’s imperative to rinse the fabric thoroughly in cold water.
This step is crucial for removing any excess dye that hasn’t adhered to the fabric. Continue rinsing until the water runs clear, indicating that excess dye has been effectively eliminated.
Step 6: Setting the Dye
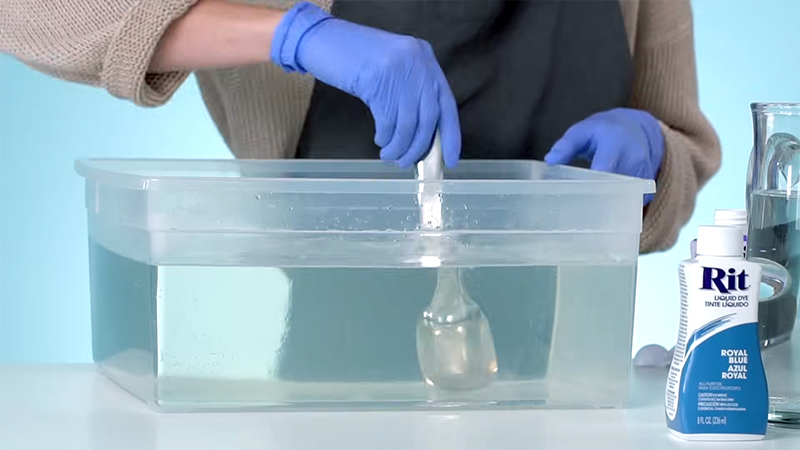
Employing a fabric fixative is an option for those seeking enhanced color retention.
This step helps to set the dye, making it more resistant to fading during subsequent washes. Ensure that you carefully follow the instructions provided with the fixative to ensure the dye sets optimally.
Step 7: Drying
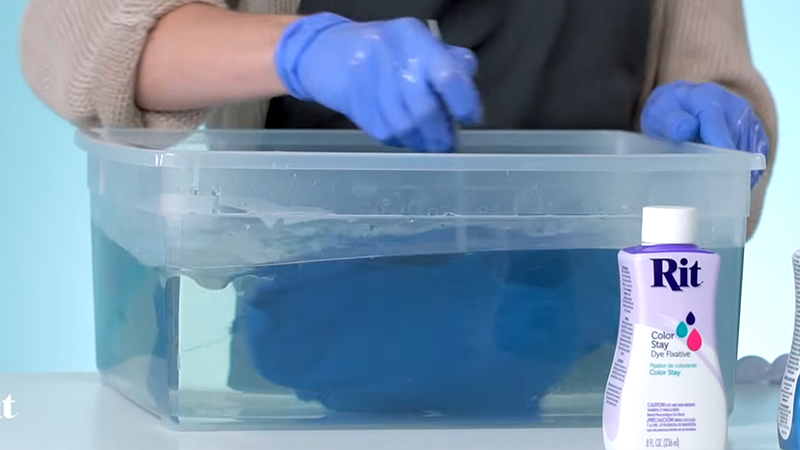
Hang the dyed muslin fabric in an area with good air circulation to allow it to air dry. Avoid exposing it to direct sunlight for extended periods, which can lead to gradual color fading.
It’s essential to exercise patience and ensure the fabric is completely dry before further use or washing.
Step 8: Washing
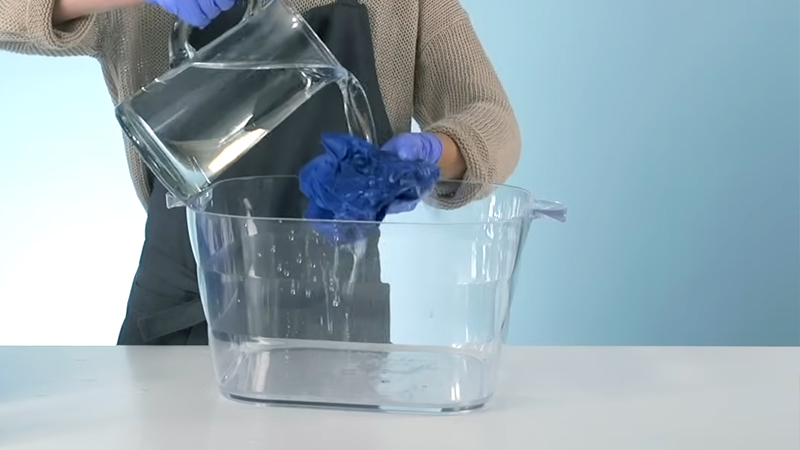
Once the fabric is fully dry, it’s time to wash it. Use a gentle cycle on your washing machine with cold water. Selecting a mild detergent is crucial, as it helps preserve the dyed fabric’s vibrancy and prevent any potential color loss.
Step 9: Final Rinse
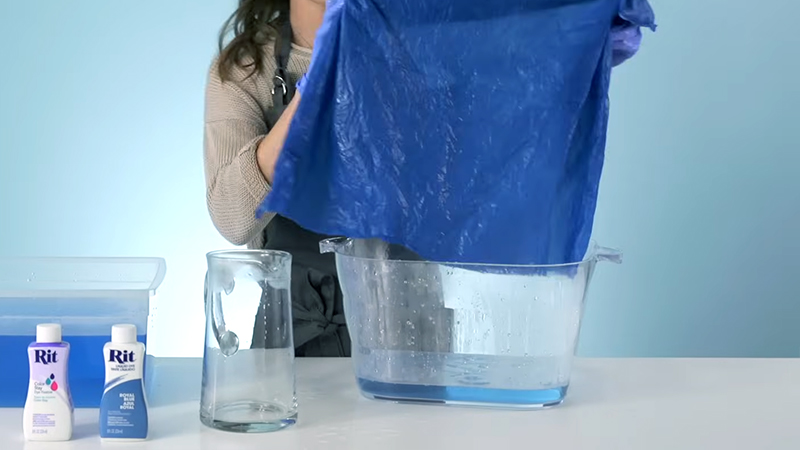
Conduct a final rinse of the fabric in cold water. This step is essential to ensure that all excess dye and detergent have been thoroughly removed. It helps prevent residual dye from transferring to other items during future washes.
Dyeing Muslin with Tea
Dyeing muslin with tea is a natural and eco-friendly way to achieve soft, earthy tones. Tea is rich in tannins, imparting a lovely, muted color to the fabric.
Here’s a detailed guide on how to dye muslin with tea:
Materials Needed:
- Muslin Fabric
- Tea Bags or Loose Tea.
- Large Pot or Basin.
- Water.
- Stove or Heating Source.
- Stirring Utensil.
- Gloves.
Steps:
Step 1: Pre-Washing the Fabric
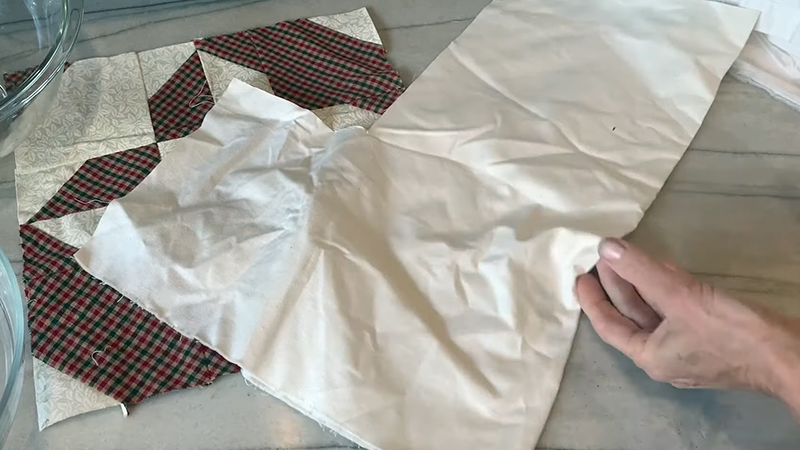
Before dying, ensuring the muslin fabric is clean and residues-free is crucial. Washing the fabric with a mild detergent removes any sizing, dirt, or impurities hindering dye absorption.
Thorough rinsing is essential to guarantee that the fabric is immaculate and ready for dyeing.
Step 2: Preparing the Tea Bath
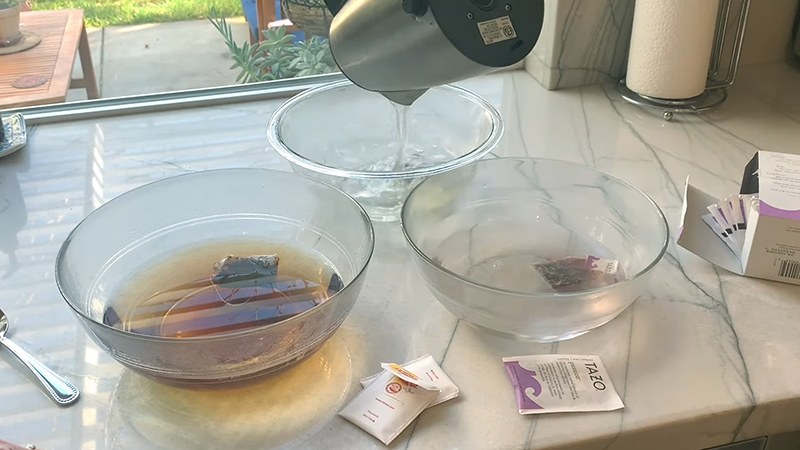
In this step, choose a large pot or basin that comfortably accommodates the fabric. The quantity of water you use will depend on how much fabric you plan to dye. Remember, the more water you use, the more diluted the tea.
When adding tea bags or loose tea, you have the flexibility to adjust the intensity of the dye. Start with a few tea bags or a small quantity of loose tea for a gentle, subtle hue.
Bringing the water to a boil and simmering enables the tea to fully steep and release its color.
Step 3: Dyeing the Fabric
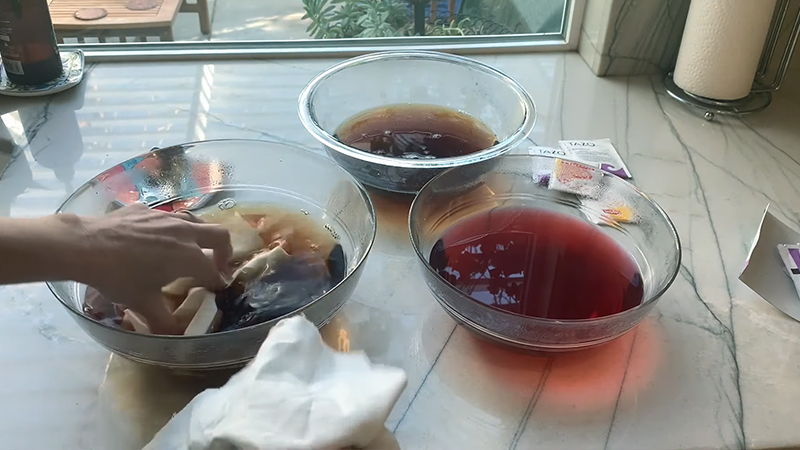
Gently immerse the pre-wet muslin fabric into the tea bath. Ensure the fabric is fully submerged, allowing the tea to saturate it thoroughly.
Utilize a stirring utensil to agitate the fabric in the tea bath gently. This promotes even color distribution, crucial for achieving a uniform look.
The time the fabric remains in the tea bath is a critical factor in determining the depth of color.
Step 4: Rinsing
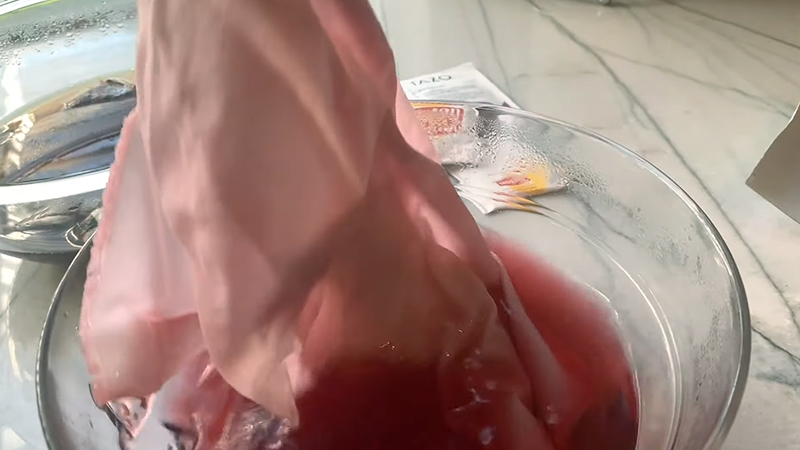
After achieving the desired color, remove the fabric from the tea bath carefully.
Rinse the fabric thoroughly in cold water until the water runs clear. This step removes any excess tea and helps set the color.
Step 5: Drying
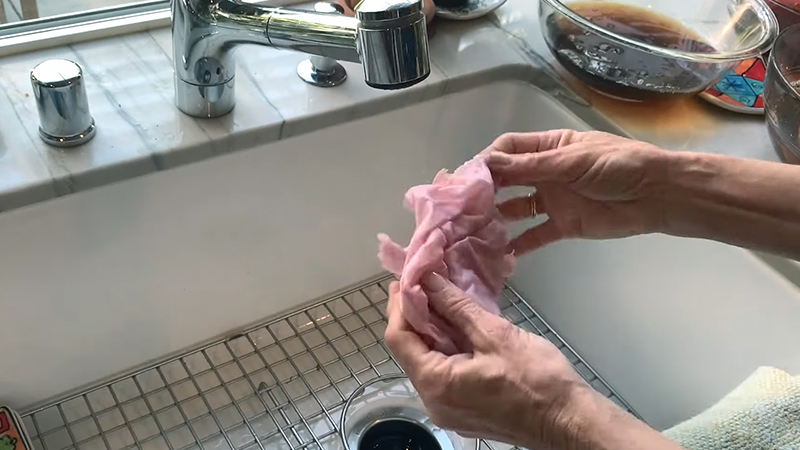
Hang the dyed muslin fabric in an area with good air circulation to allow it to air dry. It’s essential to avoid exposing it to direct sunlight for extended periods, as this can lead to gradual color fading.
Step 6: Setting the Dye
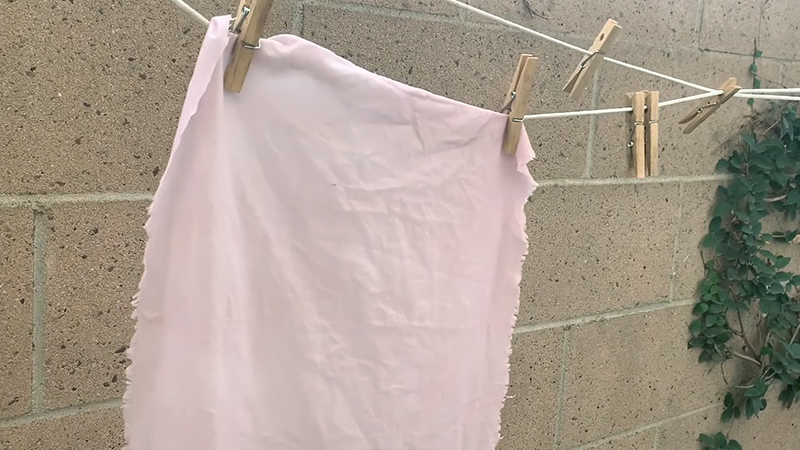
To enhance colorfastness, you can employ a fixative like salt or vinegar. Dissolve a small amount in water, and soak the fabric for about 15 minutes. Afterward, rinse thoroughly.
Aftercare and Maintenance
After dyeing muslin fabric, proper aftercare and maintenance are essential to preserve the color and condition of the fabric.
Here are some critical steps to follow:
Initial Rinse
Once the dyeing process is complete, it’s essential to rinse the fabric in cold water. This step serves two purposes.
First, it helps to remove any excess dye that may not have fully bonded with the fabric during the dyeing process. Second, it aids in setting the color, ensuring it remains vibrant and long-lasting.
Setting the Dye
You may not need to set the dye further when you use a fixative or biting during the dyeing process.
However, for those who didn’t use a fixative and wish to enhance colorfastness, consider giving the fabric a second soak in a fixative solution.
This step provides an extra layer of protection for the color, making it more resistant to fading during subsequent washes.
Air Drying
Air drying is the preferred method for dyed muslin fabric. Hang the fabric in an area with good air circulation, allowing it to dry naturally.
Avoid exposing it to direct sunlight for extended periods, as excessive exposure can lead to gradual color fading over time. Patience in allowing the fabric to dry thoroughly is essential for maintaining the color.
Washing
When washing your dyed muslin fabric, choose a gentle cycle on your machine and use cold water.
This minimizes stress on the fabric and prevents color loss. Select a mild detergent suitable for delicate fabrics to ensure the integrity of the dye. By washing with care, you help preserve the vibrancy of the color.
Separation
Wash dyed muslin separately from other items to prevent any potential color bleeding. It’s recommended to wash it with similar colors or fabrics to avoid any accidental staining or color transfer. This step is crucial in the initial washes.
Avoid Harsh Chemicals
To maintain the integrity of the dyed muslin, it’s crucial to avoid harsh detergents, bleach, or fabric softeners.
These chemicals can strip the color and potentially weaken the fabric over time. Opt for a mild detergent that is gentle on the fabric and the dye.
Hand Washing
For particularly delicate or intricately dyed pieces, consider hand washing. Use a gentle detergent and cold water.
Take care not to wring or twist the fabric, as this can distort the fibers. Hand washing allows for a more controlled and gentle cleaning process, ensuring the longevity of the dyed fabric.
Regular Inspections
Inspect your dyed muslin fabric for wear, fading, or damage.
Promptly addressing any issues can prevent further deterioration and extend the life of the fabric. Mend any small tears or loose threads to maintain the fabric’s integrity.
Storage
When storing dyed muslin fabric, ensure it’s clean and scorched. Store it in a cool, dry place away from direct sunlight. This prevents any potential color fading or discoloration over time. Proper storage safeguards the vibrancy of the dyed fabric.
Creative Ideas and Projects
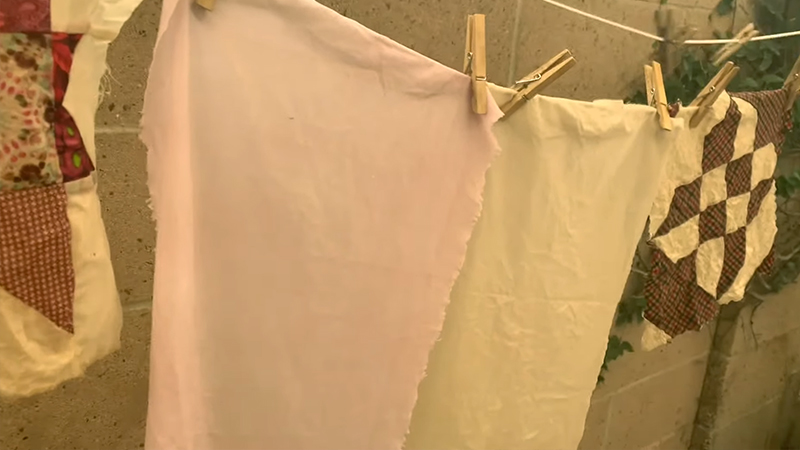
Muslin fabric is versatile and can be used for various creative projects.
Here are some creative ideas and projects you can explore:
DIY Curtains
Consider adding a personal touch to your curtains by using muslin fabric. You can experiment with different dyeing techniques to achieve a custom color that complements your room’s decor. Add decorative elements like tassels, beads, or fabric paint for a unique and stylish look.
Art Canvas
Stretching muslin over a wooden frame provides an economical and customizable canvas for your artwork.
The natural texture of muslin can add an exciting dimension to your paintings. It’s also an excellent choice for artists experimenting with mixed media techniques.
Tablecloths and Runners
Designing your table linens allows you to create a unique dining experience. Consider incorporating hand-stamped patterns, stenciled designs, or even a hand-painted border.
This personal touch can elevate your dining area and make gatherings feel more special.
Costume and Cosplay
Muslin’s affordability and versatility make it ideal for creating costume prototypes or mock-ups.
It allows costume designers to refine their designs before committing to more expensive materials. Additionally, muslin can be used to create intricate details and accessories.
Quilting
Using muslin as a backing or foundation fabric in quilting provides a neutral canvas for showcasing intricate piecing and quilting designs.
Its soft texture complements various quilt styles, from traditional to modern.
Dyeing Experiments
Muslin is an excellent fabric for experimenting with various dyeing techniques.
Try tie-dye, shibori, or batik methods to create unique and eye-catching patterns. The absorbent nature of muslin allows for vibrant and even color absorption.
Backdrops for Photography
Muslin’s even texture and ability to absorb light make it a popular choice for photography backdrops.
You can customize your backdrops to suit different photo shoots, adding a professional touch to your studio or home setup.
Soft Toys and Dolls
Muslin’s soft and pliable nature makes it an ideal fabric for crafting stuffed animals, dolls, or plush toys.
Its neutral color provides a versatile base easily customized with embroidery, appliqué, or fabric paint.
Muslin Gift Bags
Craft reusable gift bags from muslin fabric, which not only reduces waste but also adds a personal touch to your gift-giving.
Consider embellishing them with hand-painted or stamped designs for a thoughtful, eco-friendly wrapping option.
Tips for Achieving Desired Results
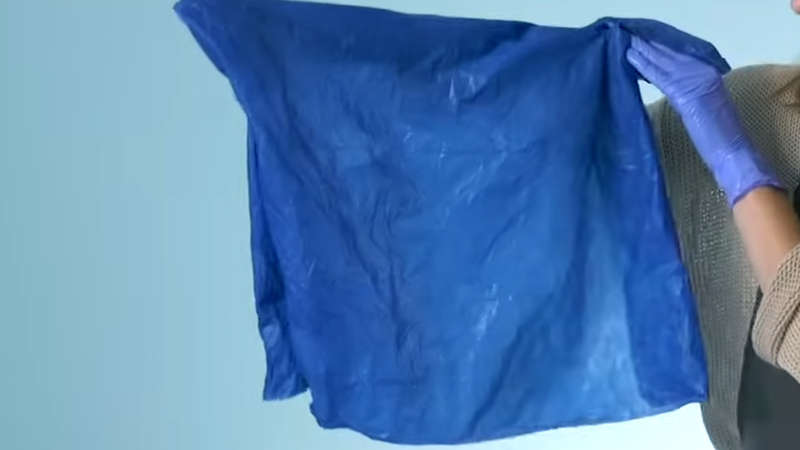
Embarking on a creative endeavor can be a fulfilling and enjoyable process. Whether crafting, painting, or working on a DIY project, striving for the best possible outcome is natural.
To help you achieve your desired results, consider these valuable tips:
Plan and Visualize
Before starting a project, take some time to plan and visualize the result. Consider the colors, patterns, and techniques you want to use.
This will help you stay focused and organized throughout the process.
Use Quality Materials
Invest in high-quality materials, including muslin fabric.
Quality materials can make a significant difference in the outcome of your project. They are more durable, easier to work with and produce better results.
Practice and Experiment
When trying a new technique or working with a new material, practice on a small sample piece first.
This lets you get a feel for the process and make any necessary adjustments before working on the final project.
Pay Attention to Details
Focus on the finer details of your project. Whether it’s stitching, painting, or dyeing, attention to small details can elevate the overall quality and appearance.
Take Your Time
Rushing through a project can lead to mistakes or subpar results. Take your time and work at a pace that allows you to be precise and careful with each step.
Measure and Cut Accurately
Ensure that measurements are accurate and cuts are clean. This is particularly important in projects like sewing or quilting, where precise measurements are crucial for a professional finish.
Test Colors and Techniques
When unsure about a particular color or technique, do a small test on a scrap piece of muslin before applying it to your main project. This helps you gauge the outcome and make any necessary adjustments.
FAQs
Can You Dye Muslin Fabric?
Muslin fabric can be dyed using various methods, including commercial fabric dyes, natural dyes like tea, and other DIY techniques.
How to Dye Muslin Fabric With RIT Dye?
To dye muslin with RIT dye, start by pre-washing and dampening the fabric. Prepare the dye according to the instructions on the package.
How to Dye Muslin Fabric With Tea?
Dyeing muslin with tea is a natural and eco-friendly method. Brew a robust tea solution, let it cool, and submerge the fabric in the bath.
Can I Achieve Different Shades by Adjusting Dyeing Time?
Yes, adjusting the dyeing time can yield different shades. Longer immersion times typically produce more profound, more saturated colors, while shorter times produce lighter, more subtle hues.
Is It Necessary to Use a Fixative After Dyeing Muslin?
Using a fixative, like salt or vinegar, after dyeing muslin is optional but recommended.
Wrap Up
Dyeing muslin fabric offers a versatile canvas for creative expression. Whether using commercial dyes like RIT or natural methods with tea, the process begins with proper preparation, ensuring even color absorption.
RIT dye provides a broad spectrum of colors, while tea imparts a warm, natural hue. Adjusting dyeing times allows for customization, yielding varying shades. Additionally, using fixatives like salt or vinegar enhances colorfastness.
You can transform muslin into vibrant, personalized creations with patience and experimentation. Embracing these techniques opens a world of possibilities for crafters and artists alike, showcasing the boundless potential of this humble fabric.
Leave a Reply