Transforming a garment’s boat neckline brings new life into its style and fit.
Whether seeking a more tailored look or aiming to adapt a beloved piece, altering a boat neckline involves careful measurement, precise cutting, and skilled sewing.
This step-by-step guide will walk you through the intricacies of resizing a boat neckline, ensuring a professional and polished result. From marking the desired neckline to the final stitches, each stage is explained with clarity and detail.
With patience and precision, you’ll master the art of altering boat necklines, creating garments that perfectly complement your style and body shape.
What Is a Boat Neckline?
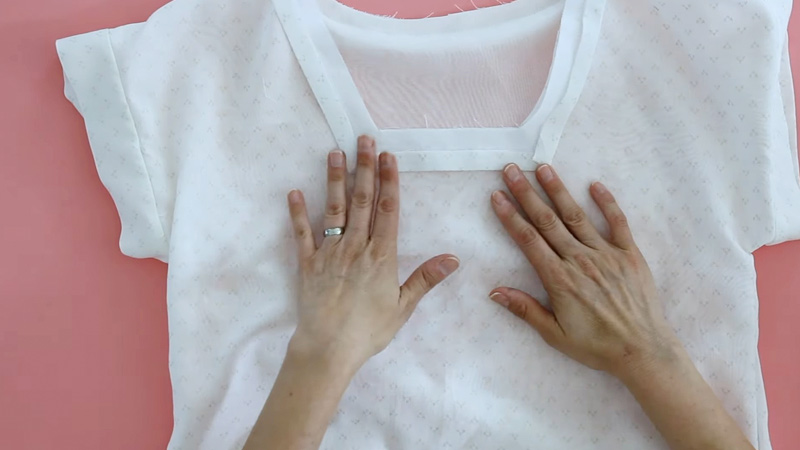
A boat neckline, or bateau, is a broad, horizontal neckline that runs across the collarbone area, extending almost to the shoulders. It derives its name from the graceful curve it forms, resembling the shape of an inverted boat hull.
This neckline is characterized by its elegant and understated style, offering a timeless, classic look.
It sits higher on the chest, exposing the shoulders and collarbone while maintaining a modest and sophisticated appeal. Boat necklines are versatile and complement a variety of body shapes, making them a popular choice in casual and formal attire.
They can be found on various garments, from tops and dresses to sweaters, adding a touch of refinement to any outfit.
How to Alter a Boat Neckline – Cut, Sew, Make It Smaller?
Altering a boat neckline on a garment can be a great way to customize the fit and style to your preference.
Here’s a step-by-step guide on how to do it:
Materials Needed:
- A garment with a boat neckline
- Fabric marker or chalk
- Measuring tape
- Pins
- Scissors
- Sewing machine or needle and thread
- Seam ripper
Assess the Garment

Stand in front of a well-lit mirror and put on the garment. Take a moment to study how the current neckline complements your body shape. Consider the style you want to achieve – a more modest boat neck or a slightly wider one.
Use a fabric marker or chalk to sketch the new neckline gently. Begin with light strokes, and gradually refine the shape until you’re confident in your design.
Measure and Mark
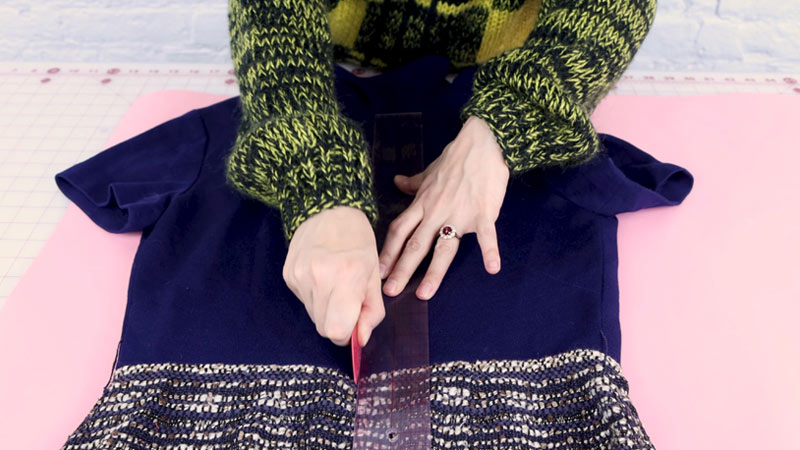
Using a flexible measuring tape, measure from the center of the existing neckline to the new marks you’ve made. Double-check that both sides are even.
This is crucial for achieving a symmetrical and balanced look. Take your time with this step; precision here ensures a professional result.
Pin the New Neckline
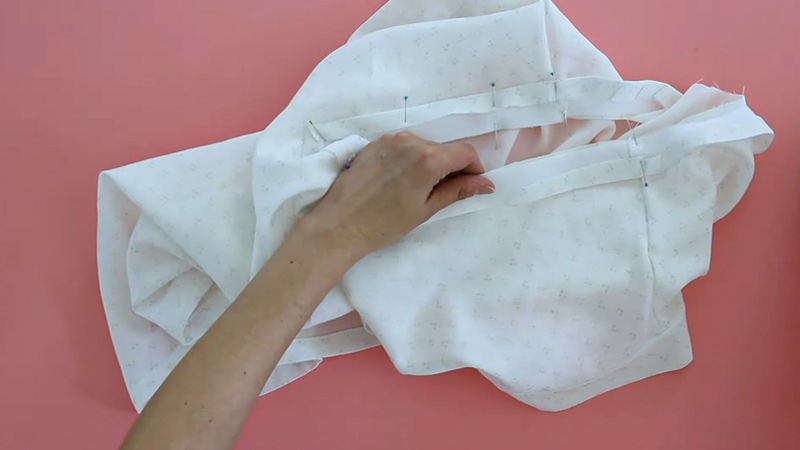
Gently fold the fabric along the newly marked line, aligning both sides as closely as possible. Secure the folded fabric in place using straight pins.
Be sure to pin within the seam allowance, typically about ¼ inch from the edge. This will prevent any visible holes or marks on the final garment.
Prepare for Sewing
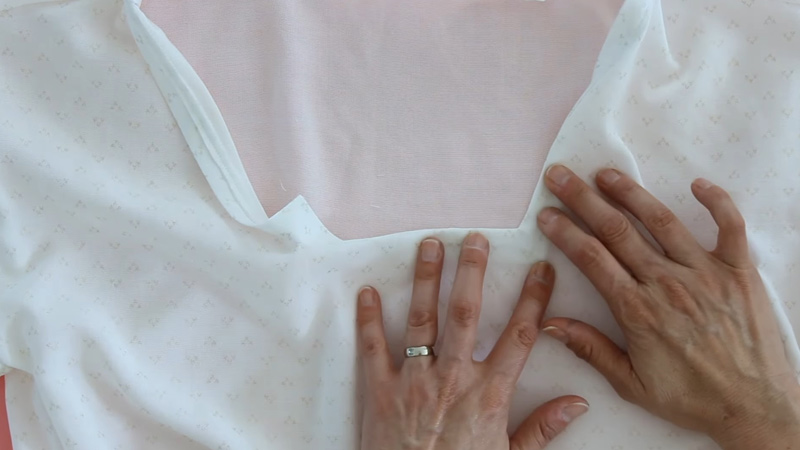
Inspect the neckline for any existing seams. If there’s a seam along the original neckline, carefully use a seam ripper to remove it.
Take extra care during this step to avoid any accidental damage to the fabric. This process is crucial for achieving a seamless transition.
Sew the New Neckline
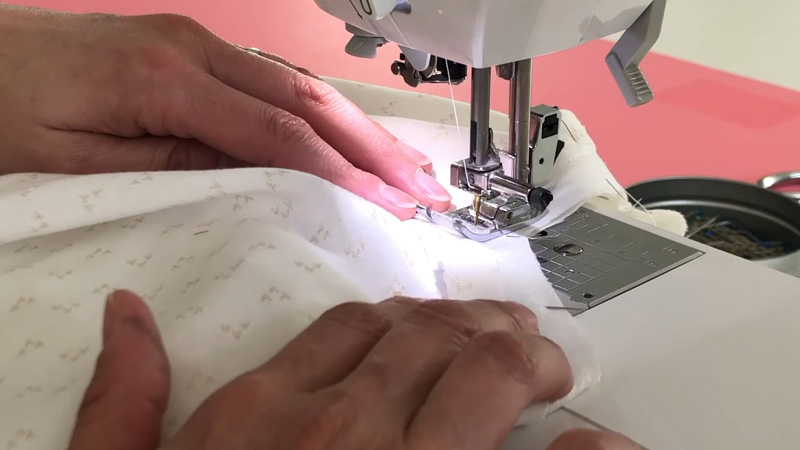
Set up your sewing machine with the appropriate thread color, or thread your needle with care. Begin stitching along the newly marked neckline using a straight stitch.
If using a sewing machine, remember to backstitch at the beginning and end of the seam. This will secure the stitching in place.
Trim Excess Fabric
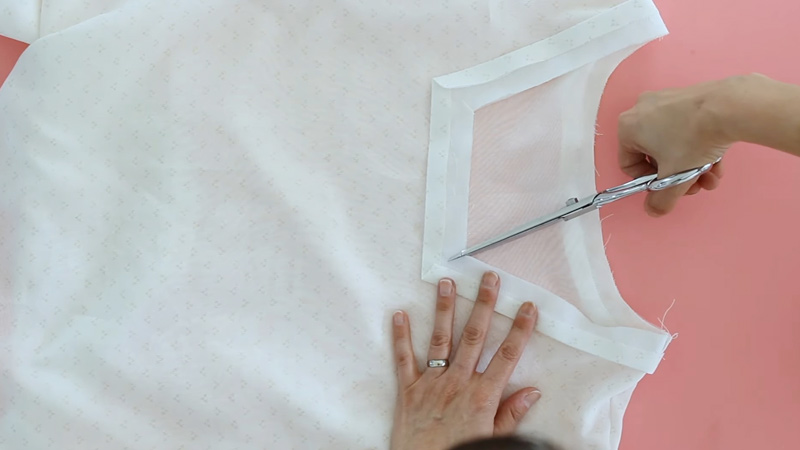
Using sharp fabric scissors, trim away any excess fabric from the seam allowance. Leave a small margin to allow for neat hemming.
Take care not to cut too close to the stitching to prevent fraying. This step ensures a clean and professional finish.
Finish the Raw Edges
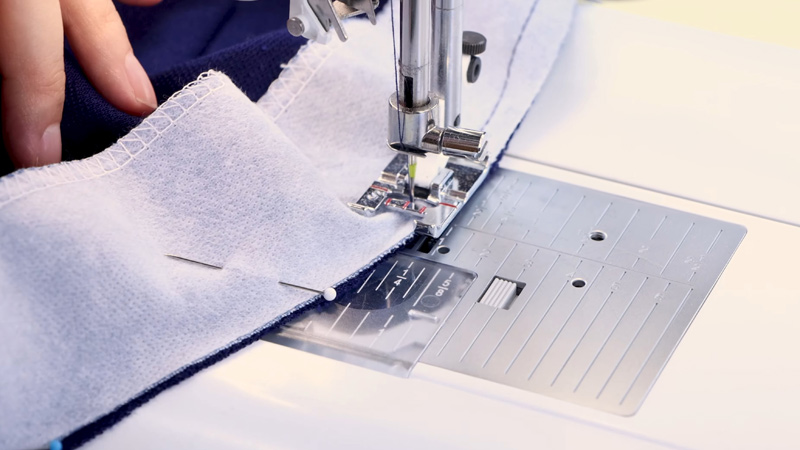
Since your fabric is prone to fraying, it’s advisable to finish the raw edges. Use a zigzag stitch on your sewing machine or apply a fabric fray-check solution. This extra step can significantly extend the lifespan of your altered neckline.
Press the New Neckline
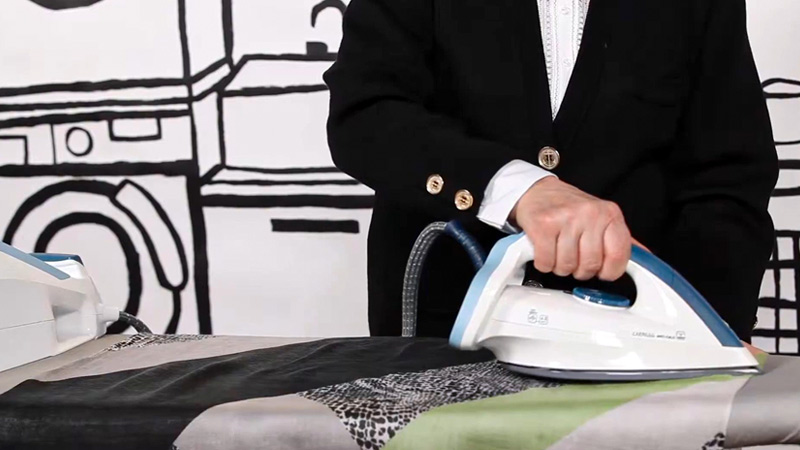
Heat your iron and carefully press the neckline area. This sets the new seam and provides a polished, well-finished appearance. Please pay close attention to this step, as it contributes significantly to the overall look of the altered neckline.
Try On and Adjust
Put the garment back on and stand in front of the mirror again. Evaluate the fit and neckline to ensure they meet your expectations.
Pay attention to how the garment feels and looks on your body. If further adjustments are needed, now is the time to make them.
Final Touches
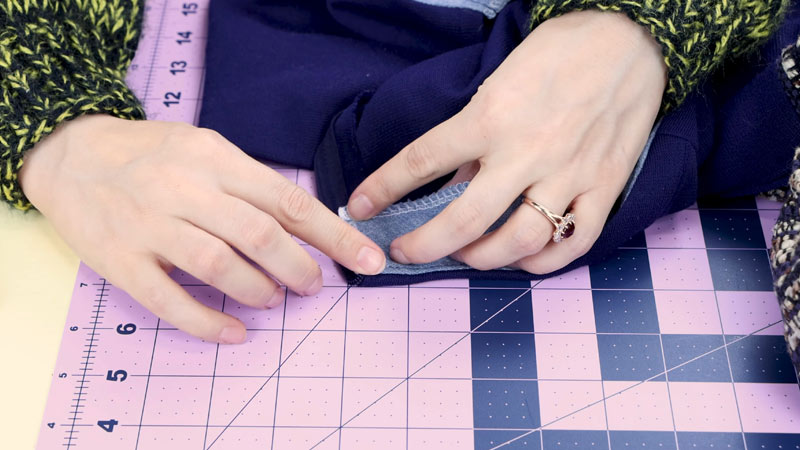
When you’re satisfied with the result, congratulations! Your boat neckline alteration is complete. Take a moment to admire your handiwork.
Should you have any lingering doubts, consider seeking a second opinion or making further adjustments. Remember, practice and patience lead to mastery.
How Can You Make a Boat Neckline More Interesting?
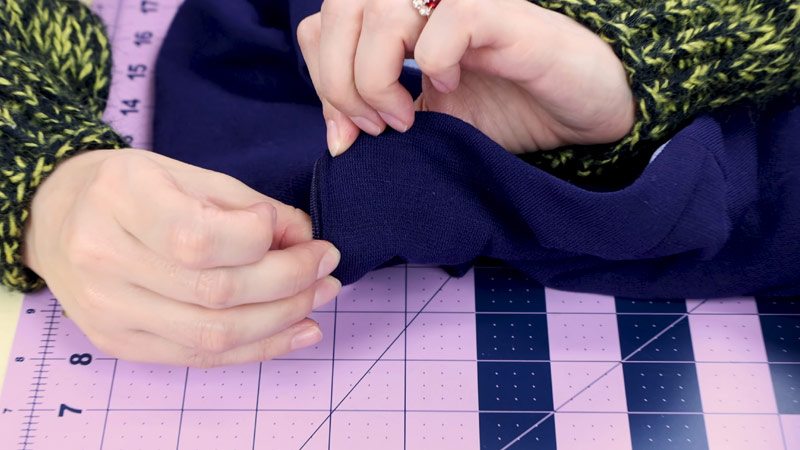
Making a boat neckline more interesting involves adding unique elements or modifying the design to create visual appeal.
Here are several creative ideas to enhance a boat neckline:
Incorporate Embellishments
Consider using beads, sequins, or rhinestones to adorn the boat neckline. You can create intricate patterns or scatter them for a subtle shimmer. This adds a touch of glamour and elegance to the neckline, making it a captivating focal point.
Lace Overlay
Introducing a delicate lace overlay to the boat neckline imparts a romantic and ethereal quality. The lace can be strategically placed to complement the neckline’s shape, adding a layer of texture and visual interest.
Asymmetric Cutouts
For a contemporary and daring twist, incorporate asymmetric cutouts or slits along one side of the boat neckline. This design choice creates an eye-catching and edgy look, adding an element of surprise to the garment.
Layered Fabrics
Experiment with different fabrics to create a layered effect along the neckline. Combining textures and colors adds depth and complexity to the design, making the boat neckline more visually intriguing.
Fringe or Tassels
Incorporating fringe or tassels along the boat neckline imparts a playful and bohemian flair. These dynamic elements add movement and personality, making the neckline a lively garment feature.
Fabric Manipulation
Techniques like pleating, gathering, or draping can be applied to the fabric around the neckline. This creates exciting folds and textures, creating a visually dynamic and sculptural effect.
Printed or Appliqué Designs
Apply printed motifs or fabric appliqués along the boat neckline to introduce patterns or imagery. This personalized touch adds a unique and artistic dimension to the neckline, making it stand out.
Contrasting Collar
Introduce a contrasting collar in a different fabric or color. This design choice draws attention to the neckline, creating a focal point that adds a touch of sophistication and individuality.
Ruffled Edges
Incorporating ruffles or pleated fabric along the edge of the boat neckline adds volume and a touch of femininity. The playful movement of the ruffles enhances the neckline’s visual appeal.
Convertible Neckline
Design the boat neckline with detachable elements, such as a removable collar or scarf. This versatile feature allows for different styling options, providing a dynamic and adaptable look.
Button or Zipper Details
Incorporate decorative buttons or a zipper along the boat neckline. These functional yet stylish additions can be strategically placed to enhance the neckline’s aesthetic, creating a unique focal point.
Off-the-Shoulder Variation
Modify the boat neckline to have an off-the-shoulder style. This design choice exudes a romantic and alluring vibe, showcasing the shoulders while maintaining an elegant silhouette.
Contrasting Piping
Add contrasting piping or trim along the edges of the boat neckline. This detailing creates definition and visual interest, accentuating the neckline’s shape and contours.
Sheer Inserts
Integrate sheer or mesh inserts into the boat neckline. This subtle addition hints at sensuality while maintaining modesty, creating a captivating and sophisticated look.
Layered Necklines
Create a multi-layered effect by adding a smaller boat neckline beneath the main one. This design choice introduces depth and complexity, creating a visually intriguing and dynamic neckline.
Care and Maintenance Tips
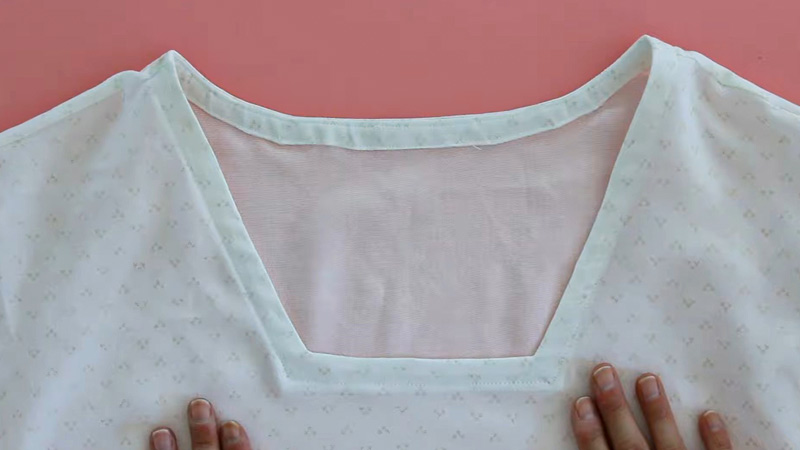
To ensure your boat neckline garments remain in impeccable condition and retain their elegant appeal, it’s essential to follow proper care and maintenance practices.
Here are some care and maintenance tips for your boat neckline garments:
Gentle Cycle
Whenever possible, choose hand washing as it’s the gentlest option. Fill a basin with cold water and add a mild detergent. Gently agitate the water and submerge your garment, allowing it to soak for a few minutes.
Gently swish the garment in the water, paying particular attention to the neckline area. Rinse thoroughly with cold water until all detergent is removed.
Cold Water and Mild Detergent
Use cold water to protect the fabric’s integrity and color. Opt for a mild detergent with a neutral pH to avoid harsh chemicals that can weaken the fabric and lead to color fading.
Avoid Overcrowding
Ensure your boat neckline pieces have enough space in the washing machine or sink to prevent friction and potential damage. Overcrowding can cause fabric abrasion and stretching.
Turn Inside Out
Before washing, turn your boat neckline garment inside out. This precautionary step helps protect the outer surface, preventing snags and minimizing wear on the boat neckline.
Air Dry or Low Heat
To maintain the shape and size of your garment, it’s best to air-dry boat neckline pieces. Lay them flat on a clean towel or drying rack, reshaping the neckline if necessary. If using a dryer, select a low-heat setting to prevent shrinkage.
Store with Care
When not in use, fold your boat neckline garments neatly rather than hanging them. Hanging can lead to stretching and misshaping of the neckline, particularly with heavier fabrics.
Avoid Direct Sunlight
Prolonged exposure to direct sunlight can cause colors to fade. Store your boat neckline pieces away from windows, or use garment bags to shield them from light and dust.
Handle with Clean Hands
To prevent the transfer of dirt and oils onto the fabric, ensure your hands are clean when handling boat neckline garments, especially when putting them on or off.
Address Stains Promptly
Should a spill or stain occur, address it promptly. Blot the stain gently, rather than rubbing, to avoid spreading it.
Use a gentle stain remover suitable for the fabric type, or follow the care instructions provided by the manufacturer.
Professional Cleaning for Delicate Fabrics
For boat neckline garments made from delicate or unique fabrics like silk or lace, consider professional dry cleaning.
Experienced dry cleaners are well-equipped to provide the appropriate care, ensuring your delicate pieces stay in excellent condition.
FAQs
Can I alter a boat neckline on any fabric?
Yes, you can alter a boat neckline on various fabrics, but be mindful of the material’s texture and stretch. Delicate fabrics may require extra care and precision.
Do I need advanced sewing skills to alter a boat neckline?
Basic sewing skills are essential. Familiarity with handling fabric, using a sewing machine, and making precise stitches will benefit a successful alteration.
Can I undo the alteration if I’m not satisfied with the result?
It’s possible, but it depends on the fabric and how much was trimmed. Always start with conservative cuts and adjust gradually to achieve the desired neckline.
Is it necessary to use a sewing machine, or can I hand-sew the alteration?
You can hand-sew the alteration if you’re comfortable with it. However, a sewing machine provides a more efficient and precise result.
How can I ensure symmetry in marking and cutting the new neckline?
Use a measuring tape and fabric marker to mark the new neckline. Take your time to double-check and adjust until both sides are even. This ensures a balanced result.
Wrap Up
Mastering the art of altering boat necklines, you’ve unlocked a valuable skill in garment customization.
You’ve transformed a neckline with careful measurements, precise cuts, and skilled sewing to better suit your style and fit preferences.
This step-by-step guide has equipped you with the knowledge and confidence to tackle similar alterations in the future.
As you witness the polished result, remember that patience and attention to detail are your greatest allies. Embrace the newfound versatility of your wardrobe, and revel in the satisfaction of wearing garments that genuinely enhance your individuality.
Your journey in garment alteration has just begun, and the possibilities are boundless.
Leave a Reply