Embarking on the journey of turning a duvet cover into a quilt opens a world of creative possibilities. This DIY endeavor allows you to repurpose existing textiles into a personalized, functional piece of art.
Through careful planning and skilled execution, you’ll transform a familiar item into a cozy, handcrafted masterpiece.
This process not only breathes new life into old bedding but also allows you to infuse your unique style and creativity into every stitch.
By embarking on this project, you’re not only engaging in a craft, but you’re also embracing a delightful fusion of practicality and artistic expression.
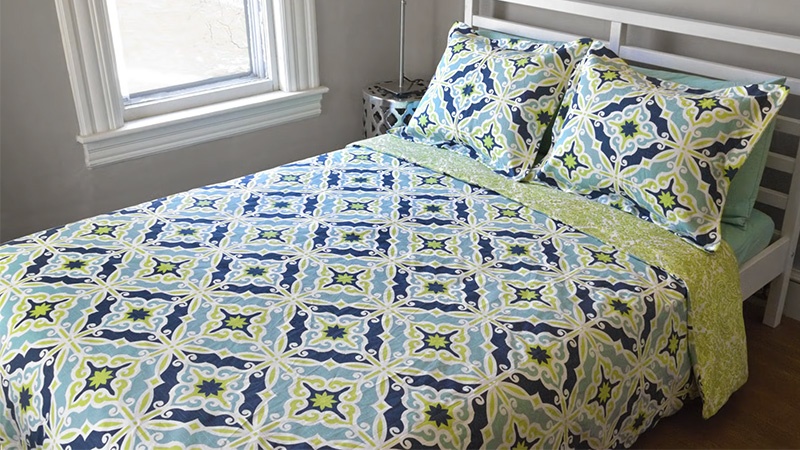
What Is a Duvet Cover?
A duvet cover is a protective fabric casing that encloses and safeguards a duvet or comforter. It’s designed to be easily removable for washing, allowing for a clean and hygienic sleeping environment.
Duvet covers come in various colors, patterns, and materials, allowing you to customize the look of your bedding to suit your personal style and home decor.
They typically have a closure, such as buttons, snaps, or a zipper, to keep the duvet securely in place.
Duvet covers are a popular choice for bedding because they offer versatility, allowing you to change the appearance of your bedroom without having to replace the entire duvet.
How to Turn a Duvet Cover Into a Quilt?
Converting a duvet cover into a quilt is a creative and eco-friendly way to repurpose bedding and add a personal touch to your home decor. This project allows you to breathe new life into an old duvet cover, turning it into a cozy and functional quilt.
Here’s a step-by-step guide on how to do it:
Materials Needed:
- Duvet Cover
- Quilt Batting
- Backing Fabric
- Thread
- Sewing Machine or Needle and Thread
- Quilting Ruler and Rotary Cutter
Steps to Turn a Duvet Cover into a Quilt:
Prepare the Duvet Cover
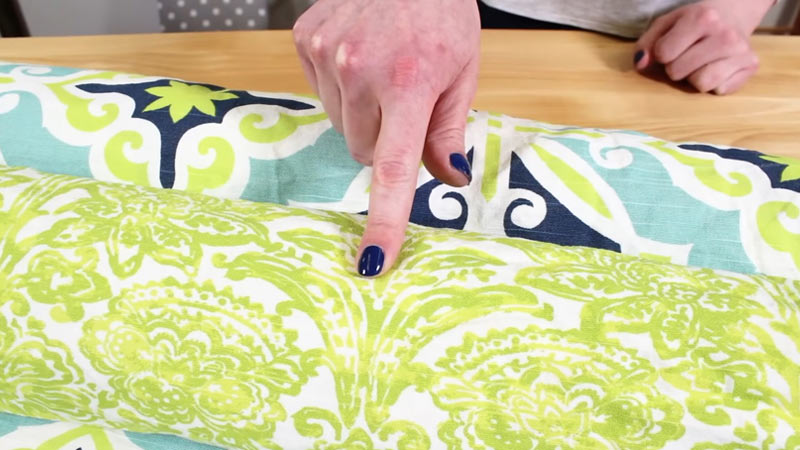
Inspect your duvet cover for any stains, tears, or loose threads. Please gently wash and iron it to ensure it’s clean and wrinkled-free.
Lay it flat on a clean, spacious surface, like a table or the floor. Smooth out any remaining wrinkles or folds to create a smooth working canvas.
Cut the Duvet Cover
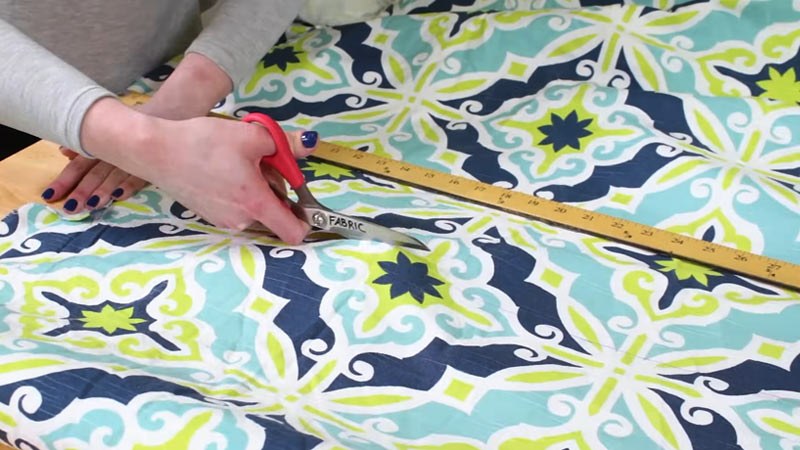
Using fabric scissors, carefully cut along one of the seams of the duvet cover. Take your time to ensure a straight and even cut.
This will yield two large, flat pieces of fabric. If there are any buttons, zippers, or closures, remove them before cutting to avoid any complications.
Cut the Batting and Backing
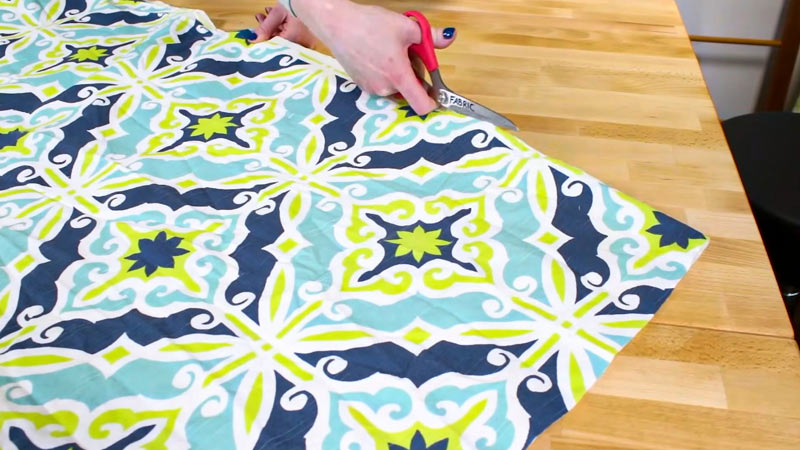
Lay the duvet cover pieces on top of the batting and backing fabric. Secure them with pins or weights to prevent any shifting during cutting.
Using fabric scissors, carefully trace around the duvet cover pieces, ensuring precision. This will result in three identical fabric pieces: one batting and one backing, mirroring the duvet cover sections.
Layer the Quilt
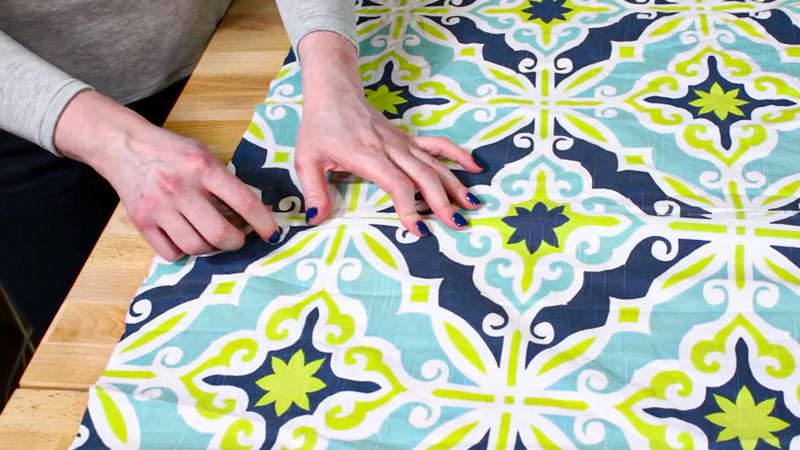
Begin with the outer duvet cover piece, placing it right-side down on your working surface. On top of this, add the batting layer, ensuring it’s evenly distributed across the fabric.
Finish by placing the backing fabric right-side up and aligning it with the edges of the duvet cover. Smooth out any wrinkles or folds to create a seamless layering.
Pin or Clip Layers
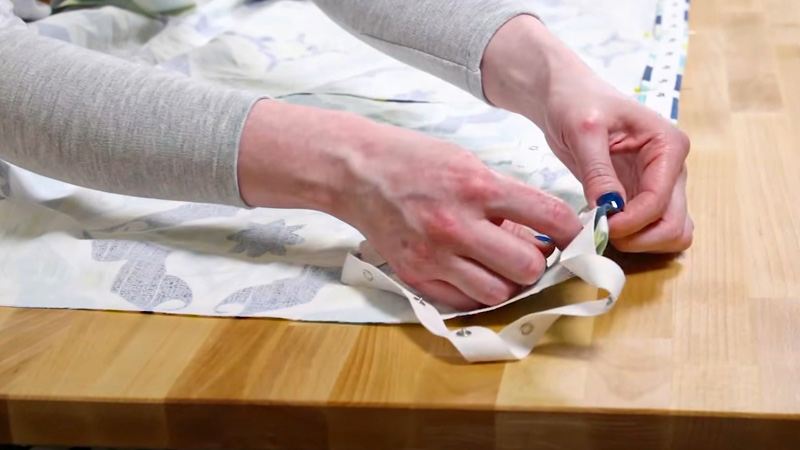
Starting from the center and working outwards, use quilt pins or clips to secure the layers together. Place pins or clips approximately 4-6 inches apart along the edges and at strategic points across the quilt. This will hold the layers in place, preventing any movement while sewing.
Sew the Quilt
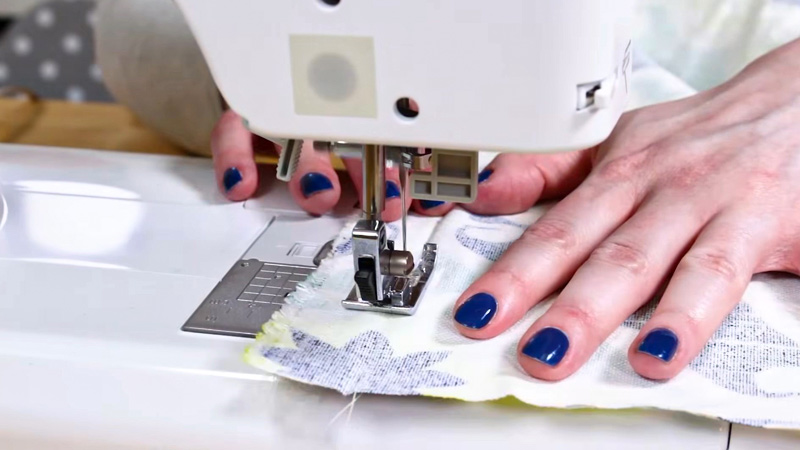
Set up your sewing machine with a matching thread color. Beginning at the quilt’s center, sew along the edges, about ¼ inch from the edge.
When you’re using a decorative stitching pattern, follow the desired design. Remember to leave a small opening (around 8-10 inches) along one edge to facilitate turning the quilt right-side out later.
Trim Excess Fabric
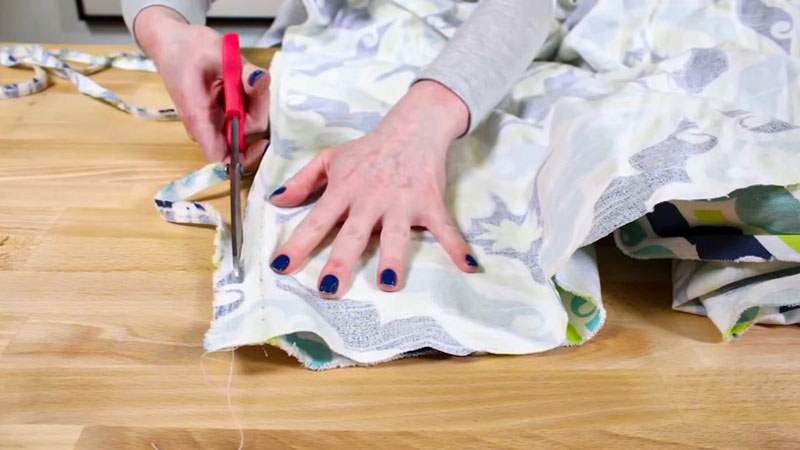
With the sewing complete, use fabric scissors to carefully trim any excess batting or backing fabric, ensuring it aligns perfectly with the edges of the duvet cover. Take your time to create clean, even edges.
Turn the Quilt Right Out
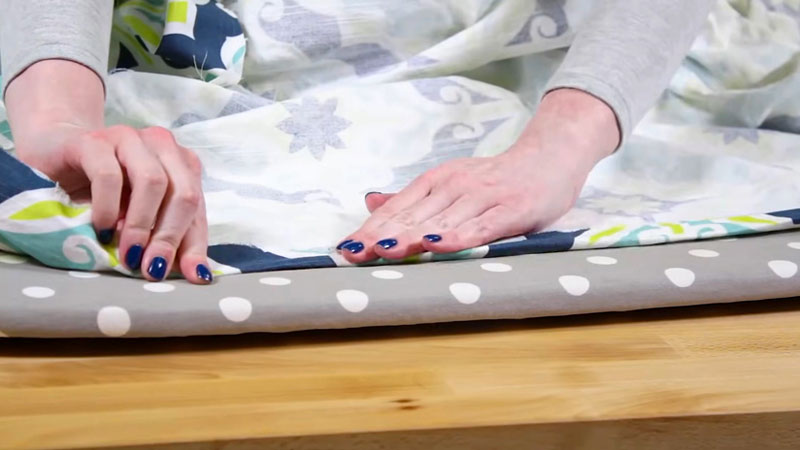
Through the opening you left, gently turn the quilt right-side out. Use a blunt tool, such as a chopstick or the back of a spoon, to carefully push out the corners. Work slowly to avoid tearing the fabric.
Close the Opening
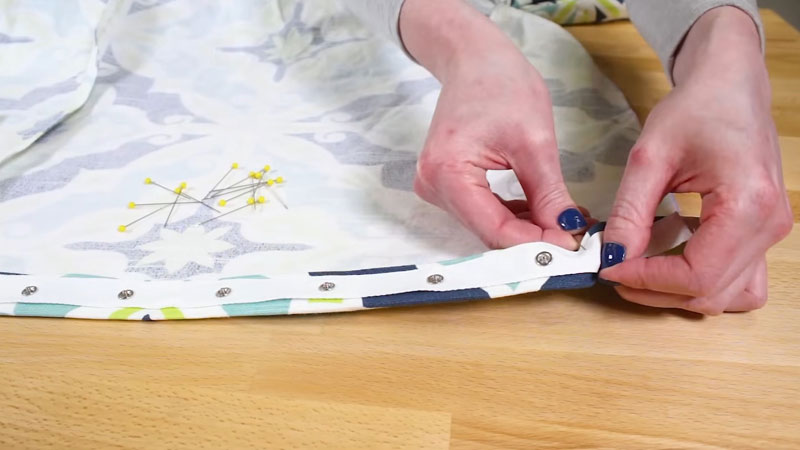
Fold the raw edges of the opening inward and secure them with pins or clips. Using a slip stitch or a topstitch, sew the opening closed. Ensure your stitches are even and secure to withstand regular use and washing.
Quilt the Layers
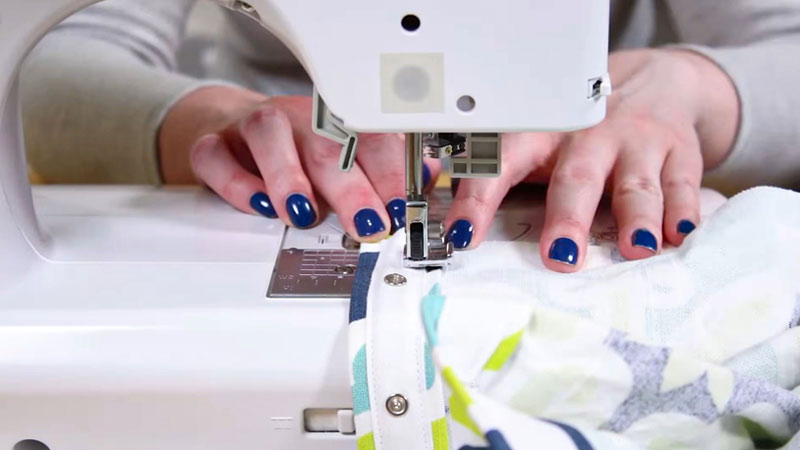
Plan out your design when you’ve chosen to add quilting lines or patterns. Starting from the center, sew along the desired lines.
Consider using a quilting guide or marking tool to maintain even spacing and alignment.
Finish the Edges
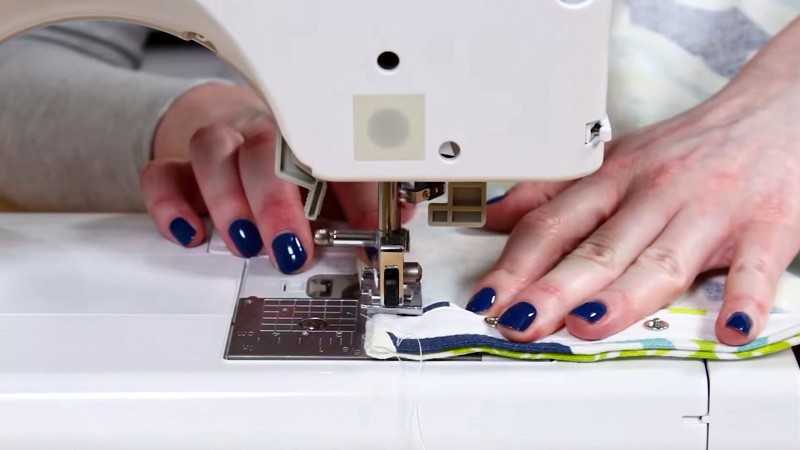
Fold the edges of the quilt inward, creating a clean border. Sew a seam around the quilt using a matching thread color, about ¼ inch from the edge. This provides a polished look and reinforces the edges for durability.
Enjoy Your Quilt
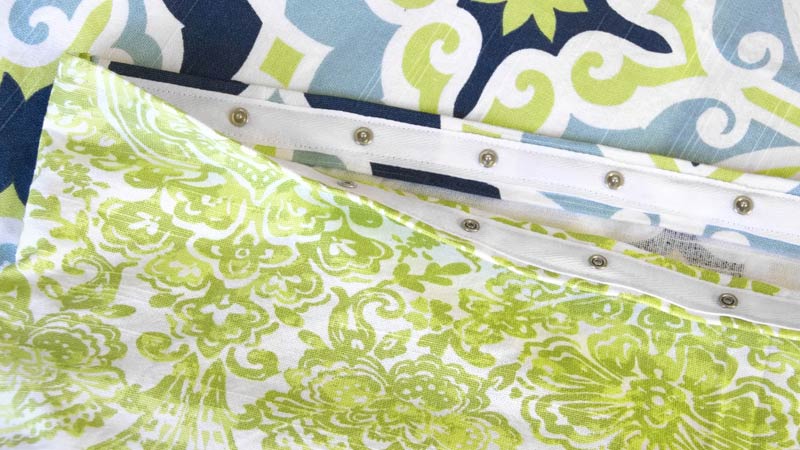
With your project complete, spread your newly transformed duvet cover quilt on your bed or drape it over your couch.
Revel in the satisfaction of creating a unique, functional home decor from an old duvet cover. Enjoy the warmth and comfort it brings to your living space.
The Difference Between a Duvet and a Quilt Cover
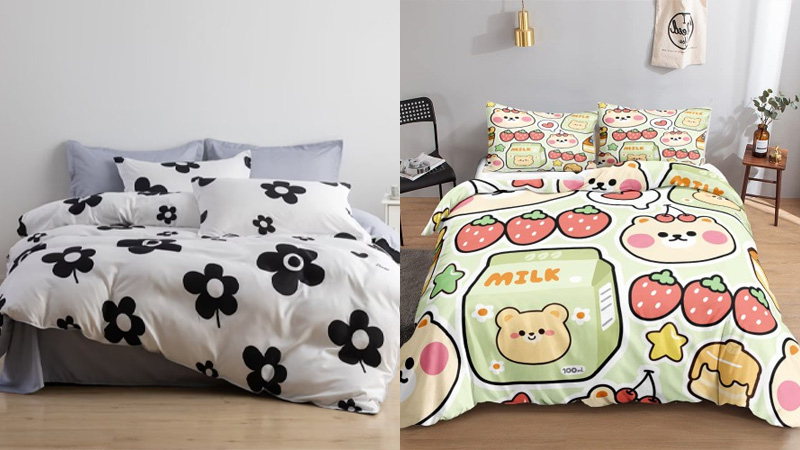
A duvet cover and a quilt cover serve similar functions but are designed to fit different types of bedding.
Here are the key differences between the two:
Purpose
- Duvet Cover: A duvet cover is specifically designed to encase a duvet. A duvet is a type of bedding that consists of a soft, flat bag filled with down, feathers, or synthetic fibers.
- Quilt Cover: On the other hand, a quilt cover is intended for use with a quilt. A quilt is a type of bedding made by sewing together layers of fabric with a filling in between, often with intricate stitching patterns.
Design and Construction
- Duvet Cover: Duvet covers are typically designed with a simple, envelope-like closure system, such as buttons, snaps, or a zipper.
- .Quilt Cover: Quilt covers can have a wider variety of closures, including buttons, ties, or a flap that folds over.
Size and Fit
- Duvet Cover: Duvet covers are typically sized to match specific duvet sizes, such as twin, full, queen, or king. They are usually slightly larger than the corresponding duvet, allowing for a comfortable fit.
- Quilt Cover: Quilt covers are similarly sized to match the dimensions of the quilt they are designed for. They are tailored to fit snugly around the quilt, providing a clean and finished look.
Filling and Weight
- Duvet Cover: Duvet covers do not contain any filling themselves. They are purely protective shells for the duvet inside, providing warmth and insulation.
- Quilt Cover: Quilt covers are often made of slightly thicker and heavier materials than duvet covers. This is because quilts have a filling, adding some weight and substance to the bedding.
Washing and Caring for the Quilt
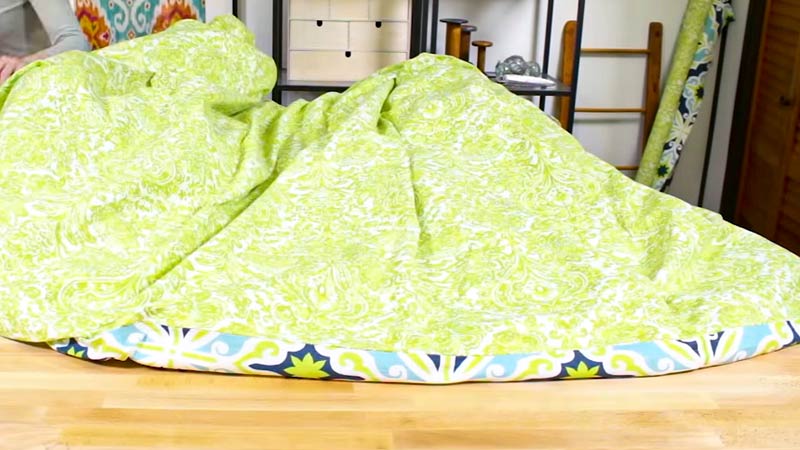
Washing and caring for your quilt is essential to maintain its appearance, durability, and quality.
Here are some steps to follow:
Check Care Label
Before washing, carefully read any care instructions provided by the manufacturer. These labels often contain specific recommendations for cleaning and caring for the quilt.
Follow these guidelines to ensure you’re treating the quilt in a way that maintains its quality.
Washing
When your quilt is machine washable, select a large-capacity front-loading washing machine. This machine provides ample space for the quilt to move freely, preventing excessive stress on the fabric.
Opt for a gentle cycle with cold water to preserve the colors and fibers. This step is crucial in preventing any potential shrinking or damage.
Detergent
Choose a mild, color-safe detergent. Harsh detergents or those with bleach can weaken the fabric and cause colors to fade over time. If you’re uncertain, select a detergent specifically designed for delicate fabrics.
Delicate Handling
Handle the quilt with utmost care, especially when it’s wet. Wet fabric is more susceptible to stretching and distortion, so support it evenly when moving it.
Avoid wringing or twisting the quilt, as this can cause damage to the fabric and the stitching.
Drying
Whenever possible, opt for air drying. Lay the quilt flat on a clean surface, such as a bed or floor, and turn it periodically to ensure even drying.
Avoid exposing it to direct sunlight, leading to color fading and weakening the fabric over time.
Machine Drying
When using a dryer, please set it to a low heat setting. Add clean tennis balls or dryer balls to help distribute the filling evenly and fluff up the quilt.
Regularly check the quilt during drying to prevent overheating, which can cause shrinkage or damage to the fabric.
Avoid Overloading
Ensure that the washing machine or dryer is not overcrowded. This ensures that the quilt has enough room to move freely, preventing potential damage during washing and drying.
Consider using an oversized machine at a laundromat if the quilt is enormous.
Storage
When the quilt is not in use, store it in a cool, dry place away from direct sunlight. Avoid folding it for extended periods, as this can cause creases that may be difficult to remove. Store it flat or rolled to maintain its shape and quality if possible.
Spot Cleaning
For minor stains or spills, address them promptly by spot cleaning. Use a mild detergent and a soft cloth to blot the affected area gently. Avoid rubbing, as this can push the stain further into the fabric.
Professional Cleaning
Consider having it professionally cleaned when your quilt features delicate fabrics or intricate stitching, or if it holds sentimental value as an heirloom piece. Professional cleaners have the expertise and equipment to treat the quilt with the utmost care.
Avoid Pets and Sharp Objects
Keep pets away from the quilt to prevent potential damage from their claws. Additionally, avoid placing the quilt near sharp objects or jewelry that could snag the fabric and cause damage to the stitching or surface.
Regular Inspection
Periodically examine your quilt for any wear, loose threads, or damage.
Addressing these issues promptly can prevent further deterioration and ensure the longevity of your quilt. Repair any loose threads or small tears as soon as they’re discovered.
Displaying and Using Your Quilt
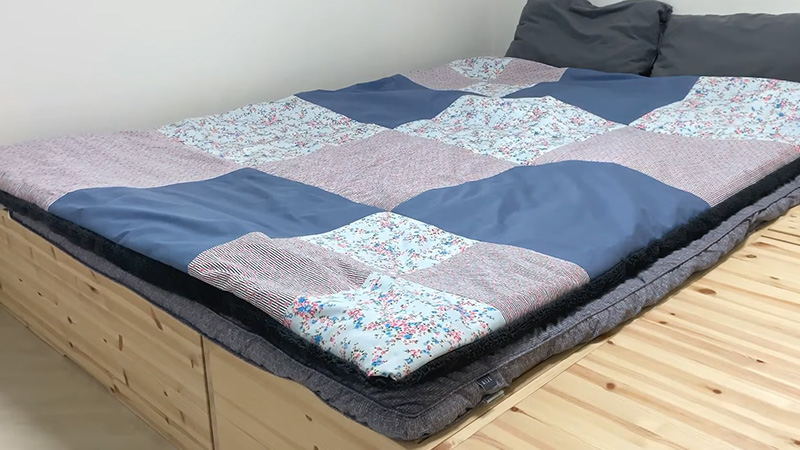
Displaying and using your quilt can add warmth and charm to your living space while showcasing your creativity and style.
Here’s how to display and use your quilt effectively:
On the Bed
Using a quilt as a bedspread adds an inviting touch to your bedroom. Make sure to spread it evenly over the bed, aligning it with the edges.
You can fold the top edge down slightly to reveal the pillows, creating a neat and welcoming appearance. Alternatively, tucking it under the pillows can give a more tailored and polished look.
As a wall-hanging
Transforming your quilt into a wall hanging turns it into a captivating piece of art. Please choose an appropriate quilt hanger or curtain rod to display it.
Consider the placement carefully, ensuring it complements the room’s overall decor. This adds visual interest and makes your quilt a focal point of the space.
Draped Over Furniture
Draping a quilt over your furniture serves both functional and decorative purposes. When placed on the back of a couch or armchair, it provides a cozy layer for snuggling.
Additionally, it introduces a splash of color and texture to your living space. You can fold it neatly for a structured look or casually drape it for a relaxed, inviting atmosphere.
As a Tablecloth
Utilizing your quilt as a tablecloth or runner instantly elevates your dining area. For special occasions, drape it evenly over the table to create a captivating backdrop for your meals.
Alternatively, use it as a table runner for day-to-day decor, adding a touch of sophistication and charm to your dining space.
Picnics and Outdoor Use
Quilts are versatile outdoor companions. They provide a comfortable and clean seating area for picnics or outdoor gatherings when laid on the ground.
Their durability makes them perfect for these occasions, as they can withstand the wear and tear of outdoor use while keeping you and your guests comfortable.
As a Throw
Keeping a quilt within arm’s reach on your sofa or reading chair invites coziness into your leisure time.
Pull it over your lap on chilly evenings, creating a snug environment for reading, watching TV, or simply relaxing. You can fold it neatly when not in use or drape it casually for easy access.
Guest Bedroom Accent
Enhance the welcoming atmosphere of a guest bedroom by placing a quilt at the foot of the bed or folding it neatly across the bedspread.
This adds a touch of luxury and provides extra warmth and comfort for your guests, ensuring their stay is pleasant and memorable.
As a Gift
Quilts make heartfelt and cherished gifts. Consider gifting a handmade quilt to loved ones for special occasions like weddings, birthdays, or housewarmings.
Your thoughtfulness and the craftsmanship of the quilt will be appreciated and treasured for years to come.
Seasonal Rotation
Rotate your quilts with the seasons to refresh your decor. Lighter, brighter quilts are perfect for spring and summer, infusing the space with a lively and airy feel.
As autumn and winter approach, swap them out for heavier, warmer quilts that provide comfort and visual warmth to your surroundings.
FAQs
Can I use any duvet cover to make a quilt?
Yes, you can use virtually any duvet cover to create a quilt. Choose one with a design or fabric you love, as it will become the outer layer of your quilt.
Do I need to sew the layers together?
Yes, it’s essential to sew the layers of the duvet cover, batting, and backing fabric together securely.
What type of stitching should I use?
You can use a basic straight stitch for the main seams. However, consider using decorative or quilting stitches for added texture and design if you have a sewing machine with those capabilities.
Can I add extra embellishments or appliqués?
Absolutely! Feel free to get creative and add extra elements like appliqués, embroidery, or fabric patches to personalize your quilt and make it uniquely yours.
Do I need special equipment to make a quilt from a duvet cover?
Basic sewing supplies like fabric scissors, a sewing machine or needle and thread, and pins are essential.
Wrap Up
In transforming a duvet cover into a quilt, you’ve embarked on a creative journey that blends functionality with personal style.
You’ve repurposed a familiar item into a cozy masterpiece through careful cutting, layering, and stitching. The process involves artistry and craftsmanship, allowing you to infuse your unique touch into every stitch.
This DIY project breathes new life into old bedding and provides a canvas for self-expression.
As you display your quilt, whether on a bed, adorning a wall, or draped over furniture, it radiates the warmth of handmade craftsmanship, offering comfort and a visual feast for the eyes.
Leave a Reply