Sewing non-stretch trim onto stretch fabric demands a delicate touch and strategic technique.
This process involves combining two distinct materials, each with its characteristics. Non-stretch trim, typically decorative or functional, adds flair and structure to a garment.
In contrast, stretch fabric offers flexibility and comfort, making it ideal for form-fitting attire. The challenge lies in marrying these elements seamlessly. This guide provides essential tips and tricks to ensure a successful union.
From material selection to stitching methods, we’ll walk you through the steps needed to create a polished, professional finish when attaching non-stretch trim to stretch fabric.
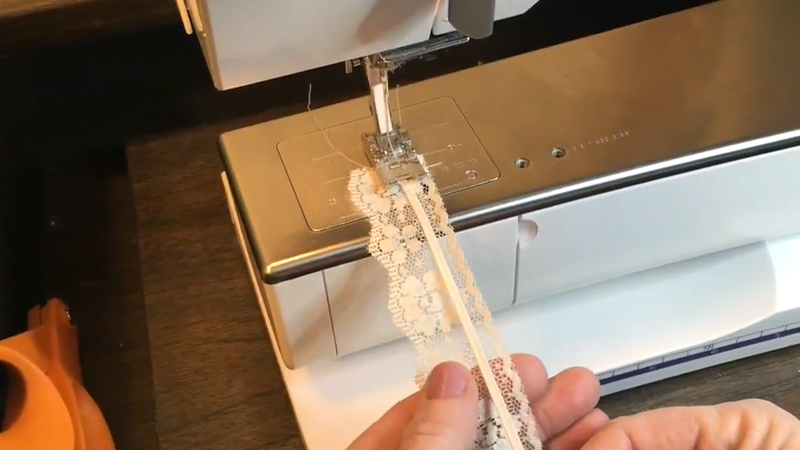
What are non-stretch Trim and Stretch Fabric?
Non-stretch trim and stretch fabric are two different types of materials commonly used in sewing and garment construction.
Non-stretch Trim
Non-stretch trim refers to any decorative or functional material used in sewing that does not have elasticity.
This means that the trim cannot expand or stretch when pulled. Non-stretch trims can be lace, ribbon, braid, bias tape, or non-elastic woven fabrics.
Stretch Fabric
Stretch fabric, on the other hand, is a type of textile that can stretch and return to its original shape when pulled. This elasticity is usually due to including spandex or elastane fibers in the fabric.
Stretch fabrics are commonly used in garments that require a degree of flexibility and comfort, such as activewear, sportswear, swimwear, and form-fitting clothing.
How to Sew Non-stretch Trim to Stretch Fabric? 11 Steps
Sewing non-stretch trim to stretch fabric requires some care and consideration to ensure that the finished piece retains its elasticity while the trim stays secure. Here’s a step-by-step guide to help you do it:
Materials Needed:
- Stretch fabric
- Non-stretch trim
- Matching thread
- Sewing machine or needle (depending on your preference)
- Pins
- Fabric scissors
- Iron and ironing board
Steps:
Step 1: Choose the Right Trim
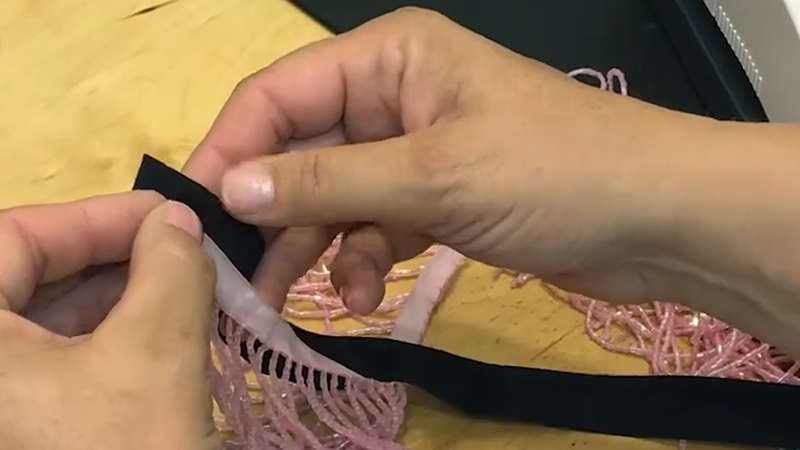
Selecting the appropriate trim is crucial for a successful outcome. Ensure the trim complements the stretch fabric in color, texture, and style.
While the trim doesn’t need to stretch, it should be pliable enough to move with the fabric.
Step 2: Prepare Your Fabric
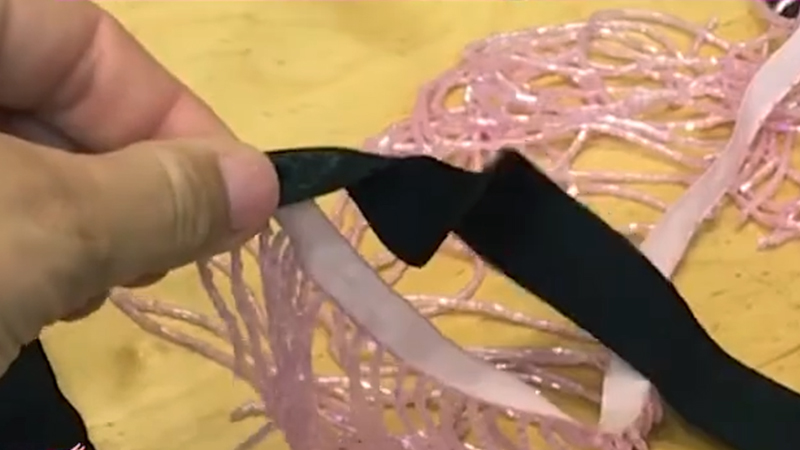
Lay out your stretch fabric on a clean, flat surface. If there are any wrinkles or creases, iron the fabric gently using a low heat setting. This ensures a smooth surface for sewing.
Step 3: Position the Trim
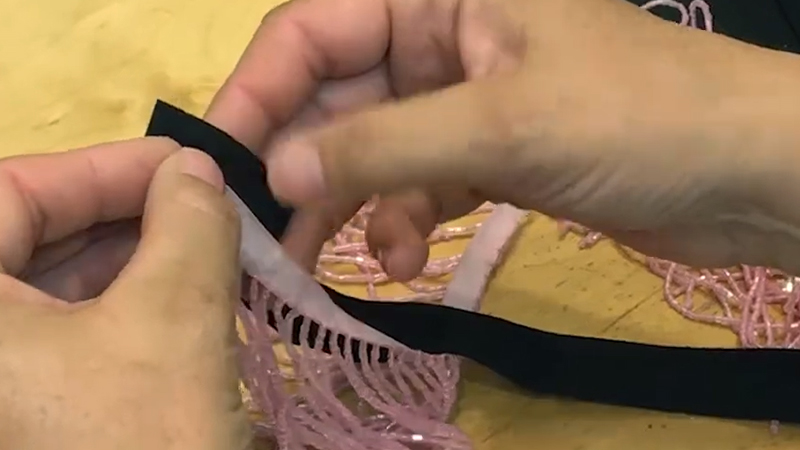
Carefully place the trim along the edge of the fabric where you want it. Use an ample number of pins to secure it in place. Take your time to ensure that the trim is evenly aligned.
Step 4: Use a Stretch Stitch
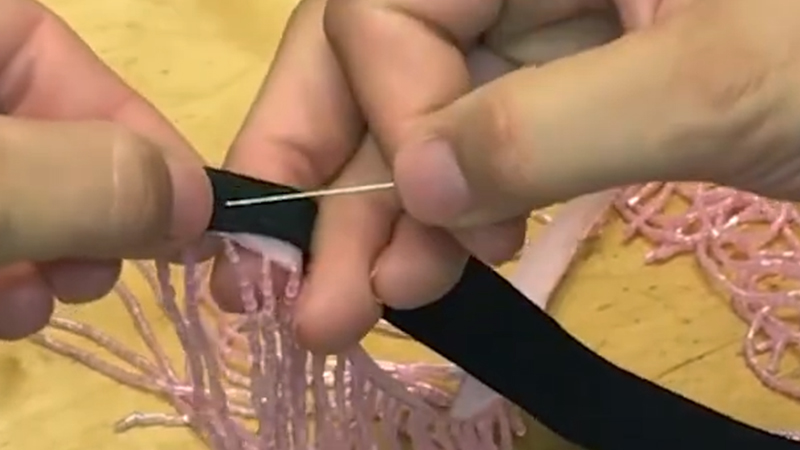
Set your sewing machine to a stretch stitch option. This type of stitch is typically a narrow zigzag stitch that allows the fabric to stretch without putting too much strain on the thread.
When sewing by hand, use a stretch stitch or backstitch to provide some flexibility to the seam.
Step 5: Start Sewing
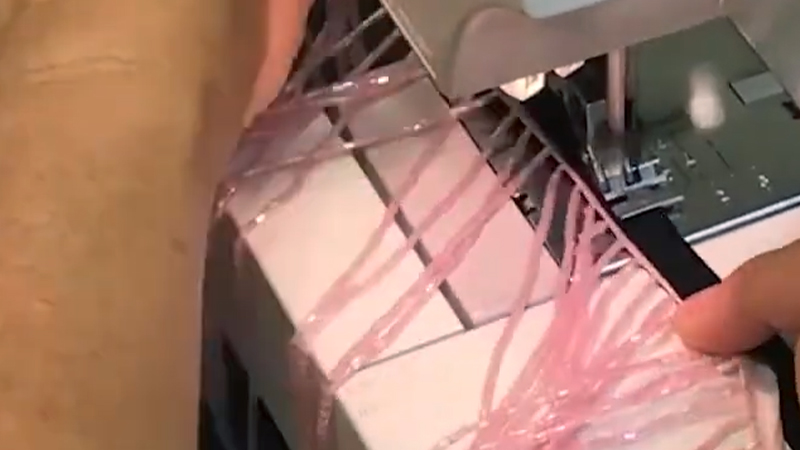
Begin sewing slowly, making sure that the needle catches both the trim and the fabric.
When using a sewing machine, guide the fabric and trim carefully to prevent stretching or bunching. Take your time and maintain a steady pace.
Step 6: Maintain Even Tension
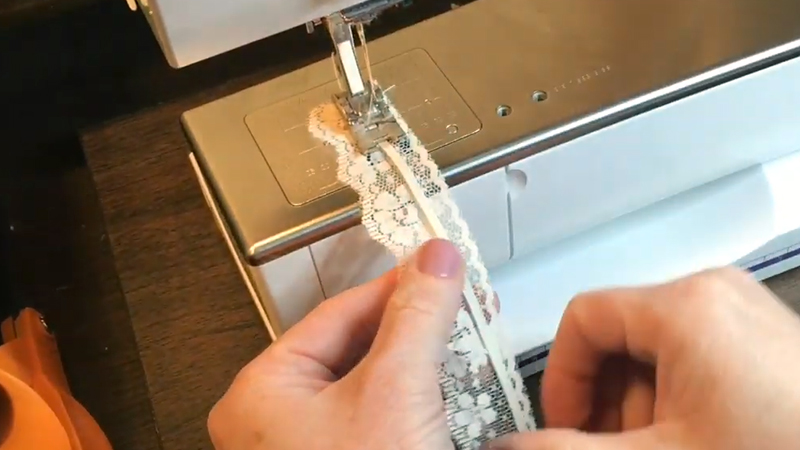
As you sew, gently pull the fabric and trim to ensure they remain aligned and under even tension. This helps in preventing any puckering or distortion along the seam.
Step 7: Backstitch at the Beginning and End
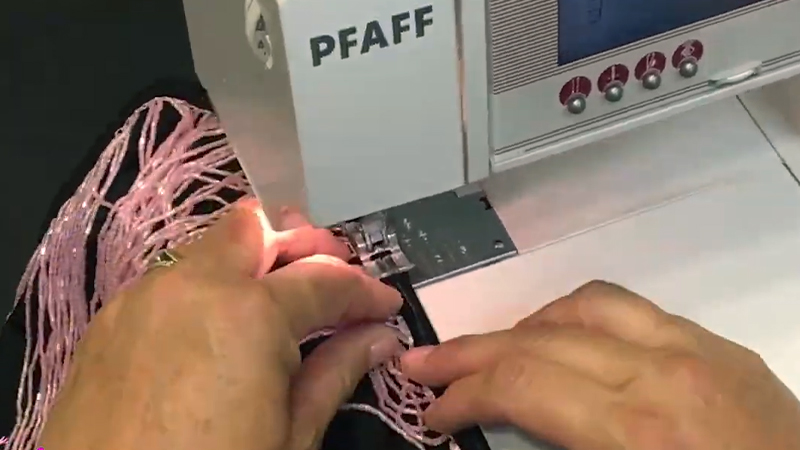
At the start and end of your seam, perform a few backstitches to secure the thread. This extra reinforcement prevents the thread from unraveling over time.
Step 8: Trim Excess Thread
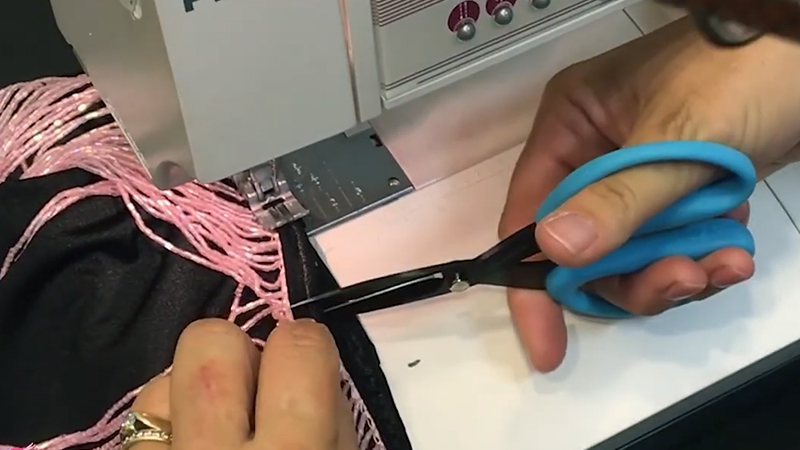
After trimming excess thread, take a moment to appreciate your work. Scrutinize the seam, ensuring it’s secure and even.
Pay special attention to any areas that might need reinforcement. This meticulous inspection guarantees a clean and professional finish.
Step 9: Press the Seam
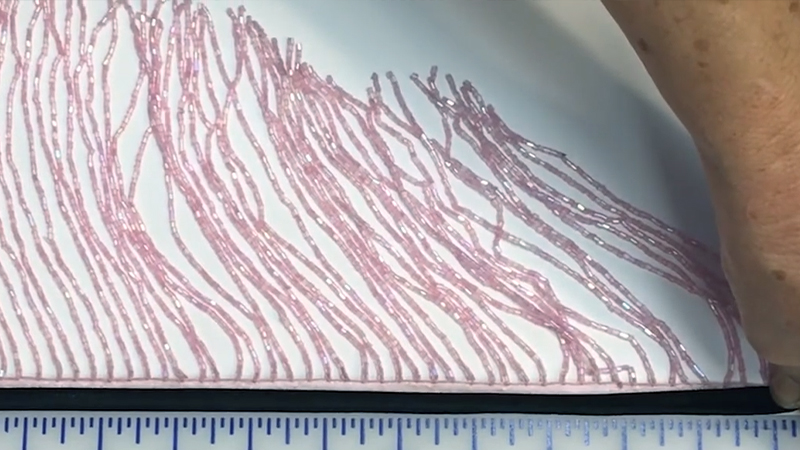
After sewing, gently press the seam with an iron. Press lightly in a low heat setting to avoid damaging the stretch fabric. This step helps to set the stitches and ensures a clean, professional appearance.
Step 10: Inspect and Make Adjustments
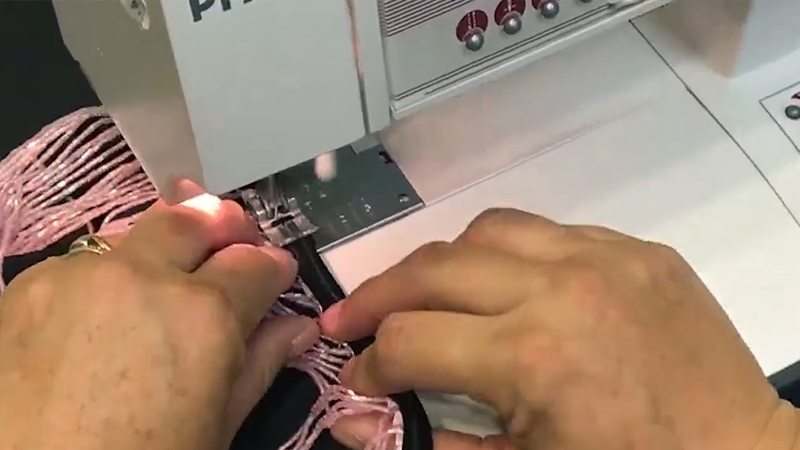
Thoroughly inspect the seam to ensure the trim is securely attached and the fabric maintains its stretch. If you notice any weak spots, reinforce them with additional stitching.
Step 11: Add a Top Stitch
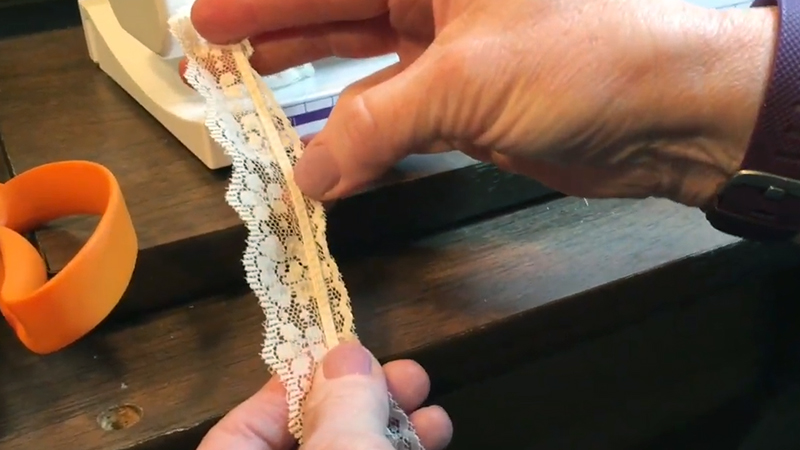
When you desire extra reinforcement or add a decorative touch, consider doing a top stitch along the edge of the trim. While this step is optional, it can provide a polished finish to your project.
Benefits of Sewing Non-stretch Trim to Stretch Fabric
Sewing non-stretch trim to stretch fabric offers several benefits that can enhance a garment’s overall appearance and functionality.
Here are some of the advantages:
Structural Support
Non-stretch trim can provide structural support to certain areas of a garment.
For example, adding a non-stretch trim along the neckline or armholes can help maintain their shape and prevent stretching over time.
Decorative Detail
Non-stretch trim adds a decorative element to the garment, allowing for customization and creativity. It can create intricate patterns, borders, or focal points on the fabric.
Stability and Durability
Non-stretch trim can reinforce seams and edges, making them more durable. This is particularly useful in areas that might experience extra stress, such as the opening of a zipper or the edges of a slit.
Prevents Edge Curling
The edges can sometimes curl when the stretch fabric is cut or manipulated. Adding a non-stretch trim along the edge helps to stabilize and prevent this curling, ensuring a neat finish.
Finishing Touch
It provides a polished and finished look to the garment. A well-chosen trim can elevate the overall appearance, giving the garment a professional and refined aesthetic.
Color and Texture Contrast
Non-stretch trim can introduce a contrasting color or texture to the garment, creating visual interest and focal points. This can be particularly effective for highlighting specific design elements.
Versatility in Design
Combining non-stretch trim with stretch fabric allows for broader design options. Designers can incorporate different textures, patterns, and materials to achieve a unique and eye-catching look.
Prevents Stretching in High-Tension Areas
Non-stretch trim can be strategically placed in areas prone to stretching, such as necklines and cuffs. This helps maintain the shape and fit of the garment over time.
Easy Application
Sewing non-stretch trim can be relatively straightforward, even for beginners. It’s a manageable way to add intricate details to a garment without requiring advanced sewing skills.
Customizable Design Elements
By choosing from a wide variety of available trims, you can customize your garment’s look to suit your style or match a specific theme or occasion.
Tips and Tricks for Sewing Non-stretch Trim to Stretch Fabric
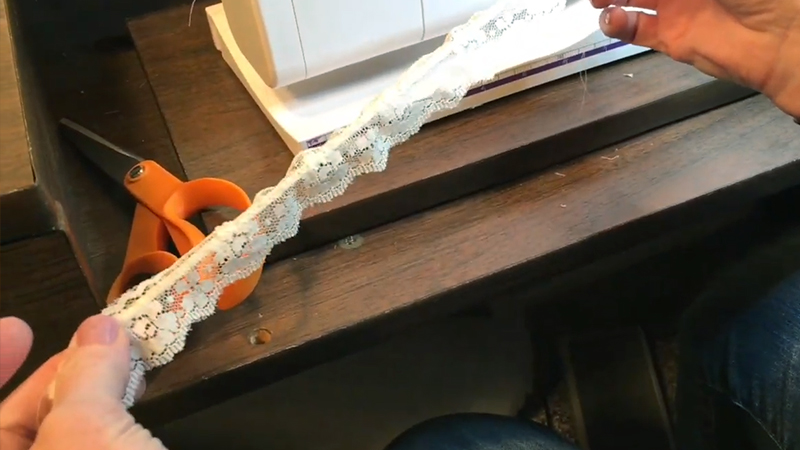
Sewing non-stretch trim to stretch fabric requires some special considerations.
Here are some tips and tricks to help you achieve a clean and professional result:
Choose Complementary Materials
Select a non-stretch trim that complements the stretch fabric in color, texture, and style. This ensures a cohesive and visually appealing finished product.
Stabilize the Stretch Fabric
To prevent distortion or puckering, consider using a stabilizer or interfacing on the area where you’ll attach the trim. This provides additional support to the stretch fabric.
Use a Stretch Needle
When sewing stretch fabric, use a ballpoint or stretch needle. These penetrate the fabric without causing snags or runs, allowing for smooth stitching.
Select the Right Thread
Opt for a high-quality polyester thread that has some elasticity. This will provide durability and flexibility, ensuring the stitches move with the fabric.
Use a Stretch Stitch
Set your sewing machine to a stretch, like a narrow zigzag stitch. This stitch type allows the fabric to stretch without putting too much strain on the thread.
Pin with Care
Use plenty of pins to secure the trim in place. Ensure that the trim is evenly aligned along the edge of the fabric to prevent any unevenness or bunching.
Stretch as You Sew
Pull the fabric and trim as you sew, keeping them aligned and under even tension. This helps maintain the stretchability of the fabric while ensuring a secure attachment.
Test on Scrap Fabric
Before sewing on your main project, practice on a scrap piece of fabric to get a feel for how the trim interacts with the stretch material. This allows you to adjust tension settings if needed.
Backstitch for Security
To secure the thread, always begin and end your seam with a few backstitches. This extra reinforcement prevents the thread from unraveling over time.
Press with Caution
When necessary, press the seam with an iron using a low-heat setting. Be cautious not to over-press, as excessive heat can damage the stretch fabric. Use a pressing cloth if needed.
Inspect and Reinforce Weak Areas
Thoroughly inspect the seam to ensure that the trim is securely attached. When you notice any weak spots, reinforce them with additional stitching.
FAQs
Can I sew non-stretch trim directly onto stretch fabric without any preparation?
Stabilizing the stretch fabric first is recommended. Consider using a stabilizer or interfacing to provide additional support before attaching the non-stretch trim.
What needle should I use to sew non-stretch trim onto stretch fabric?
Use a ballpoint or stretch needle. These specialized needles are designed to work with stretch fabrics without causing snags or runs.
How do I prevent the trim from puckering or distorting the stretch fabric?
Pull the fabric and trim as you sew, ensuring they are aligned and under even tension. This helps maintain the stretchability of the fabric while securely attaching the trim.
Is it necessary to use a stretch stitch on my sewing machine?
Yes, it’s recommended to use a stretch stitch, such as a narrow zigzag stitch.
Can I iron the seam after attaching non-stretch trim to stretch fabric?
Yes, but use caution. Use a low heat setting on your iron and press lightly.
Wrap Up
The non-stretch trim into stretch fabric requires a delicate balance of technique and materials. The successful fusion of these contrasting elements hinges on careful planning and execution.
You ensure a harmonious blend of style and functionality by selecting complementary materials and using specialized tools like stretch needles and elastic threads.
The importance of stabilizers, meticulous pinning, and gentle stretching during sewing cannot be overstated.
Practice and patience are your allies; test on scrap fabric before embarking on the main project. Secure each seam with backstitches, and trim excess threads for a polished result.
This non-stretch trim and stretch fabric union yields beautifully functional garments that seamlessly marry form and function.
Leave a Reply