The art of changing colors in cross stitches is a pivotal skill for every needlework enthusiast. Cross stitch, with its intricate patterns and vibrant hues, thrives on the seamless transition from one color to another.
Whether you’re crafting intricate designs or just starting out, mastering the art of color change enhances the beauty and precision of your work. This technique elevates your cross stitch from a simple hobby to a captivating art form.
In the following guide, we will delve into the step-by-step process of changing colors in cross stitch, offering valuable insights and tips to ensure your stitching projects are a testament to precision and creativity.
What Is Cross Stitch?
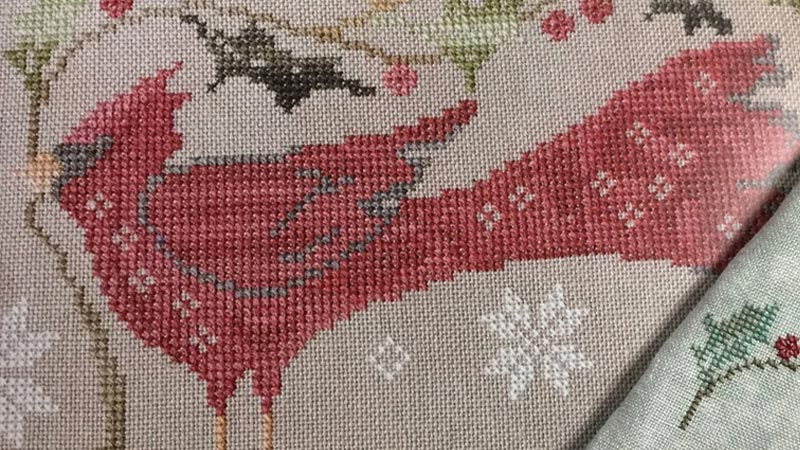
Cross stitch is a form of needlework that creates intricate patterns on fabric using X-shaped stitches. It’s a popular and timeless craft, often used to make decorative items like samplers, ornaments, and framed art.
Cross stitch typically involves a grid of evenly spaced squares, each representing a single stitch.
Crafters follow a pattern chart that maps out the placement and color of each stitch, corresponding to a specific thread color. The stitches are worked in rows, building up the design.
With its simplicity and versatility, cross stitch appeals to both beginners and experienced needleworkers, offering a therapeutic and rewarding creative outlet.
How to Change Colors in Cross Stitch?
Changing colors in cross stitch is a crucial skill for creating intricate and colorful designs. Whether you’re a beginner or an experienced cross-stitcher, mastering this technique is essential. Here’s a step-by-step guide on how to change colors in cross stitch:
Materials You’ll Need:
- Cross-stitch fabric with your pattern marked or printed on it.
- Embroidery floss in the colors specified in your pattern.
- Embroidery needle (usually a size suitable for your fabric).
- Embroidery scissors.
- Pattern chart with color symbols.
Prepare Your Work Area
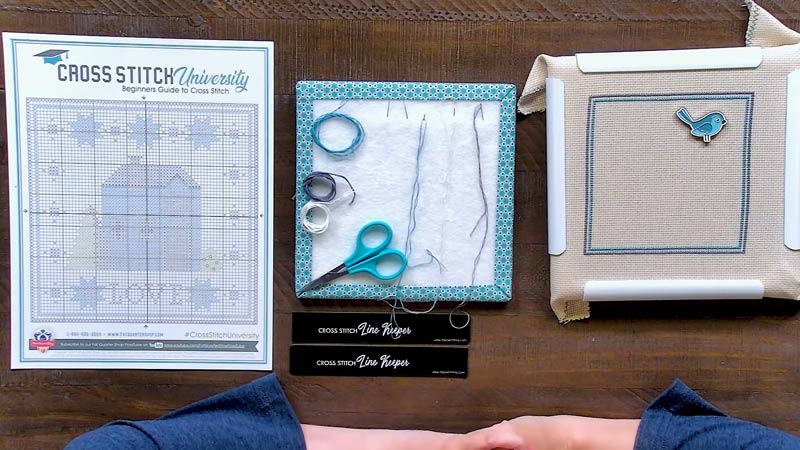
Set up a clean, well-lit workspace. Ensure you have ample room to spread out your materials. Arrange your cross-stitch fabric with the pattern facing up, ensuring it’s taut in the hoop or frame.
Have your embroidery floss neatly organized by color, and keep your pattern chart within easy reach for reference.
Thread Your Needle
Select the color indicated in your pattern. Cut a comfortable length of embroidery floss, usually around 18-24 inches.
For most projects, use all six strands twisted together, but adjust according to your pattern or preference. Thread your needle, leaving a short tail. This tail will be anchored later.
Start Stitching
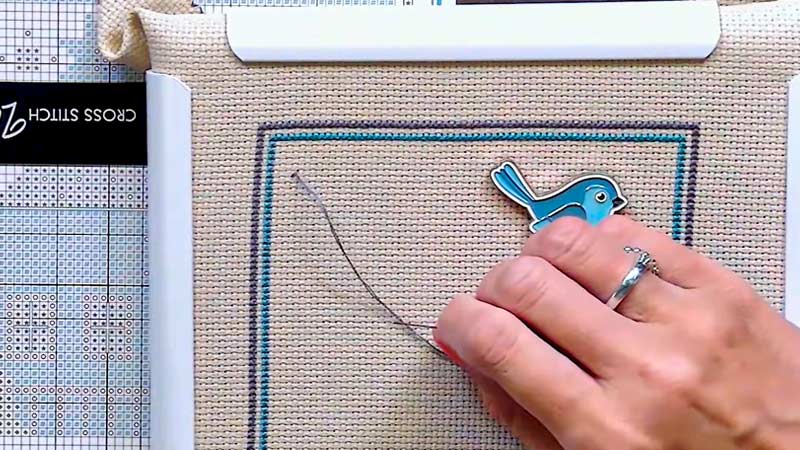
Begin stitching according to your pattern, following the designated symbols or colors. Use a gentle, even tension for neat, uniform stitches.
When you approach the end of your floss or need to change colors, avoid tying knots, as they can create unsightly bumps on the back of your work.
Anchor Your Thread
To secure the tail and prevent it from unraveling, weave it under the existing stitches on the back of your fabric.
This technique, called “railroading,” ensures a clean finish without any knots. Create a small loop and stitch over it with your next few stitches to secure the thread further.
Prepare for Color Change
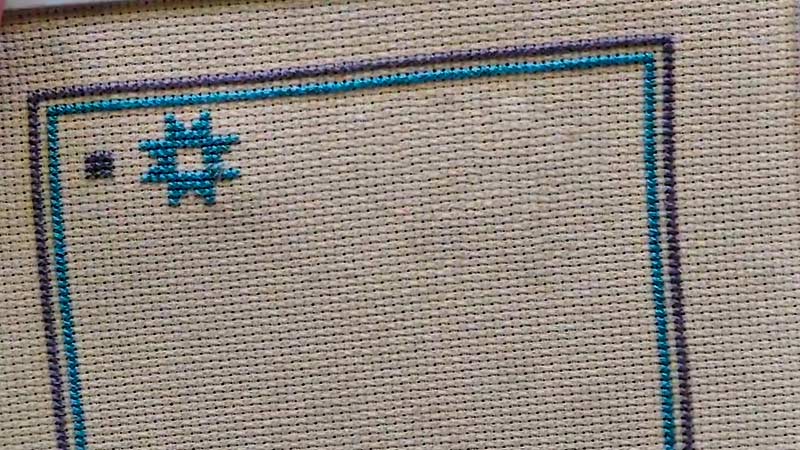
Before changing colors, complete your last stitch with the old color by pulling the needle through to the back.
Leave a short tail, approximately one inch in length, on the backside of the fabric. This tail will be woven in later to ensure a secure hold.
Cut and Secure the Old Color
Trim the tail of the old color, leaving about an inch. Thread this tail through the eye of your needle.
With the needle, weave the tail under the existing stitches on the back of the fabric. Ensure it’s tightly secured, and trim any excess floss to maintain a tidy appearance.
Thread the New Color
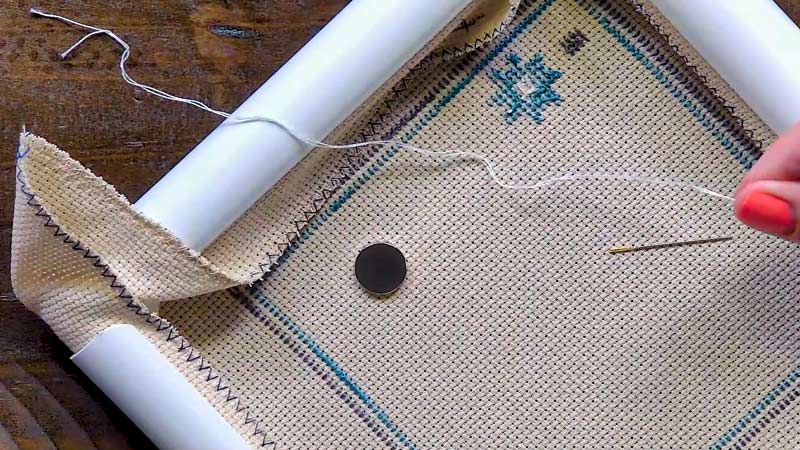
Select the next color indicated in your pattern and thread your needle with it, as you did in Step 2. Once again, leave a short tail at the end.
Begin Stitching with the New Color
Start stitching with the new color at the designated spot on your pattern. As you work, make sure to cover the loose ends of the old color.
This technique ensures a smooth transition between colors on the front of your fabric, resulting in a polished and professional appearance.
Secure the Tails
Turn your fabric over after you’ve stitched a few stitches with the new color. Using your needle, weave the tails of both the old and new colors under the existing stitches on the back.
Take care to weave them through multiple stitches for a secure hold. Trim any excess floss, leaving a clean and tidy finish.
Continue Stitching
Repeat these steps when you must change colors while working on your cross-stitch pattern.
Consistently ensuring that the tails are securely fastened on the backside of the fabric will prevent them from coming undone or showing through to the front.
How do you change colors in cross-stitch without knots?
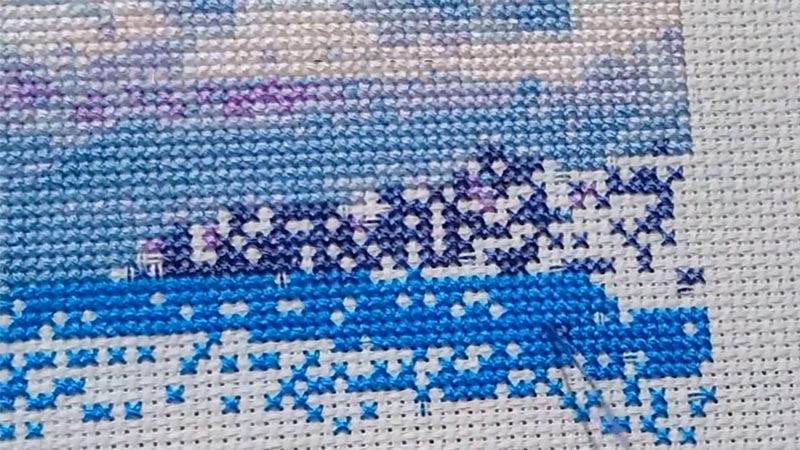
Changing colors in cross-stitch without using knots is a technique that results in a cleaner and more professional finish.
Here’s a step-by-step guide on how to do it:
Complete the Last Stitch with the Old Color
Before changing colors, complete your last stitch with the old color by pulling the needle through to the back. Leave a small tail (about 1 inch) on the backside for weaving in later.
Cut and Secure the Old Color
Trim the tail of the old color, leaving about 1 inch. Thread this tail through the eye of your needle.
Weave the tail under the existing stitches on the back of the fabric, making sure it’s tightly secured.
Thread the New Color
Select the next color indicated in your pattern and thread your needle with it, leaving a small tail at the end.
Begin Stitching with the New Color
Start stitching with the new color at the designated spot on your pattern. Cover the loose ends of the old color as you go to create a smooth transition between colors on the front of your fabric.
Secure the Tails
Turn your fabric over after stitching a few stitches with the new color. Using your needle, weave the tails of both the old and new colors under the existing stitches on the back. Ensure they are securely fastened, and trim any excess floss for a clean finish.
Common Cross-Stitch Mistakes: How to Overcome?
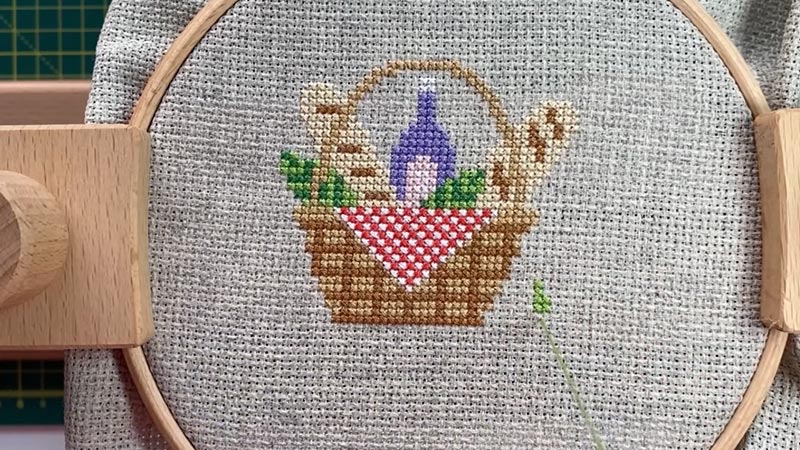
A new color in cross-stitching can be both exciting and challenging. However, it’s not uncommon to encounter a few stumbling blocks along the way.
Here are some common cross-stitch mistakes that often occur when changing colors, along with effective strategies to overcome them:
Uneven Transitions
To ensure smooth color transitions, carefully anchor and secure the tail of the old thread before starting with the new color. This prevents any loose threads from peeking through.
Tangling Threads
Be mindful of the threads when switching colors to avoid tangles or knots. Keeping your threads organized and using a railroading technique can help alleviate this issue.
Incorrect Thread Counts
Double-check your pattern to ensure you use the correct number of strands for each color. Using too many or too few strands can result in an uneven appearance.
Choosing Incompatible Colors
Pay close attention to your pattern’s color codes. Sometimes, similar shades can be easily mistaken. Use a color chart or thread organizer to double-check your choices.
Messy Backside
Secure thread ends neatly on the back of your work to prevent a messy appearance. This also ensures threads won’t come loose over time.
Ignoring Stitch Direction
Consistent stitch direction is crucial for a polished finish. Always cross your stitches in the same direction for a uniform look.
Not Checking for Dye Lots
When using multiple skeins of the same color, ensure they’re from the same dye lot to avoid subtle variations in shade.
Skipping Anchor Stitches
Always include anchor stitches when starting or finishing a new color. This reinforces the thread, preventing it from slipping out.
Rushing the Process
Take your time when transitioning colors. Rushing can lead to mistakes, so work methodically and double-check your work.
Not Testing Colors
When unsure about a color choice, test it on a small, inconspicuous area of your fabric before committing to the entire project.
FAQs
Why is it important to change colors in cross stitch?
Changing colors in cross stitch allows you to create intricate, multi-hued designs. It adds depth, dimension, and realism to your work, making it visually captivating.
How do I choose the right colors for my cross-stitch project?
Refer to your pattern’s color chart or key to select the appropriate shades. Consider factors like fabric color, lighting, and personal preference to ensure a harmonious result.
What is the “railroading” technique mentioned in the steps?
“Railroading” is a method used to prevent tangles and create even, polished stitches.
Can I use knots to secure my thread when changing colors?
While knots can be used, they may create a lumpy texture on the back of your work. It’s generally recommended to avoid knots and instead weave in ends for a neater finish.
How can I prevent fabric puckering when changing colors?
Maintain a consistent tension on the thread and avoid pulling it too tightly. Using a hoop or frame to keep the fabric taut can also help prevent puckering.
Wrap Up
Mastering the skill of changing colors in cross stitches opens up a world of creative possibilities. Your stitches come to life with each precise transition, weaving a tapestry of vibrant hues and intricate designs.
The meticulous attention to detail ensures a polished finish, transforming your work into a testament of patience and artistry.
Embracing this technique elevates your cross-stitch projects from mere crafts to captivating handmade art pieces. Remember, practice and patience are your steadfast companions on this creative journey.
So, go forth with confidence, armed with the knowledge to change colors seamlessly, and let your cross-stitch creations dazzle with their stunning array of shades
Leave a Reply