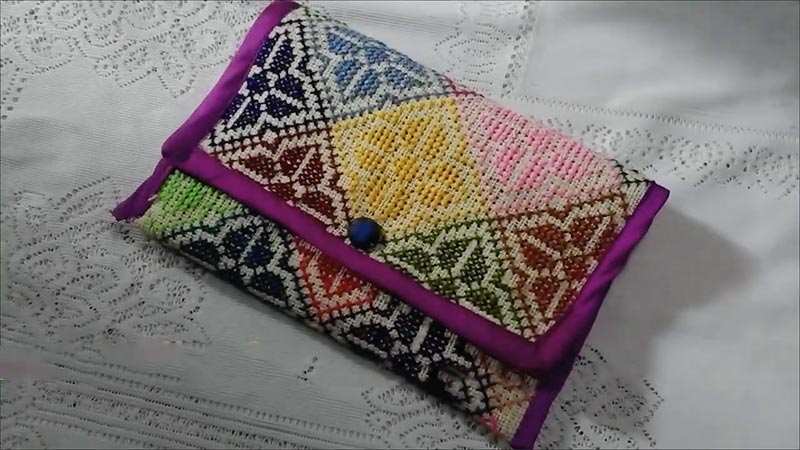
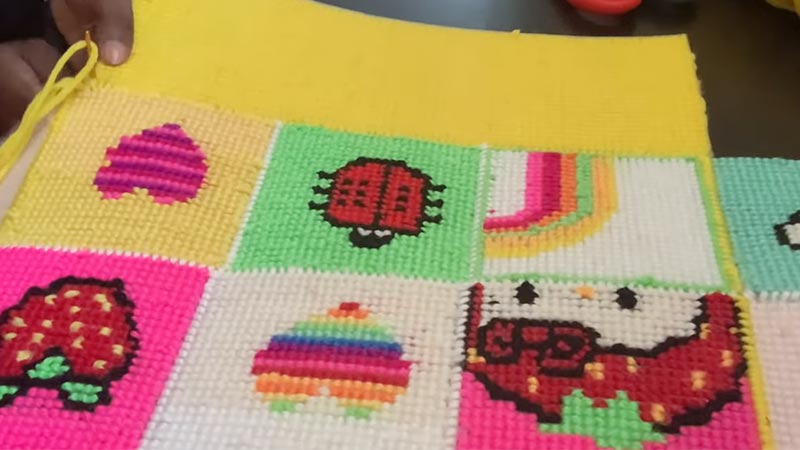
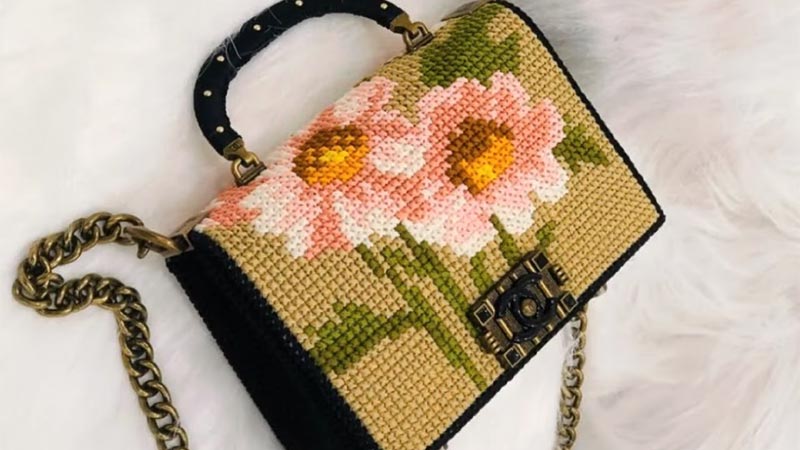
Cross-stitching on a canvas bag is a delightful fusion of artistry and functionality, transforming an everyday item into a personalized masterpiece.
This craft merges the timeless appeal of cross-stitching with the practicality of a canvas tote, resulting in a unique accessory that reflects your creativity and style.
This guide explores the step-by-step process of embellishing a canvas bag with intricate cross-stitch patterns or your own bespoke designs.
Whether you’re a seasoned cross-stitch enthusiast or a beginner seeking a creative outlet, this tutorial will help you breathe new life into your canvas bags, making them both fashionable and sentimental.

How to Cross Stitch on Canvas Bag?
Cross-stitching on a canvas bag is a wonderful way to add a personalized touch to an everyday item.
Whether you want to create a unique gift or express your creativity, this craft project can be both fun and rewarding.
Here’s a step-by-step guide on how to cross-stitch on a canvas bag:
Materials You’ll Need:
- Canvas Bag.
- Embroidery Floss.
- Cross Stitch Needle.
- Embroidery Hoop.
- Embroidery Scissors.
- Graph Paper.
- Graph or Cross Stitch Pattern.
Prepare Your Design
When you’re using a pre-made pattern, consider printing it out in the size you want. When creating your own design, graph paper will provide a structured canvas for your imagination.
This step is essential for visualizing the final result and ensuring it fits harmoniously on the bag.
Mark the Center
To locate the center of your canvas bag accurately, fold it gently, both horizontally and vertically.
This creates intersecting creases that pinpoint the exact middle. Mark this spot lightly with a pencil or a water-soluble fabric marker, ensuring your design will be symmetrical.
Secure the Bag
Placing your bag within the embroidery hoop might take some maneuvering, but tightening the hoop to secure the fabric once centered.
Ensuring the canvas is taut is vital for clean and even stitching, as it prevents the material from puckering or bunching.
Thread the Needle
Cut a length of embroidery floss, approximately 18-24 inches long. Thread it through the eye of the needle. For cross stitching, using a single strand of floss is customary to maintain a delicate and refined appearance.
Begin Stitching
Position the needle at the backside of the fabric, bringing it up through the center hole of your first cross stitch.
This initial stitch sets the foundation for your design. If you’re using a pattern, be sure to refer to it for color placement and stitch direction.
Complete the Cross Stitch
Move the needle at the front diagonally across the fabric to create an “X” shape.
Ensure that your stitches are consistent in size and direction, maintaining a neat appearance. This repetition creates a distinctive cross-stitch pattern.
Continue Stitching
Work row by row, adhering to your chosen pattern or design. Begin each new row by bringing the needle up through the fabric, and complete each stitch before moving on to the next. This systematic approach ensures your design takes shape with precision.
Finish and Secure
When you’ve completed your design, secure the last stitch at the back of the bag. Tie a small knot with the floss and trim any excess thread. This ensures your hard work remains intact, even with regular use.
Remove from the Hoop
Loosen the embroidery hoop, be careful not to disturb your stitches, and gently remove the bag. Take a moment to inspect your work and make any necessary adjustments to ensure your cross-stitch design is just how you envisioned it.
Preventive Techniques for Your Canvas Bag From Fraying While Stitching

Preventing your canvas bag from fraying while cross-stitching is essential for creating a clean, long-lasting design.
Here are some preventive techniques to keep your canvas bag from fraying:
Select a Quality Canvas Bag
Opt for a canvas bag made from high-grade, tightly woven material. Thicker canvas provides a sturdier base for your stitches and resists fraying more effectively than thinner, loosely woven fabric.
Use a Hoop or Frame
Employing an embroidery hoop or frame is akin to giving your canvas bag a supportive structure.
By keeping the fabric taut, it minimizes any unnecessary movement, which, in turn, reduces the likelihood of fraying along the edges.
Secure the Edges
Take proactive measures by securing the edges of the canvas before you start stitching. Masking tape or clear nail polish can act as a protective barrier.
Apply them along the edges, allowing them to dry thoroughly. This creates a sturdy seal that deters fraying.
Fray Check or Fray Stopper
These specialized products are tailor-made to prevent fraying. Apply them along the edges of the fabric, and as they dry, they form a protective seal.
This seal protects against fraying, ensuring your fabric remains intact.
Use a Larger Needle
Opt for a larger, blunt-tipped needle. This choice reduces friction and potential damage to the fabric, allowing for smoother and safer stitching.
Avoid Excessive Tension
Practice moderation when it comes to tension. Avoid pulling the stitches too tightly, which can cause the fabric to pucker and fray.
Maintain an even, comfortable tension to safeguard against unnecessary wear.
Finish Knots Securely
Properly securing your thread at the end of each stitch is crucial. Tie knots tightly and neatly on the backside of the fabric.
This prevents loose threads from unraveling and causing fraying over time.
Consider Backing Material
When fraying remains a concern, consider stitching your design on a separate piece of fabric like Aida cloth.
Later, attach this piece to the canvas bag. This way, the bag itself is subjected to less wear and tear, preserving its integrity.
Plan Your Design Carefully
When crafting your pattern, be mindful of intricate details or designs that might necessitate a high density of stitches near the edges. By strategically placing your design elements, you can reduce the risk of fraying in vulnerable areas.
Caring for the Finished Product

Caring for your finished cross-stitched canvas bag ensures its longevity and preserves the beauty of your handiwork.
Here are some essential tips for proper maintenance:
Handwashing
To maintain the integrity of the stitching and prevent fraying, it’s best to handwash your canvas bag in cold water with a mild detergent.
Gently agitate the bag, paying special attention to any stained areas. Rinse thoroughly and avoid wringing or twisting the fabric.
Air Drying
After washing, lay the bag flat on a clean towel to air dry. Avoid direct sunlight or heat sources, which can cause colors to fade and weaken the fabric.
Ironing
Iron the bag on the reverse side using a low heat setting when necessary. Place a thin cloth or pressing cloth between the iron and the fabric to protect the stitches. Do not iron directly on the cross-stitching.
Avoid Abrasion
Be mindful of where you place or use your bag. Avoid dragging it against rough surfaces or exposing it to sharp objects that could snag the stitches.
Store Properly
Store your canvas bag in a cool, dry place away from direct sunlight when not in use. Place it in a dust bag or cover to protect it from dust and dirt if possible.
Avoid Harsh Chemicals
Refrain from using harsh chemicals or bleach on your bag, as they can weaken the fabric and fade the colors.
Repair as Needed
When you notice any loose threads or small areas of fraying, attend to them promptly. Use a small, sharp needle to resecure loose stitches, and consider applying a bit of fray check to prevent further fraying.
FAQs
Can I use any canvas bag for cross-stitching?
It’s best to choose a bag made of sturdy canvas material. Thicker canvas holds stitches better, providing a stable surface for your embroidery.
What kind of needle and thread should I use?
Use a blunt-tipped tapestry needle for cross-stitching. It prevents damaging the fabric. Opt for embroidery floss, and use a single strand for a delicate finish for cross stitching.
How do I transfer a pattern onto the bag?
You can either draw your own design or use pre-made patterns. To transfer, use a water-soluble fabric marker or trace the pattern with a pencil using a lightbox.
What if I make a mistake while stitching?
No worries! You can carefully remove stitches using a seam ripper or the pointed tip of your needle. Take your time to avoid damaging the fabric.
How can I ensure my stitches are even and neat?
Using an embroidery hoop keeps the fabric taut, making it easier to create uniform stitches. Additionally, take your time and double-check your work periodically for consistency.
Wrap Up
Embarking on the journey of cross-stitching on a canvas bag opens a world of creative possibilities.
You’ve transformed a simple tote into a work of art imbued with your unique style through patient stitches and thoughtful designs.
This process hones your cross-stitching skills and adds a personal touch to your everyday life.
The end result is a bag that carries not just belongings but also a piece of your heart and creativity.
As you proudly display your handiwork, remember that every stitch tells a story, and your canvas bag is a testament to the power of artistry and imagination. Carry it with pride, knowing you’ve created something truly special.
Leave a Reply