Gridding is a pivotal technique in cross-stitching, imparting precision and order to the creative process. By employing a pen, this method involves sketching a grid on the fabric, serving as a steadfast guide for stitch placement.
This meticulous approach ensures alignment and stitch count accuracy, particularly in intricate or expansive designs. However, selecting the right pen and mastering the gridding process is essential.
In this guide, we’ll delve into the art of gridding with a pen, providing step-by-step instructions and valuable tips to enhance your cross-stitching endeavors.
Embrace this technique to elevate the quality and refinement of your cross-stitch projects.
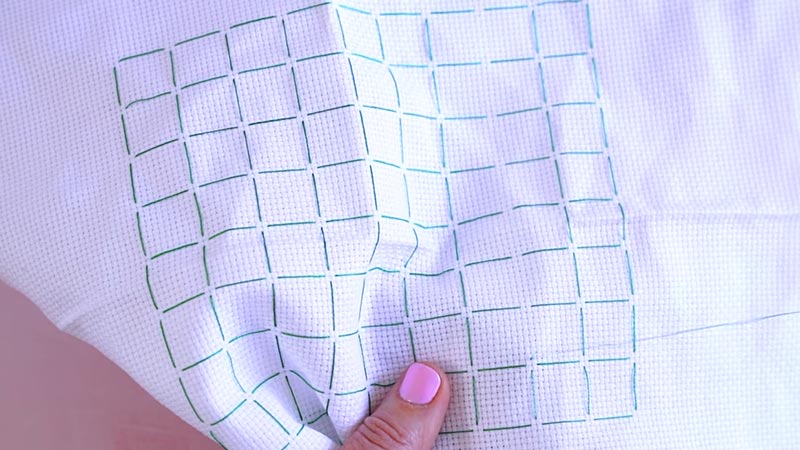
What Is Gridding?
Gridding in cross-stitching is a technique that involves creating a grid of lines on the fabric using a pen or pencil. This grid serves as a guide for accurately placing stitches according to a cross-stitch pattern.
By dividing the fabric into smaller, manageable sections, gridding helps stitchers maintain alignment and count, especially in intricate or large-scale designs.
After completing the stitching, the grid lines can be removed, leaving behind a beautifully crafted cross-stitch project.
This method enhances accuracy and efficiency, making it a valuable tool for cross-stitch enthusiasts.
How to Grid Cross Stitch With Pen?
Grid cross stitch, also known as gridding, is a technique used by cross-stitch enthusiasts to make the stitching process more accurate and efficient.
This method involves creating a grid of lines on your fabric with a pen or pencil to guide your cross-stitch pattern.
Here’s a step-by-step guide on how to grid cross-stitch with a pen:
Materials You’ll Need:
- Cross-stitch fabric.
- A pen or pencil.
- Ruler.
- Pattern.
Step-by-Step Guide:
Step 1: Prepare Your Workspace
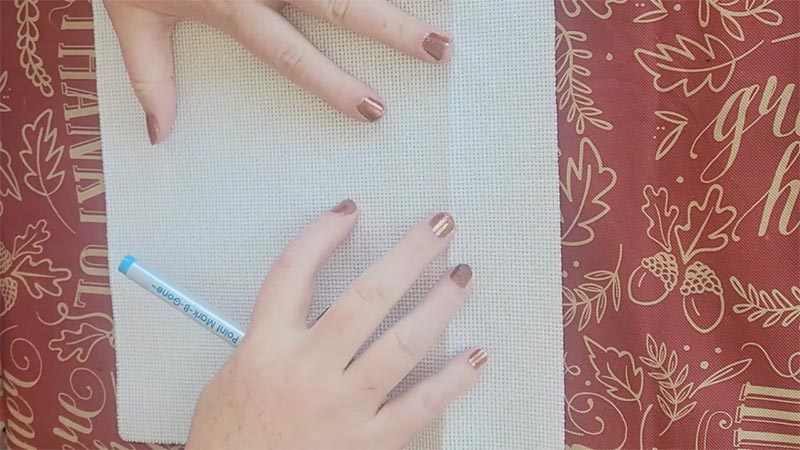
Create a dedicated crafting area with ample lighting. Ensure good ventilation to keep your workspace comfortable. Lay a clean, flat surface and spread out your materials.
Ensure there’s no dust or debris interfering with your work. Have a container handy to keep your pens, ruler, and other tools organized and within easy reach.
Step 2: Select Your Grid Size
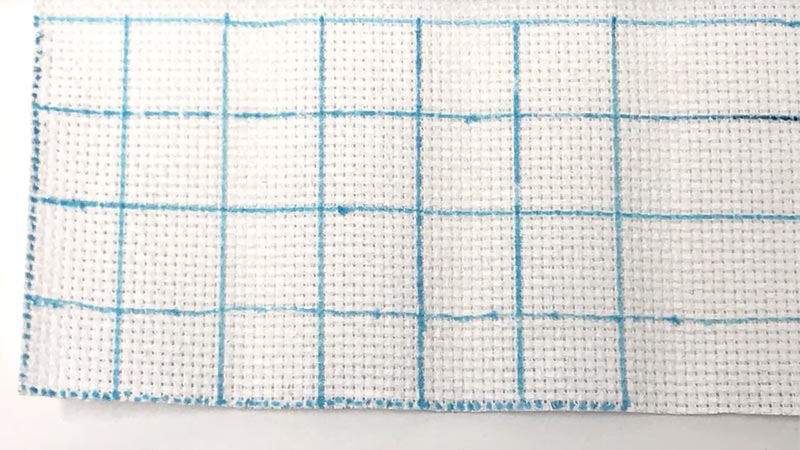
Consider the intricacy of your pattern and the fabric count. For highly detailed designs or higher fabric counts, a smaller grid-like 10×10 might be beneficial.
Larger, simpler designs or lower fabric counts may benefit from a larger grid, like 20×20. Adjust the grid size to strike the right balance between precision and ease of use for your specific project.
Step 3: Measure and Mark the Center
Carefully fold your fabric in half, both horizontally and vertically. Gently mark the center with a clear, easily removable dot or cross.
This central point will serve as your anchoring reference for creating the grid, ensuring that it’s perfectly aligned with the fabric.
Step 4: Create the Horizontal Lines
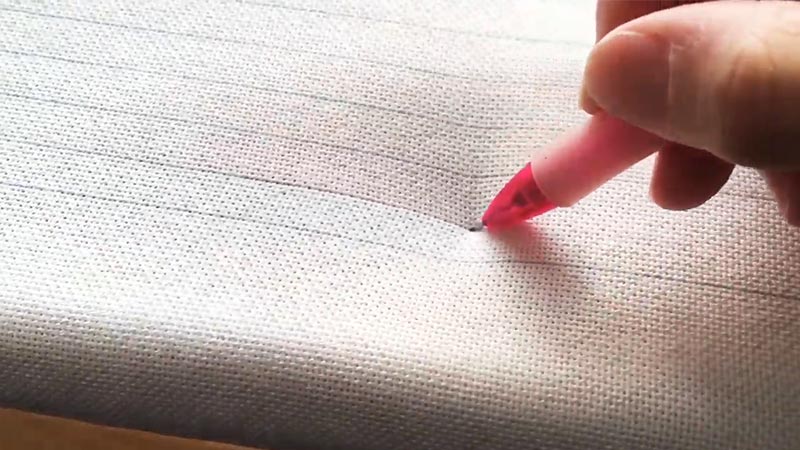
Draw the horizontal lines across your fabric with a steady hand and use a straight-edged ruler. Begin from the central point and extend the lines out to the edges of the fabric.
Pay close attention to maintaining straight lines and even spacing, adhering closely to your chosen grid size.
Step 5: Create the Vertical Lines
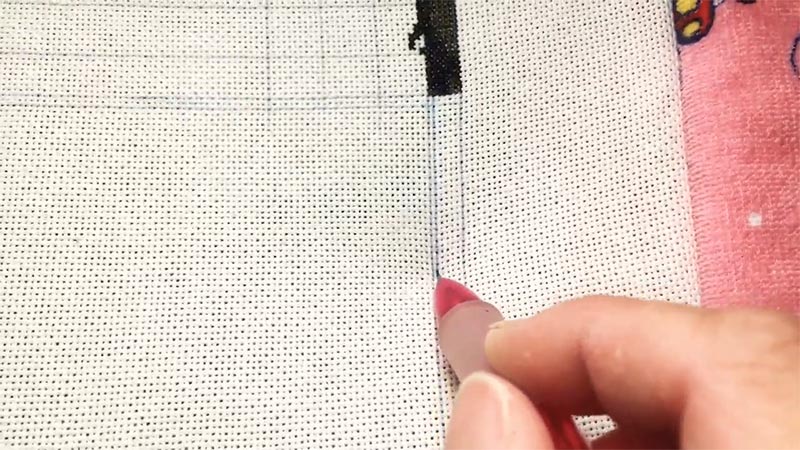
Continue with the same precision as you draw the vertical lines, intersecting them at right angles to the horizontal lines.
The point of intersection will create a precise grid pattern on your fabric, providing a clear roadmap for your cross-stitch work.
Step 6: Label the Grid
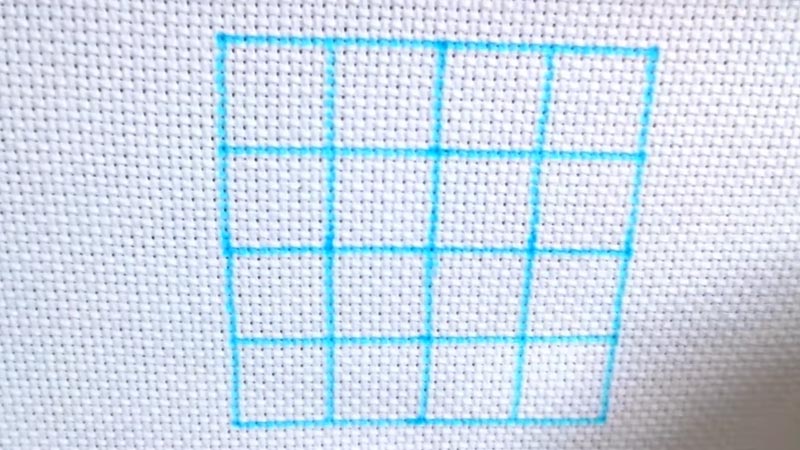
Assign a unique label or number to each grid square. Ensure that these labels correspond accurately with the symbols or numbers from your cross-stitch pattern.
This labeling system is an invaluable aid in keeping track of your progress and ensuring each stitch finds its proper place.
Step 7: Begin Stitching
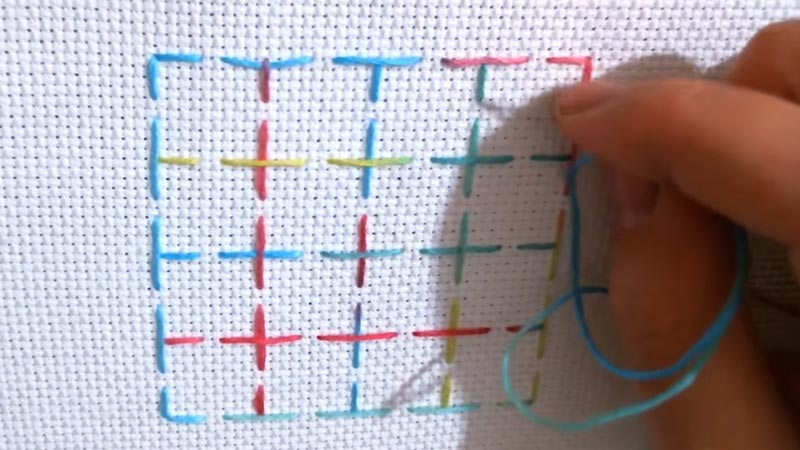
With your grid in place, consult your pattern and start cross-stitching. Utilize the grid lines as a guiding framework for precisely placing your stitches.
Begin with sections that are most accessible and work methodically through your design, aligning each stitch with the corresponding grid square.
Step 8: Clean Up
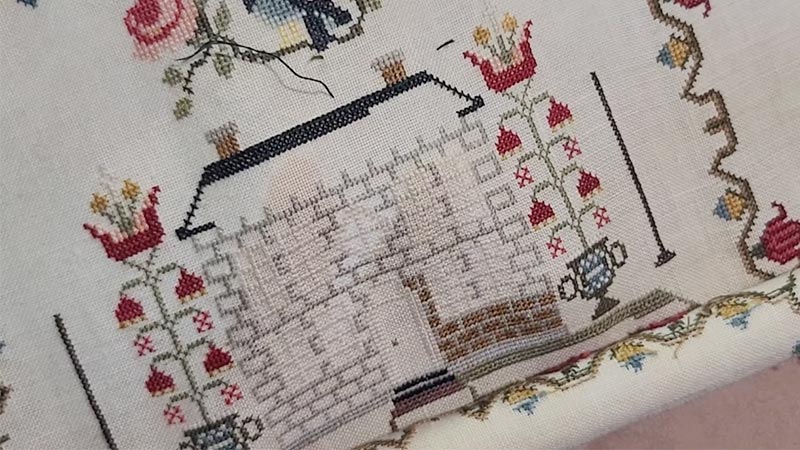
After completing your cross-stitch project, it’s time to remove any lingering grid lines. If you use a water-soluble ink pen, gently wash the fabric according to the manufacturer’s instructions.
When a pencil is used, carefully erase the lines. Take extra care during this step to preserve the integrity of your finished masterpiece.
What Kind of Pen Is Suitable for Gridding?
When gridding for cross-stitch projects, it’s important to use a pen that won’t damage your fabric and can be easily removed after you’ve completed your stitching.
The most suitable types of pens for gridding in cross-stitch include:
Water-Soluble Ink Pens
These pens use ink that can be dissolved in water. They are one of the most popular choices for gridding because the ink is easy to remove.
Dab a damp cloth or sponge over the grid lines; the ink should disappear without leaving residue on your fabric.
Fading Ink Pens
Some pens use ink that naturally fades over time or with exposure to light and air. These pens are a good option for a more gradual removal process without using water.
Remember that the fading process may take longer, so it’s best suited for projects where the grid lines won’t be visible in the final piece.
Air-Soluble Pens
These pens use ink that evaporates over time when exposed to air. While they can be convenient for gridding, be aware that the lines may disappear before you finish your project, so they’re best suited for quick-to-complete designs.
Fabric Marking Pencils
Fabric marking pencils with erasable or washable lead are also a suitable choice. They allow you to create grid lines without ink and are easily removable with an eraser or by washing.
Tips for Gridding With a Pen
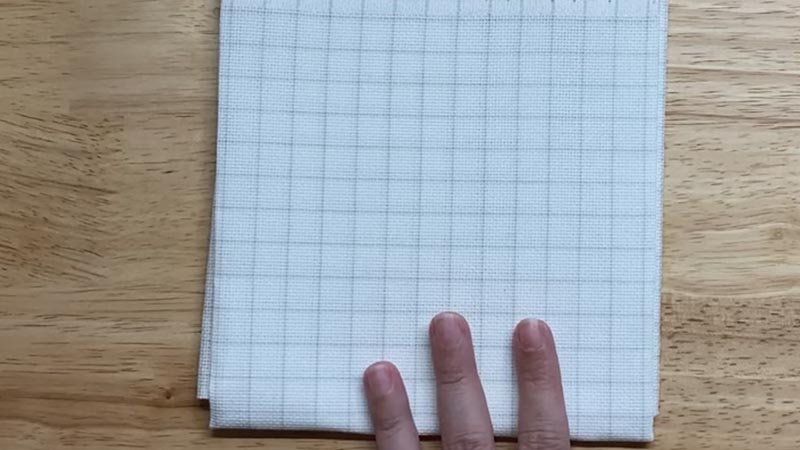
Gridding with a pen is a valuable technique in the world of cross-stitching, enhancing accuracy and efficiency in your projects.
When done correctly, it provides a clear roadmap for placing each stitch, ensuring that your final piece truly reflects your pattern.
Here are some tips to help you make the most out of this technique:
Choose the Right Pen
Opt for a water-soluble pen with ink designed to fade over time. This ensures that the grid lines won’t interfere with your final design and can be easily removed after you’ve completed your stitching.
Test on Scrap Fabric
Before gridding your main project, practice on a scrap piece of fabric with the same characteristics. This will help you get a feel for the pen and ensure it behaves as expected on your chosen material.
Light Hand and Straight Lines
Use a light touch when drawing the grid lines. Apply even pressure to the pen to prevent the ink from bleeding into the fabric. Keep your lines straight and well-aligned to maintain accuracy.
Measure Twice, Draw Once
Take your time to measure and mark the center of your fabric accurately. This initial point is the foundation for the entire grid, so precision here is crucial.
Choose an Appropriate Grid Size
Consider the complexity of your pattern and the fabric count when determining the grid size. A smaller grid (e.g., 10×10) may be ideal for intricate designs, while a larger grid (e.g., 20×20) could be more suitable for simpler patterns.
Label Grid Squares Clearly
Use distinct labels or numbers for each grid square. Ensure they correspond accurately with the symbols or numbers from your cross-stitch pattern. Clear labeling will help you keep track of your progress.
Avoid Grid Overlap
Be mindful not to let grid lines overlap, leading to confusion and errors in your stitching. Maintain a consistent spacing between lines to keep your grid organized and easy to follow.
Erase or Wash Out Carefully
After completing your cross-stitch project, remove any remaining grid lines. If you use a water-soluble ink pen, gently wash the fabric according to the manufacturer’s instructions.
When a pencil is used, carefully erase the lines. Take care during this step to preserve the integrity of your finished masterpiece.
FAQs
What type of pen is best for gridding cross stitch?
The best pens for gridding cross stitches are water-soluble, fading, air-soluble, or fabric-marking pencils with erasable or washable lead.
How do I remove grid lines after completing my cross-stitch project?
When you use a water-soluble ink pen, gently wash the fabric according to the manufacturer’s instructions.
Is it necessary to label each grid square with a pen?
Labeling each grid square with the corresponding symbol or number from your cross-stitch pattern helps you keep track of your progress and ensures accurate stitch placement.
Can I use a regular pen for gridding cross stitch?
Regular pens are not recommended, as they may leave permanent marks on your fabric. Stick to pens designed for gridding with ink that can be easily removed.
What should I do if I make a mistake while gridding with a pen?
Carefully erase or wash out the erroneous lines when you make a mistake. If necessary, you can make corrections and re-grid the area.
Wrap Up
Grinding with a pen is a technique that empowers cross-stitch enthusiasts to achieve precision, clarity, and confidence in their craft.
This method, which involves creating a well-structured grid on the fabric, transforms complex patterns into manageable sections.
As your stitching journey progresses, the grid serves as an unwavering guide, ensuring that every stitch finds its place.
Once the final masterpiece is complete, the grid lines, whether drawn with water-soluble ink or fading pens, gracefully fade away, leaving behind a meticulously crafted work of art.
Gridding with a pen enhances accuracy and deepens the satisfaction of creating exquisite cross-stitch projects.
Leave a Reply