A personalized touch to celebrations or home decor, crafting a fabric banner is a delightful endeavor that allows you to infuse your unique style into any occasion.
Whether it’s a birthday bash, wedding soirée, or a charming addition to your living space, this step-by-step guide will walk you through the process.
Each stage is an opportunity to unleash your creativity, from selecting the perfect fabric to adding creative embellishments.
With careful planning and attention to detail, you’ll craft a stunning fabric banner that serves as a memorable centerpiece, adding warmth and charm to any environment.

How to Make a Fabric Banner? Step-By-Step Guide
Creating a fabric banner is a wonderful way to add a personalized touch to a special occasion, event, or even your living space.
Whether it’s for a birthday party, a wedding, or just to decorate your home, a fabric banner can be a charming and versatile decoration.
Here’s a step-by-step guide on how to make a fabric banner:
Materials Needed:
- Fabric.
- Scissors.
- Pencil or Fabric Marker.
- Fusible Interfacing.
- Iron and Ironing Board.
- Bias Tape or Ribbon.
- Sewing Machine or Needle and Thread.
- Measuring Tape or Ruler.
Steps:
Design and Plan
Consider the mood and atmosphere you want to create. For a whimsical feel, opt for vibrant colors and playful shapes. Choose a refined color palette and elegant patterns if you want a more sophisticated look.
Take time to sketch out your design, paying attention to proportions and spacing. This preliminary step will serve as a blueprint for the rest of the project.
Cut the Fabric
Position the fabric on a flat, clean surface, ensuring it’s free of wrinkles or folds. Use a fabric marker or pencil to trace the shapes you’ve designed.
Precision is key here, so move the marker smoothly along the edges. Sharp fabric scissors are essential for achieving clean lines and avoiding fraying. Take your time to ensure each piece is cut accurately.
Add Fusible Interfacing
Fusible interfacing can significantly enhance the stability of your fabric, especially if it’s lightweight or prone to fraying. Follow the manufacturer’s instructions for application.
Use a dry iron on the appropriate setting to carefully adhere the interfacing to the backside of your fabric pieces. Take care not to apply too much heat, as this could damage delicate fabrics.
Arrange the Pieces
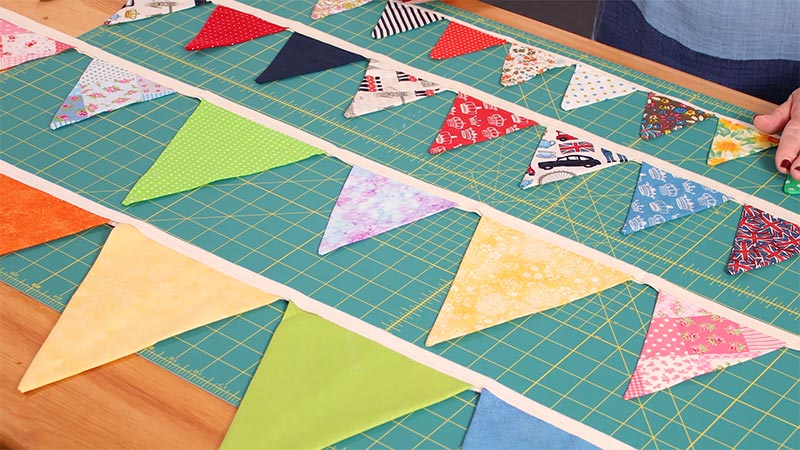
Arrange the fabric pieces according to your design on a flat surface. This step allows you to visualize the final product and make any necessary adjustments.
Pay attention to the flow and balance of the elements. Experiment with different arrangements to find the most aesthetically pleasing configuration.
Attach the Shapes
Set it up with a suitable thread color and stitch length when using a sewing machine. Start sewing along the edges of the fabric pieces, keeping the stitches consistent and even.
Begin and end each seam with a few backstitches to secure the thread. If hand-stitching, use a strong, even stitch like a running stitch or a blanket stitch for a tidy finish.
Create a Casing for the Ribbon
Fold over the top edge of each fabric shape to create a casing. Press the fold with an iron to ensure a crisp edge.
Sew along the folded edge, leaving openings at both ends for threading the ribbon or bias tape. The casing not only adds a polished look but also provides a sturdy channel for hanging.
Thread the Ribbon
Cut a ribbon or bias tape length that matches the desired hanging length, plus a little extra for tying. Attach a safety pin to one end and guide it through the casing, gently working it along.
This process should be smooth but do not tug too hard, especially if the fabric or ribbon is delicate.
Adjust and Secure
Once all the fabric pieces are strung onto the ribbon or bias tape, distribute them evenly along its length.
Step back and assess the arrangement, making any final adjustments to spacing and alignment. Ensure each piece hangs at the desired angle and position.
Hang and Display
Select an appropriate location to display your fabric banner. Use hooks, clips, or tape to secure it in place. If you’re hanging it against a wall, consider using removable adhesive hooks to avoid damage. Alternatively, drape it over a curtain rod for an elegant effect.
Finishing Touches
For an extra touch of creativity, consider adding embellishments. Fabric bows, sequins, or appliqué designs can be attached using fabric glue or a needle and thread.
Be mindful of the overall aesthetic and refrain from overcrowding the banner. Less can often be more in achieving an elegant, cohesive look.
Creative Ideas for Fabric Banners

Fabric banners offer a versatile and customizable way to add creativity and charm to various settings.
Here are some creative ideas for fabric banners:
Photo Memory Banner
Craft a banner with printed photos, showcasing cherished moments from birthdays, weddings, or family gatherings. Include captions or date markers for a personal touch.
Seasonal Banners
Celebrate different seasons and holidays with banners. Use pastel colors and floral patterns for spring, or vibrant reds and greens for Christmas. Incorporate seasonal symbols like snowflakes, hearts, or pumpkins.
Felt Appliqué Banners
Cut out whimsical shapes from colorful felt and appliqué them onto the fabric banner. To match your theme, create scenes or motifs, such as animals, flowers, or geometric designs.
Name or Initial Banners
Personalize banners with names, initials, or monograms using different fonts and styles. Perfect for nursery decor, baby showers, or as gifts.
Quilted Fabric Banners
Combine fabric scraps to create a quilted banner with intricate patterns and textures. Quilting adds depth and visual interest to your banner.
Tassel Banners
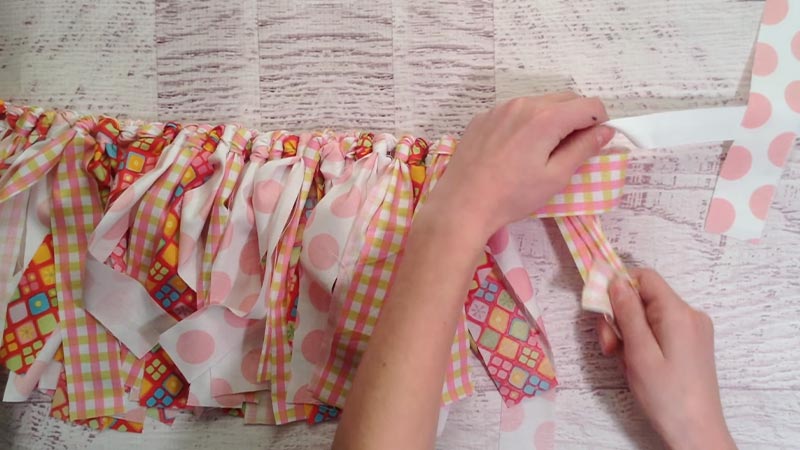
Add fabric tassels along the bottom edge of the banner for a playful and festive look. Experiment with different tassel sizes and colors.
Garden Party Banner
Use floral prints and earthy colors to create a garden-inspired banner. Incorporate fabric leaves and flowers for a 3D effect.
Rustic Burlap Banners
Embrace the rustic trend by crafting banners from burlap fabric. Paint or stencil words, quotes, or simple motifs on the burlap for a charming, shabby-chic look.
Travel-Themed Banners
Design banners that capture the essence of your favorite travel destinations. Use fabric with maps, landmarks, and travel-related imagery.
Boho Bohemian Banners
Incorporate Bohemian-inspired patterns, such as mandalas or paisley, into your fabric banner. Add fringe, beads, or macramé for an extra Boho touch.
Upcycled Fabric Banners
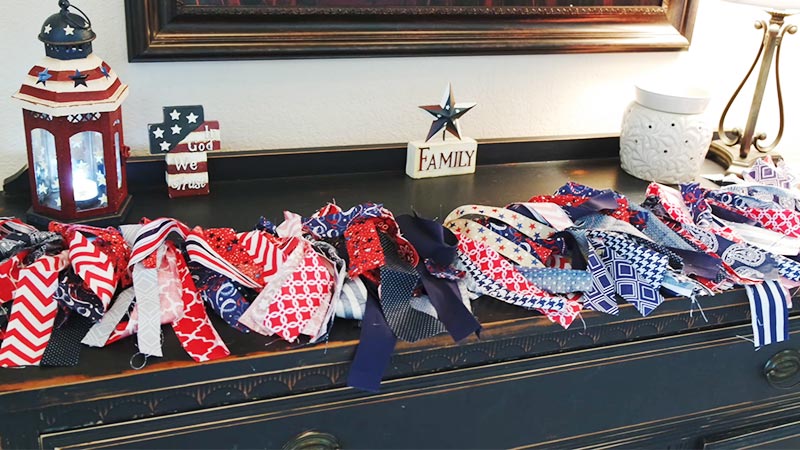
Give new life to old fabrics or clothing items by repurposing them into a banner. Combine different textures and colors for a unique, eclectic look.
Which Is the Appropriate Fabric to Make a Banner?

The appropriate fabric for making a banner depends on the occasion and the desired aesthetic.
Here are some common fabric options for different types of banners:
Cotton Fabric
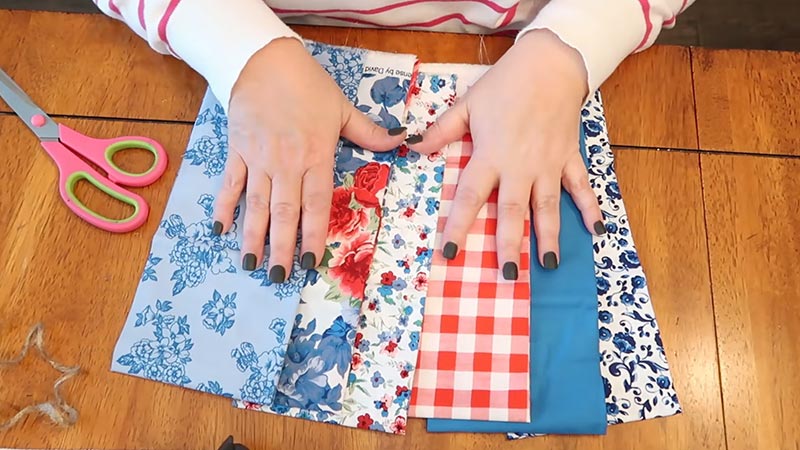
Cotton is a versatile and widely used fabric for banners. It’s easy to work with, comes in various colors and patterns, and can be used for a wide range of occasions, from birthdays to weddings.
Linen Fabric
Linen has a slightly more textured and natural appearance compared to cotton. It’s a great choice for rustic or vintage-themed banners and adds a touch of elegance to the decor.
Satin Fabric
Satin is a smooth and shiny fabric that works well for formal or elegant occasions. It’s often used for wedding banners and adds a luxurious feel.
Burlap Fabric
Burlap is a coarse, textured fabric that’s perfect for rustic or country-themed banners
It provides a natural and earthy look, making it great for outdoor events and farmhouse decor.
Silk Fabric
Silk is a high-end choice for banners, ideal for upscale events and formal occasions.
Its luxurious sheen and smooth texture create an elegant and sophisticated appearance.
Felt Fabric
Felt is a versatile fabric for crafting banners. It comes in various colors and is excellent for creating playful, colorful, and themed banners, especially for kids’ parties and events.
Canvas Fabric
Canvas is a durable and sturdy fabric that works well for outdoor banners, promotional banners, or large-scale displays. It’s robust and can withstand various weather conditions.
Tips for Hanging Fabric Banners

When it comes to hanging fabric banners, there are several considerations to ensure they look their best and stay securely in place.
Here are some tips for hanging fabric banners:
Location Matters
Choosing the right location sets the tone for your banner’s impact. Consider the purpose of the banner – is it for a celebration, a backdrop for photos, or simply to add charm to a space? Place it where it’ll be most visible and enhance the atmosphere.
Use Proper Hardware
Selecting appropriate hardware ensures your banner is securely fastened. For lightweight banners, consider using adhesive hooks or removable mounting tape.
Heavier banners may require nails, screws, or sturdy hooks. Make sure the hardware can support the weight of the fabric.
Level and Straight
A crooked banner can distract from its beauty. Use a level to ensure it’s hung perfectly straight. Take your time adjusting it until it aligns with the horizontal and vertical lines of your space.
Avoid Direct Sunlight
Direct sunlight can cause colors to fade over time. If your banner will be exposed to sunlight, consider using fade-resistant fabric or placing it in a location with diffused or indirect light.
Consider Height
Think about eye-level placement. Hang your banner at a height where it can be comfortably viewed. This ensures that it catches the attention of anyone entering the space.
Steady Outdoor Hanging
When your banner is outdoors, make sure it’s securely fastened. Wind and weather can cause banners to sway or even fall.
Use strong, weather-resistant hooks, clips, or ties. You may also add weights or anchors to keep it steady.
Balanced Spacing
When hanging multiple banners, maintain even spacing between them. This creates a cohesive and visually appealing display. Use a measuring tape or your eye to ensure consistent gaps.
FAQs
What type of fabric is best for making a banner?
Cotton and linen fabrics are popular choices due to their durability and ease of handling. However, for special occasions, satin or silk can add an elegant touch.
Can I use a sewing machine to make a fabric banner, or is hand-sewing better?
Both options work well. A sewing machine provides efficiency for straight seams, while hand-sewing allows for intricate details and more control over delicate fabrics.
Do I need to use fusible interfacing for my fabric banner?
Fusible interfacing is optional but recommended for lightweight or fraying fabrics. It provides stability and makes the fabric easier to work with.
How do I hang a fabric banner without damaging my walls?
Consider using removable adhesive hooks or mounting tape. For heavier banners, use hooks, nails, or screws, and ensure they’re securely anchored.
Can I wash a fabric banner?
It depends on the fabric and any added embellishments. Most fabric banners can be gently hand-washed or spot-cleaned. Always check the care instructions for your specific materials.
Wrap Up
Crafting a fabric banner is a gratifying venture that allows you to infuse your personal touch into special occasions and spaces.
By carefully selecting fabrics, designing unique shapes, and adding creative embellishments, you’ve created a bespoke decoration that speaks volumes about your style and creativity.
The steps outlined here provide a solid foundation for your crafting journey, but remember, there’s always room for innovation and personalization.
So, let your imagination soar, and don’t be afraid to experiment with different fabrics and designs. With dedication and a dash of creativity, you’ve crafted a fabric banner that’s not just a decoration, but a testament to your artistic flair.
Leave a Reply