Dealing with a persistent issue like overlocker thread breakage can frustrate any sewing enthusiast. This recurring problem disrupts the creative process and hampers the quality and efficiency of your projects.
Understanding the underlying causes is crucial for effective troubleshooting. Many factors can contribute to this vexing issue, from tension settings to needle conditions.
In this guide, we’ll explore fifteen potential reasons behind overlocker thread breakage, providing detailed insights and practical solutions to help you overcome this common sewing setback.
By addressing these issues, you’ll be able to sew smoothly and confidently, achieving seamless, professional results.
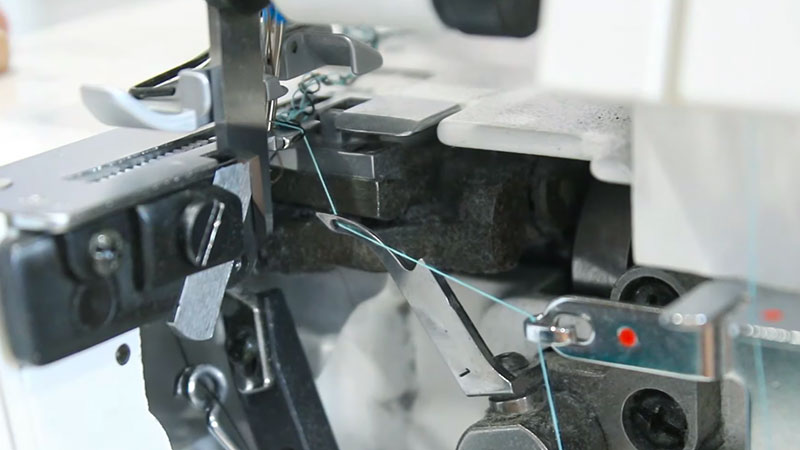
What Is an Overlocker?
An overlocker, or a serger, is a specialized sewing machine designed to finish fabric edges and create professional-grade seams.
It trims the raw edges of the fabric, encases them with thread, and stitches them securely, preventing fraying and providing a neat, clean finish.
Unlike a regular sewing machine, an overlocker uses multiple threads simultaneously, typically between two and five, which allows it to create a solid and durable seam.
This versatile machine is invaluable for various sewing projects, from clothing and home textiles to crafts.
It’s beneficial for working with stretchy or delicate fabrics, enabling precise and professional results in a fraction of the time it would take with conventional sewing techniques.
Reasons Why Does My Overlocker Thread Keep Breaking?
A frequent issue with overlockers (also known as sergers) is thread breakage. This can be incredibly frustrating for sewists, but understanding the underlying reasons for this problem can help you troubleshoot and find a solution.
Here are potential reasons why your overlocker thread may be breaking:
1. Incorrect Tension Settings
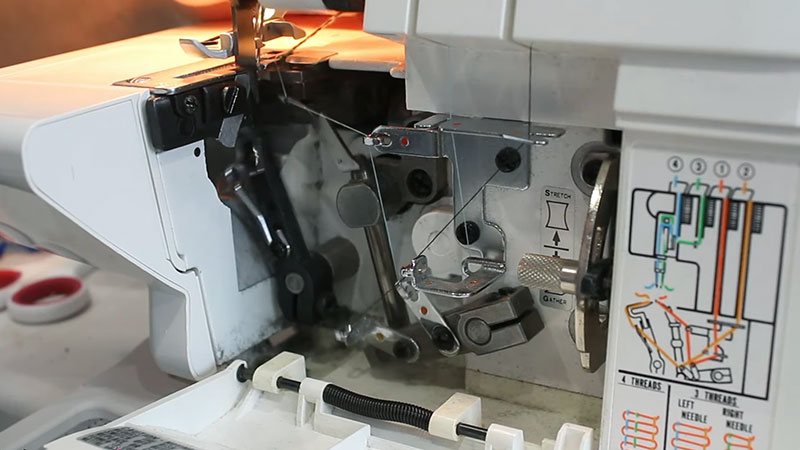
The tension system in your overlocker plays a pivotal role in stitch formation. Each thread must be set to the correct tension for balanced stitches.
Too much tension can cause the thread to snap, so carefully adjust the tension dials according to your machine’s specifications and experiment with sample fabrics to find the right balance.
2. Dull or Damaged Needles
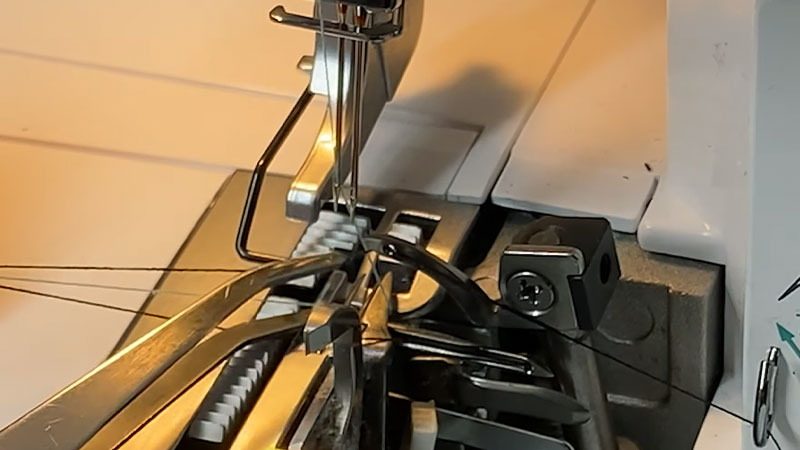
Needles encounter a lot of friction as they pass through fabric and loopers. Over time, they become blunt or bent, leading to thread breakage.
Keep a stock of fresh needles and change them after every project or when you notice a drop in stitch quality.
3. Incorrect Needle Size
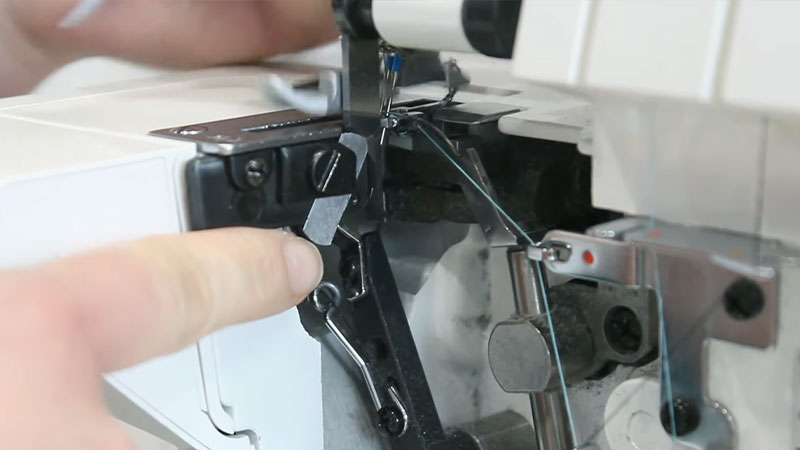
Needle size using using the wrong one can lead to thread breakage. A needle that’s too small for the fabric won’t create a proper stitch, while one that’s too large may cause excessive friction. Refer to your sewing machine’s manual for guidance on needle size selection.
4. Thread Quality
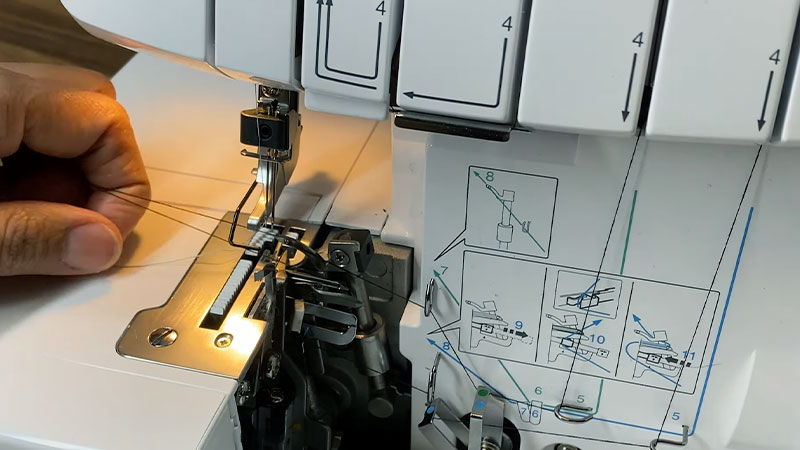
Using a poor-threads thread can result in inconsistencies and frequent breakage. Opt for reputable thread brands and ensure that the thread is not old or damaged, which can weaken its integrity.
5. Thread Type Mismatch
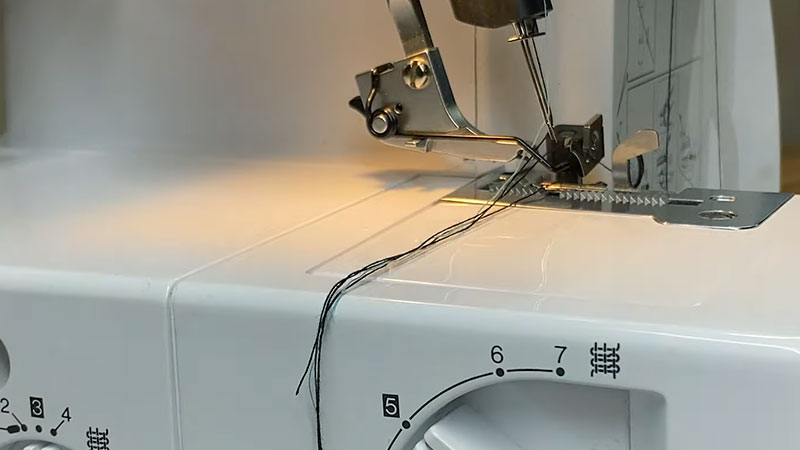
Different threads have different properties. Combining threads of varying types or weights can lead to tension issues and breakage. Stick to a consistent thread type and weight for a smoother sewing experience.
6. Thread Path Obstruction
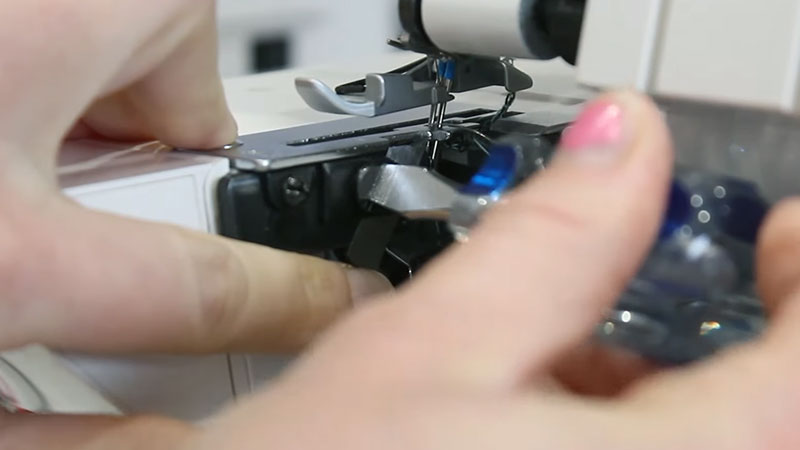
Dust, lint, or debris can accumulate in the thread path over time. Inspect the entire thread path, including tension discs, guides, and the needle area. Regular cleaning ensures smooth thread movement.
7. Bobbin Issues
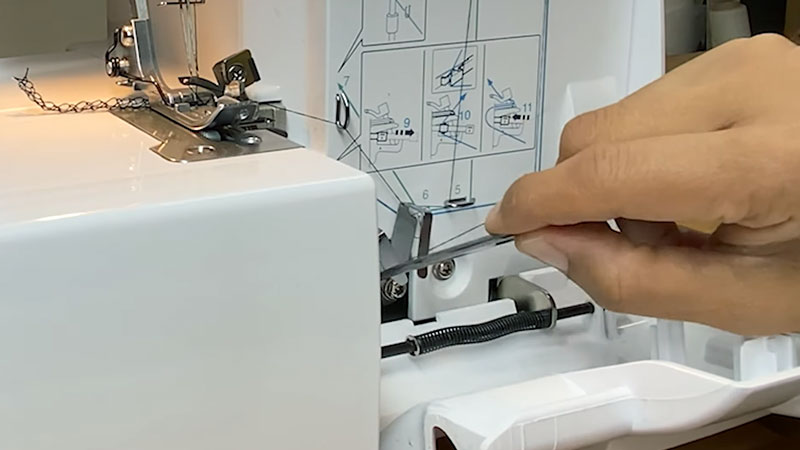
Check your bobbin for proper winding and tension. An incorrectly wound bobbin catheter causes the thread to break. Refer to your machine’s manual for guidance on bobbin tension adjustment.
8. Dirty or Improperly Oiled Machine
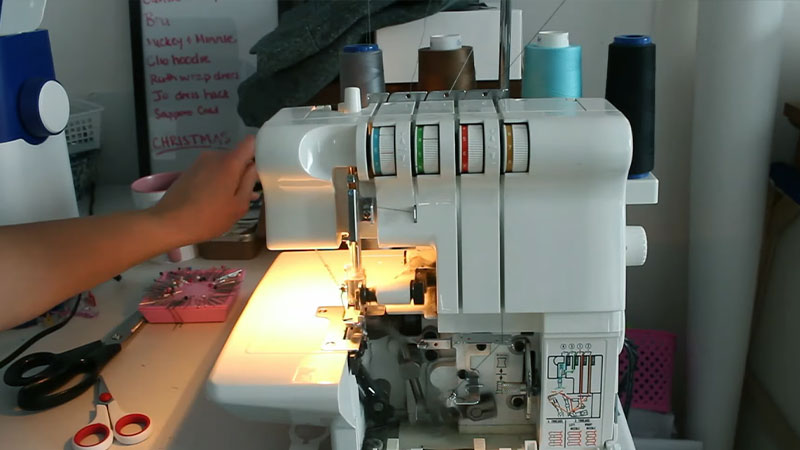
Regular maintenance is crucial. Dirt and lack of lubrication can create friction that stresses the threads, causing breakage. Consult your machine’s manual for a cleaning and oiling schedule.
9. Incorrect Stitch Length or Width
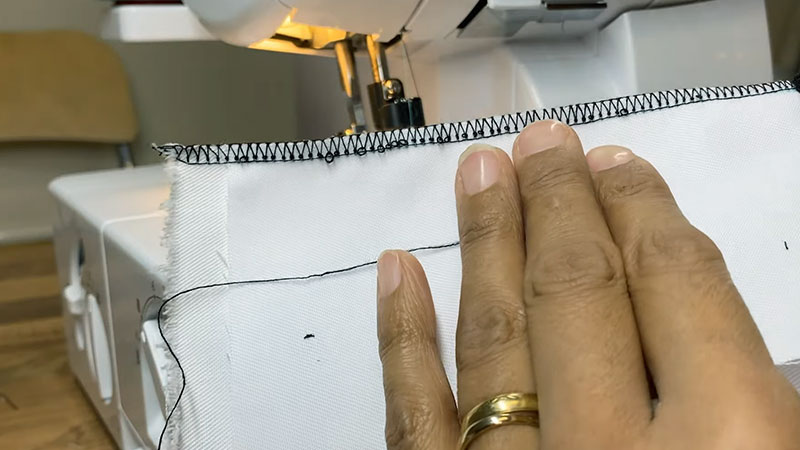
The stitch length and width should match your fabric and project. Using inappropriate settings can cause tension problems and thread breakage. Adjust these settings to suit your specific sewing needs.
10. Improper Threading
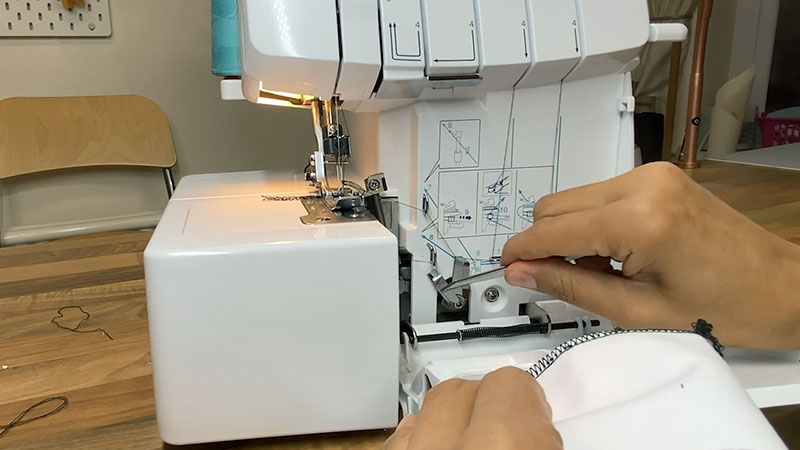
Ensure that each thread is threaded correctly through the machine. A slight misstep can lead to tension issues and breakage. Consult your machine’s threading guide carefully.
11. Uneven Fabric Feed
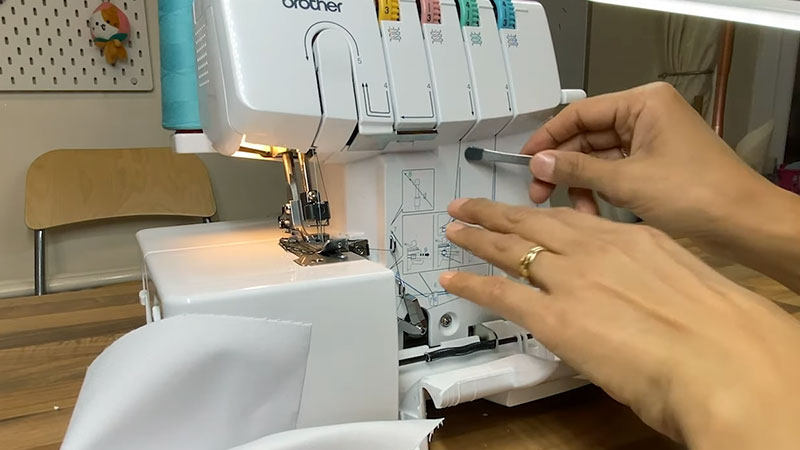
An uneven fabric feed can cause threads to pull too tightly or too loosely, leading to breakage. Check that the functioning is correct and that the feeds are feeding evenly.
12. Needle Plate Issues
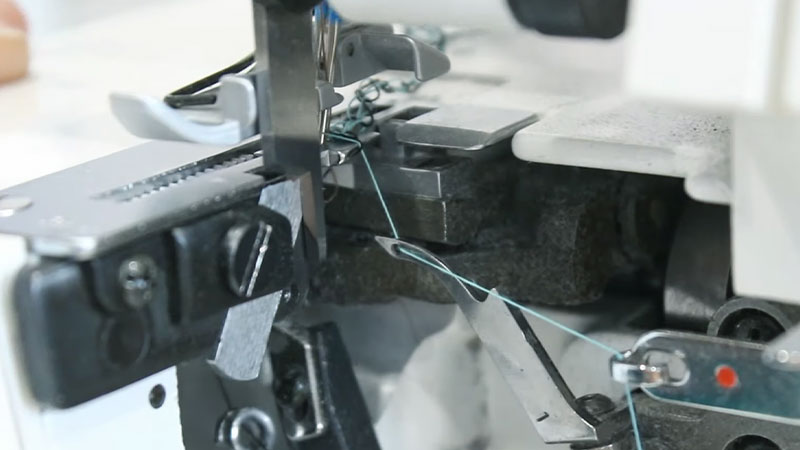
Examine the needle plate for any burrs or rough spots. Even minor imperfections can cause thread to catch and snap. Replace or repair the needle plate as needed.
13. Fabric Type
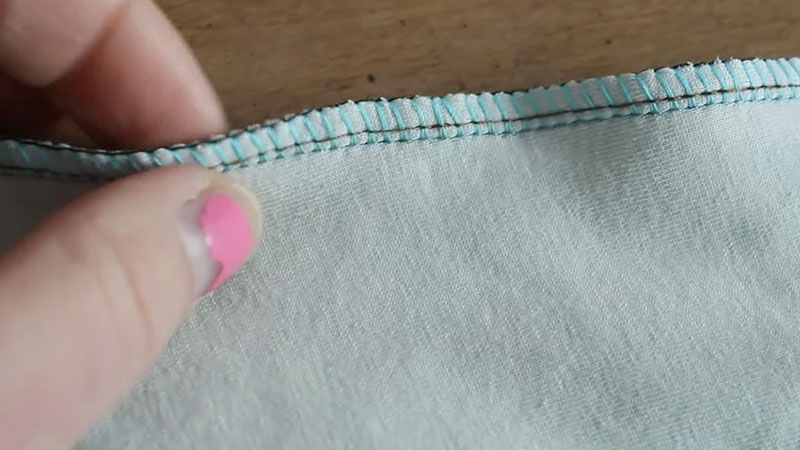
Certain fabrics, such as sheer or stretchy materials, require special handling. Choose appropriate needles, threads, and stitches to prevent excessive stress on the threads.
14. Stitch Type Selection
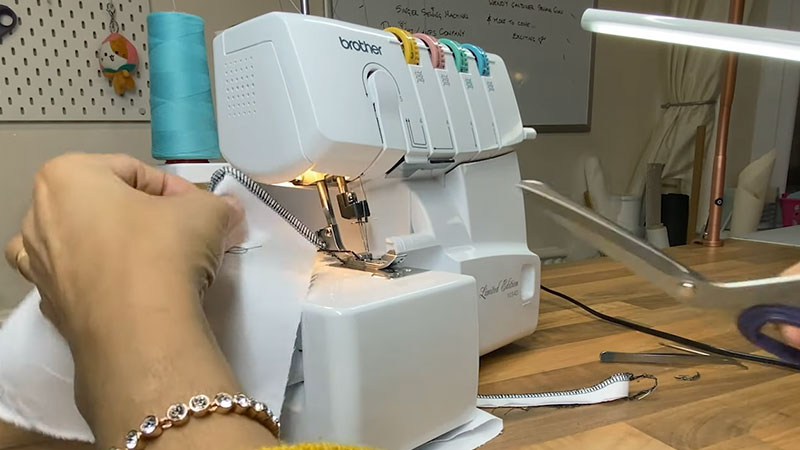
Using the wrong stitch type can create tension problems. Refer to your machine’s manual to select the most suitable stitch for your project.
15. Machine Malfunction
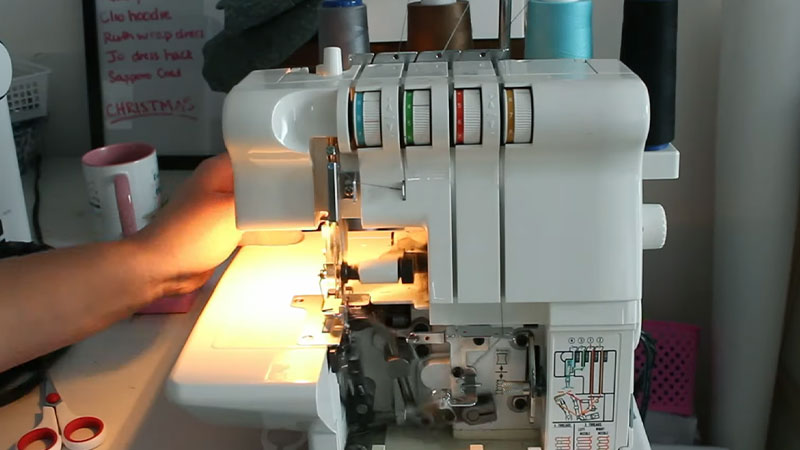
When all else fails, and you’ve ruled out user errors, your machine might have a mechanical issue. Consult a professional technician to diagnose and fix any hidden problems.
How Can You Prevent Overlocker Thread Breaking?
Preventing overlocker thread breaking involves a combination of proper machine maintenance, correct threading and tension adjustment, and selecting suitable materials for your project.
Here are some tips to help you prevent overlocker thread breakage:
Regular Maintenance
Implement a routine cleaning and lubrication schedule for your overlocker. Wipe away lint, dust, and debris, and apply lubricant to moving parts. Regular maintenance ensures smooth operation, reducing the chances of thread breakage.
Use High-Quality Thread
Invest in reputable thread brands known for their consistency and strength. Avoid using old or damaged thread, as it is more prone to breakage and can result in uneven stitches.
Choose the Right Needles
Match the needle type and size to your fabric. For example, use ballpoint needles for knits and sharp needles for woven fabrics. Replace needles regularly to prevent them from becoming dull or bent, which can lead to thread breakage.
Balanced Tension
Experiment with scrap fabric to achieve the proper tension balance for your specific project. Improper tension can cause uneven stitches and, ultimately, thread breakage. Keep a record of your preferred tension settings for future reference.
Threading Precision
Follow the threading guide in your machine’s manual meticulously. A small mistake in threading can lead to tension issues, resulting in thread breakage. Double-check the threading path before starting a new project.
Check the Bobbin
Ensure the bobbin is correctly wound and inserted into the bobbin case. Adjust the tension if necessary, ensuring it complements the upper thread tension. A well-prepared bobbin contributes to smooth stitch formation.
Stitch Length and Width
Adjust the stitch length and width based on the fabric’s characteristics. Shorter stitches provide stronger seams, while longer stitches suit lightweight fabrics. Experiment to find the optimal settings for your specific project.
Fabric Selection
Consider the nature of your fabric. Delicate or stretchy materials may require specialized needles, threads, and techniques to prevent breakage. Use a fabric stabilizer if needed, particularly for lightweight or slippery fabrics.
Clean Thread Path
Regularly inspect the thread path, ensuring it’s free from lint, dust, and snags. Use a small brush or compressed air to clean hard-to-reach areas.
A clear thread path allows for smooth thread movement and reduces the risk of breakage.
Even Fabric Feed
Verify that the fabric is feeding evenly through the machine. Check the feed dogs for any irregularities or damage, and ensure they engage correctly.
Consult your machine’s manual for instructions on adjusting the feed when required height is needed.
Needle Plate Condition
Examine the needle plate for any signs of wear, burrs, or rough spots. Even minor imperfections can cause thread to catch and break. Consider replacing a damaged plate promptly to prevent further issues.
Use Appropriate Stitch
Consult your machine’s manual to select the most suitable stitch for your project. Different stitches serve different purposes; choosing the right one can prevent undue stress on the threads.
How Can You Fix Your Overlocker Thread Breaking at Home?
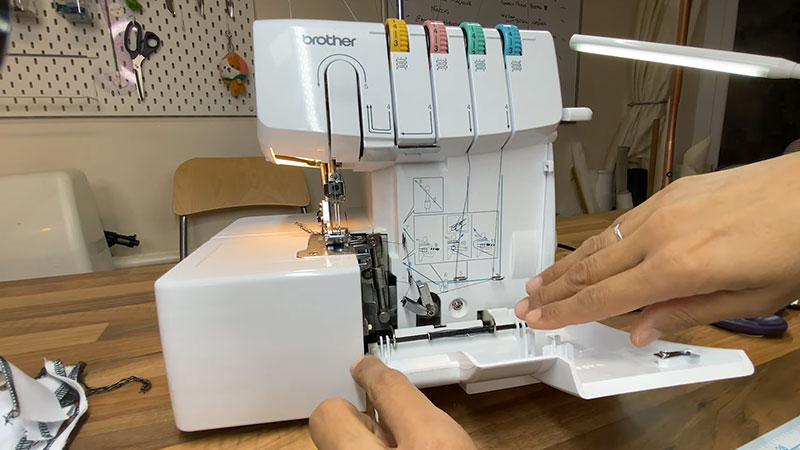
Fixing overlocker thread breakage at home involves a systematic approach to troubleshooting and addressing the issues causing the problem.
Here’s a step-by-step guide:
Check Tension Settings
Start by observing the tension dials on your machine. Gradually adjust them while testing on scrap fabric. Ensure that the upper and lower loopers’ tensions are balanced. Make small, incremental changes until you achieve even and balanced stitches.
Inspect Needles
Thoroughly examine the needles for any signs of dullness or bending. If you find any, replace them promptly with new, sharp needles. Using well-maintained needles is essential for smooth sewing operations.
Verify Needle Size
Refer to your machine’s manual to confirm the recommended needle size for your fabric. Selecting the appropriate needle size ensures it can easily pass through the fabric without causing excessive friction.
Examine Thread Quality
Run your fingers along the thread to detect any knots, weak spots, or inconsistencies.
Opt for high-quality threads known for their durability and consistency. Avoid using old or damaged thread, as it’s more prone to breakage.
Re-Thread the Machine
Follow the threading guide step by step. Pay close attention to the correct path for each thread.
Ensure that the threads are seated correctly in the tension discs and guides. Re-threading can sometimes resolve tension-related issues.
Clean the Thread Path
Use a small brush, tweezers, or compressed air to remove lint, dust, or snags from the thread path.
Focus on areas like tension discs, guides, and the needle area. A clear thread path allows for smooth thread movement.
Check the Bobbin
Confirm that the bobbin is wound correctly. Ensure it’s inserted into the bobbin case in the right direction and properly seated. If needed, adjust the bobbin tension to complement the upper thread tension.
Adjust Stitch Length and Width
Experiment with scrap fabric to find your project’s optimal stitch length and width.
Adjust these settings to achieve the desired stitch formation without causing undue stress on the threads.
Consider Fabric Type
Different fabrics require different handling. Use appropriate needles and threads for delicate or stretchy materials. Adjust your machine’s settings and techniques to suit the fabric’s characteristics.
Inspect the Needle Plate
Run your fingers along the needle plate to check for any rough spots, burrs, or damage. Even minor imperfections can cause thread to catch and break. Replace the needle plate if needed.
Ensure Even Fabric Feed
Watch as the fabric feeds through the machine. Verify that the feed dogs engage smoothly and that the fabric moves evenly.
Consult your machine’s manual for guidance on adjusting the feed dog height when there are any irregularities.
Choose the Right Stitch
Consult your machine’s manual to select the most suitable stitch for your project. Different stitches serve different purposes; choosing the right one can prevent undue stress on the threads.
When Should You Take Your Overlocker to a Professional?
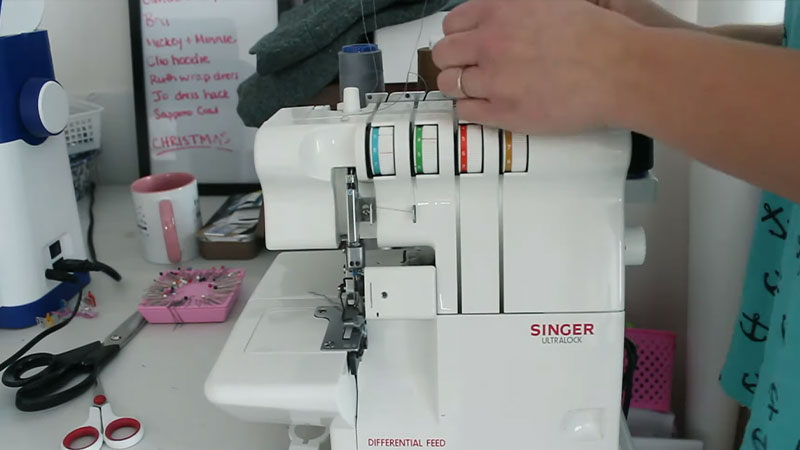
Taking your overlocker to a professional is recommended in several situations where home troubleshooting proves insufficient:
Persistent Thread Breakage
When you’ve tried all the home-based solutions, and the thread continues to break, a more complex mechanical issue might require professional attention.
Unusual Noises
Unusual sounds or excessive vibrations during operation can be indicative of internal problems. A technician can diagnose and rectify these issues.
Timing and Synchronization Problems
When your overlocker’s loopers are not working in sync, causing skipped stitches or uneven seams, this may require a professional to adjust the machine’s timing.
Motor Issues
When you notice a decline in the motor’s performance, such as inconsistent speed or power fluctuations, a professional can assess and repair the motor.
Electronic Malfunctioning
For computerized or electronic overlockers, a trained technician best handles issues with the control panel, sensors, or other electronic components.
Safety and Electrical Concerns
When you suspect any electrical issues, exposed wires, or other safety concerns, it’s crucial to have a professional address these immediately.
Complicated Repairs or Replacements
To ensure proper installation and functionality, a professional should handle any significant component replacements, such as motors or circuit boards.
Manufacturer Recalls
When your overlocker is subject to a manufacturer recall or requires a software update, a professional technician will have the expertise to carry out these procedures safely.
Warranty or Service Agreement Coverage
When your overlocker is still under warranty or a service agreement, it’s advisable to consult a professional authorized by the manufacturer to avoid voiding the warranty.
Lack of Technical Expertise
When you lack the technical knowledge or experience to diagnose and fix complex mechanical issues, seeking the help of a professional ensures that your machine is in capable hands.
FAQS
What could be causing my overlocker thread to keep breaking?
Various factors, including tension settings, needle condition, and thread quality, can contribute to overlocker thread breakage.
Can incorrect tension settings lead to thread breakage on my overlocker?
Yes, improper tension balance between the upper and lower loopers can cause thread breakage. It’s essential to adjust the tension correctly.
Is using dull or damaged needles a common reason for overlocker thread breakage?
Yes, dull or bent needles can lead to thread breakage. Regularly changing needles is essential for smooth sewing.
What role does thread quality play in preventing overlocker thread breakage?
High-quality thread is less likely to have inconsistencies or weak spots, reducing the likelihood of breakage during sewing.
Can incorrect threading contribute to overlocker thread breakage?
Yes, improper threading can lead to tension issues, which can cause thread breakage. It’s crucial to follow the threading guide accurately.
To Recap
Understanding the reasons behind overlocker thread breakage is paramount for any dedicated sewing enthusiast. From tension adjustments to needle maintenance and thread quality, many factors can influence this frustrating issue.
Through systematic troubleshooting and diligent preventive measures, many instances of thread breakage can be effectively addressed at home.
However, in cases of persistent or complex issues, seeking the expertise of a professional technician is advisable.
By applying these insights and taking proactive steps towards maintenance and adjustment, you can enjoy smoother, uninterrupted sewing sessions, achieving professional-grade results with your overlocker.
Remember, a well-maintained and adequately calibrated machine is the cornerstone of successful and enjoyable sewing endeavors.
Leave a Reply