Tying a quilt is a cherished tradition that binds its layers and adds a touch of artistry to the final creation. There are numerous methods to achieve this, each with its own unique flair and complexity.
Every technique offers a distinct texture and aesthetic, from the timeless elegance of traditional knots to the delicate charm of French knots and the decorative appeal of buttonhole stitching.
Whether through running stitches, couching, or the inventive use of ribbons and lace, each method contributes to the quilt’s character.
This guide explores twelve diverse ways to tie a quilt, providing a spectrum of options for both function and style.
What Is Quilt Tying?
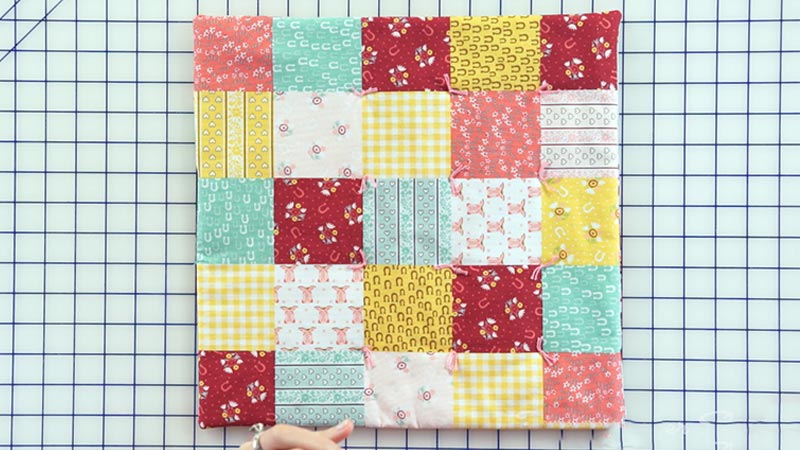
Quilt tying is a traditional method used to secure the layers of a quilt together. It involves using knots or stitches to fasten the quilt top, batting (the middle layer), and backing fabric in place.
This technique adds structural integrity to the quilt and provides a decorative element. Quilters use materials such as thread, yarn, or embroidery floss to create ties.
The tying process can be as simple as making traditional knots at regular intervals or as intricate as incorporating decorative stitches or embellishments like beads or buttons.
Quilt tying allows for both functional and artistic expression, making it a versatile and essential aspect of quilt-making.
Ways to Tie a Quilt
Tying a quilt is a traditional and practical way to secure the layers of a quilt together. It involves knots to hold the quilt top, batting, and backing fabric.
There are various methods for tying a quilt, each with its own unique look and level of complexity.
Here are 12 different ways to tie a quilt:
1. Traditional Knots
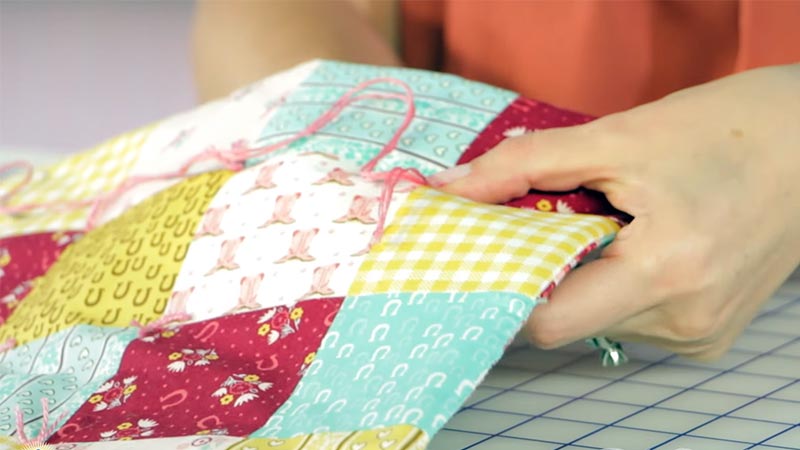
Thread a sturdy quilting thread or yarn through a large-eye needle. Start at the center of your quilt, pushing the needle up through all layers. Leave a small tail on top. Make a simple overhand knot, pulling it tight.
To secure the knot, pass the needle back down through the layers a short distance from the initial entry point. Trim the excess thread, leaving a short tail. Repeat this process at regular intervals across the quilt.
2. French Knots
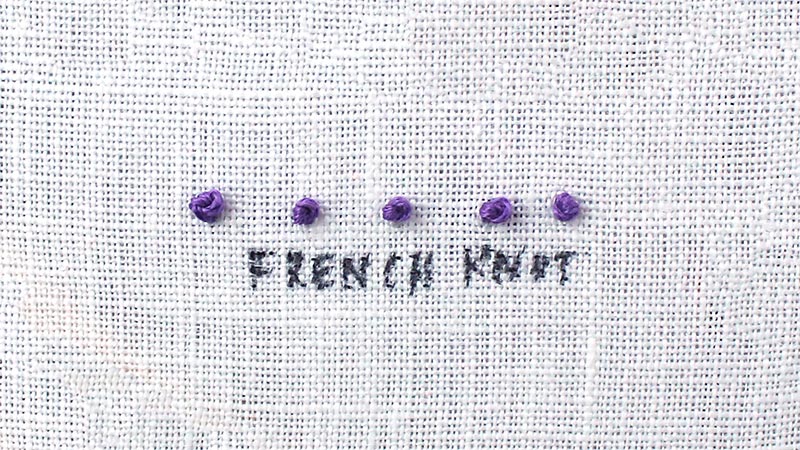
Thread a needle with embroidery floss and bring it up through the layers. Twist the floss around the needle several times. Insert the needle back into the same spot, forming a loop.
Gently pull the floss tight to create a knot. Pass the needle back down through the layers nearby to secure the knot. Trim the excess floss carefully, ensuring the knot remains intact.
3. Buttonhole Stitch
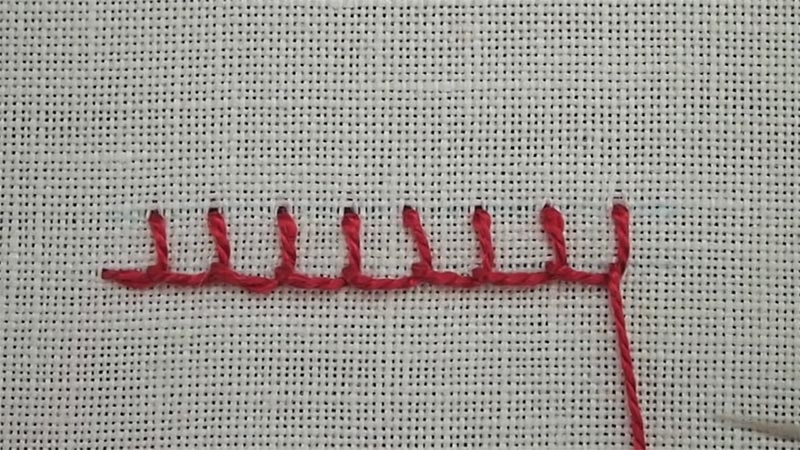
Thread a needle with embroidery thread and bring it up through the layers. Insert the needle back down close to the first stitch, creating a loop.
Bring the needle back up through the loop and pull tight. Repeat this stitch at regular intervals, creating a continuous line of stitches. To finish, pass the needle back down through the layers and secure the thread.
4. Running Stitch
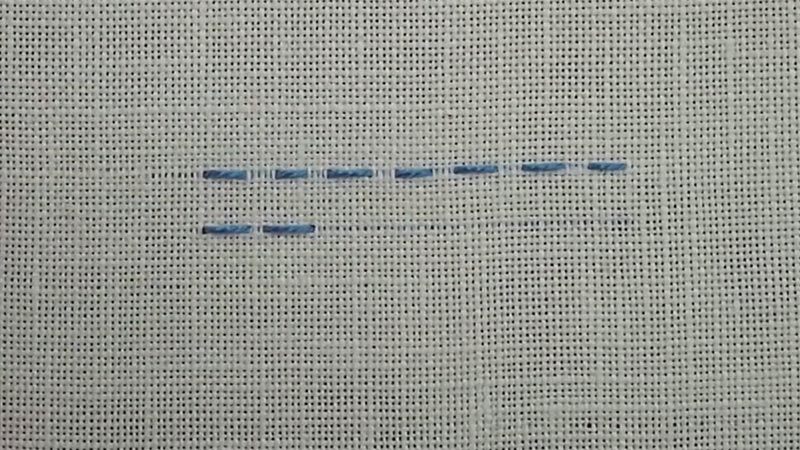
Thread a needle with embroidery thread or yarn. Starting from one edge of the quilt, insert the needle down and bring it back up a short distance away, creating evenly spaced stitches.
This method provides a subtle, grid-like pattern. Continue stitching until you reach the end of the quilt.
5. Couching
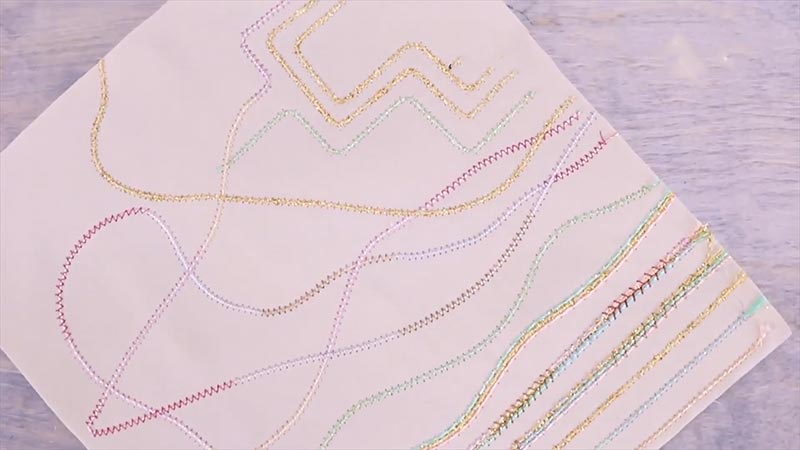
Use a thicker yarn or cord to lay across the quilt’s surface in your desired pattern or design. Using a contrasting thread, secure the yarn by stitching it down at regular intervals.
Ensure the stitches are tight enough to hold the yarn in place. This technique allows for a creative, textured effect.
6. Basting Spray
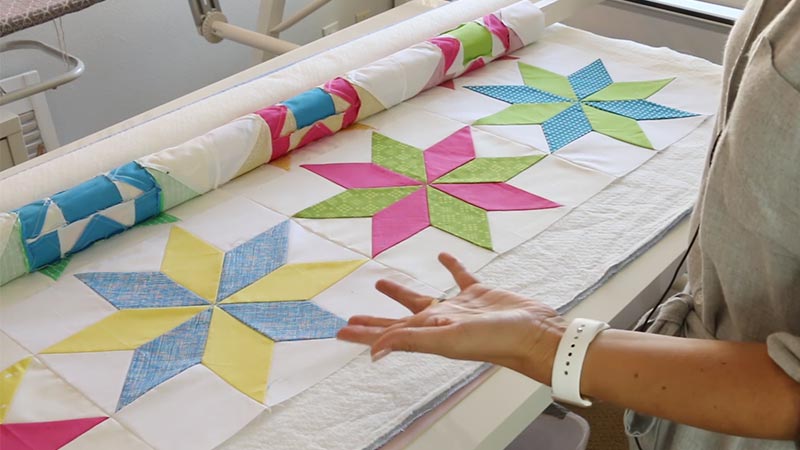
Lay the quilt backing on a flat surface, spray the basting spray evenly, and then smooth the batting and quilt top over it.
This temporary adhesive will hold the layers in place while you quilt, ensuring they don’t shift. Allow the spray to dry according to the manufacturer’s instructions.
7. Ribbon Ties
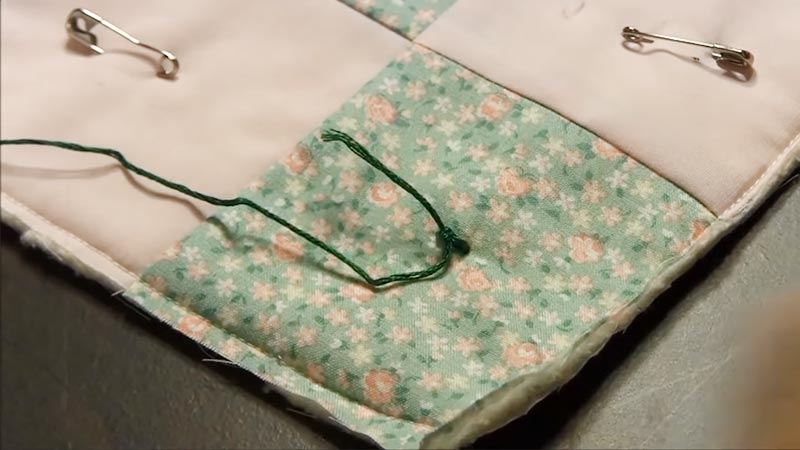
Attach ribbon strips across the quilt’s surface at regular intervals before sewing the layers together. Knot or tie bows to secure them in place.
This method offers a charming, decorative touch. Ensure the ribbons are securely fastened to prevent them from coming loose over time.
8. Lace Ties
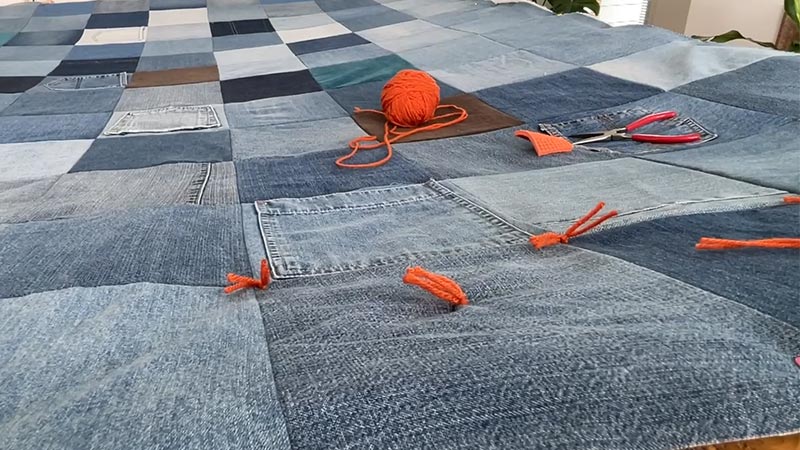
Use small, discreet stitches to sew lace or decorative trim onto the quilt’s surface. This secures the layers and adds a delicate, feminine touch. Lace ties can be strategically placed for a visually pleasing pattern. Ensure the lace is evenly distributed and securely attached.
9. Embroidery
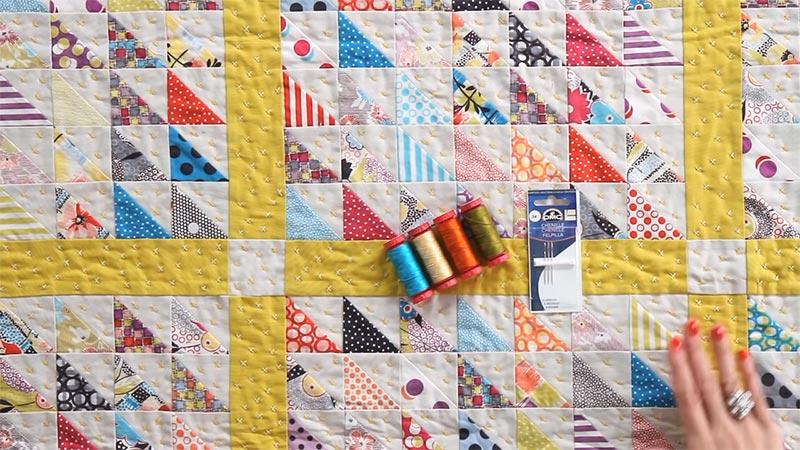
Thread a needle with embroidery floss and use various stitches (like satin stitch or blanket stitch) to secure the layers together.
You can create intricate patterns or simple lines, adding a personalized touch to your quilt. Plan your embroidery pattern beforehand for a cohesive and visually appealing result.
10. Cross-Stitch
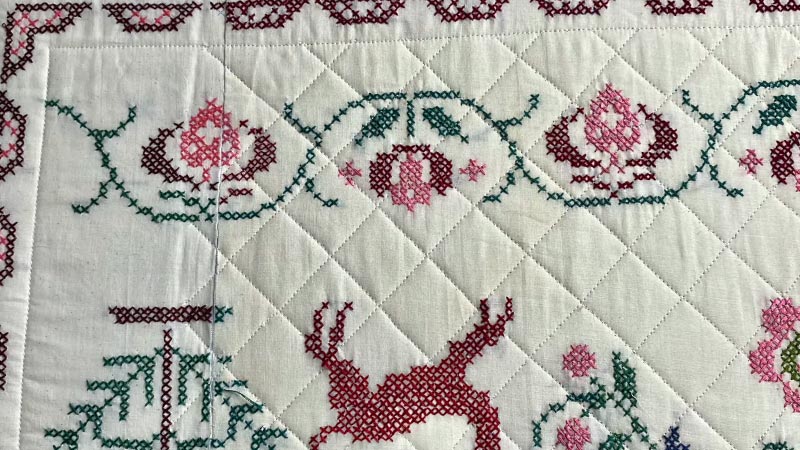
Thread a needle with embroidery floss and create X-shaped stitches across the quilt’s surface. Adjust the stitch length for different effects and patterns.
This technique provides a rustic, handcrafted look. Keep your stitches consistent for a neat and uniform appearance.
11. Quilt Beads
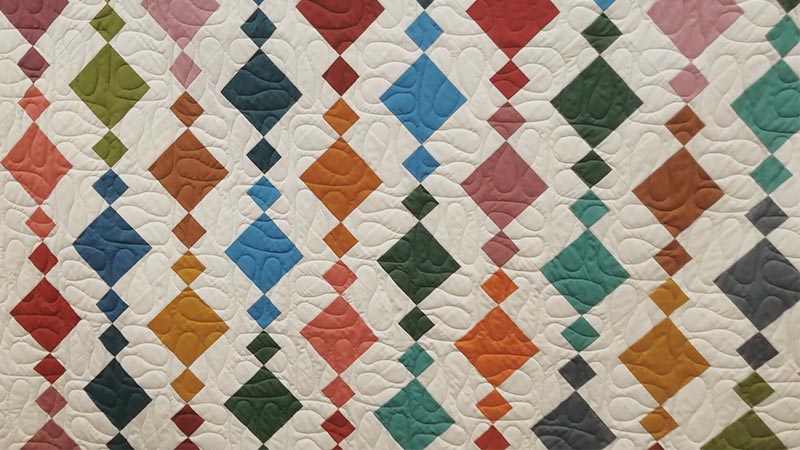
Thread a needle with a sturdy thread and string beads onto it. Insert the needle through the layers, securing the beads in place. Knot the thread between beads to keep them spaced evenly.
This method adds a touch of elegance and texture to your quilt. Choose beads that complement the quilt’s color scheme and style.
12. Fabric Appliqué Ties
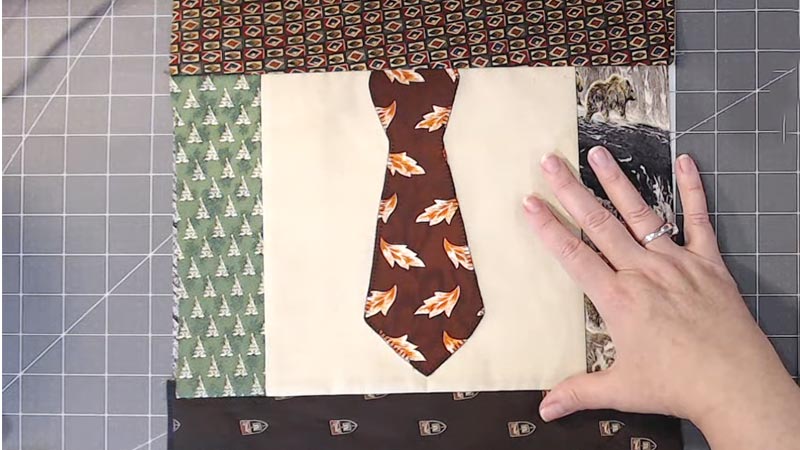
Cut out small fabric shapes and attach them to the quilt’s surface using a sewing machine or hand stitching. Secure the shapes with knots or decorative stitches, creating a textured and visually appealing design.
This technique allows for endless creative possibilities. Ensure the fabric appliqués are securely fastened to withstand regular use.
Safety Precautions When Tying a Quilt
Ensuring safety while tying a quilt is essential to prevent accidents or injuries. Here are some important safety precautions to keep in mind:
Use Sharp Tools Safely
Ensure your cutting tools are sharp and in good condition. Dull blades require more force and can slip, potentially causing accidents. Always cut away from your body and fingers, and use a cutting mat for added safety.
Mind Needle Handling
When threading needles or handling pins, do so with care. Hold the needle by the non-sharp end, and avoid quick, forceful motions. Store needles securely in a designated container or pin cushion to prevent accidental pricking when not in use.
Maintain a Clean Workspace
A clutter-free workspace is crucial for safety. Clear away excess fabric, scraps, and tools that are not in use. This prevents tripping hazards and reduces the risk of knocking over tools, which could lead to injuries.
Avoid Overexertion
Take regular breaks When working on a large or heavy quilt. Prolonged periods of repetitive motion can lead to muscle strain or discomfort. Stretching and resting are essential to prevent overexertion.
Mindful of Children and Pets
Store sharp tools and materials out of reach of children and pets. Be vigilant about small items like beads or buttons that can pose choking hazards.
Consider using a secure container or storage box to store potentially dangerous items safely.
Proper Ventilation for Adhesives
When you’re using fabric glue or adhesive sprays, ensure you’re working in a well-ventilated area.
Some adhesives can release fumes that may be harmful if inhaled for extended periods. Consider working near an open window or using a fan for proper ventilation.
Fire Safety
Take extra precautions when using an open flame, such as for sealing thread ends. Use a fire-resistant surface or mat to protect your work area. Keep flammable materials, like loose fabric scraps, well away from the open flame.
Avoid Straining Your Eyes
Proper lighting is crucial for preventing eye strain. Ensure your workspace is well-lit, using natural light or adjustable, bright lighting sources. Consider using a task lamp with an adjustable arm to direct light where it’s needed most.
Read and Follow Product Instructions
Always read and follow the instructions provided on any products you’re using, whether it’s glue, adhesives, or other materials. This includes safety recommendations and precautions outlined by the manufacturer.
Dispose of Waste Safely
Dispose of any sharp or potentially hazardous waste, like used needles, in a designated container. Ensure it is securely sealed and labeled to prevent accidental exposure. Consider using a sharps container for safe disposal.
Tips and Considerations
Embarking on a quilting project involves a blend of creativity, technique, and attention to detail. Whether you’re a seasoned quilter or just starting out, there are key factors to remember when tying your quilt.
Here are some valuable tips and considerations to guide you through the process:
Choosing the Right Material
Opt for high-quality thread, yarn, or floss that complements the quilt’s fabric. Ensure the material is strong enough to withstand regular use and washing. Select colors that either blend in discreetly or contrast for a decorative effect.
Selecting Appropriate Spacing
Consider the quilt’s purpose and the desired level of quilting. Like those for warmth, functional quilts benefit from closer ties (4-8 inches apart).
Decorative quilts allow more flexibility, wider spacing, and even asymmetrical patterns.
Tailoring to Quilt Thickness
Adjust the length of your tying material based on the quilt’s thickness. Thicker quilts may require longer ties to ensure they penetrate through all layers, providing a secure fastening.
Maintaining Consistency
Consistent tension in your ties is crucial for the quilt’s structural integrity and its aesthetic appeal. Avoid overly tight knots that may warp the fabric or make it too loose, which might not hold the layers securely.
Planning the Design
Plan the design in advance when using decorative tying methods, like embroidery or appliqué.
Consider color schemes and patterns that complement the quilt’s overall aesthetic. Sketching or using a template can help visualize the final result.
Testing on Scrap Fabric
Before committing to tying the quilt, practice the chosen method on a scrap piece of fabric.
This lets you get comfortable with the technique and make any necessary adjustments before working on the final project.
Choosing the Right Needle
Select a needle that matches the chosen tying method. For example, sharp, thin needles are suitable for embroidery, while larger, blunt-tipped needles work well for thicker materials like yarn.
Securing Ends and Tails
After tying knots or stitches, ensure they are tight and secure. Trim any excess material close to the fabric to prevent loose ends from unraveling over time. This neat finish adds to the overall polished appearance.
FAQs
What is the purpose of tying a quilt?
Tying a quilt is a method of securing the layers together. It helps prevent shifting or bunching during use and adds a decorative touch.
Which tying method is the easiest for beginners?
Traditional knots are the simplest and most straightforward method for beginners. They involve basic knotting techniques with thread or yarn.
Can I combine different tying methods in one quilt?
Absolutely! Combining techniques like embroidery and buttonhole stitching can create a unique and visually interesting quilt design.
How far apart should the ties be placed?
The spacing of ties depends on personal preference and the quilt’s purpose. Tins should be placed around 4-8 inches apart for functional quilts.
Do I need special tools for tying a quilt?
Basic tools like needles, thread, yarn, and scissors are typically all you need. However, depending on the chosen method, certain techniques may require specialty items like beads or lace.
Wrap Up
While fabric glue can be a convenient option for temporarily bonding leather, it may not provide the long-lasting, durable hold that specialized leather adhesives offer.
When working with leather, opting for adhesives specifically designed for this material is recommended. These adhesives are formulated to withstand leather’s unique demands and stresses.
Following our guide on gluing leather ensures a successful and reliable bond for crafting, repairing, or creating bespoke leather items.
By using the right adhesive and technique, you’ll achieve a strong bond and preserve the integrity and longevity of your leather projects.
Leave a Reply