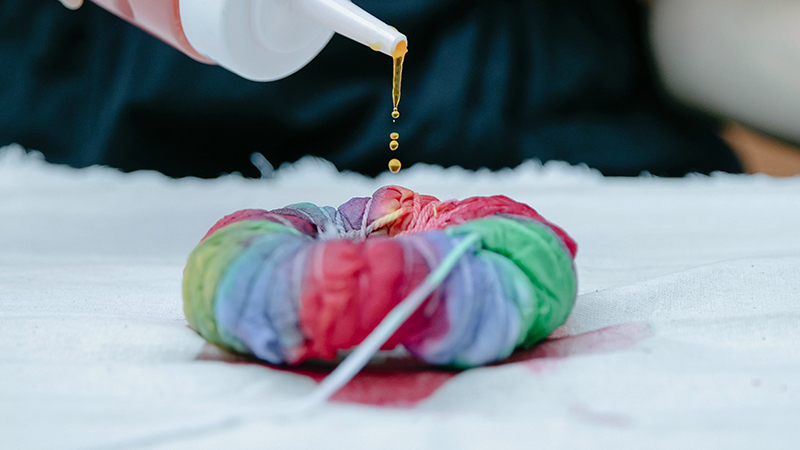
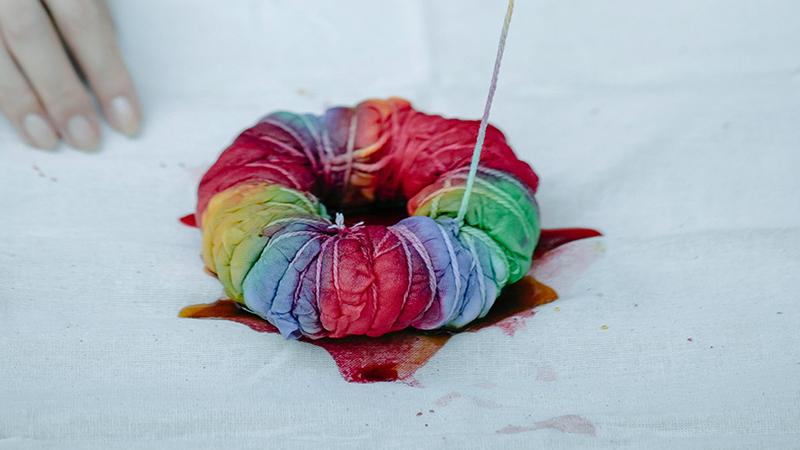
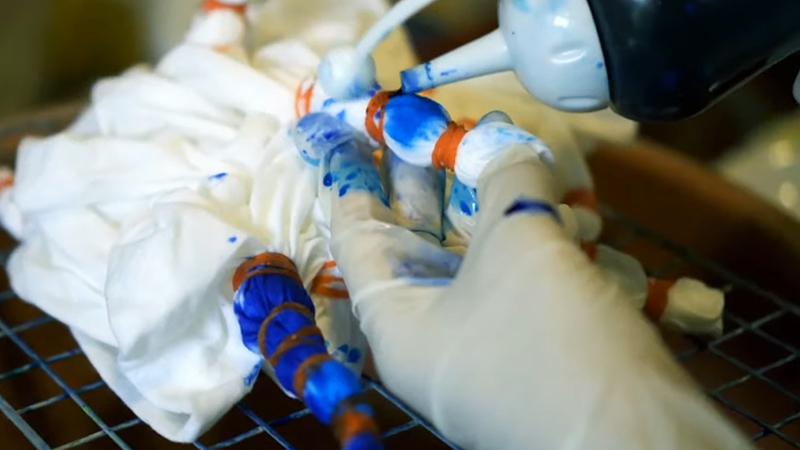
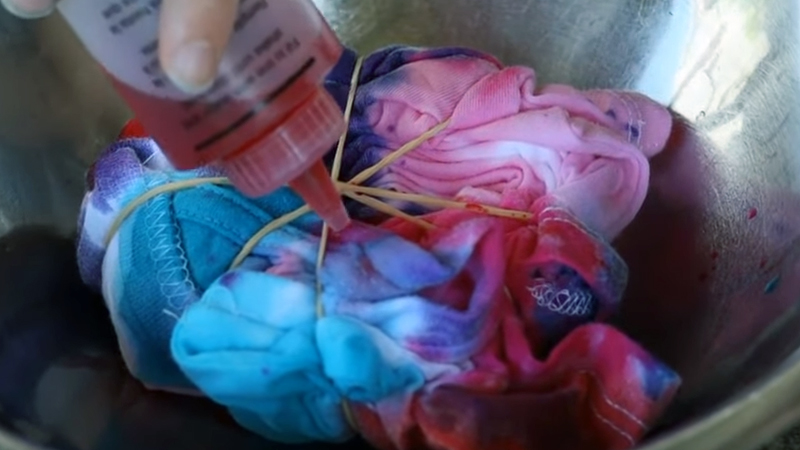
Tie-dyeing is a captivating art form that allows for boundless creativity, resulting in vivid and intricate fabric designs.
A fundamental aspect of this process is determining how long to let tie dye sit on the fabric before rinsing it out. This critical step influences the intensity and longevity of the colors, making it essential for achieving desired results.
From the type of dye used to the fabric material and even environmental factors, several elements come into play.
In the following discussion, we will explore the considerations and recommended practices for determining the optimal setting time in tie-dye projects, helping you unlock the full potential of your colorful creations.

How Long to Let Tie Dye Sit Before Rinsing It Out?
Tie-dyeing is a popular and vibrant form of fabric art that involves binding, folding, and dyeing cloth to create unique patterns and designs. Allowing the dye to set properly is crucial to achieving bright and long-lasting colors.
The duration for which tie dye should sit before rinsing depends on the type of dye used, the fabric material, and the desired intensity of colors.
Here are some general guidelines for different types of dyes:
Reactive Dyes
- Reactive dyes are the most commonly used type for tie-dyeing. They form a chemical bond with the fabric fibers, resulting in vibrant and permanent colors.
- After applying the reactive dye, it is recommended to let it sit for at least 6 to 8 hours. Some artists prefer leaving it overnight for the best results.
- The longer the dye sits, the deeper and more saturated the colors will be. However, leaving it for too long (more than 24 hours) may not necessarily yield significantly better results and could potentially weaken the fabric.
Direct Application Dyes
- Direct application dyes, like Tulip One-Step Dye, do not require additional chemicals to set. They work by soaking into the fabric’s fibers.
- It’s advisable to let these dyes sit for 6 to 8 hours, similar to reactive dyes. This allows the dye to fully penetrate and bond with the fabric.
Natural Dyes
- Natural dyes, derived from plants, fruits, or other organic sources, require a longer setting time compared to chemical dyes.
- After applying natural dye, it’s recommended to let it sit for 24 to 48 hours. This extended duration allows the natural pigments to thoroughly penetrate the fabric.
Acid Dyes
- Acid dyes are used primarily on protein-based fibers like silk and wool. They require an acidic environment for proper fixation.
- Letting acid dyes sit for about 12 to 24 hours is generally sufficient for vibrant results.
Fabric Material
The type of fabric you’re dyeing also influences the setting time. Natural fibers like cotton and linen tend to absorb dyes more readily and may require shorter setting times compared to synthetic materials like polyester.
Dye Concentration
The concentration of dye in the solution affects the speed at which it is absorbed by the fabric. A higher concentration may lead to quicker saturation, potentially reducing the required setting time.
Environmental Conditions
Ambient temperature and humidity levels can influence the dye-setting process.
Warmer temperatures generally expedite dye absorption and fixation, whereas cooler environments may extend the setting time.
Desired Color Intensity
The intensity of color desired by the artist is a subjective factor that impacts setting time.
Allowing the dye to sit for a longer period tends to result in deeper and more saturated colors. However, it is crucial to find a balance, as excessively long setting times may not yield significantly improved results.
Dye Manufacturer’s Recommendations
Manufacturers of tie-dye products often provide specific instructions regarding setting times.
These guidelines are based on extensive testing and are tailored to the characteristics of their particular dye formulations. Adhering to these recommendations can lead to optimal results.
Post-Treatment Options
Some tie-dye artists choose to employ fixatives or post-treatment solutions like soda ash to enhance color fastness.
These additional steps can influence the overall setting time and should be considered in the dyeing process.
Personal Experience and Experimentation
Over time, individual tie-dye artists develop their own preferences and techniques. Keeping records of past projects and experimenting with different setting times can lead to a more refined and personalized approach.
Post-Rinsing Steps

After allowing tie-dye to set, it’s essential to follow up with thorough rinsing and proper care to ensure the colors stay vibrant and long-lasting.
Here are the post-rinsing steps for tie-dyeing:
Rinse in Cold Water
Gently immerse the dyed fabric in a basin or sink filled with cold water. This initial rinse is crucial as it removes excess dye that hasn’t fully bonded with the fabric fibers.
Gently agitate the fabric in the water, being careful not to wring or twist it, which might distort the tie-dye pattern.
Unbind and Unwrap
When you employed binding techniques, like using rubber bands or string to create specific patterns, it’s time to carefully remove them.
Take your time and handle the fabric delicately to avoid any unintended stretching or distortion.
Pre-Wash with Mild Detergent
Prepare a separate basin or sink with cold water and a mild detergent. Gently agitate the fabric in the soapy water to further remove any residual loose dye particles.
Be cautious not to scrub or rub vigorously, as this can lead to color bleeding or fading.
Air Dry or Tumble Dry on Low
Once thoroughly rinsed and cleaned, it’s time to consider the drying process. Air drying is the gentlest option for tie-dyed fabrics, as high heat can cause colors to fade.
If you opt for machine drying, select the lowest heat setting available. Avoid over-crowding the dryer to allow for even air circulation.
Avoid Sun Exposure
Direct sunlight is known to cause fading in dyed fabrics over time. To preserve the vibrancy of your tie-dye creation, choose a shaded or indoor drying area.
This precautionary measure goes a long way in maintaining the integrity of the colors.
Ironing
When your tie-dyed fabric requires smoothing out or wrinkle removal, you may choose to iron it. Set your iron to a low heat setting, and place a clean cloth between the iron and the tie-dye to prevent direct contact. This added layer protects the colors from heat exposure.
Avoid Harsh Washing Agents
In subsequent washes, exercise caution by selecting mild detergents and avoiding harsh chemicals like bleach.
These abrasive substances can weaken the fabric and lead to premature fading of the tie-dye colors.
Consider Using a Fixative
For an extra layer of color protection, some tie-dye enthusiasts opt to use a fixative like soda ash after rinsing.
Follow the manufacturer’s instructions precisely for proper application, ensuring a more resilient and long-lasting result.
Store Away from Direct Sunlight
When your tie-dyed items are not in use, find a cool, dark storage space. This precautionary measure helps safeguard against any potential fading caused by prolonged exposure to sunlight.
Regular Care
To prolong the vibrancy of your tie-dye creation, adopt a gentle approach to laundering. Wash tie-dyed items separately or with like colors in cold water.
Avoid over-washing, as excessive agitation can contribute to color fading over time.
Care Instructions for Different Fabric Types

Caring for different fabric types properly is essential to maintain their quality and longevity. Each type of fabric has its unique characteristics and requirements.
Here are care instructions for various fabric types:
Cotton
Cotton is a versatile and breathable fabric. To care for cotton:
- Washing: Machine wash in cold or warm water with like colors. Use a mild detergent to prevent color fading and maintain fabric integrity.
- Drying: Air dry or tumble dry on low heat to avoid excessive shrinkage. Remove promptly to prevent wrinkles.
- Ironing: Use a medium to high-temperature setting for cotton fabrics that require ironing.
- Storage: Store cotton items in a cool, dry place, away from direct sunlight to prevent color fading.
Linen
Linen is a natural fabric known for its breathability and crisp texture. Care for linen as follows:
- Washing: Machine wash in cold or lukewarm water with a gentle detergent. Linen may wrinkle easily, so avoid overloading the washing machine.
- Drying: Air dry or tumble dry on low to maintain its texture. Remove promptly to minimize wrinkles.
- Ironing: Iron linen items while slightly damp, using a high-heat setting for best results.
- Storage: Store linen items in a cool, dry place, and consider using garment bags to prevent dust accumulation.
Silk
Silk is a delicate and luxurious fabric. Handle silk with care:
- Washing: Hand wash in cold water with a mild detergent. Avoid twisting or wringing to prevent damage.
- Drying: Lay silk items flat on a clean towel to air dry. Avoid direct sunlight.
- Ironing: Iron silk on a low heat setting or use a silk-specific setting if available. Place a cloth between the iron and the silk to avoid direct contact.
- Storage: Store silk items in a cool, dry place, and avoid hanging them to prevent stretching.
Wool
Wool is known for its warmth and insulation properties. To care for wool:
- Washing: Hand wash in cold water with a wool-specific detergent or use a gentle machine wash setting. Avoid excessive agitation.
- Drying: Gently squeeze out excess water and reshape wool items while laying them flat to dry. Avoid hanging, as it can cause stretching.
- Ironing: Generally, wool does not require ironing. Use a steamer to remove wrinkles if needed.
- Storage: Store wool items in a cool, dry place, preferably folded, to maintain their shape.
Synthetic Fabrics
Synthetic fabrics are durable and easy to care for:
- Washing: Machine wash in cold or warm water with a mild detergent. Check the care label for specific instructions.
- Drying: Tumble dry on low heat or air dry to prevent damage from high temperatures.
- Ironing: Most synthetic fabrics do not require ironing. If needed, use a low heat setting and a pressing cloth.
- Storage: Store synthetic items in a cool, dry place, away from direct sunlight to prevent fading.
Blended Fabrics
Blended fabrics combine two or more materials, so care instructions may vary. Always follow the care label for blended fabrics, and prioritize the requirements of the most delicate fabric in the blend.
Tips for Intense Colors

Achieving intense and vibrant colors in tie-dye or any fabric dyeing project requires attention to detail and technique.
Here are some tips to help you achieve intense colors:
Pre-Wash Fabric
Before dyeing, wash the fabric with a mild detergent to remove any sizing or residues that might interfere with dye absorption. Rinse thoroughly and ensure the fabric is completely dry before starting.
Use High-Quality Dyes
Invest in high-quality fabric dyes designed for the specific type of fabric you’re working with. Quality dyes tend to produce more vibrant and long-lasting colors.
Prewash Dyeable Items
When you’re dyeing ready-made clothing or items, make sure they are made of natural fibers like cotton or linen for best dye absorption. Synthetic materials like polyester may not take dye as well.
Dye Concentration
Follow the dye manufacturer’s instructions regarding the recommended dye-to-water ratio.
Using a higher dye concentration can result in more intense colors, but avoid over-saturating, as it may lead to uneven or blotchy results.
Dye Application Technique
Experiment with different dye application techniques, such as folding, twisting, or crumpling the fabric before applying dye.
Each technique creates unique patterns and can enhance the intensity of the colors in certain areas.
Use Soda Ash
When you’re using reactive dyes, consider using soda ash (sodium carbonate) as a fixative. Dissolve it in warm water and soak the fabric in this solution before applying the dye. Soda ash helps the dye bond with the fabric, resulting in brighter colors.
Keep Colors Separate
When you want multiple intense colors in one project, dye each color separately, allowing the fabric to dry between each dye application. This prevents bleeding and ensures each color remains vibrant.
Heat-Setting
After applying the dye, heat-set it by carefully ironing the fabric or placing it in a hot dryer. This step helps the dye molecules bond more strongly with the fabric fibers.
Patience
Allow the dye to set for an adequate amount of time as per the manufacturer’s instructions. Rushing this step can result in less intense colors.
FAQs
How long should I let tie dye sit on the fabric before rinsing?
It’s generally recommended to let tie dye sit for at least 6 to 8 hours. Some artists prefer leaving it overnight for more vibrant colors.
Can I let tie dye sit for too long?
Yes, leaving tie dye on fabric for more than 24 hours may not significantly improve the results and could potentially weaken the fabric. Stick to the recommended time frame.
Does the type of dye affect the setting time?
Yes, different dyes (reactive, direct application, natural, etc.) have varying setting times. Always follow the manufacturer’s instructions for the specific dye you’re using.
How does fabric material impact setting time?
Natural fibers like cotton tend to absorb dye more readily and may require shorter setting times. Synthetic materials like polyester might need longer setting times.
Can I speed up the setting process with heat?
While some heat can help, it’s essential to strike a balance. Avoid using excessive heat, as it may lead to uneven color absorption or damage to the fabric.
Wrap Up
In the realm of tie-dyeing, the duration one allows the dye to set on fabric before rinsing is the linchpin of vibrant, long-lasting results.
Balancing variables like dye type, fabric material, and personal preference is an art in itself. From the patience required for intense hues to the finesse of technique, every moment spent in this process is an investment in the final masterpiece.
Remember, experimentation and experience refine this craft. So, armed with the knowledge of setting times, let your creativity flow, and let your tie-dye creations burst forth with the brilliance they deserve.
With time and care, your fabric will sing with a kaleidoscope of colors that tell a story uniquely yours.
Leave a Reply