Spray painting shirts is an exhilarating way to transform plain fabrics into personalized works of wearable art. This creative process opens a world of possibilities, allowing you to unleash your imagination and craft designs that reflect your unique style.
From choosing the right materials to mastering techniques like stenciling and blending, every step in this artistic journey contributes to a one-of-a-kind masterpiece.
This guide will take you through the intricacies of spray painting shirts, offering tips and techniques to help you achieve stunning, long-lasting results.
Whether you’re a seasoned artist or new to the craft, this endeavor promises a fulfilling outlet for self-expression and creativity.
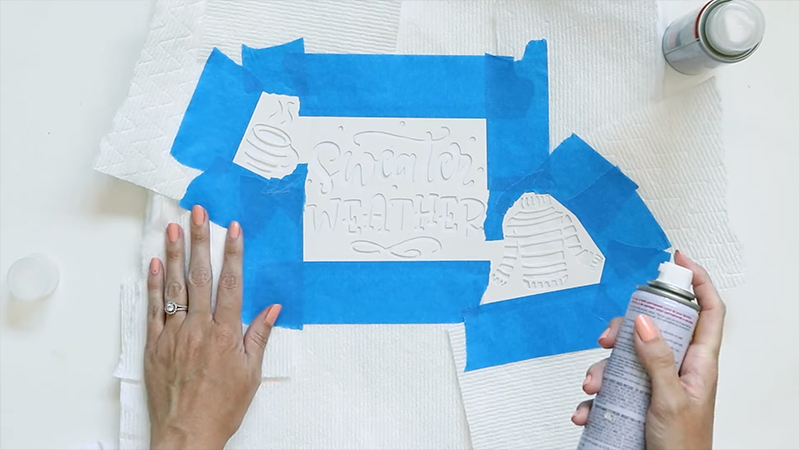
How to Spray Paint Shirts?
Spray painting shirts is a creative and fun way to personalize your clothing.
Whether you’re looking to make a unique fashion statement, create custom designs for a group event, or just have some fun with a DIY project, spray painting can be a great technique to explore.
Here’s a step-by-step guide on how to spray paint shirts:
Materials Needed:
- Shirts.
- Fabric Spray Paint.
- Stencil.
- Masking Tape.
- Plastic Sheets or Newspaper.
- Spray Bottles with Water.
- Gloves.
- Well-Ventilated Area.
Steps:
Prepare Your Workspace
Create a designated area for your project, preferably in a well-ventilated space or outdoors. Lay down ample plastic sheets or several layers of old newspapers to create a protective barrier.
This not only shields your workspace but also makes cleanup much easier.
Wash and Dry the Shirts
Thoroughly washing and drying the shirts removes any lingering residue or sizing, ensuring a clean canvas for your paint.
Avoid using fabric softener, as it may hinder paint adhesion. If possible, opt for a detergent without added scents or fabric conditioners.
Plan Your Design
Take a moment to sketch or mentally visualize your design. Consider elements like color scheme, composition, and balance.
When you’re using stencils, experiment with their placement before committing. This planning stage helps avoid any last-minute changes that might affect the outcome.
Apply Stencils
Stencils offer a structured approach to your design. Ensure they’re firmly adhered to the fabric to prevent paint from seeping underneath.
When you’re using intricate stencils, consider using stencil adhesive or delicate painter’s tape to secure the edges. This extra care ensures sharp, defined lines in your design.
Prepare the Paint
Before starting, shake the fabric spray paint cans vigorously, ensuring a uniform mixture.
Check the manufacturer’s recommendations for any specific guidelines regarding temperature or shaking duration. This step guarantees an even flow of paint and consistent coverage.
Test the Spray
A test spray is crucial for understanding how the paint interacts with the fabric. Experiment with different spraying distances and angles on a scrap piece of fabric or paper.
Pay attention to how the paint disperses, enabling you to fine-tune your technique before applying it to the shirt.
Start Painting
Hold the spray can at a consistent distance from the fabric to maintain an even application. Begin with light, sweeping motions, gradually building up color intensity.
Remember, a light touch allows for better control, and you can always add more layers for a deeper hue.
Create Layers
Layering adds depth and richness to your design. Allow each coat to dry fully before applying another.
This process might require patience, but it ensures a more vibrant, professional-looking result. Avoid rushing this step, as it’s a key factor in achieving a polished finish.
Add Details
For those embracing freehand designs, this is your chance to let your creativity flow.
Experiment with different nozzle settings or techniques like splattering for unique effects. Don’t be afraid to mix colors to achieve your desired palette.
Remove Stencils
When stencils were incorporated, peel them off while the paint is still wet. Gently lift them from the fabric to avoid smudging. If any touch-ups are needed, use a fine-tipped brush to correct any imperfections.
Create a Watercolor Effect
Introducing a watercolor effect adds an artistic touch to your design. Lightly mist the fabric with water, allowing it to interact with the paint.
This technique creates a beautiful, blended effect, giving your shirt a unique, hand-painted look.
Allow to Dry
Drying time varies based on factors like paint thickness and humidity levels. To ensure the best results, let the shirt air dry thoroughly.
Placing a fan nearby can help expedite the process, but avoid using heat sources like hair dryers, as they may cause uneven drying.
Heat-Set the Paint
Consult the manufacturer’s instructions on the fabric spray paint can regarding heat-setting. This step is crucial for making the design wash-resistant.
Follow their recommended method, whether it’s ironing or using a dryer, to ensure your artwork stays vibrant and durable.
Wash and Care
After the heat-setting process, wait at least 72 hours before washing the shirt. When it’s time for cleaning, turn the shirt inside out and use a gentle cycle with cold water.
Avoid bleach or harsh detergents, as they may fade the colors. Air drying is recommended to prolong the life of your custom design.
What Kind of Spray Paint Should You Use for Shirts?
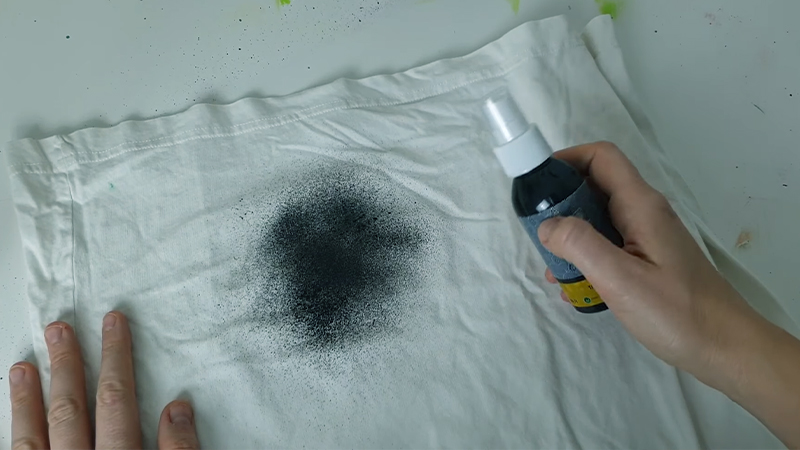
When spray painting shirts, it’s crucial to use the right type of spray paint to ensure good adhesion, flexibility, and wash resistance.
Here are the key points to consider:
Fabric Spray Paint
Using spray paint specifically designed for fabric is crucial. This type of paint is formulated to adhere well to textiles, ensuring it won’t stiffen or crack when applied to shirts.
Non-Toxic and Safe
Always opt for fabric spray paint that is labeled as non-toxic and safe for skin contact. This is particularly important for clothing items that will come into direct contact with your skin.
Water-Based vs. Oil-Based
Water-based fabric spray paint is typically recommended for shirts. It tends to be more flexible and is better suited for clothing. Oil-based paints, while versatile, can sometimes result in a stiffer feel.
Color Selection
Consider the color palette that best aligns with your design vision. Choose fabric spray paints that offer a wide range of colors to allow you the flexibility to create a vibrant and dynamic design.
Brand and Quality
Opt for well-known and reputable brands that are known for producing high-quality fabric spray paint. Higher-quality paint is more likely to result in a design that lasts, maintaining its vibrancy over time.
Compatibility
Ensure that the fabric spray paint you choose is compatible with the type of fabric your shirt is made of. Some paints work better on natural fibers like cotton, while others are formulated for synthetic materials.
Adherence and Wash Resistance
It’s advisable to read product reviews or consult the manufacturer’s instructions to gauge how well the paint adheres to fabric and its resistance to washing.
A high-quality fabric spray paint should hold up well through multiple washes.
Spray Nozzle Control
Look for fabric spray paint that features a controllable nozzle. This allows for precise application, which is especially important when creating detailed or intricate designs.
It helps you avoid overspray and achieve the desired level of precision.
Experimentation and Creativity With Different Techniques
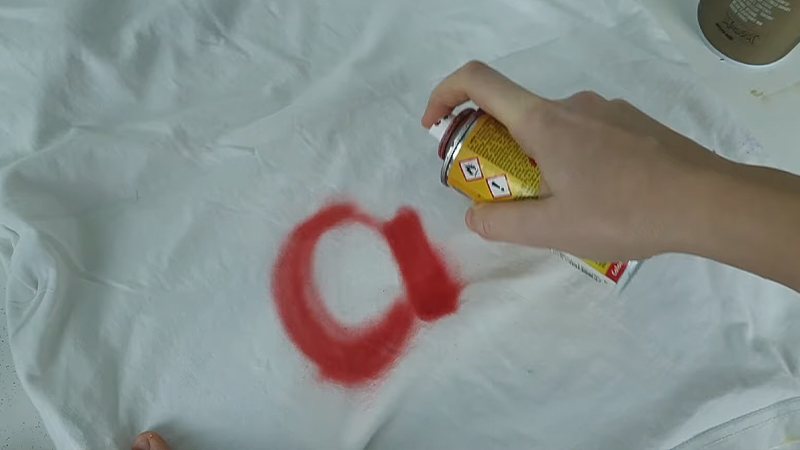
Experimentation and creativity are the cornerstones of achieving truly unique and personalized spray-painted shirt designs.
Here are some advanced techniques you can explore to take your creations to the next level:
Gradient Blending
Achieving a seamless transition between colors is a skill that requires finesse. Start by spraying one color at the top and another at the bottom, allowing them to overlap slightly.
Adjust the distance and intensity of the spray to control the blending effect. It may take some practice to master, but the results can be truly stunning.
Masking Tape Patterns
Using masking tape as a design element adds a level of precision to your work. Create geometric patterns or section off areas of the shirt.
After painting, carefully remove the tape to reveal sharp, defined lines. This technique offers endless possibilities for creating intricate and eye-catching designs.
Stencil Layering
Layering stencils is a fantastic way to add complexity and depth to your designs. Start with a base layer, allowing it to dry before adding additional stencils on top.
This technique enables you to build intricate and visually interesting compositions, making your shirt a true work of art.
Negative Space Painting
Utilizing negative space can yield striking and unique results. Instead of filling in a stencil, paint around it to create a silhouette effect.
This technique allows the original shirt color to become an integral part of the design, adding a dynamic contrast.
Sponge or Brush Detailing
For finer details or textured effects, consider using sponges or small brushes.
This technique is particularly effective for adding subtle highlights, shadows, or intricate accents to your design. It offers a level of control and precision that can elevate your artwork.
Bleaching Effects
Experimenting with bleach on dark-colored shirts can yield captivating patterns. Apply the bleach with a spray bottle or use a brush for controlled effects.
The interaction between the bleach and fabric creates unique and unpredictable designs, adding an element of surprise to your creations.
Splatter and Drip Techniques
For a dynamic and abstract look, try splattering or dripping paint onto the shirt. This technique adds a playful and energetic element to your design.
Experiment with different tools and techniques to control the size and intensity of the splatters for a customized effect.
Incorporate Textures
Introducing textures into your designs can add depth and visual interest. Place a mesh or lace fabric over the shirt and spray paint through it to create a textured pattern.
This technique allows you to experiment with different materials to achieve unique and tactile effects.
Layered Stamping
Using stamps or objects with interesting textures can create captivating patterns on the fabric. Layer different stamps to build a complex, multi-dimensional design.
This technique offers a creative way to add depth and visual intrigue to your shirts.
Stencil Shading
Create shadows or gradients within a specific shape using a stencil.
This technique adds a sense of dimensionality to your design, giving it a more three-dimensional appearance. It requires careful control of the spray intensity and distance to achieve the desired effect.
Marbling Effect
Achieve a captivating marbled effect by applying drops of different colored paint onto the fabric.
Use a brush or your fingers to swirl the colors together, creating a mesmerizing pattern. This technique adds a dynamic and organic element to your design.
Reverse Stenciling
Start by applying a base coat of paint to the fabric. Then, use a stencil to selectively remove some of the paint, revealing the original fabric color.
This layered approach creates an intricate and visually engaging design with a sense of depth.
Masking Fluid Technique
Apply masking fluid to the fabric before painting. Once the paint is dry, peel off the masking fluid to reveal untouched areas.
This technique allows for precise control over the areas where paint is applied, resulting in intricate and detailed designs.
Combining Different Mediums
Explore the possibilities of combining spray paint with other mediums like fabric markers, fabric dyes, or even embroidery.
This mixed-media approach opens up a world of creative potential, allowing you to experiment with different textures, colors, and techniques to create truly unique and multidimensional designs.
Troubleshooting Common Issues
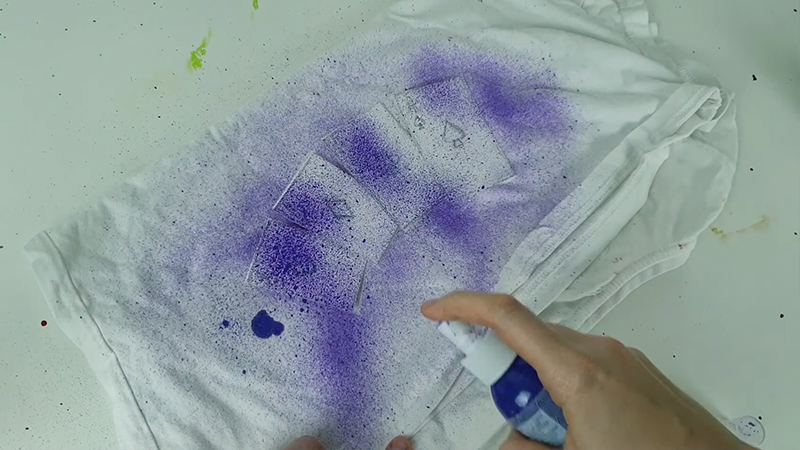
Troubleshooting is an essential skill when working on any creative project.
Here are some common issues you might encounter when spray painting shirts and how to address them:
Uneven Coverage
- Issue: Some areas of the shirt have more paint than others, resulting in uneven coloration.
- Solution: Ensure you’re maintaining a consistent distance from the fabric while spraying. Use smooth, even strokes to prevent build-up in one area. Allow each layer to dry before applying more paint to achieve a uniform finish.
Paint Bleeding Under Stencils
- Issue: Paint seeps under the edges of stencils, creating blurry or messy lines.
- Solution: Press down on the edges of the stencil firmly to create a tight seal. Additionally, you can try using stencil adhesive or masking tape to secure the stencil more effectively.
Paint Runs or Drips
- Issue: Excessive paint application leads to runs or drips on the fabric.
- Solution: Use lighter, controlled sprays to avoid overloading the fabric with paint. If you notice a drip forming, gently blot it with a clean cloth or sponge before it dries.
Fading Colors
- Issue: The colors appear dull or fade after drying.
- Solution: Ensure you’re using high-quality fabric spray paint. Follow the manufacturer’s instructions for heat-setting to ensure the paint bonds properly with the fabric. Avoid using bleach or harsh detergents when washing.
Stencil Doesn’t Stick Properly
- Issue: Stencils move or lift during painting, causing smudges or uneven lines.
- Solution: Use stencil adhesive or masking tape to secure the stencil in place. Ensure that the fabric is flat and the stencil lies flush against it before painting.
Over-Saturation of Paint
- Issue: Applying too much paint at once can lead to a thick, heavy layer that may crack or flake.
- Solution: Start with light, even sprays and build up the color gradually. Allow each layer to dry before adding more. This prevents the paint from becoming too thick and ensures a smooth, flexible finish.
Paint Doesn’t Adhere Well
- Issue: The paint doesn’t stick to the fabric properly and may peel or flake off.
- Solution: Make sure the shirt is clean and free from any residues. Use fabric spray paint specifically designed for textiles. Follow the manufacturer’s instructions for application and heat-setting to ensure proper adhesion.
Paint Colors Muddy Together
- Issue: Colors blend in a way that wasn’t intended, creating a muddy appearance.
- Solution: Allow each layer of paint to dry completely before applying a different color. This prevents them from mixing on the fabric. If you’re aiming for a specific blending effect, experiment with misting water on the paint while it’s still wet.
Paint Splatters Unintentionally
- Issue: Paint splatters onto areas of the shirt where it wasn’t intended.
- Solution: Control the intensity and direction of your spray to prevent accidental splattering. If splatters occur, you can either incorporate them into your design or gently blot them with a clean cloth while the paint is still wet.
Uneven Watercolor Effect
- Issue: The watercolor effect appears blotchy or uneven.
- Solution: Ensure the fabric is evenly misted with water. Experiment with the distance and angle at which you must to achieve a more consistent and desirable effect.
Tips for Preserving the Longevity of the Design
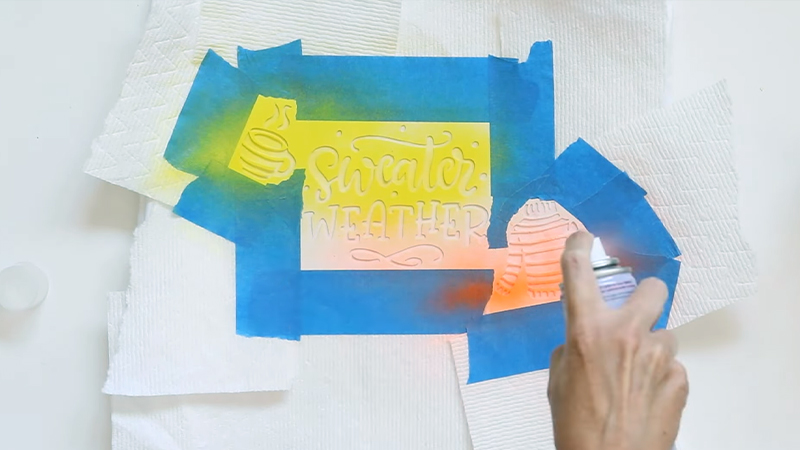
Preserving the longevity of your spray-painted shirt design is essential to ensure it stays vibrant and intact over time.
Here are some tips to help maintain the quality and durability of your artwork:
Wait for Proper Drying
Ensuring that your painted shirt dries thoroughly is crucial. Allow it to air dry in a well-ventilated area. This time allows the paint to set, bond with the fabric, and achieve the desired texture and finish.
Rushing this process may lead to uneven drying and affect the overall quality of the design.
Heat-Set the Paint
Heat-setting is a critical step in making the paint more resilient to washing. Follow the specific guidelines provided by the manufacturer.
Typically, this involves using an iron on a designated setting or placing the shirt in a dryer. The application of heat ensures a secure bond between the paint and fabric fibers.
Turn the Shirt Inside Out
When it comes time to wash your painted shirt, turn it inside out.
This simple step helps safeguard the painted design from rubbing against other clothing items, zippers, or buttons in the wash. It’s a small adjustment that can significantly extend the life of your artwork.
Use Cold Water
Opting for cold water is essential for preserving the vibrancy and integrity of the paint.
Hot water can cause the fabric to expand and the paint to loosen, leading to potential fading or cracking. Cold water, on the other hand, is gentler and less likely to disrupt the paint.
Gentle Cycle
Selecting the gentle cycle on your washing machine minimizes the mechanical stress on the fabric and painted design.
This cycle typically involves slower agitation and reduced spinning, which helps protect the delicate paintwork from unnecessary wear and tear.
Use a Mild Detergent
Choosing a mild, color-safe detergent is crucial for maintaining the integrity of the paint.
Strong or abrasive detergents can weaken the paint over time, causing it to fade or peel. Opt for a detergent that’s specifically designed for use on delicate or hand-painted fabrics.
Avoid Fabric Softeners
Fabric softeners, while beneficial for certain types of fabric, can be detrimental to painted designs.
They may contain chemicals that can weaken the paint over time. It’s best to skip fabric softeners altogether when washing your painted shirt.
Air Dry or Low-Heat Setting
Allowing your painted shirt to air dry is the gentlest option. This process reduces the risk of any potential damage from heat or mechanical action.
When you choose to use a dryer, select a low-heat setting to minimize any potential impact on the fabric and paint.
Avoid Dry Cleaning
Resist the temptation to take your painted shirt to a dry cleaner. The chemicals used in dry cleaning can be harsh on both the fabric and the paint.
Opting for handwashing at home with mild detergent is the safest way to clean your painted shirts.
Store Carefully
When your painted shirt is not in use, store it in a cool, dry place. Avoid folding it in a way that might cause the paint to crack or peel. Consider hanging it or laying it flat to preserve the integrity of the design.
Avoid Direct Sunlight
Exposure to direct sunlight for prolonged periods can lead to fading of the colors over time.
When storing your painted shirts, choose a dark or shaded area to protect them from the potentially harmful effects of UV rays.
Handle with Care
When handling your painted shirt, especially around the painted areas, be gentle. Avoid excessive rubbing or stretching, as this could potentially lead to wear and tear on the fabric and paint.
Touch Up if Needed
In the event that any areas of the design start to fade or chip, consider using fabric markers or paints to touch up the design. This proactive approach can help maintain the overall appearance of your artwork.
Avoid Harsh Chemicals
Steer clear of contact with harsh chemicals or solvents, as they can weaken the paint and cause it to deteriorate over time.
Take care to avoid situations where your painted shirt might come into contact with substances that could potentially harm the design.
FAQs
Is it necessary to wash the shirt before spray painting?
Yes, washing the shirt before spray painting is essential to remove any residues or sizing that might affect paint adhesion.
Can I use regular spray paint on shirts?
No, regular spray paint is not suitable for fabric. You should use fabric spray paint, which is specially formulated to adhere to textiles and maintain flexibility.
What is the ideal distance for spray painting the shirt?
The ideal spraying distance is typically 6-8 inches from the fabric.
How long should I wait for the paint to dry before applying additional coats?
The drying time can vary depending on the brand and environmental conditions but usually ranges from a few minutes to several hours.
Can I machine wash a spray-painted shirt?
Yes, you can machine wash a spray-painted shirt, but it’s important to follow the care instructions for fabric spray paint.
To Recap
Spray painting shirts is an exciting and creative endeavor that allows you to express your individuality and craft unique, wearable art.
From the initial preparation of your workspace and shirts to the careful application of paint, each step is an opportunity to unleash your artistic vision.
Experimentation with various techniques, color combinations, and stencils can result in stunning designs. Ensuring longevity is equally vital, as proper care and washing techniques will keep your artwork vibrant and intact over time.
As you embark on this artistic journey, remember that practice and patience are your allies, and each painted shirt is a canvas for your imagination to shine.
Leave a Reply