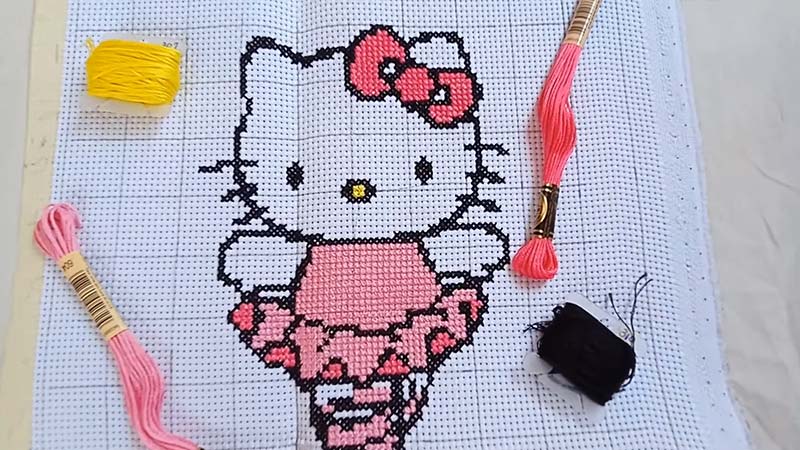
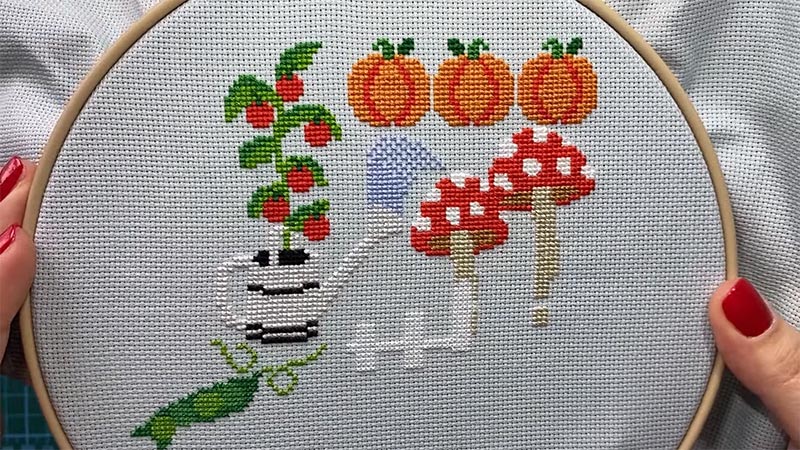
Cross-stitch, an ancient and enduring form of embroidery, offers a canvas for creative expression through the precise arrangement of tiny X-shaped stitches.
The world of cross-stitch is not limited to replicating existing patterns; it extends to designing your own.
Crafting unique cross-stitch patterns allows you to infuse your personality and artistic vision into your projects.
This intricate art form is an avenue for countless possibilities, from personalized gifts and home decor to meditative relaxation.
In this exploration, we’ll delve into the art of designing cross-stitch patterns, offering guidance on the process that enables you to bring your imaginative visions to life through a tapestry of thread and fabric.

Can You Design Cross Stitch Patterns?
Yes, you can design cross-stitch patterns! Cross-stitch is a popular and timeless form of embroidery that involves creating images or patterns by stitching small X-shaped stitches on fabric.
Designing your own cross-stitch patterns allows you to express your creativity and make unique, personalized projects.
Here’s a step-by-step guide on how to design cross-stitch patterns:
Gather Supplies
- Graph paper: Use graph paper with a grid to help you create precise and symmetrical designs.
- Pencils and erasers: You’ll be sketching and refining your design, so having these tools is essential.
- Colored pencils or markers: These can help you add color to your pattern, which is especially useful for more intricate designs.
- Cross-stitch fabric: Choose the fabric count (the number of stitches per inch) that you prefer, usually 14 or 16 count Aida fabric.
- Embroidery hoop: An embroidery hoop will keep your fabric taut and make stitching easier.
Select a Design
Choosing a design is a crucial starting point. You can find inspiration from various sources, including books, magazines, websites, or your own imagination.
The design can be as simple as a heart or a word, or more complex, such as a landscape or a portrait. The key is to pick something that resonates with you and aligns with your skill level.
Sketch Your Design
Once you have your design in mind, transfer it onto graph paper. Each square on the graph paper represents a stitch on the fabric, and you’ll be working within this grid.
Start by outlining your design, focusing on achieving symmetry and balance. As you get more detailed, take care to maintain the grid’s proportions.
Choose Colors
If you wish to add color to your pattern, select the colors you’ll use for different sections of the design.
Cross-stitch thread color charts, available online or at craft stores, can help you choose the appropriate embroidery floss colors. Consider the contrast and shading required to make your design visually appealing.
Count Stitches
Count the number of stitches needed for each color in your design. This step is essential for estimating the amount of thread required for each section.
Pay close attention to the starting point of your design, as it determines where you begin stitching.
Create the Pattern
Transferring your design to cross-stitch graph paper is the next step. Align your sketch with the grid, ensuring that each square represents a stitch.
To denote different thread colors, use symbols, colors, or both, and create a key to explain which symbol corresponds to which thread color.
Test Your Pattern
Before commencing your main project, it’s advisable to stitch a small sample or swatch. This serves as a practical test to ensure your pattern is accurate and allows you to make any necessary adjustments. It’s also an opportunity to get comfortable with the stitching process.
Start Stitching
Once you’re satisfied with your pattern, secure your fabric in an embroidery hoop. Starting from the center of your design and working outward can help you maintain symmetry.
Follow your pattern closely, using the designated thread color for each section. Maintain neat and consistent stitches as you progress.
Finish and Frame
Upon completing your cross-stitch project, secure the threads on the backside, trim any excess, and clean the fabric if necessary.
To display your finished piece, you can frame it using an embroidery hoop or a traditional frame, depending on your preference and the size of your work.
Tips to Make Cross Stitch Pattern Design Smoothly

Creating cross-stitch patterns is a rewarding and creative endeavor, but it can be a complex process.
Here are some tips to help you design cross-stitch patterns smoothly and efficiently:
Start with Simplicity
If you’re new to pattern design, begin with simple designs and gradually work your way up to more complex ones. This will help you build your skills and confidence.
Plan Your Design
Before putting pen to paper (or mouse to screen if you’re using design software), visualize your design and have a clear plan in mind. Consider the size of your fabric and how many stitches you want the final piece to be.
Use Graph Paper or Design Software
Cross-stitch graph paper is a great tool for creating patterns. Alternatively, there is design software available that can streamline the process. These tools provide grids and symbols to help you create accurate patterns.
Choose the Right Colors
Selecting the right thread colors is essential for a successful cross-stitch pattern. Cross-stitch thread charts can help you pick the appropriate colors, and you can also experiment with shading and color combinations for more intricate designs.
Keep It Symmetrical
Symmetry is key in cross-stitch patterns. Ensure your design is balanced, whether it’s a simple geometric shape or a more complex image. Starting from the center and working outwards can help maintain symmetry.
Use a Lightbox or Tracing
If you have a hand-drawn design that you’d like to convert into a cross-stitch pattern, a lightbox or tracing can be helpful. This allows you to trace the design onto graph paper more accurately.
Pay Attention to Stitch Count
Accurate stitch counting is crucial. Keep a close eye on the number of stitches required for each color in your design. Mistakes here can lead to frustration during the stitching process.
Keep it Clean and Clear
Ensure your symbols and colors are distinct on your pattern. A cluttered or ambiguous pattern can lead to confusion when you start stitching.
Test Your Pattern
Stitch a small sample of your pattern on a piece of scrap fabric to check for accuracy and visual appeal. This test will help you identify and correct any issues before starting your main project.
Organize Your Threads
Keep your threads organized, labeled, and easily accessible. This will save time and reduce frustration while stitching.
Be Patient
Cross-stitch pattern design can be time-consuming, but patience is key. Take breaks when needed, and don’t rush through the process. The more time you invest in your pattern, the better the final result.
Learn from Others
Study existing cross-stitch patterns and designs to understand different techniques and styles. This can inspire your creativity and help you grasp the intricacies of pattern design.
Get Feedback
Share your designs with fellow cross-stitch enthusiasts or online communities. Constructive feedback can help you refine your skills and create better patterns.
FAQS
Can I create cross-stitch patterns from my own photographs?
Yes, you can convert your photographs into cross-stitch patterns using various software and online services designed for this purpose.
Are there copyright considerations when designing cross-stitch patterns?
Yes, copyright laws apply to cross-stitch patterns just as they do to any other form of art.
Can I design cross-stitch patterns for commercial purposes?
Yes, you can create and sell cross-stitch patterns for commercial purposes, but it’s important to be aware of copyright issues.
What’s the difference between full cross-stitch and fractional stitches in patterns?
Full cross-stitches involve making an “X” on the fabric, while fractional stitches involve creating a smaller part of the “X.”
Fractional stitches are often used to add finer details and smoother curves to a design.
To Recap
In cross-stitch, designing your own patterns offers a gateway to unparalleled creativity and self-expression.
As this craft merges artistry with meticulous precision, the process of crafting these unique patterns becomes an art form in itself.
Whether you’re embarking on a journey to create personalized gifts, embellish your surroundings, or simply seek a therapeutic escape through stitching, the ability to design your own cross-stitch patterns opens a world of artistic freedom.
The meditative rhythm of stitching and the joy of watching your vision materialize thread by thread make the effort incredibly rewarding.
In designing cross-stitch patterns, you become both artist and artisan, weaving the tapestry of your imagination into the fabric of reality.
Leave a Reply