Cleaning a blending stump is a crucial practice for artists seeking precision and nuance in their work. This essential tool, also known as a tortillon or smudging stick, facilitates seamless blending and shading in various mediums.
Over time, it can accumulate pigment, affecting its performance. Proper cleaning not only extends the stump’s lifespan but also ensures consistent, high-quality results.
This guide outlines effective techniques, including gentle sanding and using a mild soap solution, to revitalize blending stumps.
With attention to detail and the right materials, artists can maintain this invaluable tool’s efficacy and elevate the quality of their artistic creations.
What Is Blending Stump?
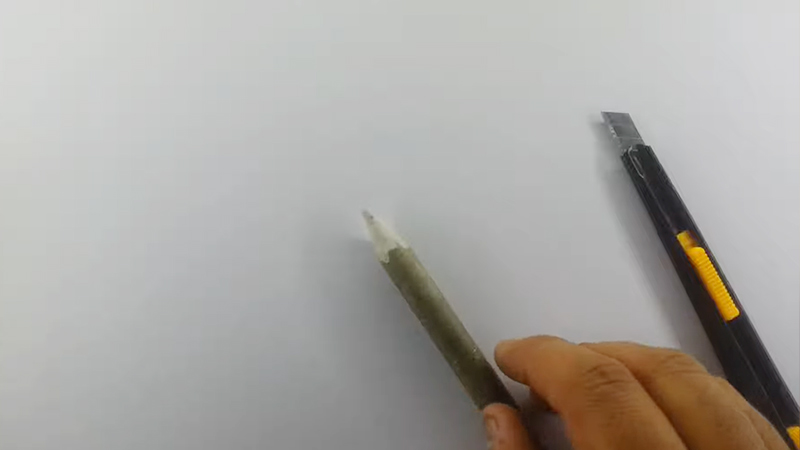
A blending stump, also known as a tortillon or smudging stick, is a versatile tool used in various forms of visual art, particularly drawing. It is typically made of tightly rolled paper or a cylindrical sleeve of soft, compressed paper pulp.
This tool is pointed at one end and often rounded at the other. Artists use blending stumps to achieve smooth transitions, shading, and blending in their artwork.
By gently rubbing or smudging graphite, charcoal, pastels, or other dry mediums, the blending stump helps to create gradients, soften harsh lines, and blend different tones seamlessly.
It is an indispensable instrument for artists seeking precise control over their shading techniques, allowing for the creation of nuanced and lifelike imagery.
How Do You Clean a Blending Stump?
Cleaning a blending stump is a crucial step in maintaining the quality and effectiveness of this essential tool for artists, particularly those working with graphite, charcoal, pastels, and other dry mediums.
However, it can become saturated with pigment and lose its efficacy over time if not cleaned regularly.
Here’s a step-by-step guide on how to clean a blending stump:
Materials Needed:
- Dirty Blending Stump: The one that needs cleaning.
- Sandpaper: Fine-grit sandpaper or an emery board.
- Tissue or Paper Towels: For wiping away excess debris.
- Container or Jar: A small jar or container with a lid.
- Mild Soap: A gentle, non-abrasive soap like dish soap or artist’s soap.
- Water: Lukewarm water for rinsing.
Cleaning Steps:
1. Prepare Your Work Area
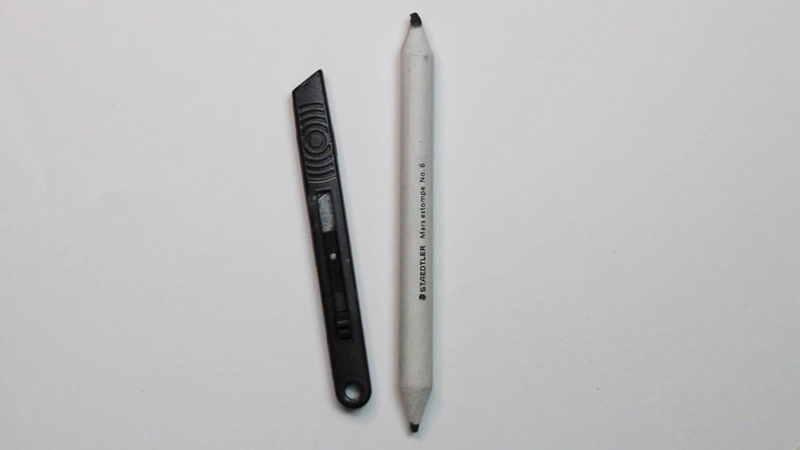
Before you begin, make sure your workspace is clean and well-lit. This will allow you to see any dirt or residue on the blending stump more clearly.
Lay out all your materials within easy reach, so you can proceed smoothly through the cleaning process.
2. Wipe Off Excess Pigment
Gently but firmly wipe the surface of the blending stump with a tissue or paper towel.
This step is crucial because it removes loose or excess pigment, making the subsequent cleaning process more effective. Pay attention to areas that seem particularly dirty or discolored.
3. Sand the Blending Stump
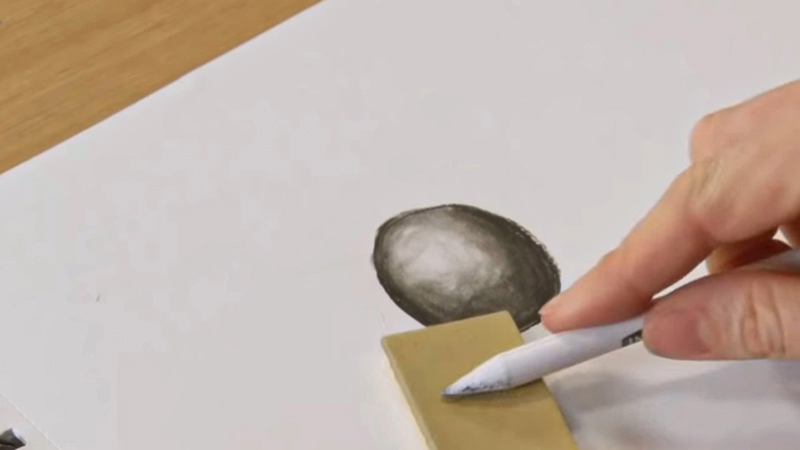
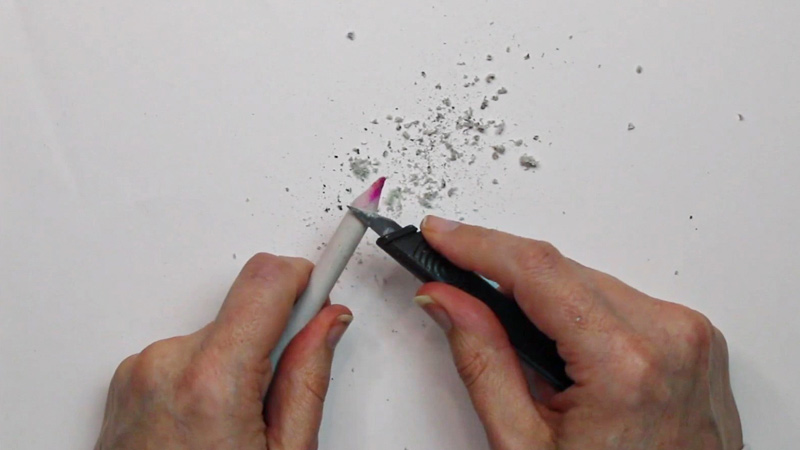
Hold the blending stump securely in your hand and start sanding. Use gentle, even strokes with the sandpaper or emery board.
This action removes the outer layer of paper that’s saturated with pigment and oils.
It’s important to be patient and not to sand too aggressively, as this could damage the stump.
4. Wipe Away Residue
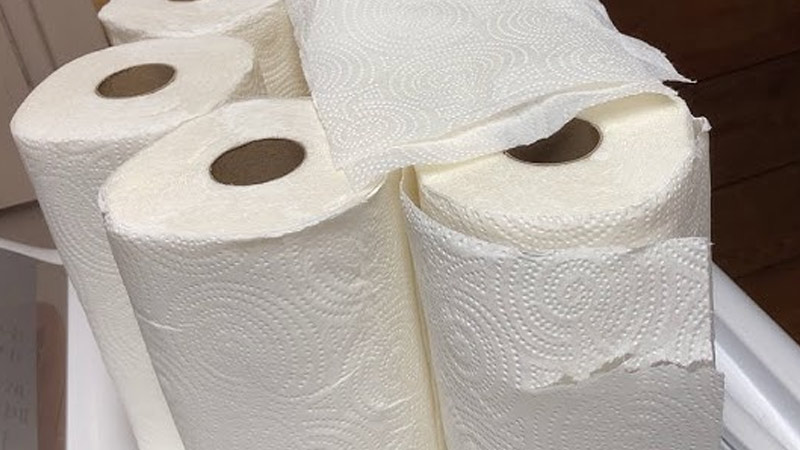
After sanding, take another tissue or paper towel and wipe away the loosened residue.
You’ll notice the blending stump looking visibly cleaner at this point. Take care to get into any crevices or areas that might still hold residue.
5. Prepare a Cleaning Solution
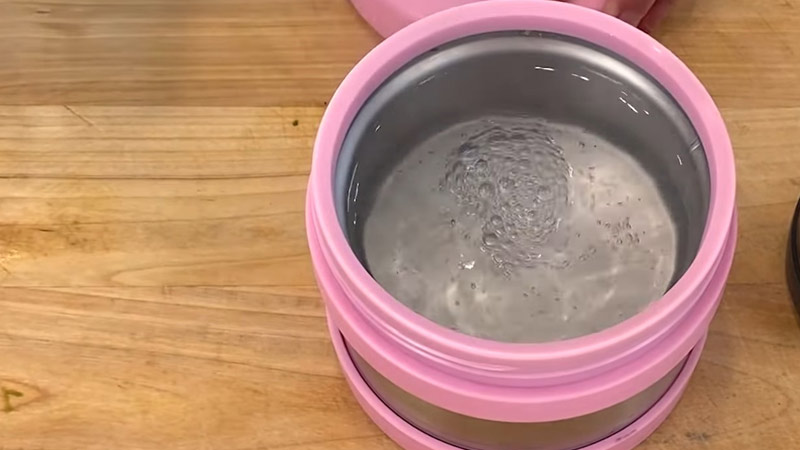
Fill a small container with lukewarm water and add a small amount of mild soap. Mix it gently to create a soapy solution.
The soap helps to break down the oils and pigments that may be clinging to the blending stump.
6. Soak the Blending Stump
Carefully submerge the blending stump into the soapy water, making sure it’s completely covered.
Allow it to soak for a few minutes. This soaking process further loosens any remaining pigment and oil, making them easier to clean off.
7. Clean the Stump
After soaking, take the blending stump and gently rub it between your fingers or against the sides of the container.
This motion helps to dislodge the remaining pigment and dirt. Be patient and thorough, as this step ensures the stump is properly cleaned.
8. Rinse and Dry
Hold the blending stump under a stream of running lukewarm water to thoroughly rinse away any soap residue.
Ensure that you rinse it well, as any leftover soap could affect your artwork.
Once rinsed, use a paper towel or your fingers to gently squeeze out excess water from the stump.
9. Shape and Dry
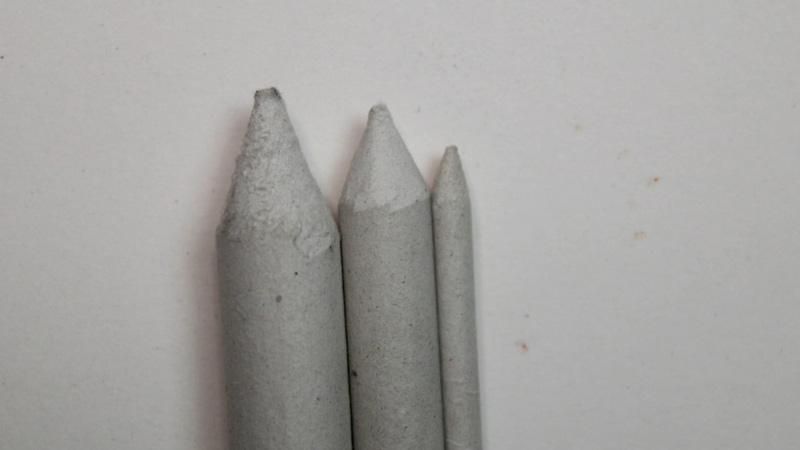
While the blending stump is still slightly damp, roll it between your fingers to restore its desired shape. This step is essential for maintaining its effectiveness.
Place it on a clean, dry surface to air dry completely. Avoid using a hairdryer or any other heat source, as this can warp or damage the stump.
10. Store Properly
Once the blending stump is completely dry, store it in a clean container or wrap it in a clean sheet of paper. This protects it from dust and contaminants until your next use, ensuring it’s ready to assist you in your artistic endeavors.
How to Clean a Blending Stump With a Kneaded Eraser?
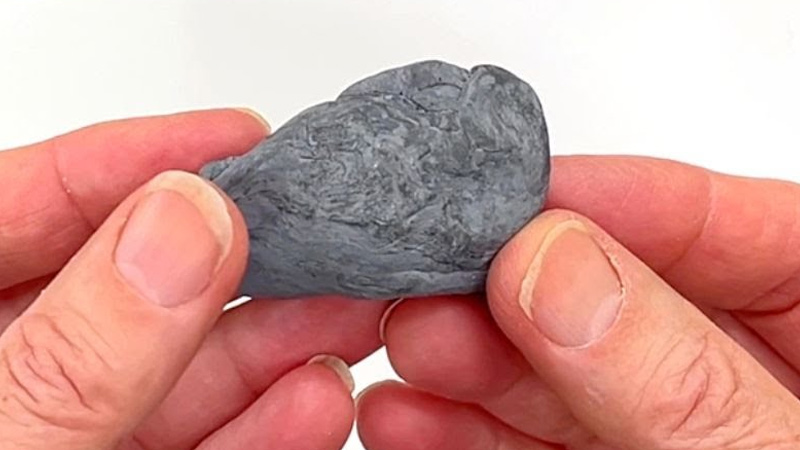
Cleaning a blending stump with a kneaded eraser is a useful technique when you want to remove excess pigment or residues without fully wetting or reshaping the blending stump.
Here’s a step-by-step guide on how to do it:
Materials Needed:
- Blending Stump: The one that needs cleaning.
- Kneaded Eraser: A clean kneaded eraser, free from previous graphite or pigment marks.
- Tissue or Paper Towels: For wiping away excess debris.
- Optional: Fine-grit sandpaper or an emery board if the blending stump requires deeper cleaning.
Cleaning Steps:
Prepare Your Work Area
Start by setting up a clean workspace with good lighting. Having all your materials readily accessible will make the process smoother.
Wipe Off Excess Pigment
Begin by gently wiping the surface of the blending stump with a tissue or paper towel to remove any loose or excess pigment.
This step reduces the amount of pigment you need to clean using the kneaded eraser.
Use the Kneaded Eraser
Take a clean kneaded eraser and knead it into a flattened shape or roll it into a small cylinder. Ensure that the eraser is clean and free from any prior marks.
Rub the Blending Stump
Use the kneaded eraser to rub the surface of the blending stump gently. Press it onto the stump and roll it back and forth.
The kneaded eraser will pick up and lift away some of the pigment and residues from the stump’s surface.
Rotate the Blending Stump
Rotate the blending stump as you clean with the kneaded eraser to ensure even cleaning and avoid concentrating on one area.
Inspect and Repeat
Periodically stop to inspect the blending stump’s surface. If you notice any stubborn spots or if the eraser becomes discolored, knead the eraser to a clean area and continue the cleaning process. Repeat until you achieve the desired cleanliness.
Optional Deep Cleaning
If the blending stump still has stubborn pigment or residues, you can use fine-grit sandpaper or an emery board as mentioned in previous instructions.
Be gentle when sanding to avoid damaging the stump.
Wipe Away Residue
After cleaning with the kneaded eraser, use a tissue or paper towel to wipe away any loosened residue from the blending stump.
Final Inspection
Carefully inspect the blending stump to ensure it’s clean to your satisfaction.
Once the blending stump is clean, store it in a clean container or wrap it in a clean sheet of paper to protect it from dust and contaminants until your next use.
How Often Should You Clean My Blending Stump?
The frequency of cleaning a blending stump depends on how often you use it and the mediums you work with.
You should clean a blending stump under the following circumstances:
After Each Use
It’s a good practice to wipe off excess pigment from the blending stump after every use.
This helps prevent the accumulation of pigment on the stump’s surface and keeps it relatively clean for your next session.
When It Becomes Ineffective
If you notice that the blending stump is not performing as effectively as it should, it’s time for cleaning.
This could be due to it being too saturated with pigment or the blending action not yielding the desired results.
Regular Maintenance
For artists who use blending stumps frequently, consider cleaning them at least once a week, even if they still appear to be working well.
This prevents the buildup of residue and ensures consistent performance.
Change of Medium
If you switch between different mediums (e.g., graphite, charcoal, pastels), it’s a good idea to clean your blending stump before using it with a new medium to avoid cross-contamination and unwanted color mixing.
Visual Inspection
Regularly inspect your blending stumps for visible dirt, discoloration, or a rough texture on the surface. If you notice any of these signs, it’s time for cleaning.
Suggestion for Cleaning a Blending Stump
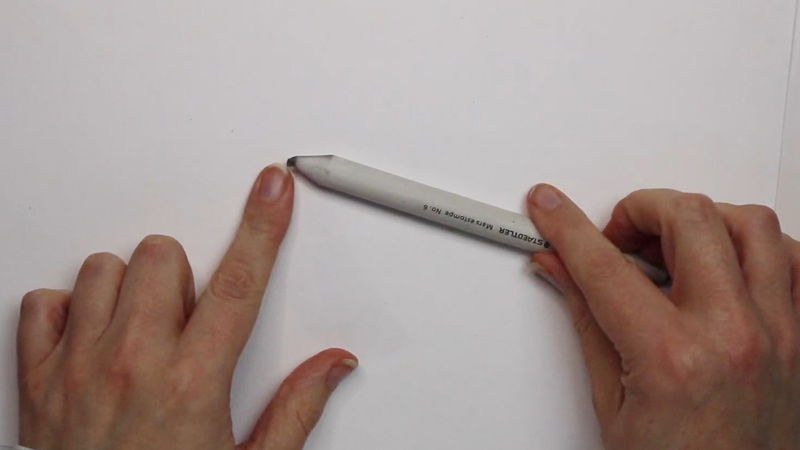
Cleaning a blending stump is an essential part of maintaining its effectiveness for your artwork.
Here are some additional suggestions for cleaning a blending stump effectively:
Gentle Handling
Handle the blending stump with a delicate touch, especially during the cleaning process.
Applying excessive force or pressure could lead to misshaping or damaging the stump’s surface. Treat it with care to preserve its effectiveness.
Use Soft Sandpaper
Select fine-grit sandpaper or an emery board for the sanding process. Coarser options might be too abrasive and risk harming the blending stump’s surface.
The goal is to gently remove the outer layer without causing damage.
Rotate While Sanding
While sanding, remember to rotate the blending stump. This even distribution of sanding pressure ensures that the surface texture remains consistent throughout.
Avoid concentrating sanding in one area to prevent lopsided shaping.
Avoid Harsh Chemicals
Stick to mild, non-abrasive soaps when creating a cleaning solution.
Aggressive chemicals can potentially break down the structure of the blending stump or affect its performance. Opt for gentle, artist-friendly options.
Patience is Key
Take your time during the cleaning process. Allow the blending stump to soak adequately and be patient when rubbing to ensure thorough cleaning. Rushing through this process may result in incomplete removal of residue.
Rinse Thoroughly
After cleaning, rinse the blending stump thoroughly under lukewarm water. Make sure to remove all traces of soap residue.
Any leftover soap could affect the performance of the blending stump in future artwork.
Store Properly
Store your cleaned blending stumps in a clean container or wrap them in a clean sheet of paper.
This protects them from dust and contaminants, ensuring they’re ready for use in your next artistic endeavor.
FAQs
Why is it important to clean a blending stump?
Regular cleaning of a blending stump is crucial to remove accumulated pigment and residues, ensuring it maintains its effectiveness in achieving smooth transitions and shading in the artwork.
Can I use any type of soap to clean a blending stump?
It’s recommended to use a mild, non-abrasive soap like dish soap or artist’s soap. Avoid harsh chemicals, as they may damage the blending stump.
How often should I clean my blending stump?
Cleaning frequency depends on usage. After each use, wipe off excess pigment. For regular maintenance, clean it at least once a week.
Can I clean a blending stump with just a kneaded eraser?
A kneaded eraser is useful for removing surface residues, but for a more thorough clean, consider incorporating mild soap and, if necessary, gentle sanding.
How should I store a clean blending stump?
Store it in a clean container or wrap it in a clean sheet of paper to protect it from dust and contaminants until your next use.
To Recap
The process of cleaning a blending stump is a fundamental aspect of maintaining its effectiveness in artistic endeavors.
Regular attention to this tool ensures it remains a reliable instrument for achieving smooth transitions and impeccable shading.
By following the steps outlined in this guide, from gentle sanding to using mild soaps, artists can revitalize their blending stumps and enhance the quality of their work.
Remember, a well-maintained blending stump not only prolongs its lifespan but also elevates the overall precision and finesse of your artistic creations.
With proper care, this indispensable tool will continue to serve as a trusted companion in your artistic journey.
Leave a Reply