Creating detailed and intricate pencil drawings requires skill and precision, but the persistent issue of smudging can frustrate artists.
Smudges can result from the natural oils on the hands, improper handling, or the friction between the pencil and paper.
In this guide on how to avoid smudging in pencil drawings, we will explore effective techniques and practices.
From using fixative sprays and choosing the right pencils to employ hand placement strategies and working in sections, these methods aim to preserve the integrity of your artwork.
By incorporating these tips, artists can enhance their drawing experience, ensuring that their meticulous creations remain free from unintended blemishes.
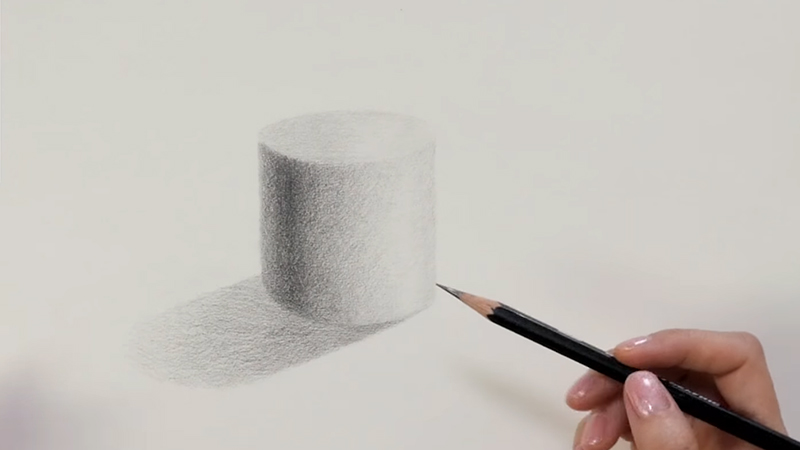
What Is Smudging in Pencil Drawing?
Smudging in pencil drawing refers to the unintentional blending or spreading of graphite or charcoal marks on the paper, diminishing the clarity of the intended lines and details.
It occurs when the artist’s hand, containing natural oils, comes into contact with the drawing surface, causing the pencil marks to smear. Factors such as pencil type, paper texture, and hand movements contribute to smudging.
Artists often seek ways to prevent smudging, employing techniques like fixative sprays, careful hand placement, and choosing specific pencils to maintain the integrity of their drawings and achieve the desired level of detail.
How Do You Stop Pencils from Smudging While Drawing?
Knowing how to stop hand smudging while drawing is a common concern for artists, especially when working with graphite or charcoal pencils.
Smudging can occur due to the natural oils on your hands, friction, or improper handling of the drawing.
Here are the tips on how to stop pencil smudging while drawing:
Use a Fixative Spray
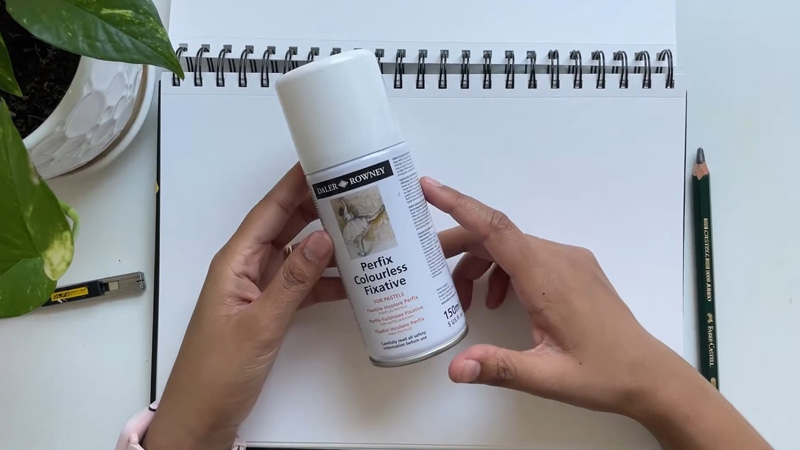
Fixative sprays come in different types: workable and final fixatives. Workable fixatives allow you to continue working on the drawing after application, while final fixatives are intended to be the last layer.
Choose the appropriate fixative based on your workflow. Additionally, apply fixative in a well-ventilated area, and consider wearing a mask to avoid inhaling fumes.
Work from Top to Bottom
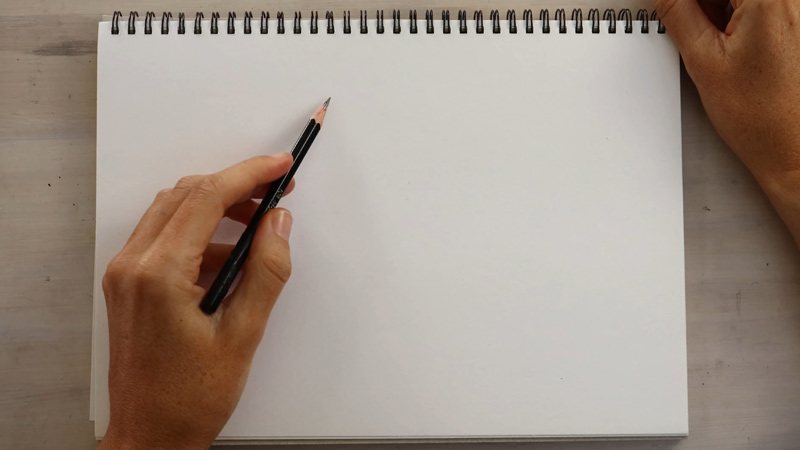
When working from top to bottom, pay attention to the direction of your strokes. If you’re right-handed, slightly tilt your paper clockwise to maintain a more natural drawing angle.
This adjustment reduces the likelihood of your hand smudging areas you’ve already drawn, especially if you’re working with softer pencils that are prone to smudging.
Place a Clean Sheet of Paper Under Your Hand
Opt for a smooth, clean sheet of paper as a hand-resting surface. Change this sheet regularly to ensure it is free of transferred oils or graphite.
If you’re working on larger drawings, consider using a drawing board or a drafting table, which allows you to support your hand without touching the drawing surface.
Use a Drawing Glove
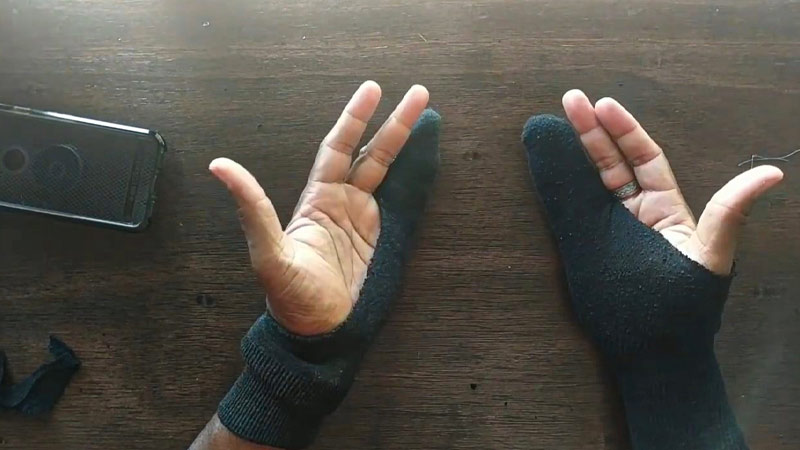
Drawing gloves are available in various materials, including cotton, nylon, and spandex. Choose a glove that fits snugly but comfortably.
Some gloves are designed with two fingers exposed to allow for a better grip on the pencil while protecting most of your hand from touching the paper.
Avoid Resting Your Hand on the Drawing Surface
Develop a hovering technique where your hand is slightly elevated above the paper. This prevents direct contact and provides a clearer view of the drawing and better control over your pencil strokes. Practice this technique to make it a natural part of your drawing process.
Choose the Right Pencil
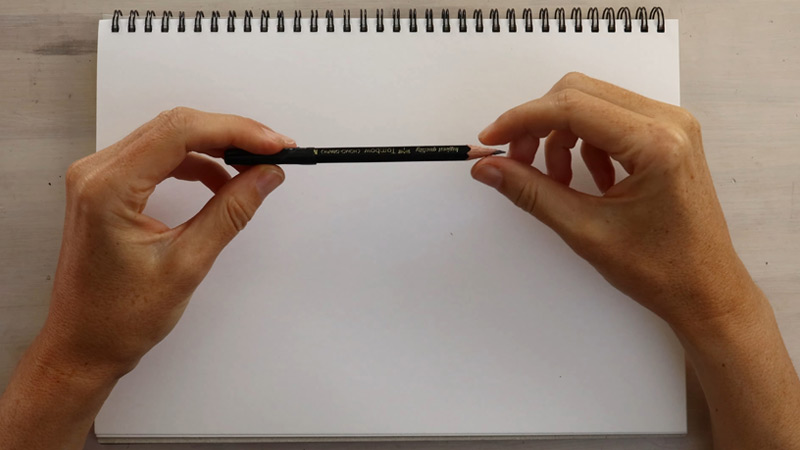
Familiarize yourself with the pencil grading scale, ranging from hard (H) to soft (B). Hard pencils (4H-2H) are excellent for initial sketches, while softer pencils (2B-8B) are better for shading and creating darker lines.
Experiment with various grades to understand how each behaves and choose accordingly to minimize smudging.
Work in Sections
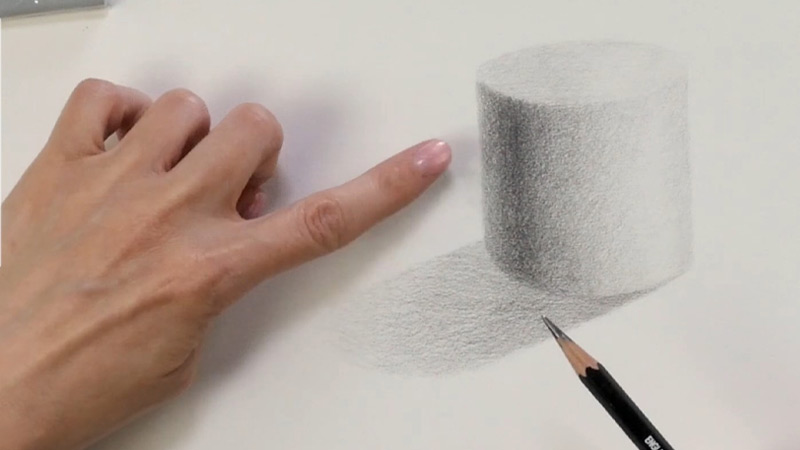
Breaking down your drawing into manageable sections reduces the risk of smudging and allows you to concentrate on specific details.
This approach helps maintain focus and ensures that each part of your drawing receives the attention it deserves before moving on to the next section.
Let the Drawing Dry
Different fixatives have varying drying times. Follow the manufacturer’s instructions, and consider allowing a bit of extra time for thorough drying.
You can use a fan or keep the drawing in a well-ventilated area to speed up the drying process. Patience at this stage is crucial to avoid any unintended smudging.
Frame the Drawing
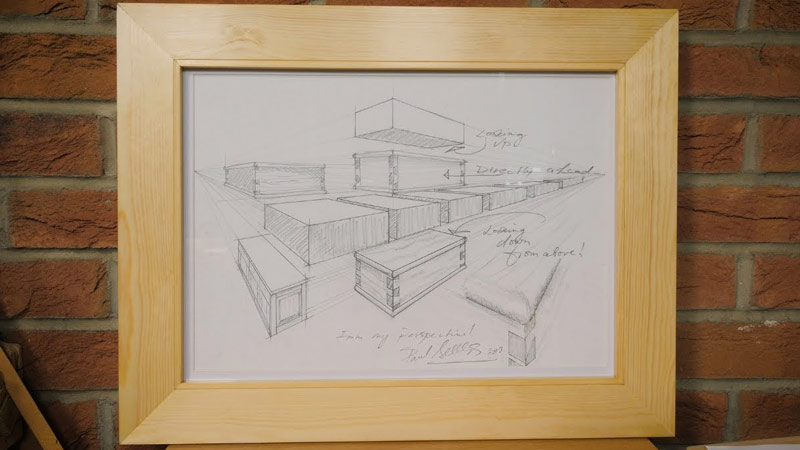
Framing your completed drawing enhances its aesthetic appeal and provides a protective barrier.
Choose acid-free matting and backing materials to prevent chemical reactions from affecting your artwork over time.
Glazing options like glass or acrylic sheets further shield your drawing from environmental factors and accidental smudging.
Why Do Pencil Drawings Smudge Easily?
Pencil drawings smudge easily due to several factors inherent in the materials and techniques used in the art form.
Natural Oils on Hands
The skin’s natural oils are a common culprit in the smudging dilemma. Even with clean hands, these oils are transferred onto the paper during the drawing process, creating a thin layer that can compromise the adhesion of graphite or charcoal.
Friction
Friction between the pencil tip and the paper plays a significant role in smudging. Softer pencils containing more graphite are more prone to friction-induced smudging.
The act of drawing, especially with repeated strokes or heavy pressure, can lead to the particles becoming loose and more susceptible to smearing.
Soft Pencil Grades
While softer pencil grades are favored for creating darker and richer tones, they contain a higher proportion of graphite.
This abundance of graphite results in a more delicate and easily smudged line. Artists often balance the use of softer pencils for shading with harder pencils for fine lines to mitigate smudging.
Improper Hand Placement
Direct hand contact with the drawing surface is a common cause of smudging. Resting the palm or fingers on the paper can transfer oils and disturb the pencil marks.
Artists adopt techniques such as hovering their hands above the paper or using a protective sheet to minimize contact and reduce the risk of inadvertent smudging.
Paper Texture
The texture of the paper influences how well it holds onto the pencil marks. Rough papers provide more teeth for the pencil to grip, increasing the likelihood of smudging.
Smoother surfaces, on the other hand, reduce friction and result in cleaner lines. Artists often choose paper textures based on their preferred drawing style and desired level of detail.
Environmental Conditions
External factors like humidity and temperature impact the drying time of graphite or charcoal marks and any fixatives applied.
High humidity can prolong drying, making the artwork more susceptible to smudging during subsequent layers.
Artists may need to adjust their drawing techniques or use tools like fans to expedite the drying process in varying environmental conditions.
How to Prevent Pencil Drawings From Smudging?
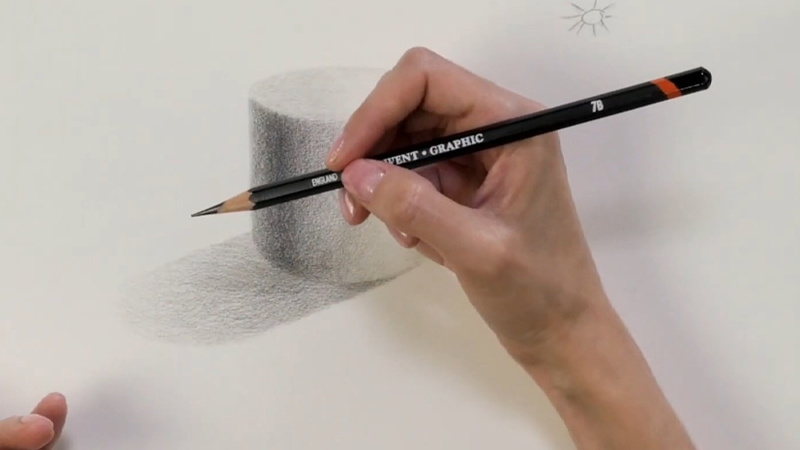
Preventing pencil drawings from smudging is a common challenge artists face, especially when working with graphite or charcoal pencils.
Smudging can occur due to the natural oils on your hands, friction, or improper handling of the drawing.
Here’s a comprehensive guide on how to prevent pencil drawings from smudging:
Use a Fixative
Fixatives come in aerosol sprays and are available in workable and final forms. Workable fixatives are suitable for ongoing work, allowing you to apply additional layers without smudging the existing drawing.
Final fixatives are intended as the last protective layer. When using fixatives, apply them in a well-ventilated area, and consider wearing a mask to avoid inhaling fumes.
Hold the can about 12 inches away from the drawing and ensure an even application for optimal protection.
Choose the Appropriate Pencils
Understanding the pencil grading scale is crucial. Hard pencils (4H-2H) are excellent for initial sketches and fine details.
Softer pencils (2B-8B) are better for shading and darker lines but may smudge more easily. Experiment with different grades to find the right balance for your drawing style and the desired effect.
Work in Top to Bottom
Working from the top of the page to the bottom helps you avoid resting your hand on areas you’ve already drawn.
This method minimizes the risk of smudging, especially when using softer pencils. Adjust the tilt of your paper to maintain a natural drawing angle, enhancing your overall comfort and control.
Hand Placement Techniques
In addition to hovering your hand above the paper, consider using a side-to-side or diagonal hand movement rather than dragging your hand directly over the pencil lines.
This technique reduces friction and minimizes the chances of smudging. Alternatively, placing a clean paper sheet under your hand is a protective barrier and can be easily replaced when needed.
Use Gloves While Drawing
Drawing gloves come in various materials, including cotton, nylon, and spandex. Ensure a snug fit to maintain dexterity.
Some gloves are designed with two fingers exposed, allowing for a better pencil grip while protecting most of your hand. They provide a comfortable solution to prevent smudging caused by skin contact.
Work into Sections
Breaking down your drawing into smaller sections reduces the risk of smudging and allows you to focus on intricate details without worrying about accidental contact with other areas.
This approach promotes a systematic and organized workflow, enhancing the overall quality of your drawing.
Dry the Drawing
After applying fixative spray or working with graphite powder, patience is key. Ensure your drawing is completely dry before proceeding with additional layers or touching the surface.
You can use a fan or place the drawing in a well-ventilated area to expedite the drying process. Avoid handling the drawing until you are confident it is fully dry.
Protect Your Drawing
When framing your drawing, choose acid-free matting and backing materials to prevent chemical reactions that could affect your artwork over time.
Additionally, consider using glazing options such as glass or acrylic sheets. These protective coverings shield your drawing from environmental factors and accidental smudging while adding a professional touch to the presentation.
Use a Workable Fixative for Ongoing Work
If you prefer to continue working on your drawing after applying a fixative, opt for a workable fixative. This type allows you to add layers without compromising the existing work.
Ensure you follow the instructions on the product label for the best results, and consider reapplying the fixative as needed during your drawing process.
FAQs
Can using a different type of pencil help prevent smudging?
Using harder pencils (H grades) can help reduce smudging as they produce lighter lines.
Are there specific hand placement techniques to avoid smudging?
Yes, hovering your hand slightly above the drawing surface, using diagonal hand movements, or placing a clean sheet of paper under your hand can help prevent direct contact and minimize smudging.
To Recap
Mastering the art of pencil drawing involves honing creative skills and navigating the challenge of smudging.
The strategies discussed, from utilizing fixative sprays and selecting the right pencils to adopt precise hand placement techniques, collectively empower artists to preserve the pristine quality of their creations.
By acknowledging the nuances of smudging and incorporating these preventative measures, artists can elevate their drawing experience.
The meticulous attention to detail and an understanding of materials and techniques ensure that the final artwork is a testament to skill and dedication while remaining free from unintended smudges, allowing the artist’s vision to shine through undisturbed.
Leave a Reply