Properly storing oil paints on a palette is essential for artists seeking to maintain the quality and workability of their colors during painting sessions.
An organized and well-maintained palette not only prevents wastage but also streamlines the creative process, allowing artists to focus on their artwork.
This process involves a series of steps, from preparing a clean palette and dispensing the right amount of paint to organizing colors logically.
By using palette knives for mixing and following techniques to keep the paint wet, artists can ensure their oil paints remain in prime condition.
In this guide, we will delve into these steps, offering a comprehensive approach to storing oil paints on a palette for optimal artistic outcomes.

8 Step to Store Oil Paints on Palette -Keep Oil Paint From Drying Out
Storing oil paints on a palette is essential for artists who work with this medium, as it allows them to keep their paint fresh and readily accessible for extended periods.
Proper storage helps prevent waste and makes it easier to pick up where you left off in your artwork.
Here are some steps to effectively store oil paints on a palette:
Materials you’ll need:
- Palette
- Palette knife
- Oil paint
- Palette paper
Steps:
1. Prepare your palette
Before you start working on how to store unused oil paint, it’s crucial to have a clean palette. If you’re using a wooden or glass palette, examine it for any dried or leftover paint from previous sessions.
Use a palette knife to scrape away any hardened paint gently. For disposable palettes like wax-coated paper, simply discard the old sheet to reveal a fresh surface.
2. Squeeze out your paint
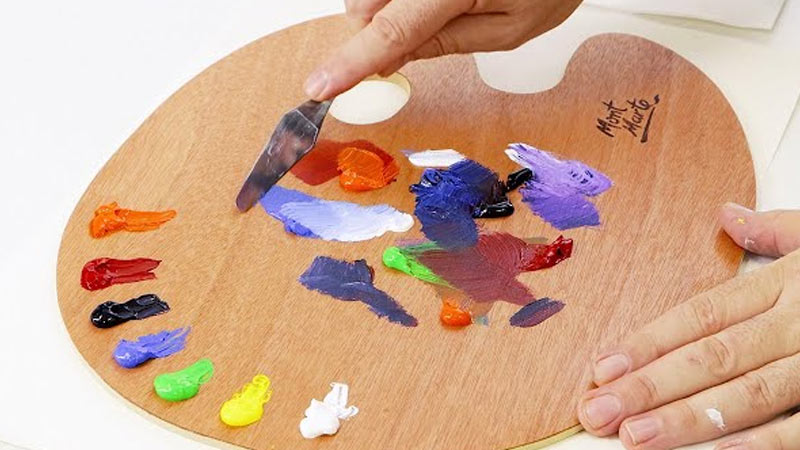
Dispense small, pea-sized amounts of the oil paint colors you plan to use onto your palette. Begin with the primary colors (red, blue, and yellow), white, and any other essential colors for your artwork.
It’s generally wise not to squeeze out too much paint initially to prevent waste. You can always add more as needed during your painting process.
Arrange the colors on the palette thoughtfully, leaving enough space between them for mixing and avoiding accidental blending between different hues.
3. Organize your colors
Organizing your colors on the palette can streamline your painting process. Consider arranging them based on color families or following the color wheel.
For instance, warm colors (like reds and yellows) can be placed on one side, while cool colors (like blues and greens) can be on the opposite side.
Keep white and neutral shades in the center. This organization will help you quickly locate the colors you need as you work.
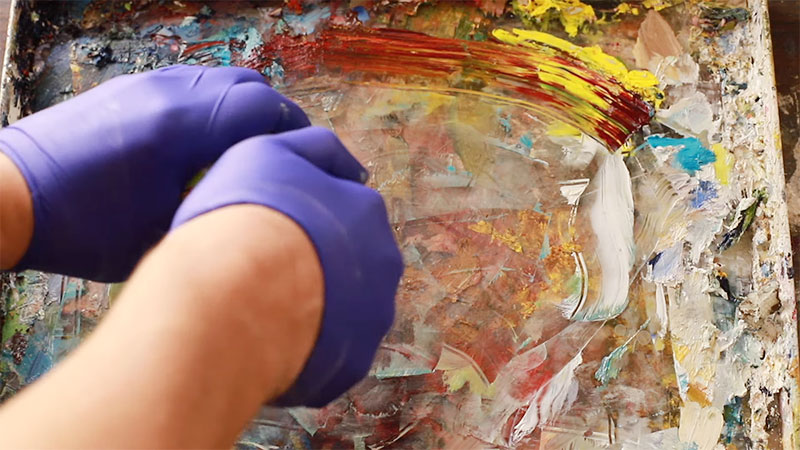
4. Use a palette knife
To ensure accurate color mixing and maintain a clean palette, rely on a palette knife rather than brushes for picking up and blending paint.
The palette knife allows you to mix colors thoroughly and avoids contaminating your brushes with mixed paint. Remember to scrape and blend colors properly on the palette to achieve your desired shades.
It’s essential to clean your palette knife regularly with a cloth or paper towel to prevent dried paint from building up on it.
5. Keep paint wet
If you anticipate a prolonged painting session or work in a dry climate, consider using a palette with a lid or cover. This will slow down the drying of your oil paints, giving you more time to work with them.
In warmer and drier conditions, oil paints tend to dry faster, so a covered palette can be especially helpful.
Another option is to create a wet palette. This involves placing a damp sponge or absorbent paper beneath a semi-permeable palette paper.
This setup maintains a moist environment for your paints, keeping them workable for an extended period.
6. Maintain a clean palette
Throughout your painting session, it’s crucial to keep your palette clean. Use your palette knife to scrape off any dried or excess paint from the edges of the palette.
This regular maintenance prevents contamination of fresh paint and simplifies the process of mixing new colors.
7. Cover and store
Whenever you need to take a break or pause your work, cover your palette to prevent the paint from drying out. If your palette has a lid, use it.
Otherwise, you can use plastic wrap to cover the paint wells, ensuring it forms an airtight seal. This will retain moisture in the paint for future use.
8. Extend the life of your palette
If you anticipate not using your palette for an extended period, consider additional steps to preserve the paint. Store your palette in an airtight container or place it inside a resealable plastic bag.
For extra longevity, you can put the palette in the refrigerator. However, be cautious about condensation, as it can affect the paint’s consistency. For wet palettes, monitor the moisture level regularly and add water as necessary to maintain a humid environment.
How to Select the Best Palette for Oil Paint?

Selecting the best palette for oil painting depends on your individual preferences, working style, and the type of projects you undertake.
Here are steps to help you choose the ideal palette for your oil painting needs:
Consider Your Painting Style
Think about the size and scale of your artworks. Larger paintings may require larger palettes to accommodate more paint and facilitate mixing. Smaller works or detailed pieces may benefit from smaller palettes that offer better control.
Think About Your Workspace
Consider your studio or workspace. Do you have ample room for a large palette, or do you need something more compact?
Ensure that the palette you choose fits comfortably within your workspace and complements your studio setup.
Evaluate Your Mixing Style
Reflect on how you prefer to mix colors. If you like to create intricate color blends, a glass palette may be ideal for its smooth surface and color clarity.
If you prefer to keep colors separate, a palette with individual wells or compartments may be more suitable.
Assess Your Cleanup Preferences
Think about how you like to clean up after a painting session. Disposable tear-off palettes are convenient if you prefer minimal cleanup, while glass and acrylic palettes are easy to clean and scrape if you don’t mind dedicating some time to maintenance.
Consider Portability
If you paint en plein air or on location, you’ll want a palette that is easy to transport. Lightweight palettes with secure lids, like airtight containers or plein air palettes, can be great choices for on-the-go artists.
Think About Palette Material
The material of the palette can impact your painting experience. Wooden palettes offer a traditional feel, while glass and acrylic palettes provide a smooth, non-absorbent surface. Choose a material that suits your tactile preferences.
Explore Palette Accessories
Some palettes come with additional features, such as built-in brush holders, thumb holes for holding the palette, or mixing areas designed for specific techniques. Consider whether any of these features align with your working style.
Budget and Longevity
Consider your budget for art supplies. While some palettes can be more expensive upfront, they may offer better durability and longevity. Think about the long-term cost and value when making your decision.
Try Before You Buy
If possible, try out different palettes before making a final decision. Visit an art supply store or attend a workshop where you can experiment with various palette types to see which one feels most comfortable and efficient for your painting style.
Read Reviews and Seek Recommendations
Look for reviews and seek recommendations from fellow artists. They can provide valuable insights into the pros and cons of different palette types and brands.
Best Palette for Oil Paint
There are several types of palettes available, each with its own advantages.
Here are some popular options:
Wooden Palette

Wooden palettes are a classic choice for oil painters. They are durable, easy to clean, and provide a stable surface for mixing and holding your paint. Many artists appreciate the natural feel of wood.
Wooden palettes come in various shapes and sizes, allowing you to choose one that suits your needs.
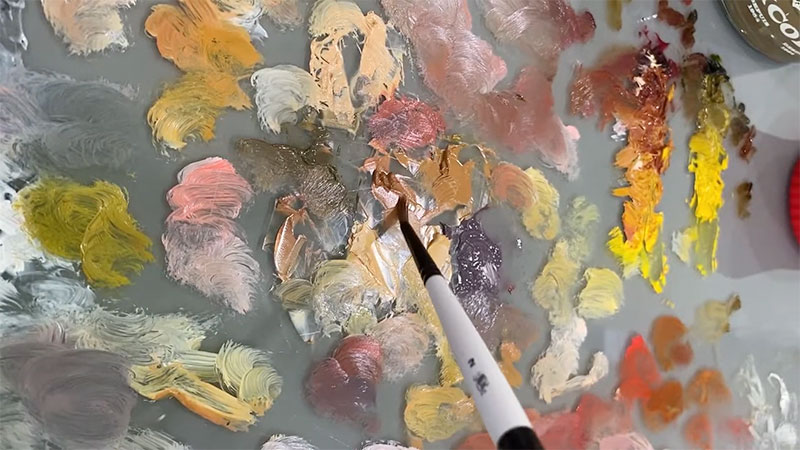
Glass Palette
Glass palettes offer a smooth and non-absorbent surface, making it easy to mix colors and see their true appearance.
They are easy to clean and maintain, and you can scrape off dried paint without damaging the surface. Glass palettes are especially useful for artists who want to achieve precise color mixing and transparency.
Disposable Tear-Off Palette
Tear-off palettes are convenient for artists who prefer a clean palette for each painting session. These palettes consist of a pad of disposable sheets with a wax-coated surface.
You tear off a sheet after each use, revealing a fresh palette underneath. They are cost-effective and save time on cleaning.
Acrylic Palette
Some artists use acrylic palettes, which are made from acrylic sheets. These palettes offer a smooth surface for mixing oil paints and are relatively easy to clean.
However, they may stain over time, which doesn’t affect their functionality but can affect aesthetics.
Sta-Wet Palette
Sta-Wet palettes are designed to keep your paint moist for longer periods. They consist of a palette with an airtight lid, a special membrane that keeps your paint wet, and a sponge or absorbent material.
These palettes are useful for artists working on extended projects or in hot, dry environments.
Masterson Stay-Wet Palette
This palette is similar to the Sta-Wet palette but is renowned for its effectiveness in maintaining paint freshness.
It features a unique sponge and palette paper system that keeps your oil paints workable for an extended time.
9 Steps to Store Unused Oil Paint
Storing unused oil paint properly is crucial for preserving its quality and preventing waste between painting sessions. Oil paint can remain usable for an extended period if stored correctly.
Here’s a step-by-step guide on how to store unused oil paint:
Materials you’ll need:
- Oil paint tubes
- Airtight containers
- Plastic wrap
- Wax paper
Steps:
1. Clean the paint tubes
Before storing your oil paint, it’s essential to maintain the integrity of the tubes. To do this, use a clean cloth or paper towel to wipe away any excess paint from both the threads and the opening of the tubes.
This step prevents dried or hardened paint from accumulating on the tube’s threads, which could hinder proper sealing in the future.
2. Seal the tubes securely
Ensure that the caps on the oil paint tubes are tightly closed. You may want to apply a bit of pressure to ensure a secure seal.
If you notice any gaps or air leakage, use pliers to tighten the caps further. A secure seal is critical to prevent air from entering the tube and drying out the paint.
3. Use airtight containers
If you have partially used tubes of oil paint, transfer the remaining paint to small glass or plastic containers with airtight seals.
This step is particularly useful if your paint tubes are older and less reliable in terms of sealing. Using airtight containers helps maintain the paint’s freshness and prevents drying.
4. Prevent contact with air
To create an additional barrier against air exposure, place a small piece of wax paper directly on the surface of the paint inside the container.
This thin layer of wax paper acts as a protective shield, preventing the paint from coming into direct contact with air, which can lead to skinning or drying.
5. Seal the containers
Ensure that the lids of the containers are securely closed. Press down firmly to create an airtight seal. Inspect the containers to confirm that there are no gaps or loose lids that might allow air to enter.
6. Wrap containers with plastic wrap
For an extra layer of protection, you can wrap the airtight containers with plastic wrap. This additional barrier further reduces the chances of air exposure and helps maintain the paint’s freshness for an extended period.
7. Label the containers
To keep track of your paint colors and their age, it’s a good practice to label the containers. Include the paint color’s name, date of storage, and any other relevant information. This labeling ensures that you can easily identify the paint when you decide to use it again.
8. Store in a cool, dark place
Proper storage conditions are essential. Keep your sealed containers of unused oil paint in a cool, dark place with a stable temperature.
Avoid exposing the paint to extreme temperature fluctuations or direct sunlight, as these conditions can adversely affect the paint’s texture and quality.
9. Check periodically
To ensure the stored oil paint remains in good condition, periodically inspect the containers. Pay attention to the paint’s texture and smell.
If you notice any significant changes, such as thickening, hardening, or an unusual odor, it’s best to discard the paint, as it may have gone bad.
FAQS
Can I use a palette with a wooden or glass surface for a wet palette setup?
While wooden and glass palettes are not typically designed for wet palettes, you can convert them.
How can I prevent oil paint from drying out on a glass palette during long painting sessions?
To extend the working time of your paint on a glass palette during long sessions, you can periodically mist the surface with a fine spray of water or use a palette with a lid to slow down the drying process.
Is it safe to store oil paints on a wooden palette for an extended period?
Storing oil paints on a wooden palette for an extended time is generally safe.
Can I mix different brands of oil paints on the same palette?
Mixing different brands of oil paints on the same palette is generally acceptable, but be aware that there may be variations in pigment quality and consistency between brands.
How do I dispose of dried or unusable oil paint on a palette?
To dispose of dried or unusable oil paint on a palette, you can gently scrape it off using a palette knife and dispose of it in accordance with your local waste disposal regulations.
To Recap
Mastering the art of storing oil paints on a palette is essential for artists striving to preserve their paint’s quality and extend its workable life.
Whether you opt for traditional wooden, modern glass, or disposable palettes, the key lies in meticulous preparation, organization, and maintenance.
By keeping the palette clean, utilizing palette knives for mixing, and employing strategies like wet palettes or airtight containers, you ensure that your oil paints remain vibrant and ready for your artistic endeavors.
The choice of palette ultimately depends on your working style and preferences, but the result is the same: a well-kept palette that empowers you to express your creativity with precision and ease.
Leave a Reply