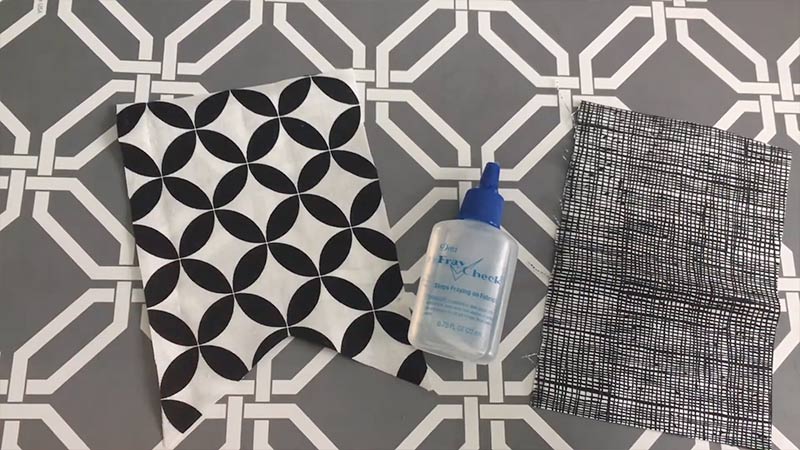
Fray check, a liquid product cherished for its ability to thwart fabric fraying, is a cherished ally in sewing and crafting.
However, there are instances where its application may lead to unintended consequences, necessitating its removal from fabric surfaces.
Whether due to spills, application errors, or the need for fabric alterations, knowing how to remove fray effectively from fabric is a valuable skill for any sewing enthusiast.
In this guide, we’ll explore a step-by-step approach to safely and efficiently eliminate fray-check residue from fabric, ensuring a clean and polished finish without compromising the fabric’s integrity.

What Is Fray Check?
Fray check is a liquid product that prevents the fabric from fraying or unraveling. It is commonly used in sewing projects to reinforce seams, hems, and edges, providing a protective barrier that helps maintain the fabric’s integrity.
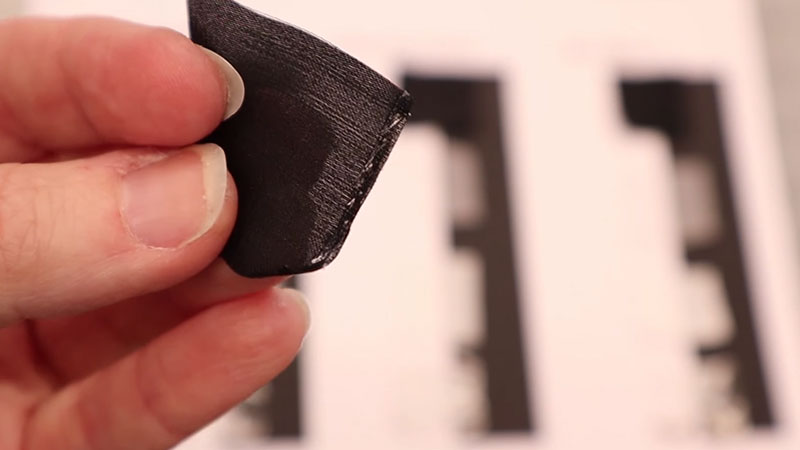
Fray check dries quickly and transparently, creating a flexible coating that strengthens the fabric without altering its appearance. It is often applied along the edges of fabric or stitching lines to secure them and prevent fraying over time.
Fray check is a versatile tool for seamstresses and crafters, ensuring the longevity and durability of their fabric creations.
Why Is Fray Check Used in Fabric Projects?

Fray check serves as an invaluable tool in fabric projects, offering numerous benefits that enhance the quality, durability, and appearance of the final product.
Here’s why fray check is commonly used in fabric projects:
Preventing Fraying
The primary purpose of a fray check is to prevent fabric edges from fraying or unraveling.
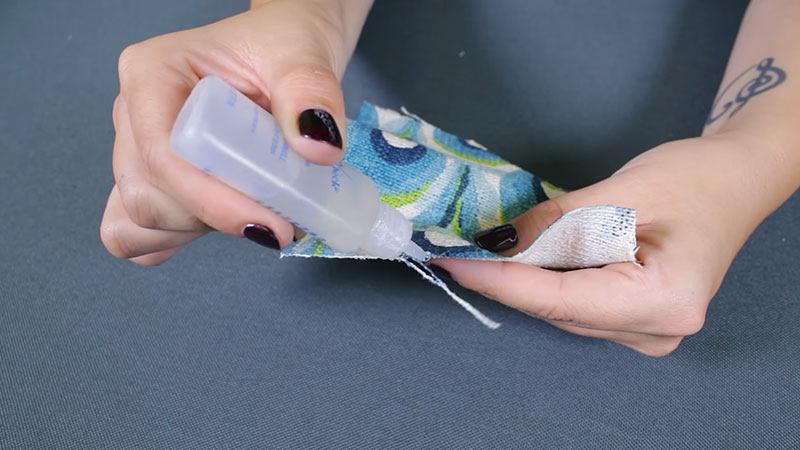
By applying fray checks along the edges of seams, hems, or raw fabric edges, crafters and sewers can create a protective barrier that helps secure the fabric fibers in place, thus reducing fraying and extending the project’s longevity.
Securing Seams
Fray check can be applied to seams to reinforce them and prevent stitches from coming loose over time. This is particularly useful in high-stress areas of garments or items that undergo frequent use or washing.
Enhancing Durability
By preventing fraying, fray check helps improve fabric projects’ overall durability and integrity. It ensures the fabric remains intact and retains its shape and structure, even with repeated wear or handling.
Finishing Touches
Fray check provides a neat and professional-looking finish to fabric projects. It seals the edges of fabric neatly, giving them a clean and polished appearance, especially in garments, accessories, or home decor items where visible seams are undesirable.
Working with Delicate Fabrics
Fray check is particularly beneficial when working with delicate or loosely woven fabrics that are prone to fraying.
It helps stabilize the fabric and prevents damage during sewing or handling, ensuring a more precise and polished result.
How to Remove Fray Check From Fabric? Step-By-Step Guide

Removing fray checks from fabric can be a delicate process, especially since the product is designed to create a strong, protective barrier against fraying.
However, you can effectively remove it without damaging your fabric with the right approach.
Here’s a step-by-step guide to help you through the process:
Test for Colorfastness

Before proceeding with any solvent or cleaning method, it’s crucial to test the fabric for colorfastness. Choose an inconspicuous area of the fabric and apply a small amount of the solvent you intend to use.
Allow it to dry completely and check for any changes in color or texture. If the fabric reacts adversely, refrain from using that particular solvent.
Select a Suitable Solvent
Different solvents may be appropriate depending on the type of fabric and the severity of the fray check residue. Common options include acetone, rubbing alcohol, vinegar, or nail polish remover.
Always refer to the label instructions of the solvent and adhere to safety precautions.
Apply the Solvent
Gently dab the chosen solvent onto the fray check using a cotton swab, soft cloth, or toothbrush. Avoid rubbing or scrubbing, as this could spread the residue or potentially damage the fabric. Allow the solvent to penetrate the fray check for a few moments.
Blot Excess Residue
Once the fray check begins to dissolve, carefully blot the excess solvent and residue using a clean cloth or paper towel. Continue this process until no more fray check transfers onto the cloth.
Be patient and avoid applying excessive pressure, as this could embed the residue further into the fabric fibers.
Rinse and Wash
After removing as much fray check as possible, rinse the fabric thoroughly with cold water to eliminate any remaining solvent and residue.
Then, launder the fabric as usual with a mild detergent. Air drying is recommended to prevent any potential damage from heat.
Inspect and Repeat (if necessary)
After washing, inspect the fabric to ensure that all traces of the fray check have been successfully removed. If any residue remains, repeat the process using the same or a different solvent as necessary. Exercise caution and patience, especially with delicate fabrics.
Professional Cleaning (if needed)
If the fabric is delicate and valuable, or the fray check residue is stubborn, consider seeking professional cleaning assistance to avoid damaging the fabric.
Why Might You Need to Remove Fray Check From Fabric?

There are several reasons why one might need to remove Fray Check from fabric:
Application Mistakes
Sometimes, while applying fray check, it can accidentally get onto areas of the fabric where it’s not needed. This might happen due to spills, drips, or unintentional application beyond the intended area.
Fabric Alterations
If you need to make adjustments or alterations to your sewing project after applying fray check, remove it from certain areas to ensure clean seams or edges.
Unwanted Stiffness or Texture
Fray check can sometimes leave a stiff or slightly tacky residue on the fabric, which may not be desirable, especially for garments or items that come into direct contact with the skin. Removing it can restore the fabric’s natural feel and flexibility.
Change in Design
Suppose you decide to change the design or layout of your project midway through. In that case, removing the fray check may be necessary to achieve the desired outcome without interference from the existing application.
Cleaning or Repurposing
If you plan to clean or repurpose the fabric for a different project, removing the fray check can help restore the fabric’s original properties and ensure it behaves as intended.
FAQs
Can I use a washing machine to remove fray check from fabric?
Yes, you can launder the fabric in a washing machine after applying solvent and rinsing it thoroughly. However, air drying is recommended to avoid potential heat damage from a dryer.
Is it safe to use bleach to remove fray check from fabric?
Bleach is not recommended for removing fray checks as it may damage or discolor the fabric. Stick to safer solvents like rubbing alcohol or acetone.
How long does it take to remove fray check from fabric?
The time it takes to remove the fray check depends on factors like the fabric type and the residue’s severity. It may take multiple applications and rinses, so patience is key.
Can I remove the fray check from delicate fabrics like silk or lace?
Yes, but extra caution is required. Test any solvent on a small, inconspicuous area first, and consider seeking professional assistance if the fabric is highly delicate or valuable.
What should I do if the fabric color changes after removing the fray check?
If the fabric color changes during removal, stop immediately and consult a professional cleaner or fabric specialist for advice on restoring the color.
To Recap
Mastering the art of removing fray checks from fabric empowers sewing enthusiasts with greater flexibility and control over their projects.
Following the outlined steps with diligence and care can effectively eliminate fray check residue without compromising the fabric’s integrity.
Whether rectifying application errors, accommodating design changes, or simply seeking a polished finish, this skill ensures that fabric projects maintain their pristine appearance and durability.
Remember to exercise caution, especially with delicate fabrics, and to test on a small area before proceeding.
With patience and attention to detail, removing fray checks becomes a seamless part of the crafting journey, ensuring flawless results with every stitch.
Leave a Reply