Painting a mural outside is a captivating form of artistic expression that can transform bland walls, fences, and public spaces into vibrant canvases of creativity.
This endeavor not only breathes life into the surrounding environment but also fosters a sense of community and individuality.
Whether you’re a seasoned artist or an enthusiastic beginner, this guide will walk you through the intricate steps of creating an outdoor mural.
From selecting the ideal location and securing permissions to mastering techniques and maintaining your masterpiece, each phase plays a pivotal role in bringing your vision to life while enhancing the visual tapestry of your surroundings.
So, grab your brushes, embrace the outdoors, and embark on an exhilarating journey of outdoor mural painting.
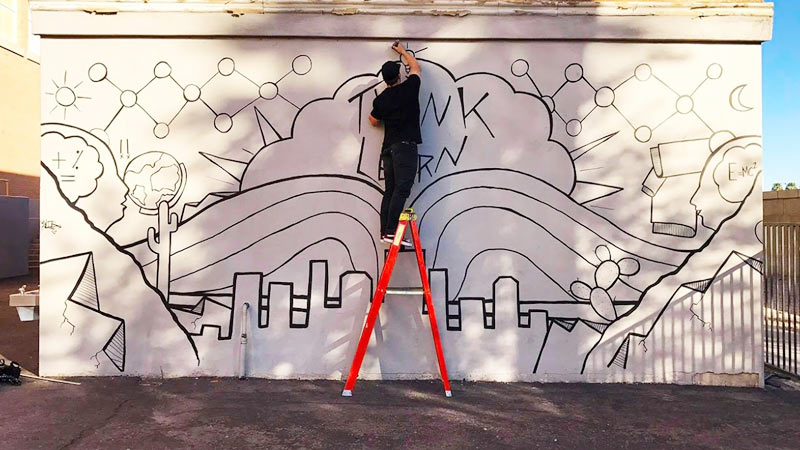
What Is a Mural?
A mural is a large-scale artwork or painting typically created on a wall, ceiling, or other substantial surface.
Murals can be found both indoors and outdoors and are known for their ability to transform and enhance the visual environment.
These artworks often convey a message, tell a story, or serve as a form of artistic expression. Murals come in various styles, ranging from realistic and representational to abstract and impressionistic.
They have been used throughout history as a means of cultural expression, political commentary, and beautification of public spaces.
Murals can be created using various artistic techniques, including painting, mosaic, and digital media.
14 Steps to Paint a Mural Outside
Painting a mural outside can be an exciting and creative way to beautify your community, express your artistic talent, or simply add a personal touch to your outdoor space.
However, it’s important to plan and execute the project carefully to ensure a successful and long-lasting result.
Here is a comprehensive guide on how to paint a mural outside:
To paint an outdoor mural, you’ll need a variety of materials and supplies.
Here’s a list of the essential items you’ll need:
- Surface
- Permission and permits
- Mural design
- Safety gear
- Paint supplies
- Sketching and transferring tools
- Ladders or scaffolding
- Cleaning supplies
- Weather monitoring
- Clear sealer or varnish
- Photography equipment
- Safety measures
Step by step guide:
1. Choose a Location
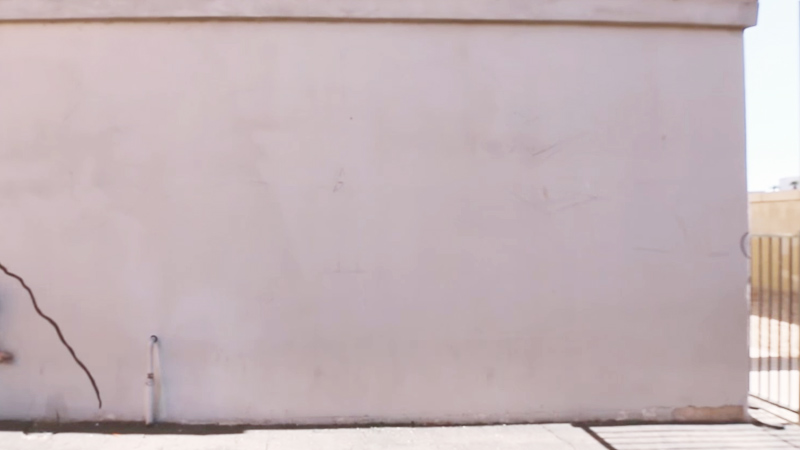
Carefully assess the potential mural locations available to you. Look at different outdoor surfaces such as walls, fences, or ground-level pavement, and consider how each surface will affect the visual impact of your mural.
Think about the accessibility of the location for both painting and viewing. Additionally, evaluate the lighting conditions, especially if the mural will be visible at night. The chosen location should complement your mural’s theme and purpose.
2. Obtain the Necessary Permissions
Before you start your mural project, it’s essential to consult with local government authorities, property owners, or any relevant organizations to obtain the required permissions and permits.
These entities can provide valuable guidance on regulations and community guidelines governing public art. Ensuring that you have the necessary approvals is crucial to avoid potential legal issues and ensure the project proceeds smoothly.
3. Create a Design
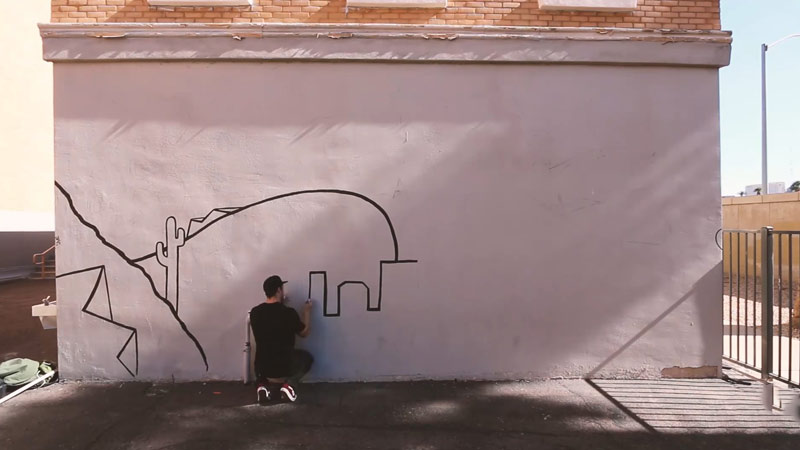
The design phase is a crucial step in the mural-making process. Begin by brainstorming ideas and sketching rough concepts for your mural.
Consider the cultural context and local history, as well as the specific message or story you want your mural to convey. Think about the visual impact you aim to achieve and how it will resonate with the intended audience.
4. Gather Supplies
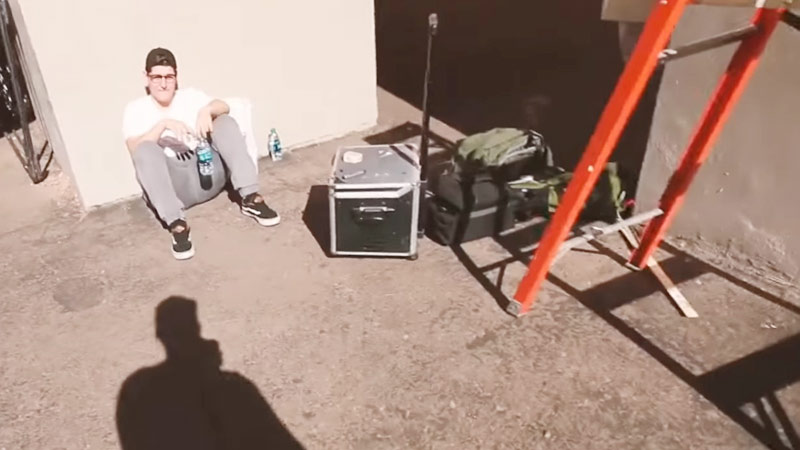
The supplies you’ll need for your mural project will vary based on the mural’s size and complexity. Consider acquiring various sizes and types of brushes, paint palettes, and paint sprayers to ensure you have the tools needed for different aspects of the project.
Extension poles and scaffolding may be necessary for reaching higher areas. Don’t forget safety equipment such as gloves and eye protection to ensure the well-being of everyone involved in the painting process.
5. Prepare the Surface
Properly preparing the surface is essential for the longevity and quality of your mural. Start by meticulously cleaning the chosen surface, removing any dirt, moss, or mildew that might hinder paint adhesion.
Repair any cracks or holes using suitable filler, and sand uneven areas to create a smooth canvas for your artwork.
6. Choose the Right Paint
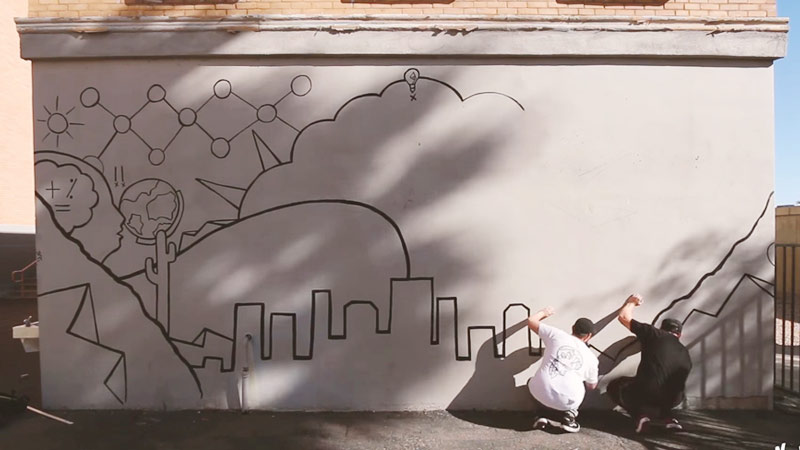
Research different paint options to find the most suitable one for your specific outdoor environment.
Acrylic paints are a popular choice for outdoor murals due to their durability, resistance to fading, and ability to withstand water exposure.
Additionally, consider using a clear UV-resistant topcoat to provide extra protection to your mural, ensuring it maintains its vibrancy and integrity over time.
7. Sketch the Design
Accurately transferring your design to the wall is a crucial step. Use a grid system, projector, or scaled-down sketches to ensure precision in your mural’s placement and proportions.
Take your time with this step, as it will serve as your visual roadmap for the entire project, guiding you as you bring your creative vision to life.
8. Start Painting
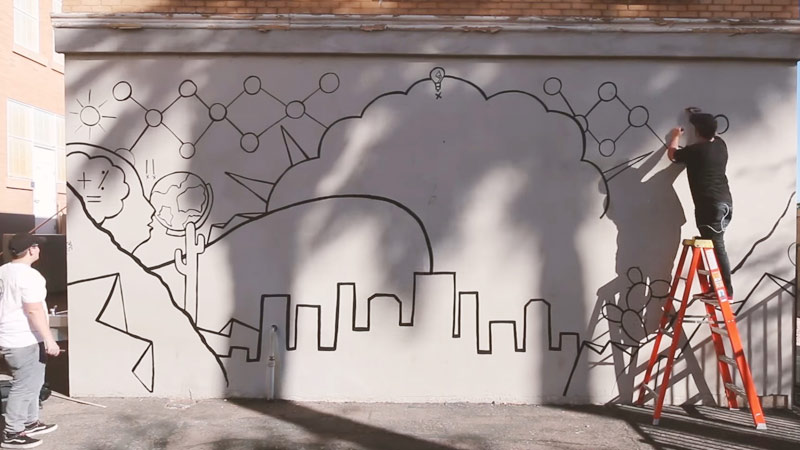
Begin the actual painting process by starting with the background elements and gradually working your way forward. Use a smaller brush to outline the key elements of your design, ensuring that your lines are clean and crisp.
As you progress, fill in the larger areas with a broader brush or roller, using consistent strokes to achieve uniform coverage. This step sets the foundation for your mural’s overall composition.
9. Layer and Detail
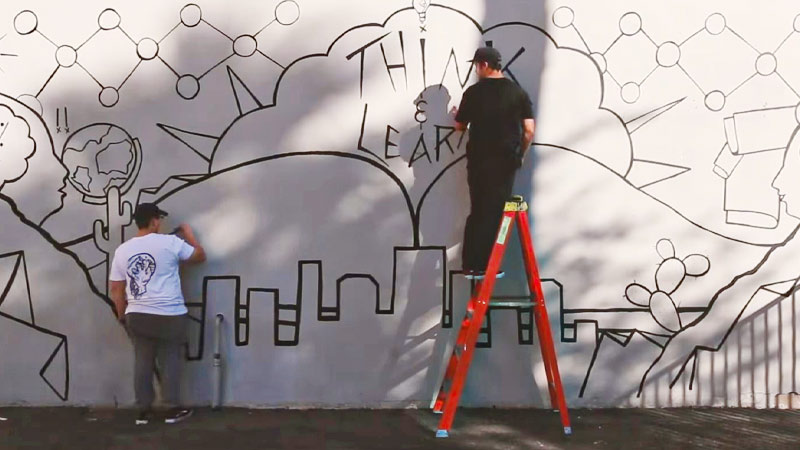
Building up layers of paint is essential to add depth and dimension to your mural. Employ various techniques, such as blending, shading, and stippling, to create texture and realism in your artwork.
Pay meticulous attention to details, as they can make your mural truly stand out and captivate viewers with intricate elements.
10. Be Mindful of the Weather
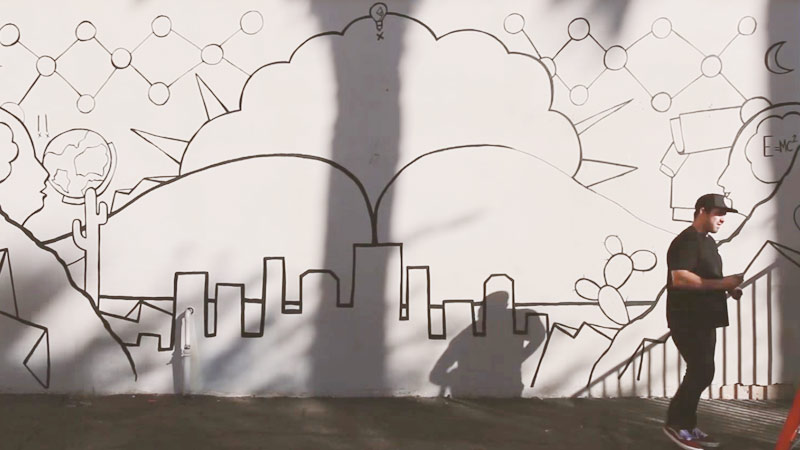
Weather conditions play a significant role in the mural painting process. Avoid painting in direct sunlight, as it can lead to uneven drying and potentially affect the color consistency of your paint.
Similarly, high humidity can slow down drying times, and rainy or windy days can disrupt your work. Opt for overcast days or times with mild temperatures for the best painting conditions.
11. Maintain Your Supplies
To ensure the quality of your work throughout the project, regularly clean your brushes and equipment.
Preventing paint from drying on your tools will help maintain their condition and enable you to achieve clean and precise lines throughout the painting process.
Proper maintenance ensures that your supplies perform effectively until your mural is complete.
12. Seal the Mural
Once your mural has thoroughly dried, it’s crucial to protect it from the elements. Apply a clear outdoor sealer or varnish to create a protective barrier against UV rays, rain, and pollution.
Follow the manufacturer’s instructions meticulously to ensure the proper application of the sealer. This step is vital for maintaining the mural’s vibrant colors and integrity over time.
13. Document Your Work
Documenting the entire process of creating your mural is essential for both personal and promotional purposes.
Take high-quality photographs at various stages of the project, starting from the initial design sketch and progressing through each phase until the mural is completed.
These photos can serve as a valuable record of your artistic journey and can be used for marketing, sharing with the community, or showcasing your work in a portfolio.
14. Maintain and Touch-Up

Outdoor murals are exposed to the elements and may require periodic maintenance to ensure they continue to look their best. Regularly inspect your mural for any signs of fading, peeling, or damage.
Depending on the mural’s condition, perform touch-up work as necessary to preserve its beauty and longevity. This maintenance will help your mural remain a captivating piece of public art for many years to come.
How to choose Exterior Paint for Murals
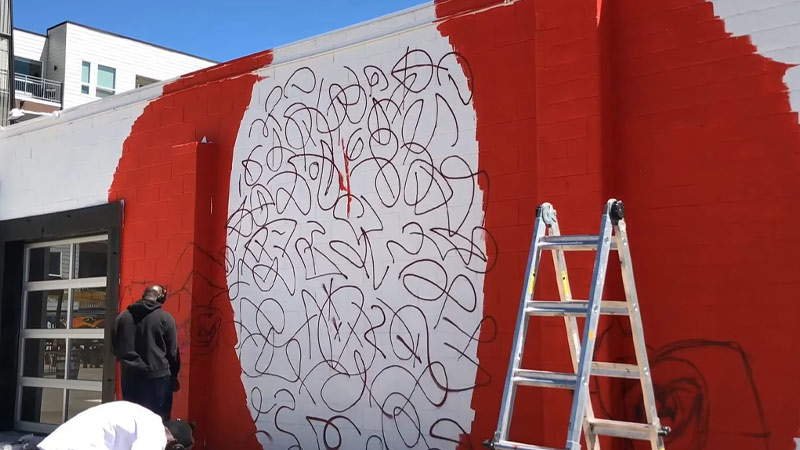
Choosing the right exterior paint for murals is crucial to ensure the longevity and quality of your artwork.
When selecting paint for outdoor murals, consider the following factors:
Durability
Look for paints specifically formulated for exterior use. These paints are designed to withstand exposure to sunlight, rain, wind, and temperature fluctuations without fading, cracking, or peeling.
Acrylic and latex paints are commonly used for outdoor murals due to their durability.
Fade Resistance
UV-resistant paints are essential to prevent your mural from fading over time due to sun exposure. Look for paints labeled as “UV-resistant” or “fade-resistant” to ensure long-lasting color vibrancy.
Water Resistance
Outdoor murals are exposed to rain and moisture, so choose paints that are water-resistant or waterproof. This feature helps protect the mural from water damage and mold growth.
Flexibility
The paint should have some flexibility to accommodate the expansion and contraction of the wall or surface due to temperature changes. This prevents the paint from cracking or peeling.
Adhesion
Ensure that the paint adheres well to the surface. Using a suitable primer before painting can enhance adhesion and create a smooth base for your mural.
Color Range
Consider the range of colors available in the paint line. You may need a wide variety of colors to execute your mural, so choose a paint brand that offers a broad selection.
Environmental Impact
Some muralists prefer eco-friendly or low-VOC (volatile organic compounds) paints to minimize their environmental footprint. Check the paint’s label for information on its environmental impact.
Brand and Quality
Choose a reputable paint brand known for its quality and outdoor performance. High-quality paints tend to be more durable and provide better coverage.
Finish
Consider the finish or sheen of the paint. Matte or satin finishes are commonly used for murals because they reduce glare and provide a smooth, non-reflective surface.
Budget
Keep your budget in mind, but remember that investing in high-quality, durable paint is essential for the longevity of your mural. Cheaper paints may require more frequent maintenance and touch-ups.
Consult Experts
If you’re unsure about which paint to choose, consider consulting with experienced muralists or local art supply stores. They can provide valuable recommendations based on your specific project and location.
How to Paint a Mural on a Building
Painting a mural on a building is a creative endeavor that can transform a plain structure into a work of art.
Here’s a step-by-step guide on how to paint a mural on a building:
1. Obtain Permissions and Permits
Before starting your mural project, ensure you have all the necessary permissions and permits. Contact the building owner, local authorities, or relevant agencies to secure the required approvals.
2. Design Your Mural
Begin by creating a mural design that aligns with your vision and the building’s environment. Consider the building’s architecture, surroundings, and purpose. Your design should be visually appealing and meaningful.
3. Gather Materials and Supplies
Prepare all the materials and supplies you’ll need, including paints, brushes, rollers, primer, scaffolding or ladders, drop cloths, and safety equipment.
4. Prepare the Surface
Ensure the building’s surface is clean, smooth, and free from dirt, debris, and loose paint. Repair any cracks or imperfections and apply a layer of primer to create a suitable canvas for your mural.
5. Create a Sketch
Transfer your mural design onto the building’s surface using a sketch or grid system. This will serve as your guide while painting.
6. Choose Paint
Select high-quality exterior paint suitable for outdoor murals. Acrylic and latex paints are popular choices due to their durability and weather resistance. Consider using UV-resistant paints to prevent fading.
7. Start Painting
Begin with the background and work your way forward. Outline the main elements of your mural using a smaller brush for precision. Gradually fill in larger areas with a broader brush or roller.
8. Layer and Detail
Add depth and texture to your mural by applying multiple layers of paint. Experiment with techniques like shading, blending, and stippling to create dimension. Pay attention to fine details to make your mural visually engaging.
9. Weather Considerations
Be mindful of the weather. Avoid painting in extreme conditions like intense heat or rain, as they can affect paint adhesion and drying times. Choose suitable weather conditions for your project.
10. Safety Measures
Prioritize safety throughout the project. Use proper safety gear, secure scaffolding or ladders, and follow safety guidelines to prevent accidents.
11. Final Touches
Once your mural is complete, step back to evaluate it. Make any necessary touch-ups or adjustments to ensure it meets your artistic vision.
12. Seal the Mural
Apply a clear outdoor sealer or varnish to protect your mural from UV rays, weather, and pollution. Follow the manufacturer’s instructions for application.
13. Document Your Work
Capture photographs of your mural at different stages of progress, from the initial sketch to the finished artwork. This documentation can be valuable for your portfolio and promotional purposes.
14. Maintenance
Periodically inspect your mural for signs of wear, fading, or damage. Perform touch-ups and maintenance as needed to keep your mural looking vibrant and well-preserved.
How to Seal an Outdoor Mural Painting
Sealing an outdoor mural painting is a crucial step to protect it from the elements and ensure its longevity.
Here’s a step-by-step guide on how to properly seal an outdoor mural:
Materials You’ll Need:
- Clear outdoor mural sealer or varnish (choose one suitable for your mural type, such as acrylic or oil-based).
- Paintbrushes or rollers for applying the sealer.
- Drop cloths or plastic sheets to protect the surrounding area.
- Painter’s tape or masking tape.
- A ladder or scaffolding if needed.
- Safety gear, including gloves and safety glasses.
Steps:
1. Ensure the Mural is Completely Dry
It’s crucial to wait until the mural is fully dry before applying any sealer. Depending on the weather conditions, the type of paint used, and the mural’s size, drying times can vary from several days to a few weeks.
Test the mural’s dryness by gently touching a small, inconspicuous area to ensure there’s no tackiness.
2. Choose the Right Sealer
Selecting the appropriate sealer is vital for the mural’s protection. Ensure the sealer matches the type of paint you used for the mural. For instance, if you used acrylic paint, opt for an acrylic-based sealer.
Reading the product label is essential to confirm its compatibility with outdoor use and its resistance to UV rays and moisture.
3. Prepare the Area
Before you start applying the sealer, take precautions to protect the surrounding area. Lay down drop cloths or plastic sheets on the ground to catch any sealer drips or spills.
Use painter’s tape or masking tape to carefully mask off any areas near the mural that you want to keep sealer-free, such as windows, architectural details, or adjacent walls.
4. Stir the Sealer
- Ensure the sealer is well-mixed by thoroughly stirring it before application. Consistency is essential to achieve an even finish.
5. Apply the Sealer
Begin the application process by using a clean paintbrush or roller. It’s advisable to start at the top of the mural and work your way down.
This approach prevents sealer drips from affecting areas already sealed. Apply the sealer evenly and consistently over the entire mural.
6. Work in Sections
For larger murals, working in sections helps you maintain control over the application process and ensures every part of the mural receives adequate coverage. Overlapping sections slightly can help create a seamless finish.
7. Avoid Overworking the Sealer
While applying the sealer, refrain from going back over areas that have already been coated, as this can lead to streaks or uneven coverage. Instead, work methodically and systematically to minimize reworking.
8. Let it Dry:
Allow the first coat of sealer to dry thoroughly according to the manufacturer’s recommendations, which typically takes a few hours. It’s essential not to rush this step to prevent potential issues with the sealer’s performance.
9. Apply Additional Coats (if needed):
- Depending on the sealer’s instructions and the level of protection required, you may need to apply additional coats. Follow the same process as the initial coat, allowing each subsequent coat to dry thoroughly before proceeding.
10. Inspect and Touch-Up
After the final coat is dry, inspect the entire mural for any spots or areas that may need touch-ups or additional sealer.
Apply a small amount of sealer to these areas and let them dry before considering the job complete.
11. Remove Masking Tape
Carefully remove any masking tape or painter’s tape that you applied to protect adjacent areas. Take your time to avoid accidentally peeling off paint or sealer.
12. Clean Up
Properly clean your brushes and tools according to the manufacturer’s instructions or use the appropriate solvent. Dispose of any used materials responsibly.
How to Paint an Outside Wall Murals
Painting an outside wall mural requires careful planning, the right materials, and some artistic skill.
Here’s a step-by-step guide on how to paint an outside wall mural:
1. Get Permission
Begin by identifying the property owner and obtaining their written consent to paint a mural on their wall.
Some locations may have specific guidelines or restrictions for outdoor art, so contact local authorities or organizations, like a city’s public art program, to ensure you comply with any regulations. If needed, secure all necessary permits and approvals.
2. Choose a Location
Consider the wall or surface you want to paint your mural on carefully. Factors like the visibility of the wall, its accessibility to both artists and viewers, and the condition of the surface are crucial. Ensure it aligns with your artistic vision and goals for the mural.
3. Plan Your Design
Start by brainstorming ideas for your mural. What message or theme do you want to convey? How does it relate to the surrounding environment or community?
Once you have a clear concept, create a detailed sketch or design that includes all the elements you want to incorporate. This plan will serve as your roadmap throughout the painting process.
4. Gather Materials
Assemble all the necessary materials and tools for your mural project.
This may include:
- Acrylic or outdoor latex paints in various colors.
- A range of paintbrushes and rollers suitable for your design.
- Spray paint if your design requires it.
- High-quality exterior primer to prepare the surface.
- Clear sealant or varnish to protect the mural.
- Drop cloths and masking tape to protect adjacent surfaces.
- Safety equipment such as gloves and goggles.
- Depending on the mural’s size and location, you may need ladders, scaffolding, or a cherry picker for access.
5. Prepare the Surface
Start by thoroughly cleaning the chosen wall or surface. Remove dirt, dust, cobwebs, and any loose or peeling paint using a power washer or a combination of brushes and water.
Repair any cracks or imperfections with suitable fillers, and let them dry completely. Apply a high-quality exterior primer to create a smooth and even surface for your mural.
6. Grid the Wall
Create a grid on the wall using chalk or light pencil marks. This grid will help you accurately transfer your design to the wall in the correct proportions. Divide the wall into equal sections, making it easier to replicate your design accurately.
7. Transfer the Design
Begin transferring your design onto the wall using the grid as a guide. You can either freehand the design based on your sketch or use a projector to project the design onto the wall for precision. Start with the basic outlines and shapes, ensuring they match your sketch.
8. Paint the Background
If your mural includes a background, begin by painting that first. Use a roller or large brush to cover the background area evenly. Allow it to dry completely before moving on to the details.
9. Add Details
Gradually work on adding details and colors to your mural. Start with the foreground elements and work your way back to create depth and dimension.
Take your time, and consider using different brushes and techniques to achieve various textures and effects.
10. Step Back and Review
Periodically step back from your mural to view it from a distance. This allows you to assess the proportions, perspective, and overall impact of your artwork. Make adjustments as needed to ensure your mural looks its best from afar.
11. Protect Your Work
Once your mural is complete and has dried thoroughly, apply a clear sealant or varnish to protect it from the elements, including UV rays, rain, and pollution. This protective coating helps preserve the colors and longevity of your mural over time.
12. Clean Up
Properly dispose of any waste materials, including used paint cans and brushes. Remove any masking tape or drop cloths, and ensure the area around the mural is left clean and tidy.
13. Maintenance
Keep in mind that outdoor murals may require occasional maintenance. Over time, weather conditions and exposure to sunlight can affect the appearance of your mural.
Be prepared to revisit your artwork to perform touch-ups or cleaning as necessary to keep it looking vibrant and well-maintained.
FAQS
Is outdoor mural painting possible in any weather?
It’s best to avoid extreme weather conditions. Choose mild, overcast days for your project.
How do I estimate paint quantity for a large mural?
Measure the surface area, check paint coverage guidelines, and buy extra for touch-ups.
Can I paint on a rough outdoor surface?
Painting on rough surfaces is possible but may require more paint and can pose challenges with intricate details.
What safety precautions should I take?
Wear safety gear, ensure stable ladders or scaffolding, and have a first aid kit and fire extinguisher on hand.
Can I paint over existing graffiti or paint?
Yes, but prep is key. Remove loose paint, sand uneven areas, and consider using primer. Address graffiti separately before starting your mural.
To Recap
Painting a mural outside is a powerful way to leave an indelible mark on the world, one that speaks to your creativity and passion. As you’ve learned, it’s a process that requires meticulous planning, dedication, and attention to detail.
From the initial design concept to the final brushstroke, every step contributes to the transformation of a plain surface into a work of art that can inspire, provoke thought, or simply bring beauty to the world.
Beyond personal satisfaction, outdoor murals have the unique ability to engage communities, turning ordinary spaces into vibrant cultural landmarks.
So, whether you’re adorning a public wall or adding a touch of artistry to your backyard, the journey of mural painting is a rewarding one that leaves a lasting legacy for all to enjoy.
Leave a Reply