The art and precision of crafting wood letters have evolved significantly with the advent of specialized cutting machines.
These machines, designed for various industries such as sign-making and woodworking, bring efficiency and accuracy to the process.
From Computer Numerical Control (CNC) routers that execute intricate designs with digital precision to laser cutters offering detailed outcomes, each machine caters to specific needs.
Scroll saws provide a hands-on touch for artistic flair, while waterjet and plasma cutters bring versatility to the materials they can handle.
This introduction explores the diverse landscape of machines that cut wood letters, reflecting the amalgamation of technology and craftsmanship in modern woodworking.
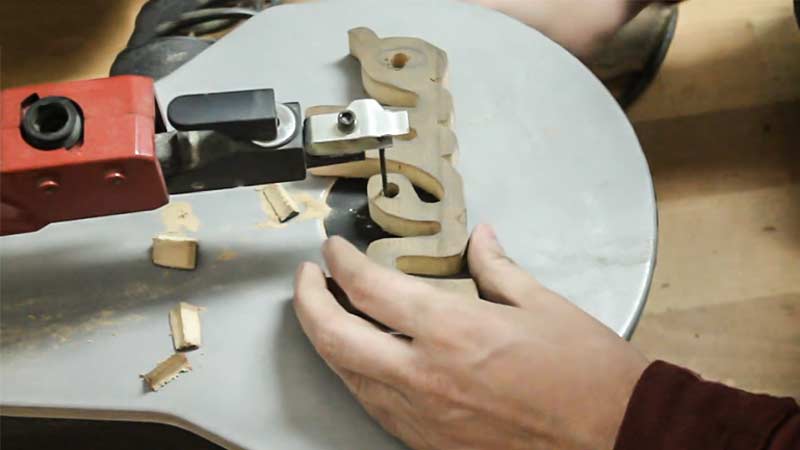
What Machine Cuts Wood Letters?
Machine cutting of wood letters is a standard and efficient process in various industries, including sign-making, woodworking, and crafting.
There are several types of machines specifically designed for cutting wood letters, each serving different purposes based on the complexity of the project and the desired outcome.
Here are some notable machines used for cutting wood letters:
CNC Routers
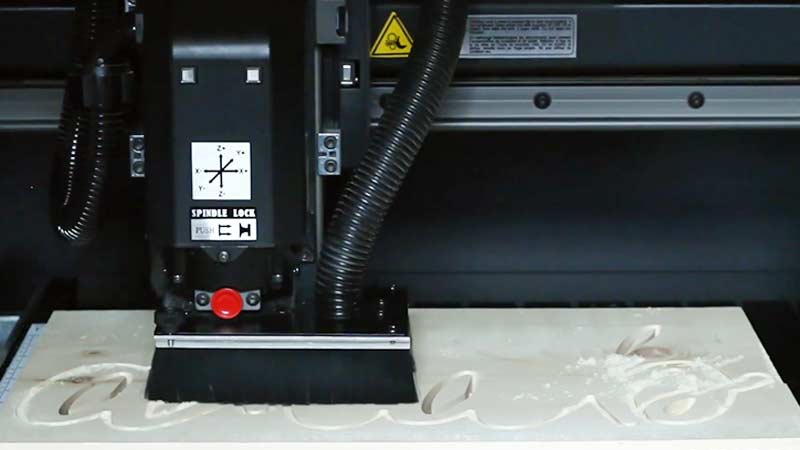
CNC (Computer Numerical Control) routers represent a technological precision cutting and carving marvel.
These machines operate through digital designs programmed into a computer. The CNC router employs a spinning cutter under computer control to meticulously cut through wood materials.
This technology facilitates the creation of intricate and detailed wood letters, accommodating various fonts and styles with utmost precision.
Laser Cutters
Laser-cutting machines have gained prominence for their unmatched precision and ability to cut intricate designs.
These machines utilize a high-powered laser beam directed onto the wood surface. The laser either vaporizes or melts the material along the desired cutting path.
Laser cutters are particularly effective for crafting intricate and small-sized wood letters, allowing for detailed and precise outcomes.
Scroll Saws
Scroll saws, equipped with a fine blade that moves up and down, offer a hands-on approach to cutting intricate curves and patterns in wood. Artisans guide the wood through the scroll saw, creating precise and detailed cuts.
While not as automated as CNC routers or laser cutters, scroll saws provide manual control ideal for crafting wood letters with artistic flair, making them well-suited for unique and personalized projects.
Waterjet Cutters
Waterjet cutting machines utilize a high-pressure stream of water mixed with abrasive materials to cut through various materials, including wood.
The cold-cutting process of waterjet cutters enables the creation of intricate designs without generating heat.
These machines are highly effective for achieving high precision when cutting wood letters, offering versatility across different wood types and thicknesses.
Plasma Cutters
Plasma cutters, commonly associated with metal cutting, can also be employed for wood under specific conditions.
These machines generate a focused, high-temperature plasma arc to melt through the wood.
While not as precise as other methods, plasma cutters are suitable for thicker wood letters and larger-scale projects, providing a rapid and efficient cutting solution.
How to Cut Wood Letters?
Cutting wood letters can be approached using various methods, each with its tools and techniques.
The choice of method depends on factors such as the type of project, the intricacy of the design, and the available tools.
Here’s a general guide on how to cut wood letters:
Hand-Cutting with a Jigsaw
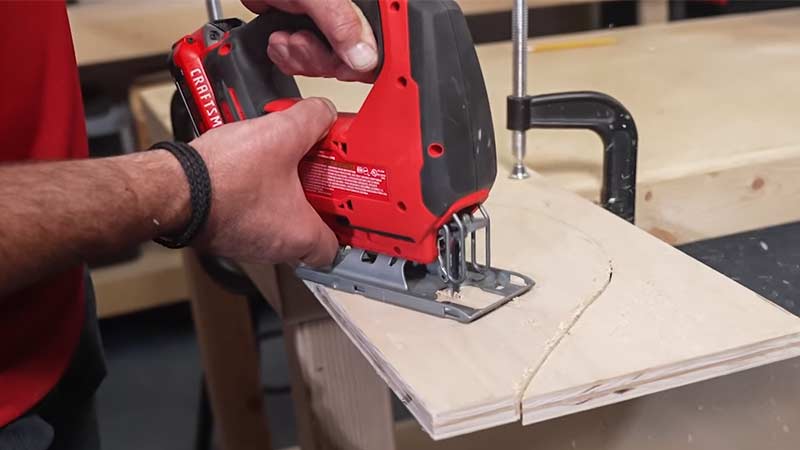
Materials Needed: Wood, jigsaw, pencil, clamps, safety equipment (goggles, ear protection).
Process:
- Begin by sketching the letters onto the wood surface using a pencil. Ensure accurate proportions and spacing.
- Secure the wood with clamps to prevent movement during cutting.
- Choose an appropriate blade for the jigsaw based on the wood’s thickness and the intricacy of the design.
- Use the jigsaw to carefully follow the penciled lines, making curved and intricate cuts as needed.
- Pay attention to the speed and pressure to achieve clean and accurate cuts.
- Finish by sanding the edges to smoothen any rough spots, and consider applying a finish or paint for a polished look.
Scroll Saw Technique
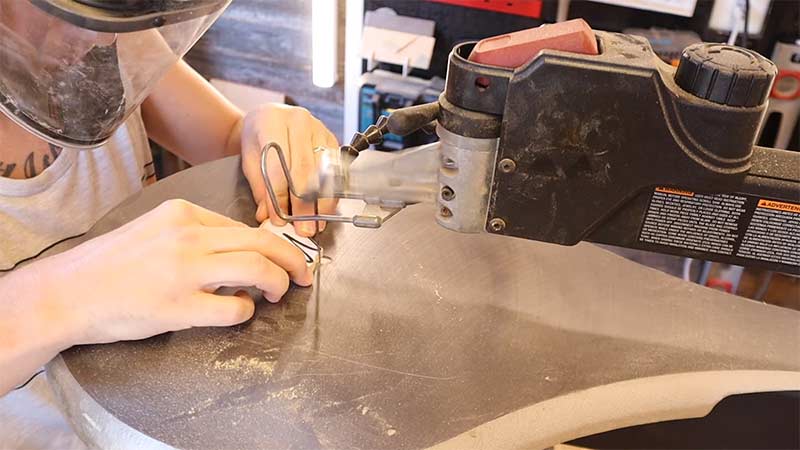
Materials Needed: Wood, scroll saw, pencil, clamps, safety equipment.
Process:
- Transfer the letter design onto the wood using a pencil. Ensure precise outlining.
- Secure the wood with clamps to minimize vibrations during cutting, enhancing accuracy.
- Choose the appropriate blade for the scroll saw based on the intricacy of the design and wood thickness.
- Use the scroll saw to navigate the traced lines, making precise and detailed cuts.
- Adjust the blade tension and speed based on the wood’s thickness and the design’s intricacy.
- After cutting, use fine-grit sandpaper or a file to refine the edges for a polished finish.
CNC Routing
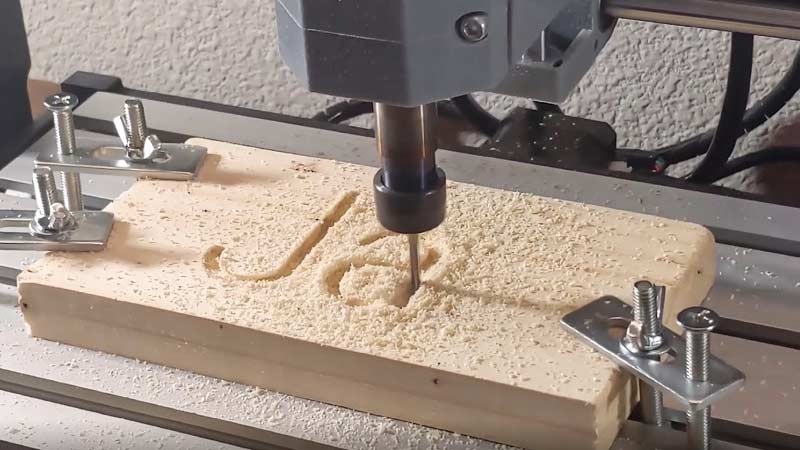
Materials Needed: Wood, CNC router, computer with design software.
Process:
- Create a digital design of the letters using computer-aided design (CAD) software, ensuring accuracy.
- Transfer the design to the CNC router’s computer and program the machine for the specific cutting parameters.
- Secure the wood onto the CNC machine bed, ensuring it is flat and well-aligned.
- Initiate the cutting process, allowing the CNC router to follow the digital design precisely.
- Monitor the machine and make any necessary adjustments for optimal results.
- Consider using different router bits for varying levels of detail.
Laser Cutting
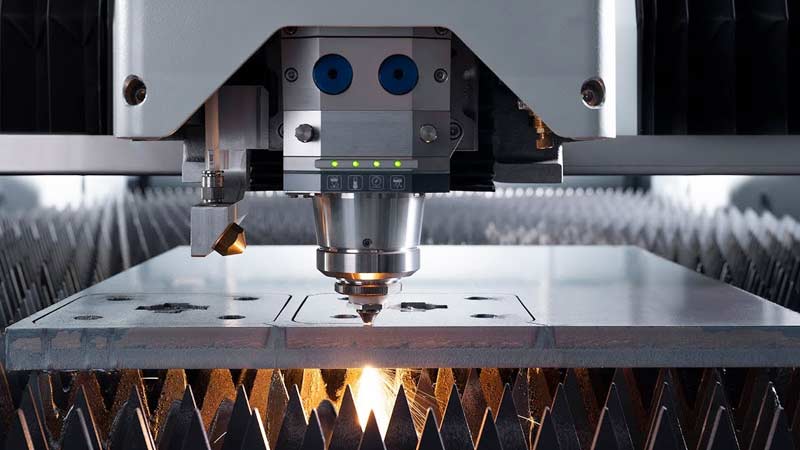
Materials Needed: Wood, laser cutter, computer with design software.
Process:
- Design the letters using vector graphics software, ensuring the file is compatible with the laser cutter.
- Transfer the design to the laser cutter’s computer and adjust the laser settings based on wood type and thickness.
- Secure the wood in the laser cutter and initiate the cutting process.
- The laser will follow the digital design, creating precise, detailed cuts without physical contact.
- Post-cutting, clean the edges and surfaces and consider additional finishing steps if desired.
- Be cautious with laser settings to avoid scorching or burning the wood.
Hand-Cutting with a Bandsaw
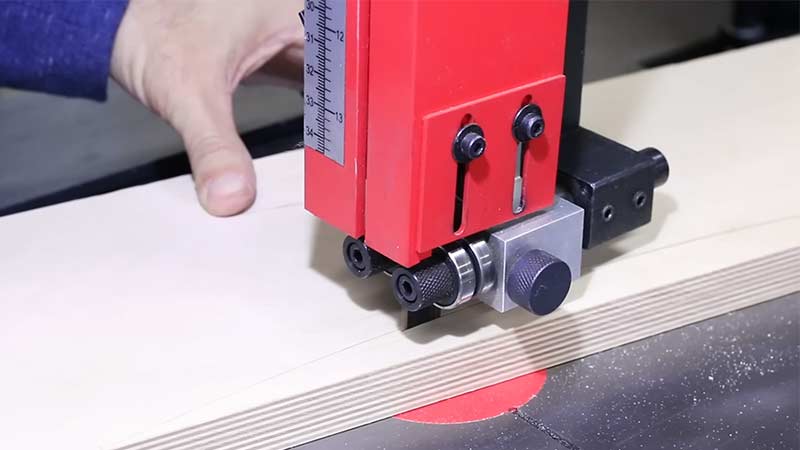
Materials Needed: Wood, bandsaw, pencil, clamps, safety equipment.
Process:
- Sketch the letters onto the wood surface using a pencil, ensuring clear and accurate outlines.
- Secure the wood with clamps to prevent movement during cutting, ensuring safety and precision.
- Choose the appropriate blade for the bandsaw based on the wood’s thickness and the cut’s complexity.
- Use the bandsaw to carefully cut along the penciled lines, taking advantage of the bandsaw’s versatility for both straight and curved cuts.
- Adjust the blade tension as needed, and take time to achieve accurate results.
- After cutting, refine the edges with fine-grit sandpaper for a smooth finish, and consider additional finishing touches as desired.
Making Wood Letters

Creating wood letters involves combining design, cutting, and finishing processes.
Whether you’re making letters for signage, home decor, or craft projects, here’s a comprehensive guide on how to cut letters out of wood:
Designing the Letters
Designing wood letters initiates the creative process. Begin by sketching the letters on paper, paying close attention to proportions and spacing.
This hand-drawn outline serves as the foundation for your project, guiding the subsequent steps.
For those seeking precision, digital design using graphic software, such as Adobe Illustrator, allows for a more accurate and scalable representation of the letters.
This digital blueprint becomes crucial when employing advanced techniques like CNC routing or laser cutting.
Selecting the Wood
Choosing the correct wood is a critical decision influencing your project’s aesthetic and structural aspects.
Consider the purpose and environment of your letters. Common choices include pine for its versatility, birch for a smooth finish, or MDF (Medium Density Fiberboard) for a consistent surface.
Ensure the selected wood is flat, free from imperfections, and suitable for the intended application.
Preparing the Wood
Preparing the wood involves transforming raw material into a suitable canvas for your letters. Begin by cutting the wood into a blank or panel of the desired size, considering the overall dimensions of the letters.
Once cut, the wood’s surface requires attention. Sanding plays a crucial role in creating a smooth and even texture, starting with coarse grit sandpaper and progressing to finer grits for a polished finish.
Transferring the Design
With your wood prepared, the next step is transferring your design onto its surface. Various methods exist, from traditional tracing using carbon paper to using stencils.
Consider printing the design directly onto the wood for intricate designs or digital creations. This step ensures accuracy and acts as a guide for subsequent cutting.
Cutting the Letters
Cutting the letters can be approached manually or with advanced machinery. Tools like jigsaws, scroll saws, or bandsaws offer versatility for manual cutting. Precision and intricate designs may benefit from CNC routers or laser cutters.
These machines follow the digital design closely, allowing for detailed and accurate cuts. Safety is paramount during cutting, so always use appropriate protective gear.
Finishing Touches
After the cutting phase, attention turns to refining the appearance of the wood letters. Fine-grit sandpaper smooth edges and surfaces, ensuring a polished and professional look.
Wood stain or paint can enhance the visual appeal, providing an opportunity for creative expression.
A clear sealant or varnish is recommended to safeguard the finished product, adding durability and protection against environmental factors.
Assembly
If your project involves three-dimensional letters or signs, assembly may be necessary. Wood glue is commonly used to secure multiple layers of wood, and clamps hold the pieces together until the glue dries.
Additionally, consider the display method – attach hanging hardware or select other mounting options based on your project’s requirements.
Final Inspection
With the project taking shape, a final inspection is crucial. Examine the letters for imperfections, ensuring the edges are smooth and the finish is consistent.
Make any necessary adjustments to ensure the final product aligns with your vision. This step marks the completion of the creative process, resulting in a set of wood letters ready for display or incorporation into your desired project.
FAQs
What type of machine is commonly used for cutting wood letters?
CNC routers are commonly used for cutting wood letters. These machines operate based on digital designs programmed into a computer, allowing for precise and intricate cuts in various fonts and styles.
Can laser-cutting machines be used for cutting wood letters?
Yes, laser-cutting machines are suitable for cutting wood letters.
They use a high-powered laser beam to cut through wood materials precisely, providing accuracy and the ability to handle intricate designs.
Are there hand-operated tools for cutting wood letters?
Tools such as jigsaws, scroll saws, and bandsaws are commonly used for hand-operated cutting of wood letters.
To Recap
Wood letter cutting is richly adorned with a spectrum of machines, each uniquely shaping creativity and precision.
From the meticulous artistry of CNC routers, the laser-sharp accuracy of laser cutters, and the hands-on craftsmanship of scroll saws, these machines have revolutionized woodworking.
Waterjet cutters and plasma cutters add versatility, meeting diverse material demands. The marriage of technology and tradition in these machines epitomizes the evolution of woodworking, offering efficiency without compromising on intricacy.
As wood letters continue to grace signs, artwork, and various projects, the diverse array of cutting machines ensures that creativity knows no bounds in woodwork.
Leave a Reply