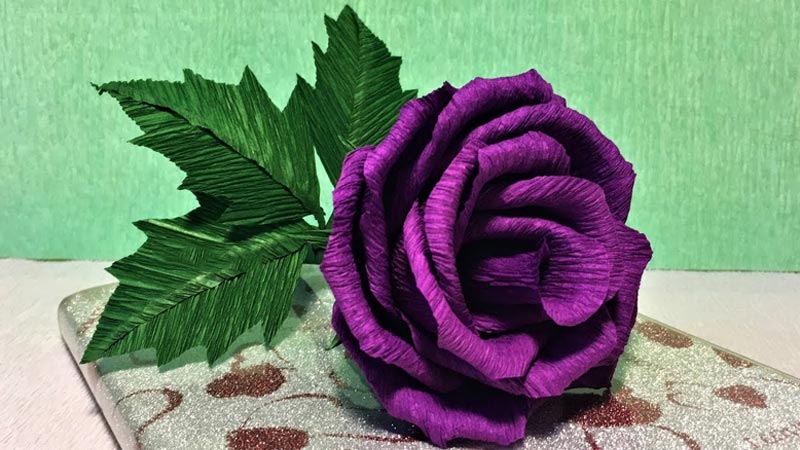
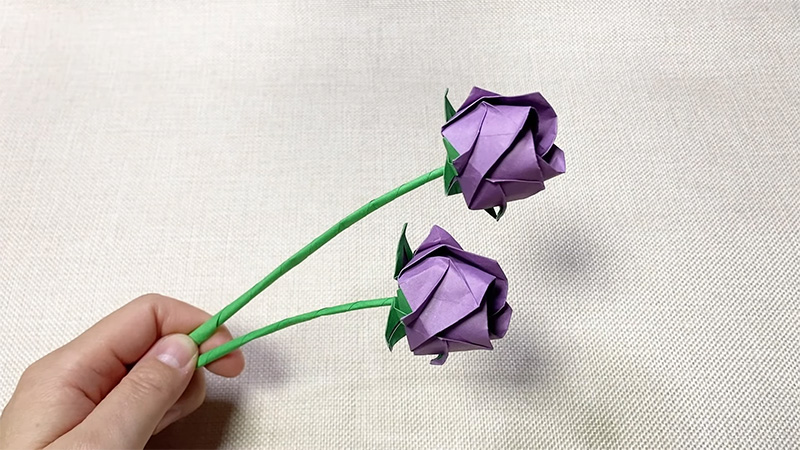
Creating a purple origami rose is a delicate and captivating craft that combines artistry and precision.
To embark on this creative journey, you’ll need a few essential materials and a sprinkle of patience. The main ingredient is square origami paper in a shade of purple that resonates with your aesthetic vision.
A flat, clean surface, steady hands, and a well-lit workspace are crucial for folding accuracy. Furthermore, an understanding of basic origami folds and techniques is invaluable.
As you dive into the enchanting world of origami, mastering the art of shaping petals, leaves, and stems will be your ultimate goal.
In this guide, we’ll unravel the steps to craft a stunning purple origami rose that will bloom eternally with your dedication.

What Is an Origami Rose?
An origami rose is a delicate and intricate paper creation that mimics the natural beauty of a real rose flower through the art of origami, a traditional Japanese paper-folding technique.
Crafted from a single square sheet of paper, an origami rose involves precise folds, twists, and sculpting to transform the flat surface into a three-dimensional representation of a rose.
Typically, these paper roses feature layers of petals that open up, revealing intricate details and a captivating, lifelike appearance.
Origami roses serve as symbols of love, admiration, and artistic expression, making them popular choices for gifts, decorations, or simply as captivating works of paper art.
Supplies You Need to Make a Purple Origami Rose

To create a beautiful purple origami rose, you will need some basic supplies, a bit of patience, and the willingness to follow a set of instructions carefully.
Origami is the traditional Japanese art of paper folding, and while it can be challenging, it’s also incredibly rewarding.
Let’s explore what you need to make a purple origami rose:
Square Paper
The most crucial material for origami is square paper. To make a purple origami rose, you’ll need purple-colored square paper.
Origami paper is available in various sizes, but standard origami paper is usually 15×15 cm (approximately 6×6 inches).
You can purchase pre-cut origami paper in a variety of colors, including purple, or you can cut your own squares from larger sheets of purple paper.
Flat Work Surface
It’s essential to have a clean, flat, and smooth work surface to fold your paper on. A table or desk works well, but make sure it’s free from any debris or rough textures that could damage the paper.
Patience and Focus
While not a physical material, patience, and focus are vital when making intricate origami-like a purple rose. Origami requires careful attention to detail and a calm, steady hand.
Instructions
Origami can be challenging, especially if you’re new to it. Having clear, step-by-step instructions for making a purple origami rose is highly recommended.
You can find origami books, online tutorials, or downloadable diagrams to guide you through the folding process.
Tweezers or a Bone Folder
These tools can be helpful for precise folding, especially when working on small details or intricate folds.
Tweezers can assist in holding and manipulating small sections of paper, while a bone folder can help create crisp, sharp creases.
Glue
Some origami purists prefer to avoid glue, as traditional origami is usually folded without any adhesives.
However, if you want to ensure your origami rose stays assembled, a small amount of glue can be used discreetly. Just be cautious not to use too much, as it may affect the overall appearance of your creation.
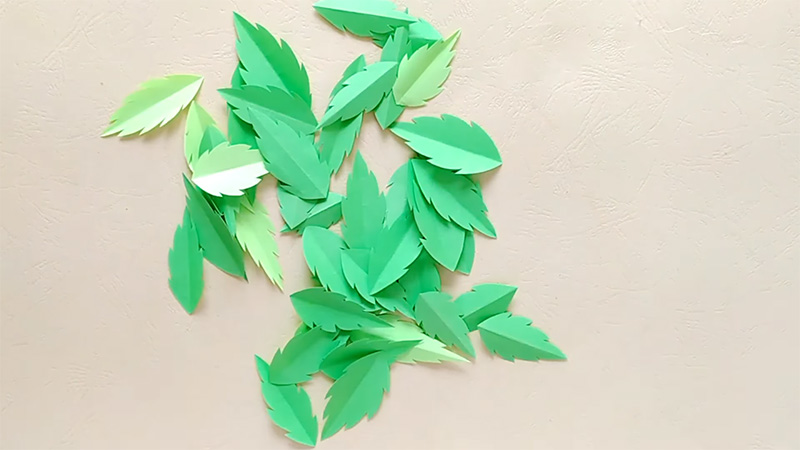
How to Make Origami Leaves for Roses?

Origami leaves can be a charming addition to origami roses or other paper flower creations.
Here’s a step-by-step guide on how to make simple origami leaves for roses:
Materials you’ll need:
- Green origami paper or any square piece of green paper.
- Scissors
Steps:
Prepare the Square Paper
Start with a square piece of green origami paper. If you don’t have origami paper, you can use any square paper.
To make a square out of rectangular paper, fold one corner down to meet the opposite edge, creating a triangle. Then, cut off the excess paper below the triangle, leaving a square.
First Diagonal Fold
Fold the square in half diagonally from one corner to the opposite corner to create a triangle. Ensure that the edges align perfectly, then crease the fold well. Afterward, unfold it.
Second Diagonal Fold
Fold the square in half diagonally in the opposite direction, creating another triangle with a crease.
Once again, make sure the edges align, crease it well, and then unfold it. You should now have two intersecting creases forming an “X” on the paper.
Vertical Fold
Fold the paper in half vertically, bringing the left corner to the right corner. Crease it well and then unfold it.
Horizontal Fold
Fold the paper in half horizontally, bringing the top corner to the bottom corner. Crease it well and unfold it again. Now you’ll have both vertical and horizontal creases on the paper.
Creating a Waterbomb Base
This step involves collapsing the paper along the pre-existing creases to form a waterbomb base. Start by pinching the paper at the top, where the horizontal and vertical creases intersect.
Gently push the sides in towards each other until it naturally collapses into a small square shape with two flaps on top.
First Flap Fold
Take one of the flaps and fold it down diagonally, aligning the edge with the center crease. Repeat this step with the other flap, so that your origami piece now resembles a kite shape with two flaps pointing downwards.
Forming the Bottom of the Leaf
Fold the bottom edge of the kite shape upward slightly. This fold will create the bottom of the leaf and give it a more natural appearance.
Optional Detailing
If you wish to add more detail to your leaf, you can use scissors to trim and shape the edges. Try to create a leaf shape that resembles a real leaf. You can make it more pointed or rounded, depending on your preference.
Adding a Curve
To give your leaf a more natural and curved look, fold it in half along the center crease. This gentle curve adds depth to the leaf and makes it look more like a real leaf.
Final Adjustments
Check your leaf for symmetry and make any necessary adjustments to ensure it looks the way you want it to.
Your origami leaf for roses is now complete and ready to be attached to your origami rose or any other paper flower creation. You can use glue or double-sided tape to affix it securely.
How to Make a Purple Origami Rose?

Creating a purple origami rose is a beautiful and creative project. You can make a purple rose by using purple origami paper or coloring plain white paper before you start folding.
Here’s a step-by-step guide on how to fold paper roses:
Materials you’ll need:
- Purple origami paper or a square piece of white paper colored purple on one side.
- Scissors
- Green origami paper or green paper to make leaves
Steps:
Prepare Your Paper
Start with a square piece of purple origami paper. If you have white paper and want a purple rose, color one side of the paper with purple crayons or markers. Allow it to dry completely before you begin.
Fold a Square Base
Fold your purple square in half diagonally to create a triangle. Unfold it, and then fold it in half diagonally in the opposite direction. You should have an “X” crease on your paper.
Preliminary Base
Flip your paper over to the white side if you colored one side. Fold the paper in half horizontally and then unfold it. Fold it in half vertically and then unfold it. These creases will help with later folds.
Mountain Fold
Turn your paper so that the colored side is facing up. Fold the top layer of the paper down along the center crease, creating a smaller triangle with the colored side showing. This is called a mountain fold.
Valley Fold
Fold the right corner of the triangle over to the left corner, creating a smaller triangle again. This is a valley fold. It will form the inner part of your rose.
Petals
Carefully open up the top layer of the triangle to reveal a pocket. Press it flat to create a diamond shape. This is one of the origami rose petals.
Repeat this process for the other three corners of the triangle, forming a total of four petals.
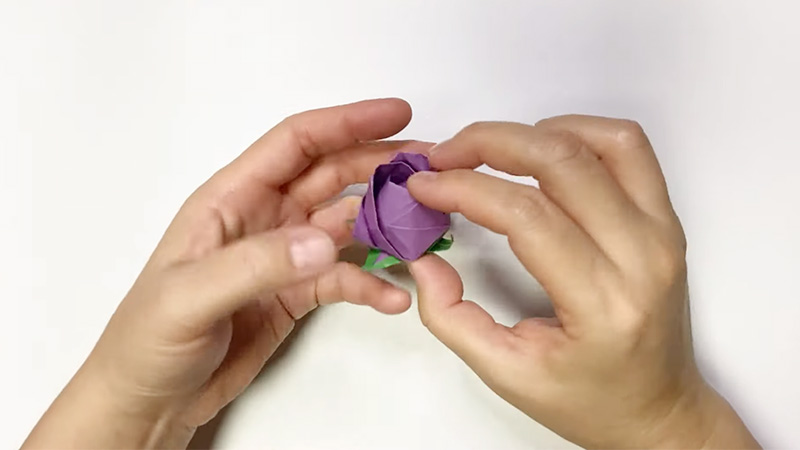
Shaping the Rose
To give your rose a more natural look, use your fingers to gently curl the petals outward. This will make the rose look more open and realistic.
You can also trim the tips of the petals with scissors to create a more rounded appearance.
Finishing Touches
If you want to add leaves to your purple origami rose, follow the instructions for making origami leaves (as mentioned in the previous response) using green origami paper or green-colored paper. Attach the leaves to the base of the rose using glue or double-sided tape.
FAQS
Can I use regular colored paper instead of origami paper?
Yes, you can use regular colored paper if you don’t have origami paper. Just make sure it’s a square piece, and you can color one side to make it purple.
Do I need any special tools or equipment?
You don’t need any special tools, but scissors can be helpful for shaping the petals or making any adjustments to your rose’s appearance.
Can I use different shades of purple paper?
Absolutely! Experiment with different shades of purple to create a variety of purple origami roses with unique appearances.
Are there any specific size recommendations for the paper?
The size of your paper can vary depending on your preference. Smaller squares will result in smaller roses, while larger squares will create larger roses. A common size for origami paper is 6×6 inches (15×15 cm), but you can adjust it to your liking.
Last Words
To craft a purple origami rose, you’ll require a few key materials: a square sheet of purple origami paper or the option to color one side of white paper in a shade of purple.
While specialized tools aren’t mandatory, scissors can aid in shaping the petals for a more realistic appearance.
Flexibility exists in paper size, so you can adapt it to your desired rose size. Furthermore, you can explore various shades of purple for diverse and visually appealing results.
The process is a creative journey, and by understanding the essentials, you can embark on crafting beautiful purple origami roses, each with its unique charm.
Leave a Reply