Altering a spaghetti strap dress provides a personalized touch, ensuring a perfect fit that complements your unique style.
Whether adjusting strap length, refining side seams, or customizing the hem, the process allows you to transform a dress into a tailored masterpiece.
This guide will walk you through step-by-step instructions, offering insights into assessing the fit, making necessary adjustments, and adding embellishments for extra flair.
With basic sewing skills and attention to detail, you can confidently navigate the alteration process, breathing new life into your spaghetti strap dress and creating a garment that seamlessly blends comfort and fashion.
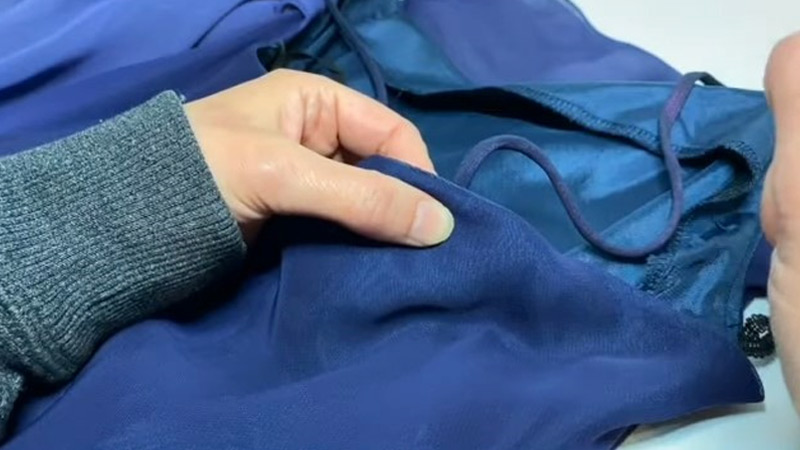
How to Alter Spaghetti Straps on a Dress? 7 steps
Altering a spaghetti strap dress can be a straightforward process with a few basic sewing skills.
Whether you need to adjust the length of the straps, take in the sides for a better fit, or make other modifications, here’s a step-by-step guide to help you alter a spaghetti strap dress:
Materials Needed:
- Spaghetti strap dress
- Sewing machine or needle and thread
- Pins
- Scissors
- Measuring tape
- Chalk or fabric marker
- Iron
Steps:
Step 1: Assess the Fit

Before delving into the alteration process, immerse yourself in the dress by wearing it and conducting a comprehensive evaluation of its fit.
Scrutinize the garment, paying particular attention to potential areas that may require adjustments, such as the strap length, side seams, or the overall length of the dress.
This step is crucial for identifying discomfort or any sections where the fit might be less than perfect. Take mental or physical notes of these observations to guide your subsequent alterations effectively.
Step 2: Mark Adjustments
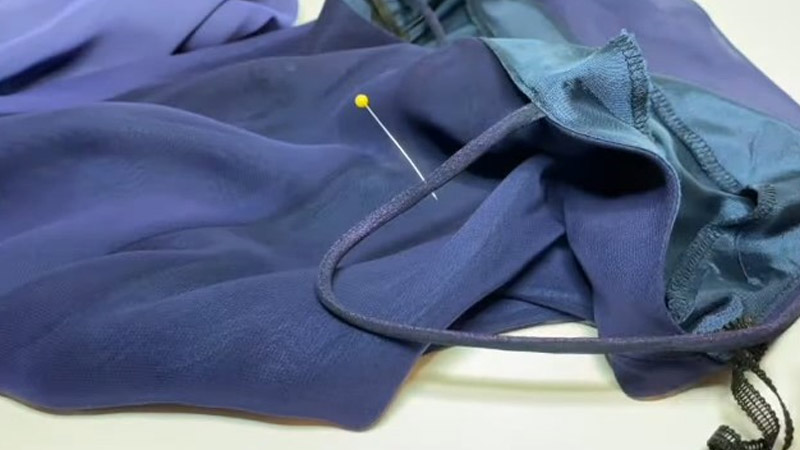
Equipped with insights from your fitting, use chalk or a fabric marker to delineate the specific areas that necessitate modifications.
If your focus is on adjusting the strap length, take precise measurements and mark the desired length on each strap.
Similarly, for side seams, mark the points where adjustments are warranted, whether it be taking in or letting out the dress to achieve a more flattering fit. Clear and accurate markings serve as your roadmap for the alterations ahead.
Step 3: Adjust the Strap Length
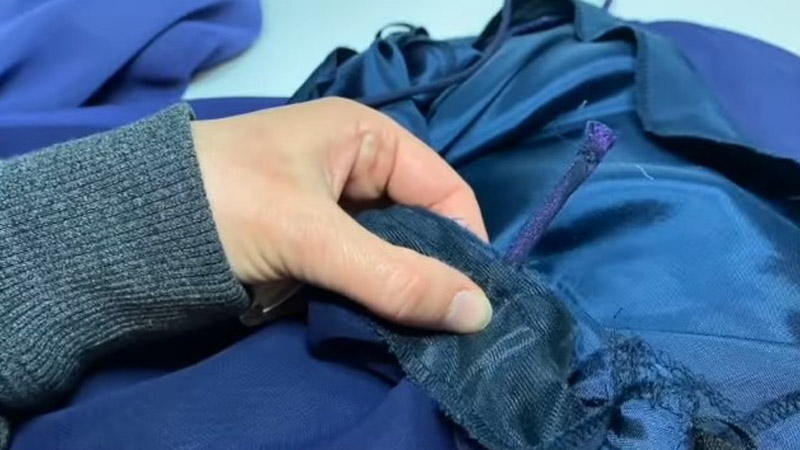
Addressing the strap length requires a meticulous approach. Begin by delicately unpicking the stitches that secure the straps to the dress.
Once liberated, trim the excess strap length with care, ensuring a clean and precise cut. To achieve a polished finish, neatly fold the cut end under and secure it with expertly executed stitches.
This attention to detail ensures that the alteration seamlessly integrates into the dress, maintaining its overall aesthetic appeal.
Step 4: Take In or Let Out Side Seams
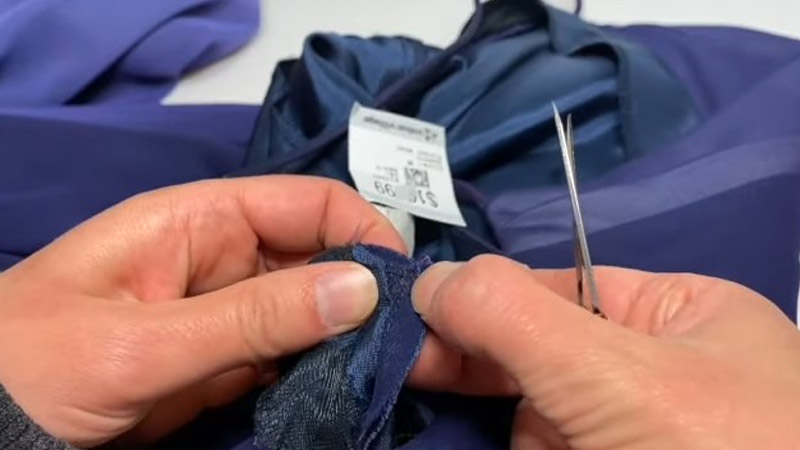
To manipulate the side seams, turn the dress inside out, exposing the seams for easy access. Employing the markings made in the previous step, strategically pin along the side seams.
Try on the dress to gauge the comfort level and confirm that the alterations align with your vision for a more flattering fit.
Once satisfied, proceed to stitch along the pinned line, commencing from the armpit and culminating at the bottom hem.
This step not only refines the fit but also enhances the overall silhouette of the dress, ensuring it complements your body shape seamlessly.
Step 5: Hem Adjustments
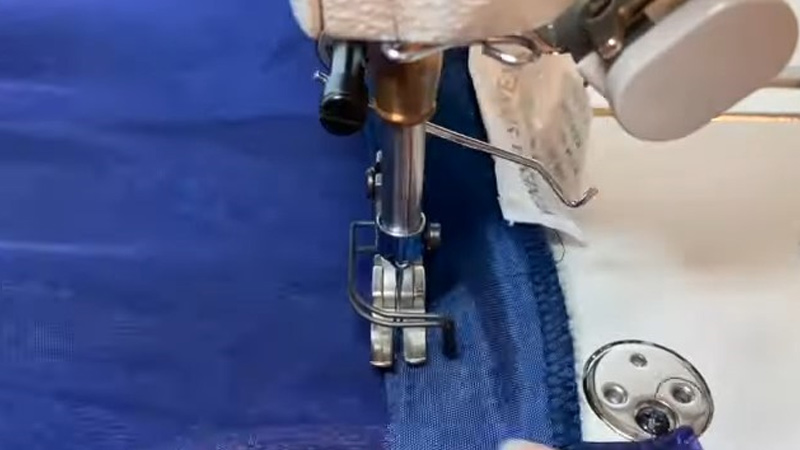
When altering the dress length, precision is key. Mark the new hemline using chalk or a fabric marker, ensuring accuracy in achieving your desired length.
Carefully cut along the marked line, leaving a slight allowance for the hem. The next crucial step involves neatly folding the fabric under and executing a meticulous hem.
Whether you opt for a sewing machine or prefer hand-stitching, the objective is to attain a professional and polished look.
This attention to detail in the hemming process not only refines the length but contributes to the overall seamless appearance of the dress.
Step 6: Finishing Touches
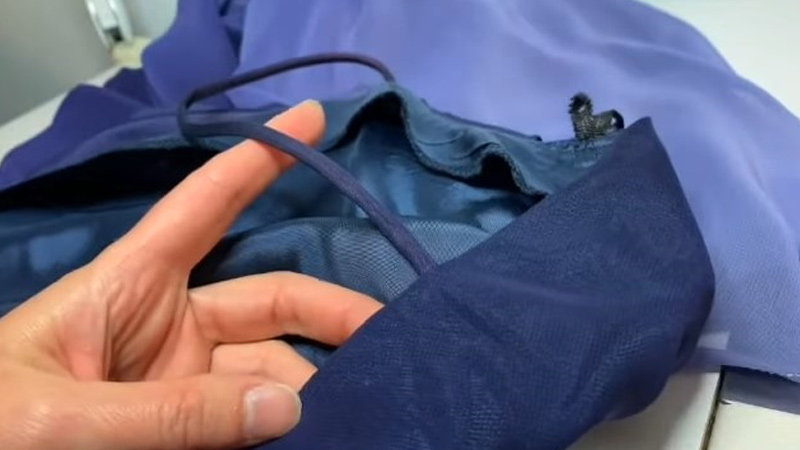
In the pursuit of a polished look, meticulous attention to detail is required. Trim any excess threads with precision, ensuring that no stray fibers detract from the dress’s clean lines.
Utilize an iron to press the dress thoroughly; this not only eradicates any wrinkles but also imparts a refined and cohesive appearance to the fabric.
Before finalizing the alterations, conduct one last fitting to guarantee that all adjustments are not only satisfactory but have collectively resulted in a dress that is both comfortable and flattering.
This step ensures that the dress not only fits well but also exudes a sense of sophistication and completeness.
Step 7: Optional Embellishments
For those with a penchant for personalization, the optional embellishment step offers an avenue for creative expression.
Consider additions such as lace, beads, or embroidery to infuse your unique style into the dress, transforming it into a one-of-a-kind piece.
Take creative liberties to enhance the overall aesthetic, making the dress a true reflection of your personality.
The addition of embellishments serves as a signature touch, elevating the dress from a simple garment to a personalized fashion statement that stands out with individual flair.
How to Lengthen Spaghetti Straps on a Dress?
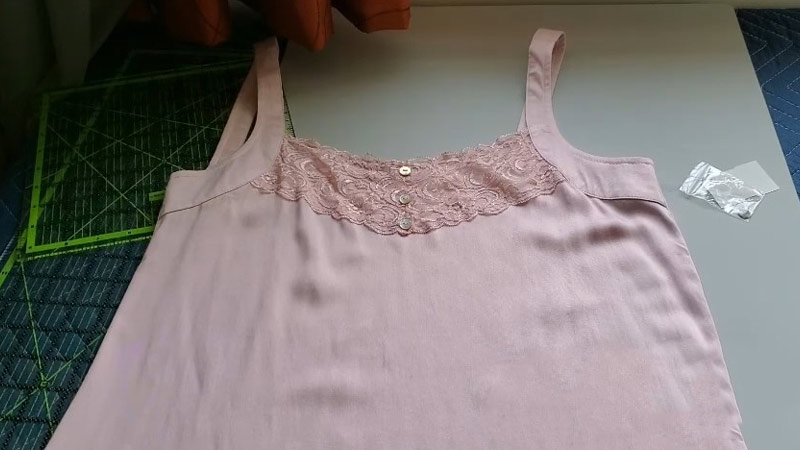
Lengthening spaghetti straps on a dress is a common alteration that can be easily achieved with some basic sewing skills.
Whether your dress feels a bit snug or you prefer a lower neckline, here’s a step-by-step guide on how to lengthen spaghetti straps:
Materials Needed:
- Dress with spaghetti straps
- Matching fabric (if needed)
- Scissors
- Seam ripper
- Straight pins
- Sewing machine or needle and thread
- Iron
Steps:
Assess the Current Straps
Begin by donning the dress and critically evaluating the current strap length. Pay attention to how the dress feels on your shoulders and determine the ideal increase in strap length.
Mark this measurement either mentally or with a pin, ensuring a clear understanding of the desired adjustment.
Seam Rip Existing Stitches
Delicately use a seam ripper to undo the stitches that secure the spaghetti straps to the dress. Exercise caution to avoid any unintended damage to the fabric.
This step is crucial for preparing the existing straps for extension and ensuring a clean and seamless alteration.
Cut Additional Strap Material
If the desired lengthening surpasses the existing fabric, cut a piece of matching fabric to the required length and width.
This additional fabric will act as an extension and will be seamlessly integrated between the original strap and the dress.
Attach Additional Strap Material
Place the additional fabric strip between the original strap and the dress, aligning the edges meticulously.
Secure the layers together with straight pins, ensuring a smooth and even alignment. This step is crucial for maintaining a consistent appearance in the extended straps.
Sew Straps
Utilize a sewing machine or hand-sewing techniques to secure the edges of the straps. If you’ve added extra fabric, stitch along the edges, creating a strong and durable bond between the original strap and the extension.
Ensure the stitches are straight and capable of withstanding the stress the straps may encounter during wear.
Try On the Dress
After sewing, put the dress back on to assess the newly lengthened straps. Pay attention to how the dress sits on your shoulders and whether the adjusted straps provide the desired comfort and coverage. Make any necessary adjustments to the strap length during this fitting.
Finish the Edges
If additional fabric was added, fold the edges under and secure them with a straight stitch. This creates a polished and refined finish to the extended straps, ensuring that the alteration seamlessly integrates with the original design.
Press the Straps
Use an iron to press the newly lengthened straps. This step not only sets the stitches but also provides a professional and neat appearance to the altered straps, enhancing the overall aesthetics of the dress.
Optional Embellishments
For those seeking a personalized touch, consider adding embellishments such as lace or decorative stitches to the newly lengthened straps.
This optional step allows you to infuse your unique style into the dress, transforming it into a customized piece.
FAQs
Is it possible to take in the sides of a spaghetti strap dress without a sewing machine?
Yes, you can hand-sew side seam adjustments on a spaghetti strap dress. It may take a bit more time, but careful hand stitching can achieve a professional look.
How do I decide the ideal length for spaghetti straps on my dress?
The ideal strap length depends on personal preference and comfort. Try on the dress and experiment with different lengths to find what feels most flattering and comfortable for you.
Can I add embellishments to a spaghetti strap dress if I’m not skilled at embroidery or sewing?
Absolutely! Adding embellishments like beads or lace doesn’t require advanced sewing skills. You can use fabric glue or iron-on adhesive for simpler embellishments.
Wrap Up
The art of altering a spaghetti strap dress empowers individuals to curate a wardrobe that reflects both comfort and style.
This comprehensive guide, spanning from evaluating the initial fit to the finishing embellishments, demystifies the alteration process.
Armed with a sewing machine or needle and thread, anyone can confidently navigate the steps, ensuring a personalized and flattering result.
The transformative journey from assessing strap lengths to refining side seams culminates in a garment that not only fits seamlessly but also radiates individuality.
By embracing these alterations, fashion enthusiasts can breathe new life into their wardrobe, turning a spaghetti strap dress into a bespoke statement of personal style and comfort.
Leave a Reply