Fleece, a beloved fabric in the world of sewing and crafting, possesses unique qualities that make it a go-to choice for many enthusiasts.
While fleece itself doesn’t possess any magical healing properties, it certainly seems to mend the spirits of those who work with it.
This versatile textile offers an inviting canvas for creative endeavors, whether you’re fashioning cozy blankets, stylish garments, or functional accessories.
Its forgiving nature, resistance to fraying, and exceptional softness make it especially friendly to both beginners and experienced sewers.
In this exploration, we delve into the world of fleece and discover how its characteristics contribute to the art of sewing, stitching together comfort, warmth, and creativity.
What Is Fleece?
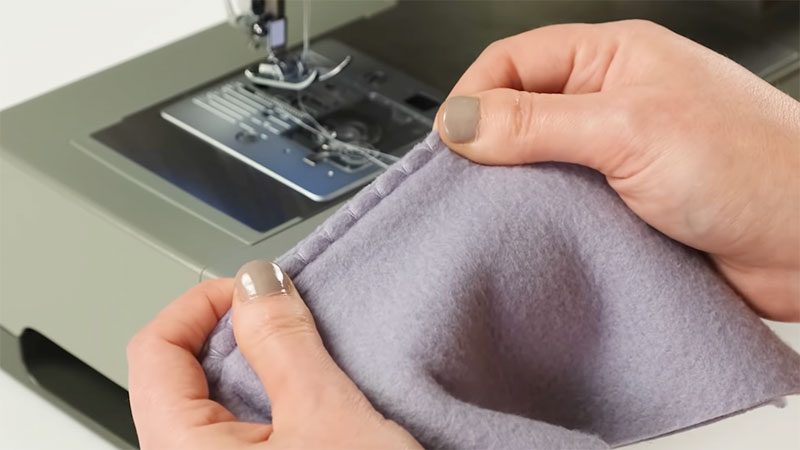
Fleece is a synthetic fabric made from polyester fibers that imitate the softness and warmth of natural wool. This versatile material is renowned for its plush, soft texture, making it incredibly comfortable to wear and touch.
Fleece offers excellent insulation, trapping heat to provide warmth without the bulk often associated with winter fabrics.
It is lightweight and breathable, making it suitable for a wide range of applications, from cozy blankets and comfortable clothing to outdoor gear and activewear.
Fleece also possesses moisture-wicking properties, which help draw sweat away from the body, keeping the wearer dry and comfortable.
Additionally, it is known for its durability and resistance to pilling, making it a popular choice for various sewing projects.
Does Fleece Heal From Sewing?
Fleece is a popular fabric choice for many sewing projects due to its softness, warmth, and versatility.
While fleece itself does not “heal” in the traditional sense, it does have some unique properties that make it forgiving and user-friendly when it comes to sewing.
Minimal Fraying
Fleece fabric has a tightly woven structure that results in minimal fraying along the cut edges. This means that you don’t necessarily need to finish the edges with a serger or zigzag stitch to prevent unraveling. This can save time and effort when sewing fleece projects.
Easy to Sew
Fleece is a forgiving fabric for novice sewers because it doesn’t easily slip or slide as you work with it. It tends to stay in place, making it easier to control and manage under the sewing machine. This is especially helpful for beginners who are still developing their sewing skills.
Stretch and Recovery
Fleece typically has some degree of stretch and elasticity, which allows for comfortable movement in garments.
This stretchiness also makes fleece less prone to tearing or ripping when subjected to stress or strain, which can be an advantage for items like activewear or children’s clothing.
Conceals Mistakes
The plush texture of fleece can help conceal minor sewing mistakes. If your stitches aren’t perfectly straight or if you make a small error in your sewing, it’s less likely to be noticeable on fleece compared to other, smoother fabrics.
No Ironing Required
Fleece is a low-maintenance fabric that doesn’t require ironing in most cases. Its natural texture tends to hide wrinkles, making it an ideal choice for projects where a crisp, pressed look isn’t necessary.
Durability
Fleece is a durable fabric that holds up well over time. It resists pilling, which is the formation of small, fuzzy balls on the fabric’s surface, and it can withstand regular washing and wear.
Color Variety
Fleece comes in a wide range of colors and patterns, allowing for creativity in your sewing projects without the need for extensive embellishments.
Warmth and Softness
Fleece is a warm and soft fabric, making it a popular choice for making cozy blankets, scarves, and winter wear. Its softness also means that it’s comfortable to wear against the skin.
How to Fix a Hole in Fleece Fabric?
Fixing a hole in fleece fabric is a relatively simple task that you can do at home with basic sewing supplies.
Here’s a step-by-step guide on how to repair holes in fleece fabric:
Materials You’ll Need:
- Fleece fabric
- Scissors
- Needle
- Thread
- Pins
- Thimble
Steps:
1. Prepare the Work Area
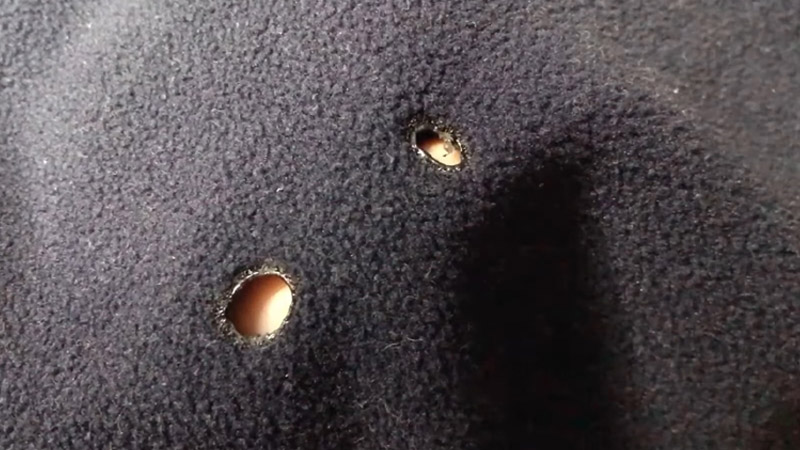
Begin by selecting a clean and well-lit workspace to work on your fleece fabric repair. Lay the fleece fabric flat on this surface, ensuring it is free from any dust, debris, or lint.
Cleaning the fabric before repair will help achieve a more durable and aesthetically pleasing result.
2. Cut a Patch
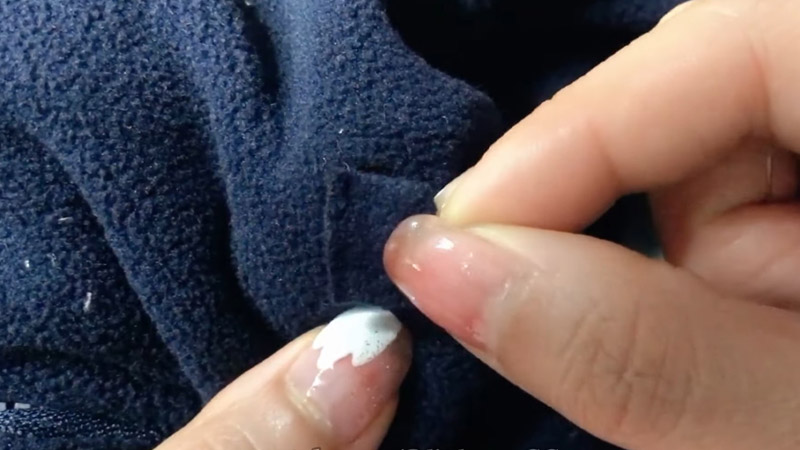
Take your scrap piece of fleece fabric and use sharp scissors to carefully cut a patch that is slightly larger than the hole you need to mend.
It’s crucial to select a patch that closely matches the color, texture, and thickness of the original fleece fabric.
3. Pin the Patch
Position the patch over the hole on the inside (wrong side) of the fleece fabric. To hold the patch securely in place, use straight pins.
Insert the pins through both the patch and the original fabric to ensure they are tightly connected.
4. Thread the Needle
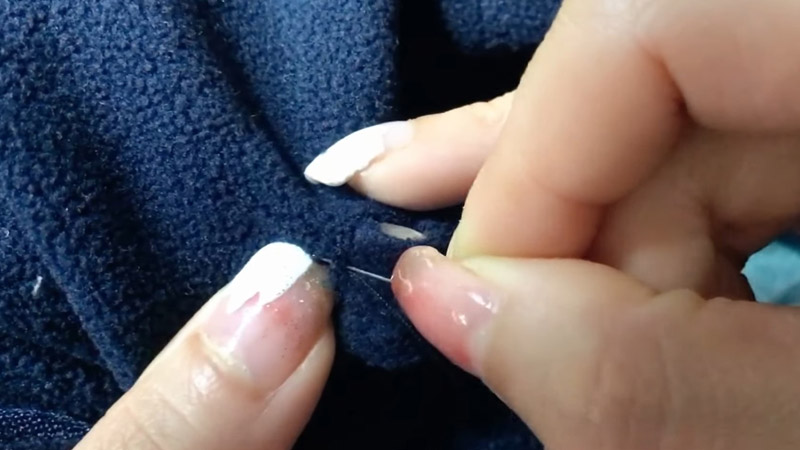
Thread a hand-sewing needle with a thread that matches the color of your fleece fabric. A thread length of about 18 inches should be sufficient. Tie a knot at the end of the thread to prevent it from slipping through the fabric while sewing.
5. Sew the Patch
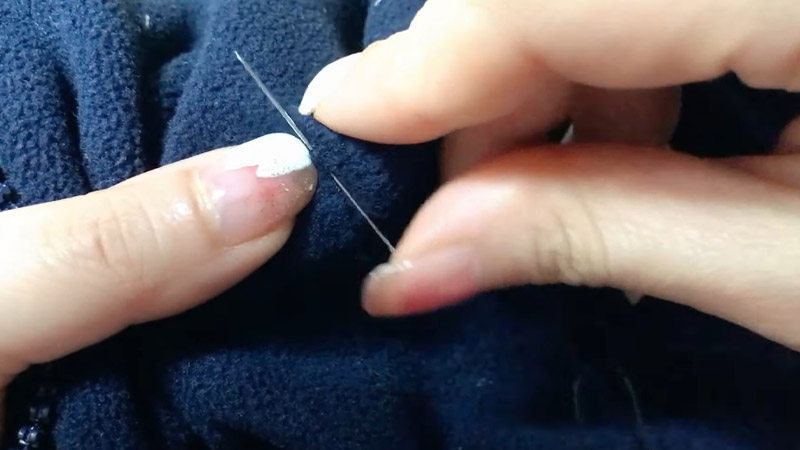
Commence sewing from the inside of the fleece fabric, ensuring that the knot is positioned on the inside. Employ small and even stitches to sew along the edge of the patch.
This stitching should securely attach the patch to the original fabric. Maintain a consistent distance between stitches, ensuring they pass through both the patch and the original fabric. Continue sewing around the entire perimeter of the patch.
6. Secure the Thread
Once you have completed sewing around the entire patch, create a small knot to secure the thread. This can be accomplished by passing the needle through a loop of thread and gently pulling it tight. Trim any excess thread very close to the knot.
7. Inspect and Trim
Take a close look at your repair work to ensure that the patch is firmly attached and that there are no loose threads or irregularities.
If necessary, carefully trim any excess fabric from the patch to make it blend seamlessly with the surrounding fleece.
8. Wash and Care
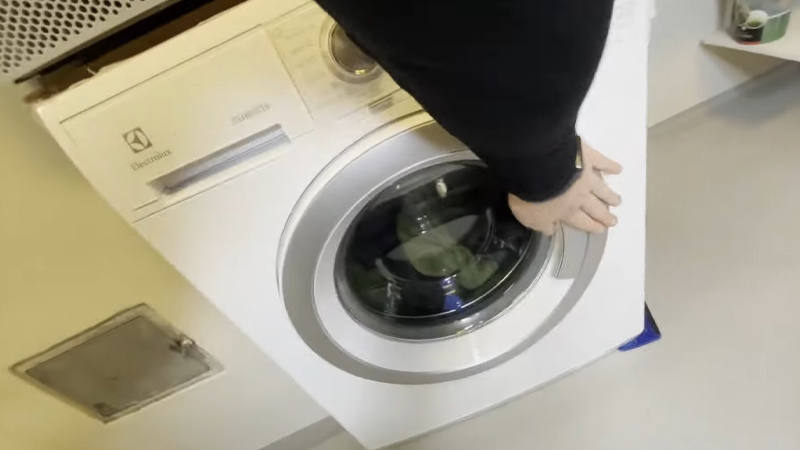
Before putting the fleece fabric back into use or wearing it, it’s advisable to follow the fabric’s care instructions and wash it accordingly.
This step ensures that the repair holds up well and that any residual markings or stains from the repair process are removed.
How to Patch Fleece?
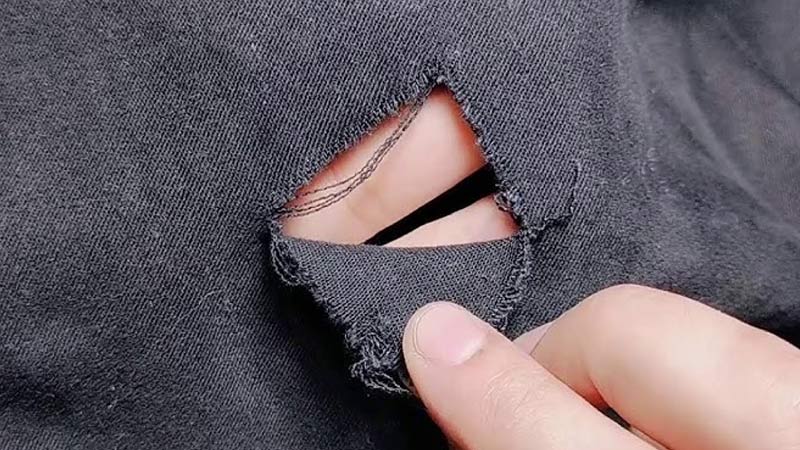
Patching fleece is a simple and effective way to repair holes, tears, or damage in fleece fabric.
Here’s a step-by-step guide on fleece repair patch:
Materials You’ll Need:
- Fleece fabric
- Scissors
- Needle
- Thread
- Pins
- Thimble
Steps:
1. Prepare the Work Area
Begin by setting up a clean and well-lit workspace. Lay the fleece item flat on this surface, ensuring it’s free of any dust, debris, or lint. A clean work area will help you achieve a neat repair.
2. Cut the Patch
Using your sharp scissors, carefully cut a piece of fleece fabric to create the patch. It’s essential to make the patch slightly larger than the hole or damaged area you intend to cover.
Additionally, ensure that the color and texture of the patch fabric closely match the original fleece.
3. Pin the Patch
If you find it helpful, you can use straight pins to secure the patch in place over the damaged area on the inside (wrong side) of the fleece item. Pinning ensures that the patch stays in position while you sew.
4. Thread the Needle
Thread your hand-sewing needle with a length of thread, approximately 18 inches long, that matches the color of the fleece. Tie a knot at the end of the thread to prevent it from slipping through while sewing.
5. Sew the Patch
Start sewing from the inside of the fleece item, ensuring that the knot is on the inside to hide it from view.
Use small, even stitches to sew around the edge of the patch, attaching it securely to the original fleece.
Keep your stitches close together, and ensure they go through both the patch and the original fabric. Continue sewing around the entire perimeter of the patch.
6. Secure the Thread
Once you’ve sewn around the entire patch, create a small knot by passing the needle through a loop of thread. Trim any excess thread close to the knot to maintain a tidy appearance.
7. Inspect and Trim
Carefully examine your patch to ensure it’s firmly attached, and there are no loose threads or irregularities.
If necessary, trim any excess fabric from the patch to make it blend seamlessly with the surrounding fleece.
8. Wash and Care
Before using or wearing the fleece item, adhere to the care instructions for fleece fabric. This step ensures that the patch holds up well and any residual markings or stains from the repair process are removed. Washing the item can also help soften the patch and make it less noticeable.
How to Restore Fleece?
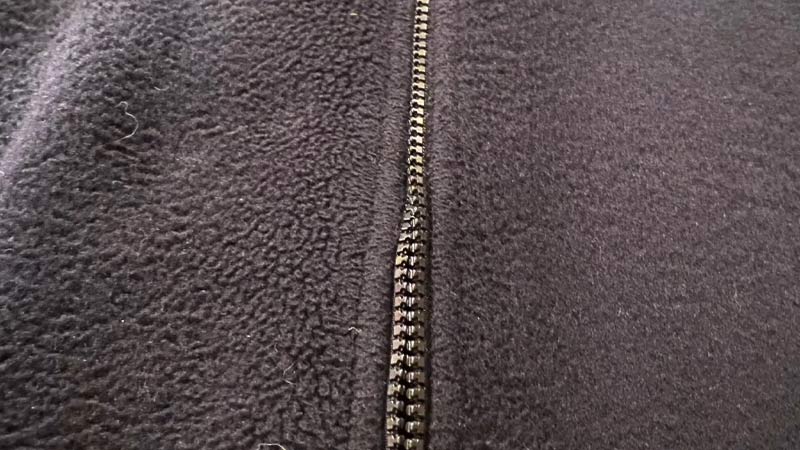
Restoring fleece fabric can help bring back its softness, fluffiness, and overall appearance, especially if it has become matted or worn over time.
Here’s a step-by-step guide on how to restore fleece:
Materials You’ll Need:
- Fleece item
- Mild detergent
- White vinegar
- Washing machine
- Soft brush or pet hair remover
- Dryer or air drying rack
Steps:
1. Check Care Instructions
Review the care label on the fleece item to ensure it’s suitable for the washing and drying methods you plan to use. Follow any specific care instructions provided.
2. Pre-treat Stains
If your fleece item has stains, pre-treat them before washing. Follow the stain removal guidelines on the detergent label or use a stain remover designed for delicate fabrics.
3. Wash the Fleece
If your fleece item is machine-washable, place it in the washing machine. Use a mild detergent, and add a small amount of white vinegar (about 1/4 cup) to the detergent compartment to help eliminate odors and restore softness.
Wash the fleece item on a gentle or delicate cycle with cold water. Avoid using fabric softeners as they can reduce the fleece’s softness and absorbency.
4. Rinse Thoroughly
Ensure the detergent is completely rinsed out during the washing cycle. Any residue can affect the fleece’s texture.
5. Dry the Fleece
Depending on your preference and the care instructions, you can either tumble dry the fleece item on low heat with a few clean tennis balls or dryer balls. The tennis balls will help fluff up the fleece.
Alternatively, you can air dry the fleece item by laying it flat on a clean, dry surface or using a drying rack. Gently reshape it to its original form if needed.
6. Brush or Lint Removal
After washing and drying, use a soft brush or a pet hair remover to gently brush the fleece in one direction. This helps remove any lint or matting and restores the fleece’s texture.
7. Inspect and Repair
After restoration, inspect the fleece item for any damage or loose seams. If you notice any issues, consider repairing them using the methods mentioned in previous answers, such as patching or fixing holes.
8. Store Properly
To prevent future damage and maintain the fleece’s restored condition, store it in a cool, dry place away from direct sunlight and moisture.
How to Fix a Tear in Polyester Fabric? 10 Steps
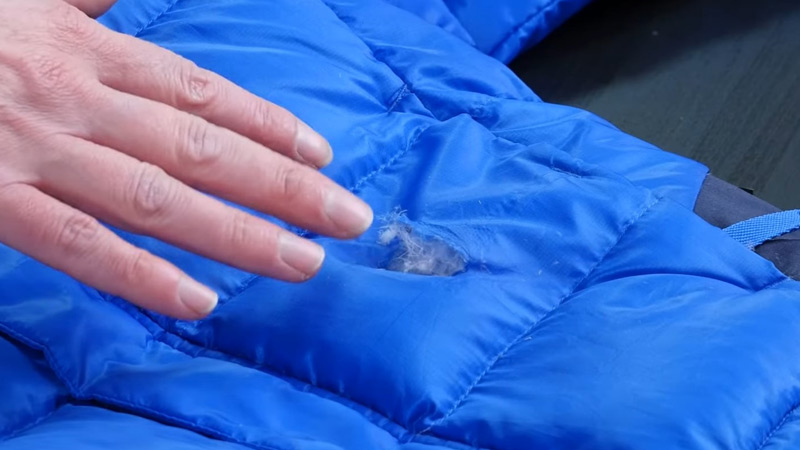
Fixing a tear in polyester fabric is a relatively straightforward process that you can do at home with some basic sewing supplies.
Here’s a step-by-step guide on how to repair a tear in polyester fabric:
Materials You’ll Need:
- Polyester Thread
- Needles
- Scissors
- Pins
- Iron and Ironing Board
Steps to Repair a Tear in Polyester Fabric:
Step 1: Gather Materials
Begin by gathering all the materials you’ll need for the repair. These include polyester thread, sewing needles suitable for lightweight to medium-weight fabrics, a pair of sharp fabric scissors, straight pins, and an iron with an ironing board.
Step 2: Prepare the Area
Lay the torn polyester fabric flat on a clean and smooth work surface. If the edges of the tear are frayed or uneven, carefully trim them with your fabric scissors. The goal is to create clean and even edges that can be easily stitched together.
Step 3: Pin the Fabric
Align the torn edges of the fabric precisely, ensuring they match up perfectly. To hold the fabric in place while you work, use straight pins.
These pins should be inserted parallel to the tear and approximately 1/4 inch (6 mm) away from the edge to secure the fabric together.
Step 4: Thread the Needle
Thread a sewing needle with polyester thread that closely matches the color of your fabric. Ensure the thread is long enough for the entire repair and tie a knot at the end to prevent it from pulling through the fabric as you sew.
Step 5: Begin Sewing
Start sewing just above the tear. Insert the threaded needle from the underside of the fabric and bring it up to the surface, so the knot is hidden underneath.
Sew a running stitch along the length of the tear, taking care to catch both edges of the tear with each stitch. Maintain consistent stitch size and spacing.
Step 6: Continue Sewing
Continue sewing along the entire length of the tear, making sure to keep the stitches even and secure.
As you sew, gently remove the straight pins that were used to hold the fabric together. This will ensure that the stitches are holding the fabric together.
Step 7: Knot the thread
When you reach the end of the tear, tie a knot with the thread to secure it. Make sure the knot is tight and snug against the fabric to prevent unraveling.
Step 8: Trim Excess Thread
Use your fabric scissors to trim any excess thread, leaving a small tail. Ensure the cut is close to the fabric to maintain a neat appearance.
Step 9: Press the Repair
If the tear has caused any wrinkling or puckering of the fabric, you may need to press the repaired area. Set your iron to low heat and use a pressing cloth to protect the fabric. Gently press the repaired area to smooth out any wrinkles or puckers.
Step 10: Inspect and Test
Allow the repair to cool, then inspect it closely. Ensure that the stitches are secure and that the repair looks neat and inconspicuous. To test the strength of the repair, give the fabric a gentle tug to ensure it holds together.
Can You Use Stitch Witchery on Polyester? 7 Steps
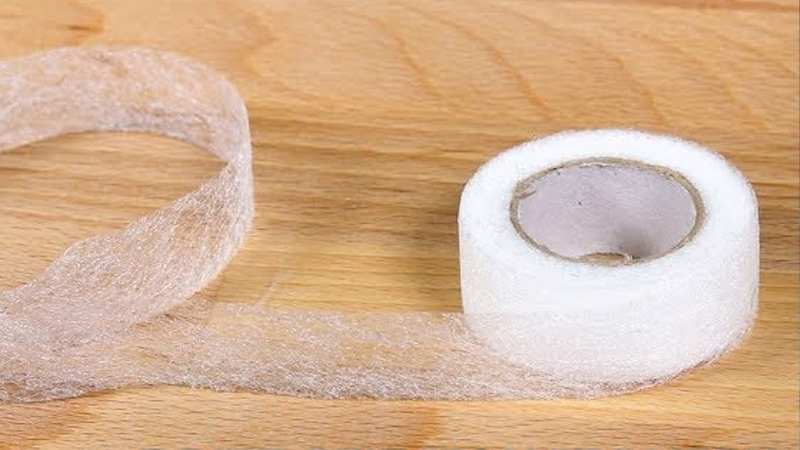
Yes, you can use Stitch Witchery on polyester fabric. Stitch Witchery is a type of fusible bonding web, also known as fusible web or fusible tape.
It is commonly used for no-sew fabric bonding and is suitable for a variety of fabrics, including polyester.
Here’s how you can use Stitch Witchery on polyester fabric:
Materials You’ll Need:
- Stitch Witchery or Fusible Web
- Polyester Fabric
- Iron and Ironing Board
Steps to Use Stitch Witchery on Polyester:
Step 1: Cut the Stitch Witchery
Measure the length of the seam or area you want to bond with Stitch Witchery. Use scissors to carefully cut a piece of Stitch Witchery to this measured length.
It’s important to cut it slightly smaller than the fabric to ensure that the bonding web doesn’t extend beyond the fabric edges, which could cause it to stick to the iron.
Step 2: Position the Stitch Witchery
Place the cut piece of Stitch Witchery between the layers of the polyester fabric, ensuring that the adhesive side is facing the fabric.
Align it precisely along the seam or the area you wish to bond. Take your time to make sure it’s positioned correctly, as this will determine the strength and appearance of the bond.
Step 3: Cover with a Pressing Cloth
To protect both the polyester fabric and your iron, cover the area where you’ve positioned the Stitch Witchery with a pressing cloth.
This cloth acts as a barrier, preventing the adhesive from sticking to your iron and potentially damaging it.
A thin piece of cotton fabric, such as muslin or an old cotton pillowcase, works well as a pressing cloth.
Step 4: Iron the Fabric
Set your iron to a heat setting appropriate for polyester fabric, typically a low to medium-low heat setting, and make sure it’s set to “dry” mode without steam.
Gently press the iron onto the pressing cloth, directly over the area where the Stitch Witchery is positioned.
Apply firm but not excessive pressure for about 10-15 seconds. The heat will melt the adhesive, bonding the layers of fabric together.
Step 5: Check the Bond
Carefully lift the pressing cloth to inspect the bonded area. Ensure that the Stitch Witchery has adhered the fabric layers together securely.
You should not be able to separate the layers easily. If the bond doesn’t seem strong enough, repeat the ironing process, applying more pressure or heat if necessary.
Be cautious not to scorch or melt the polyester fabric, so always use the appropriate heat setting.
Step 6: Let It Cool
Allow the bonded area to cool completely. Cooling helps the adhesive solidify and ensures a strong and durable bond. Avoid handling or stressing the bonded area until it has cooled down.
Step 7: Trim Excess
If there’s any excess Stitch Witchery extending beyond the bonded area, use your scissors to carefully trim it away.
This step is essential for achieving a clean and neat finish. Ensure that no adhesive residue is left exposed, as it could stick to other surfaces or garments.
FAQS
Can fleece be easily repaired if it gets damaged during sewing?
Fleece can be repaired, but the ease of repair depends on the extent of the damage.
Is fleece suitable for machine embroidery?
Yes, fleece is a popular choice for machine embroidery.
What should I do if I accidentally sew through multiple layers of fleece?
If you accidentally sew through multiple layers of fleece, carefully remove the excess stitching with a seam ripper or small scissors.
Does the type of needle matter when sewing fleece?
Yes, the type of needle matters. It’s recommended to use a ballpoint or stretch needle when sewing fleece to prevent skipped stitches and fabric damage.
Can fleece garments be altered easily after sewing?
Fleece garments can be altered, but it’s generally more challenging than altering other fabrics due to fleece’s thickness and stretch.
To Recap
While fleece doesn’t possess magical healing properties, it certainly offers unique advantages for sewing enthusiasts.
Its resistance to fraying, ease of handling, forgiving nature, and ability to conceal minor errors make it a preferred fabric for various projects.
Its inherent stretch and recovery properties add durability, though managing bulk and preventing pilling remain considerations.
Fleece doesn’t mend itself, but it offers a forgiving canvas for creativity and practicality in sewing.
With the right techniques, fleece can transform into cozy garments, blankets, and accessories, ensuring comfort and warmth while simplifying the sewing process for both beginners and experienced crafters alike.
Leave a Reply