Separating embroidery floss, a seemingly simple task is the crucial first step in many embroidery and cross-stitch projects. The process involves taking a skein of multi-stranded floss and transforming it into individual threads, ready to be used for intricate needlework.
While it may appear straightforward, the best way to separate embroidery floss can significantly impact the ease and quality of your stitching. This crucial preparation can determine whether your project proceeds smoothly or becomes tangled and frustrating.
In this exploration, we delve into the best way to separate embroidery floss and techniques to help you separate embroidery floss efficiently and effectively, ensuring that you start your creative journey with a solid foundation.

Best Way To Separate Embroidery Floss
Separating embroidery floss is a crucial step in preparing your threads for stitching. Here are the effective ways to do it:
Hand Separation:
The most common method involves gently pulling apart the six strands of embroidery floss one by one. Hold the floss near one end and slowly slide your fingers down, separating the strands as evenly as possible.
This method provides precise control over the number of strands you want to use and minimizes tangling.
Loop and Pull:
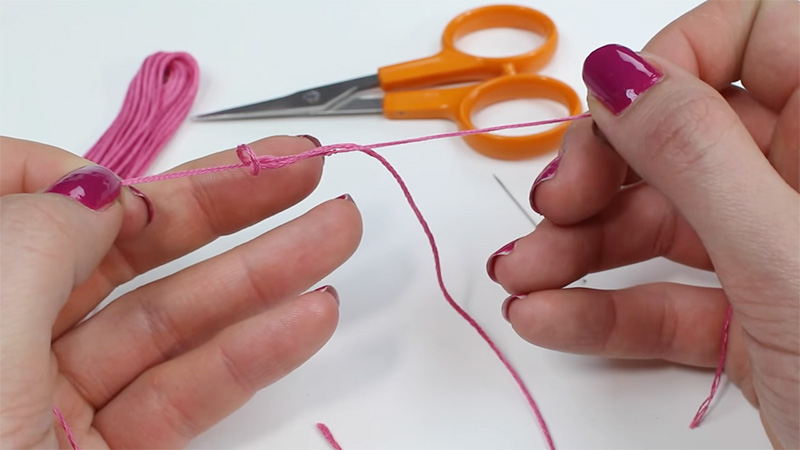
Another method involves forming a loop at one end of the floss and then pulling the individual strands through the loop. This creates separate strands without needing to handle each one individually.
It’s a quick and efficient way to separate multiple threads at once.
Threader Tool:
Some crafters use a specialized threader tool designed for separating embroidery floss. Insert the floss into the tool’s slot, and it will split the strands for you. This method is handy for those with dexterity issues or when working with many threads.
Scissor Snip:
For precision, you can snip off the desired number of strands at the end of the floss bundle with scissors. This method is efficient but requires careful counting to ensure you have the correct number of strands.
Floss Bobbins:
Wind each strand of floss onto separate floss bobbins. This method not only separates the strands but also keeps them organized and tangle-free. Bobbins are especially useful when working on larger embroidery projects with many colors.
Pre-Separated Floss:
Some embroidery floss brands offer pre-separated threads, where the strands are already separated and neatly arranged. While convenient, this option may limit your color choices.
Binder Clip Method:
Use a binder clip to hold the floss bundle together at one end. Then, gently pull out individual strands from the free end. This technique prevents the floss from tangling during separation.
Experiment with these methods to find the one that best suits your preferences and project needs. Separating embroidery floss properly ensures smoother stitching and cleaner results in your embroidery work.
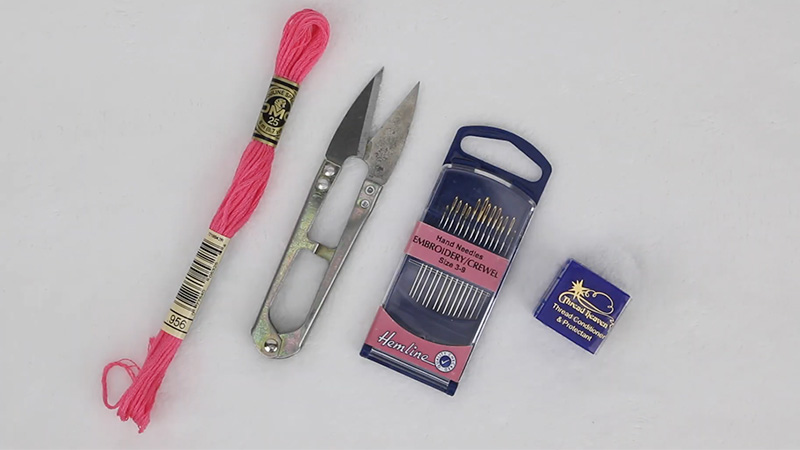
Supplies Needed for Separating Floss

Separating embroidery floss efficiently requires a few essential supplies to make the process smoother and more organized.
Here are the supplies you’ll need:
Embroidery Floss:
Of course, you’ll need the embroidery floss you plan to use for your project. Ensure you have the color and quantity you need before starting the separation process.
Scissors:
A good pair of embroidery or crafting scissors is essential for neatly trimming the floss ends. Sharp scissors make it easier to cut the strands evenly.
Floss Bobbins:
Floss bobbins are small, plastic or cardboard spools designed to wind and store separated embroidery floss strands. They help keep the threads organized and prevent tangling.
Bobbins often have a space to label the color number or code for easy reference.
Binder Clips:
Binder clips or large paper clips come in handy for holding the bundle of embroidery floss together at one end while you separate the strands. This prevents the floss from unraveling during the process.
Threader Tool (Optional):
A threader tool, sometimes called a floss threader or floss separator, can assist in quickly splitting the embroidery floss into individual strands. It’s particularly helpful for those who find hand separation challenging.
Storage Container:
Having a storage container or box to keep your separated floss bobbins organized is essential, especially when working on projects with multiple colors. Transparent containers allow you to see the color labels easily.
Labeling Supplies (Optional):
If your floss bobbins don’t come with a labeling space, consider using small stickers or adhesive labels to mark each bobbin with the corresponding color number or code.
This ensures you can quickly identify the colors during your embroidery project.
Gathering these supplies before you start separating your floss will make the process more efficient and enjoyable. With the right tools at hand, you can keep your embroidery threads organized and ready for your next stitching adventure.
What Can I Do With Excess Embroidery Floss?

Excess embroidery floss can be put to creative use rather than being wasted. Here are the practical and creative ways to utilize leftover embroidery floss:
Friendship Bracelets:
Create colorful and intricate friendship bracelets by braiding or knotting excess floss. These make thoughtful gifts for friends or can be sold or donated to charitable causes.
Tassels:
Craft tassels for keychains, bookmarks, or home decor using embroidery floss. They add a stylish and playful touch to various items and are simple to make by wrapping the floss around a cardboard template and tying it off.
Cross-Stitch or Embroidery Accents:
Use leftover floss to add decorative elements to your cross-stitch or embroidery projects. Create flowers, small motifs, or contrasting details to enhance your work.
Doll Hair:
If you enjoy making dolls or stuffed toys, embroidery floss can be used as hair. You can create intricate hairstyles and colors to personalize your creations.
Gift Wrapping:
Add a unique and handmade touch to gift wrapping by tying bows or wrapping excess floss around packages. It’s an eco-friendly and charming alternative to traditional ribbon.
Decorative Bookmarks:
Craft one-of-a-kind bookmarks by braiding or weaving multiple colors of embroidery floss. Personalize them with charms, beads, or tassels for an added flair.
Crafting and Home Decor:
Embroidery floss can be used for various crafting and home decor projects. Wind it around candles, create wall art by framing small embroidery pieces, or embellish lampshades, photo frames, and more.
Embracing the versatility of excess embroidery floss allows you to reduce waste while adding unique and handmade touches to your projects and everyday items. Get creative and explore new ways to incorporate these vibrant threads into your crafting endeavors.
How Many Strands Of Embroidery Floss Should You Use?

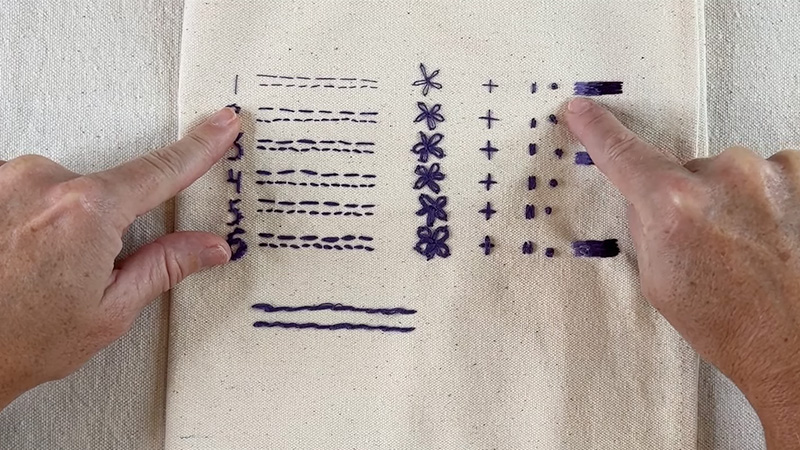
The number of strands of embroidery floss you should use depends on the desired effect, fabric type, and your personal preference.
Here are the necessary options:
Single Strand:
Using a single strand of embroidery floss creates delicate and fine details. It’s ideal for intricate designs, fine lettering, or when you want a subtle, understated appearance.
Two Strands:
Doubling up with two strands adds slightly more coverage and boldness to your stitches. It’s a versatile choice for most embroidery projects and provides a balanced combination of coverage and detail.
Three Strands:
Using three strands offers even more coverage and is suitable for medium-sized designs and lettering. It strikes a balance between detail and boldness, making it a common choice for various projects.
Four Strands:
Four strands provide substantial coverage, making them suitable for larger designs, filling areas, and creating bolder outlines. This strand count adds depth and texture to your embroidery.
Six Strands:
Using all six strands of a standard embroidery floss skein offers maximum coverage and boldness. It’s commonly used for large designs, appliqué, or when you want a prominent and textured appearance.
Variegated Floss:
Variegated floss is pre-dyed with color changes along its length. The number of strands used varies depending on the desired color transitions. Experiment with different strand counts to achieve your preferred effect.
Blending Colors:
For unique color blending effects, you can mix different strand counts and colors together. This technique allows you to create custom shades and textures within your embroidery work.
When choosing the number of strands for your embroidery project, consider the fabric’s thread count (higher counts may require fewer strands), the complexity of the design, and the effect you wish to achieve.
It’s often a good idea to experiment with a small test piece before starting your main project to ensure you’re happy with the chosen strand count and appearance.
FAQ
What is the best way to separate embroidery floss?
Separating embroidery floss is typically done by gently pulling apart the individual strands from the skein. Hold the floss near one end and slowly slide your fingers down, separating the strands evenly.
Alternatively, you can use a loop and pull method or a floss threader tool for efficient separation.
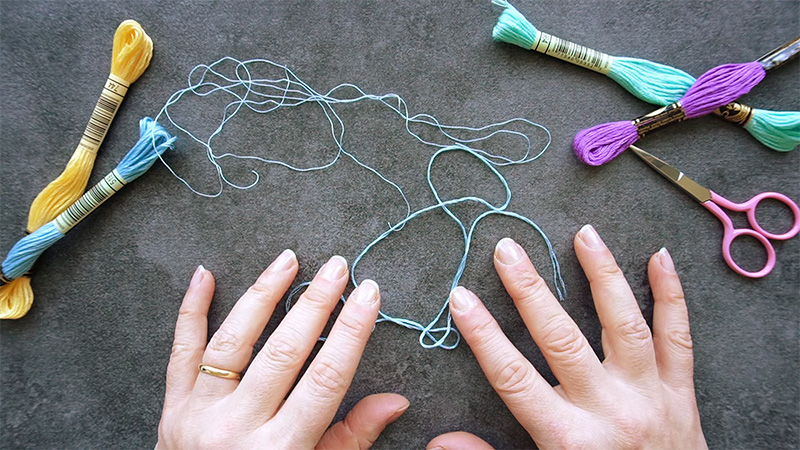
How do I prevent tangling while separating floss?
To avoid tangling, start by holding the floss taut and keeping it as straight as possible. Using a binder clip to secure the bundle’s free end can also help prevent unraveling and tangling during separation.
Are there tools designed for separating embroidery floss?
Yes, floss threader tools are available and designed to assist in quickly splitting the embroidery floss into individual strands. They can be particularly helpful for those who find hand separation challenging.
Can I use pre-separated embroidery floss?
Some embroidery floss brands offer pre-separated threads, which can save time and effort. However, this option may limit color choices compared to purchasing skeins of full floss.
How do I keep separated floss organized?
Wind each separated strand onto floss bobbins, label them with the corresponding color number or code, and store them in a container. This keeps your floss organized and ready for your embroidery projects.
Conclusion
The best way to separate embroidery floss may vary depending on your preferences and the specific project at hand.
Whether you opt for the traditional hand separation method or explore the convenience of loop and pull or threader tools, the key is to achieve neatly separated strands without damage or tangling.
Adequate preparation sets the stage for a seamless and enjoyable embroidery experience, allowing you to focus on the artistry of your stitches. Whichever method you choose, mastering the art of separating embroidery floss is a valuable skill that enhances your crafting journey, ensuring that each thread is ready to weave the tapestry of your creative vision.
So, with your floss neatly separated and organized, embark on your embroidery projects with confidence, knowing that your stitches will be as beautiful as your imagination allows.
Leave a Reply