Embroidered patches have long been a symbol of personal expression and style. They allow individuals to add a touch of individuality to their clothing, bags, and accessories, turning everyday items into unique statements.
However, the process of attaching these patches can be a mystery for many. Can you really iron them on? The answer is a resounding yes, but the key lies in understanding the right techniques and precautions to ensure a secure and stylish application.
In this guide, we will explore the art of ironing on embroidered patches, from selecting the right fabric to mastering the ironing process and caring for your personalized creations. Get ready to unleash your creativity and make a statement with every patch you apply.
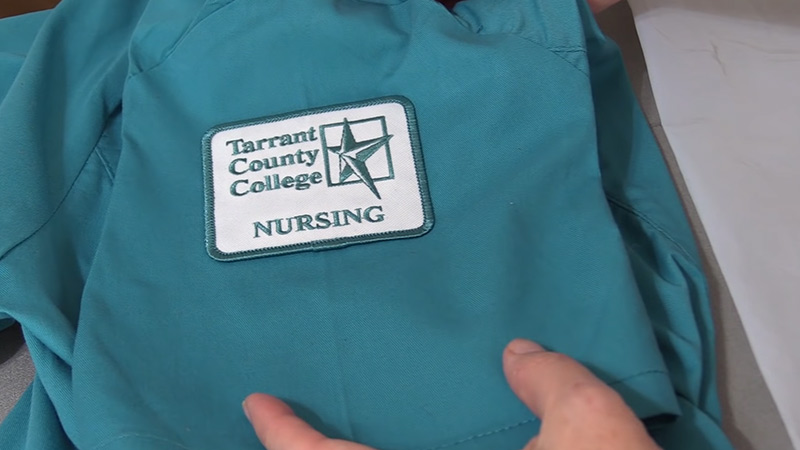
Can Embroidered Patches Be Ironed On?
Yes, embroidered patches can be ironed onto fabrics. First, ensure the fabric is compatible with heat, avoiding sensitive materials. Position the patch on a clean, smooth surface, preheat the iron to the fabric’s safe temperature, and use a thin cloth as a barrier.
Press the hot iron firmly over the patch for 30-60 seconds, avoiding movement to prevent shifting or smearing. Optionally, iron the patch’s backside for added security. Let the patch and fabric cool before wearing or washing.
Ensure the patch has heat-activated adhesive, trim excess fabric for longevity, and consider gentle washing methods. Removing iron-on patches may leave residue or damage fabric, so do so with care.
How to Iron on Embroidered Patches?
Embroidered patches are a fun and creative way to personalize your clothing and accessories, giving them a unique and stylish flair. Ironing on these patches is a simple and effective method, and with the right guidance, you can easily achieve a professional-looking result.
Here’s a step-by-step guide on how to iron on embroidered patches:
Materials You’ll Need
- An embroidered patch
- The garment or accessory to which you want to attach the patch
- An iron
- A thin cloth (such as a cotton pillowcase or a bandana)
- An ironing board or a flat, heat-resistant surface
- Measuring tools (a ruler or measuring tape) for precise placement
Step 1: Check Fabric Compatibility
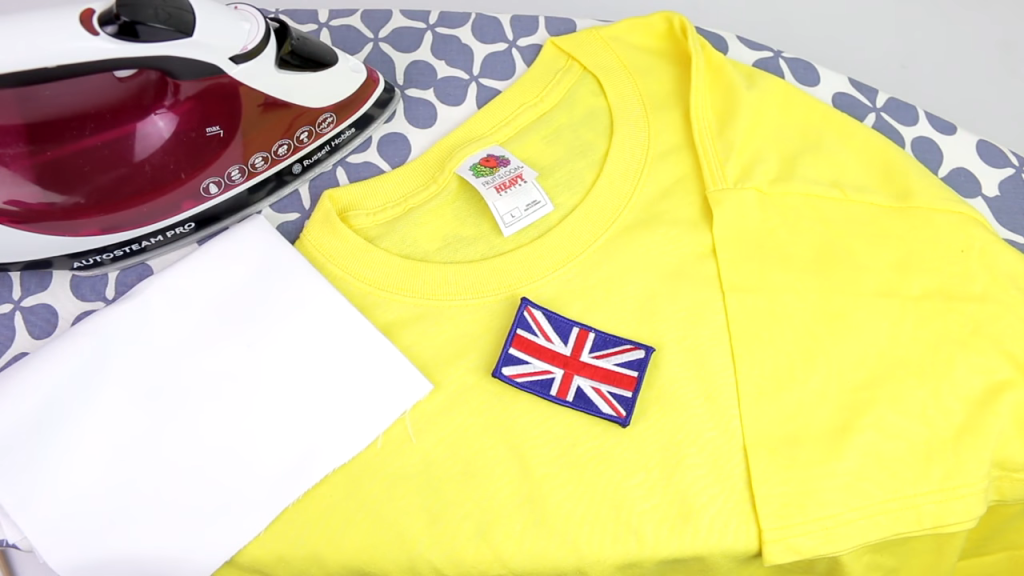
Before you start, make sure that the fabric of your garment or accessory is suitable for ironing. The best fabrics for iron-on patches are sturdy ones like denim, cotton, canvas, or polyester blends.
Delicate materials like silk, rayon, nylon, or leather should be avoided, as they may get damaged under the heat.
Step 2: Position the Patch
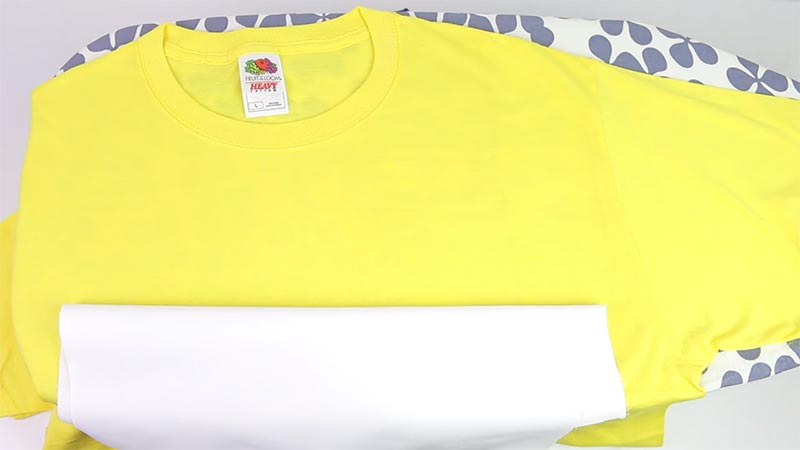
Choose the location where you want to place the patch. It’s crucial to ensure the area is clean, smooth, and free of wrinkles. Measuring tools can be helpful for achieving precise placement. Take your time to center the patch or align it with other features of the garment.
Step 3: Preheat Your Iron
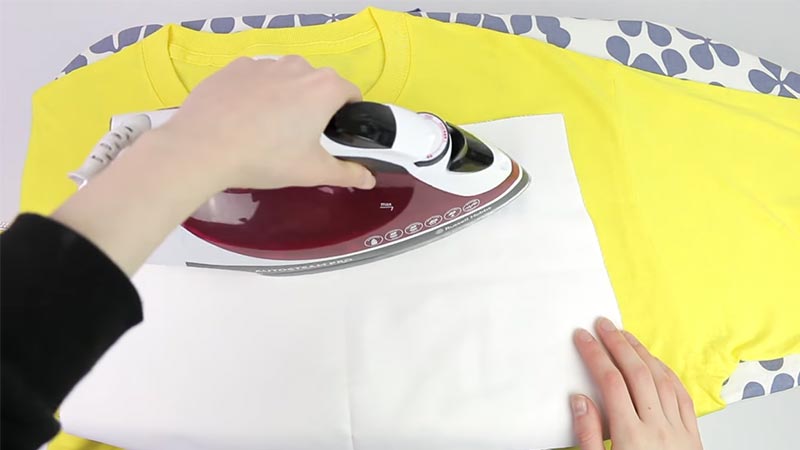
Set your iron to the appropriate temperature based on the fabric’s care label. It’s essential to avoid using the steam setting, as moisture can interfere with the adhesive on the patch. Aim for the highest temperature setting that is safe for the fabric.
Step 4: Protect the Patch
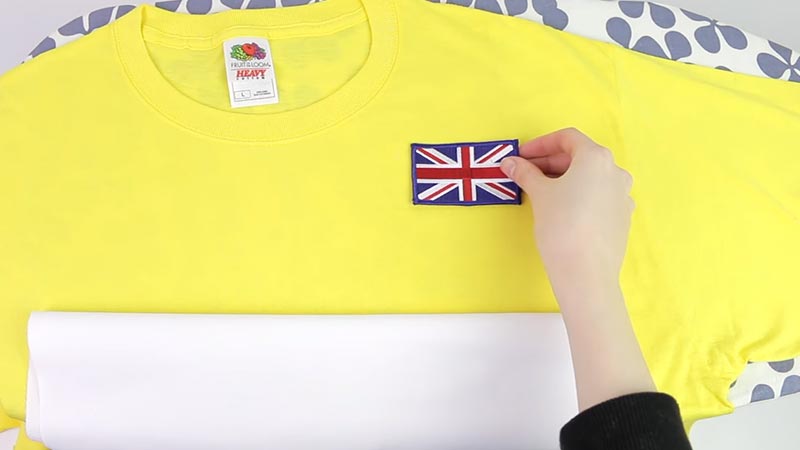
Place your garment on an ironing board or any flat, heat-resistant surface. Position the patch on the fabric with the embroidered side facing up and the adhesive side facing down.
Step 5: Cover with a Thin Cloth
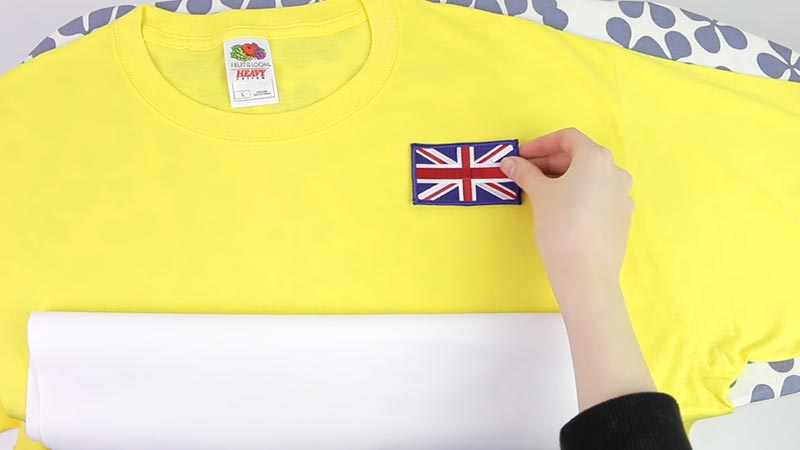
Cover the patch with a thin cloth, such as a cotton pillowcase, a bandana, or a piece of muslin. This cloth serves as a protective barrier, ensuring that the patch doesn’t come into direct contact with the hot iron.
Step 6: Apply Heat
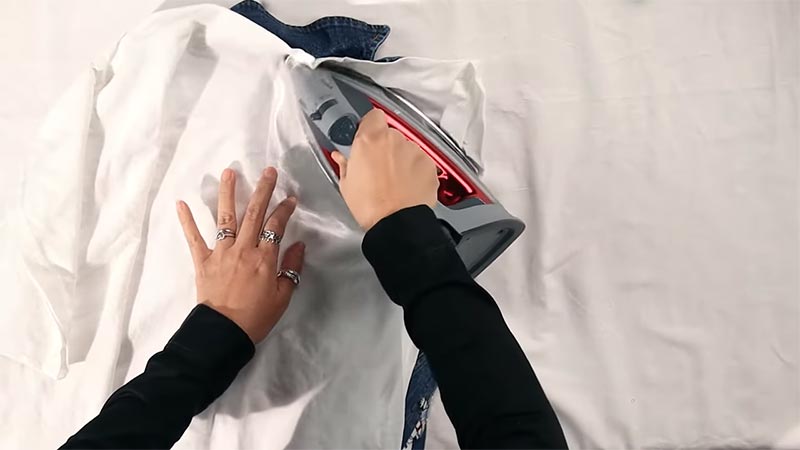
Press the hot iron firmly over the cloth-covered patch for about 30 to 60 seconds. It’s important not to move the iron around, as this can cause the patch to shift or the adhesive to smear. Apply steady, even pressure to ensure a secure bond.
Step 7: Optional Back Ironing (for added security)
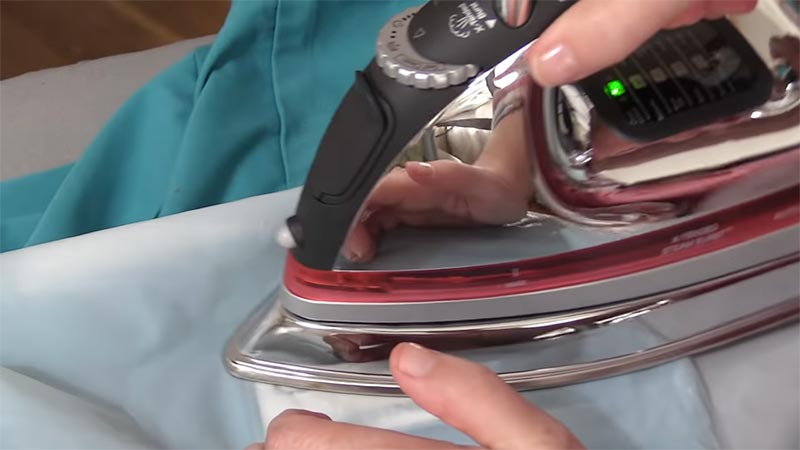
For extra durability, flip your garment inside out after ironing the front and iron the back of the patch for an additional 30 seconds. This step helps seal the adhesive and provides added security.
Step 8: Cool Down

After ironing, allow the patch and the fabric to cool down completely before wearing or washing the item. This cooling-down period allows the adhesive to solidify, ensuring a secure and long-lasting attachment.
Tips for Ironing on Embroidered Patches
Adding embroidered patches to your clothing or accessories is a fantastic way to personalize and style your items. To ensure a successful application, consider these valuable tips:
Choose the Right Fabric
Begin by selecting a fabric that is suitable for ironing. Sturdy materials like denim, cotton, canvas, and polyester blends work best. Delicate fabrics, such as silk or leather, should be avoided, as they can be damaged by heat.
Prepare the Surface
Ensure the area where you plan to attach the patch is clean and free of wrinkles. A smooth surface promotes a secure bond.
Check the Heat Setting
Refer to the care label on your fabric and set your iron to the appropriate temperature. Use the highest temperature the fabric can handle without scorching or melting.
Protect the Patch
Place the patch on the fabric with the adhesive side down. Cover it with a thin cloth, like a cotton pillowcase or a bandana. This barrier prevents direct contact between the patch and the hot iron.
Apply Even Pressure
When pressing the iron over the patch, apply even pressure for approximately 30 to 60 seconds. Avoid moving the iron around, as this can cause the patch to shift or smear.
Optional Back Ironing
For added security, flip your garment inside out and iron the back of the patch for an additional 30 seconds. This ensures thorough adhesive sealing.
Allow Adequate Cooling Time
Ensure both the patch and the fabric cool down completely before using or washing the item. Cooling helps in achieving a strong and lasting bond while preventing peeling.
Verify Adhesive Presence
Make sure your patch has heat-activated adhesive on the back. Patches without adhesive require sewing onto the fabric.
Trim Excess Fabric
Prior to ironing, trim any excess fabric or loose threads from the edges of the patch. This minimizes fraying and maintains a neat appearance.
Gentle Washing
When it’s time to wash your item, consider using a gentle cycle and turning it inside out to protect the patch. Hand washing or dry cleaning is even gentler on the patch.
Caution When Removing Patches
Removing an ironed-on patch can be challenging and may leave glue residue or damage the fabric. Only remove patches when necessary and do so with care.
FAQs
Can I Iron Embroidered Patches onto Any Fabric?
No, it’s essential to choose the right fabric. Sturdy fabrics like denim and cotton work well, while delicate materials like silk or leather should be avoided as they may get damaged.
What Happens If I Iron on a Patch to the Wrong Place?
Repositioning the patch after ironing is challenging. It’s best to take your time choosing the placement and using temporary pins or tape to preview it before ironing.
Can I Machine Wash Clothing with Ironed-On Patches?
Yes, you can machine wash, but use a gentle cycle and turn the garment inside out to protect the patch. Hand washing or dry cleaning is even gentler.
Can Embroidered Patches Be Ironed on Leather Items?
It’s not recommended to iron patches onto leather items, as the heat can damage the leather. Sewing patches onto leather is a better option.
How Long Should I Wait Before Using an Item with an Ironed-On Patch?
It’s advisable to wait until both the patch and the fabric have cooled down completely before wearing or using the item to ensure a secure bond.
To Recap
The world of embroidered patches offers a canvas for self-expression and style. The versatility of iron-on patches allows you to transform ordinary garments and accessories into personalized works of art.
By carefully selecting the right fabric, mastering the ironing process, and observing the proper precautions, you can ensure a successful and long-lasting attachment.
With patience and a creative touch, your clothing and accessories can become a reflection of your unique personality.
The ability to easily add, remove, or reposition patches grants you the freedom to adapt your style to suit your evolving tastes. So, embrace the art of ironing on embroidered patches and let your imagination run wild, turning the mundane into the extraordinary.
Leave a Reply