A well-maintained Cricut mat is the cornerstone of precise crafting. Over time, it’s common for these mats to lose their stickiness, leading to less-than-perfect cuts.
The good news is that rejuvenating your Cricut mat is a straightforward process that can breathe new life into this essential tool. In this guide, we’ll walk you through step-by-step instructions on how to clean your Cricut mat, removing debris and residue.
We’ll also explore methods to restore its stickiness, ensuring it’s ready for flawless cuts in your next creative project. With proper care, your Cricut mat will continue to deliver professional-quality results for countless crafting endeavors.
How to Clean Your Cricut Mat?
Cleaning your Cricut mat is an essential part of maintaining its stickiness and ensuring precise cuts with your Cricut cutting machine.
Here’s a step-by-step cleaning process for your Cricut mat:
Materials Needed:
- Cricut Mat in Need of Cleaning
- Lint Roller or Strong Tape
- Warm Water
- Mild Dish Soap
- Soft Bristled Brush or Sponge
- Rubbing Alcohol
- Paper Towels
- Plastic Wrap
- Spray Adhesive
Step-by-Step Cleaning Process:
Prepare Your Workspace
Choose a well-lit and well-ventilated area to work in. Lay down several layers of paper towels or a disposable tablecloth to create a clean surface. This will catch any debris or excess water during the cleaning process, making cleanup easier.
Remove Excess Debris
Using a lint roller or a piece of strong tape, gently press it onto the mat’s surface and then lift it off.
Repeat this process in different areas of the mat, especially focusing on spots where you notice a buildup of loose debris. Take your time to ensure you’ve removed as much loose material as possible.
Wash the Mat
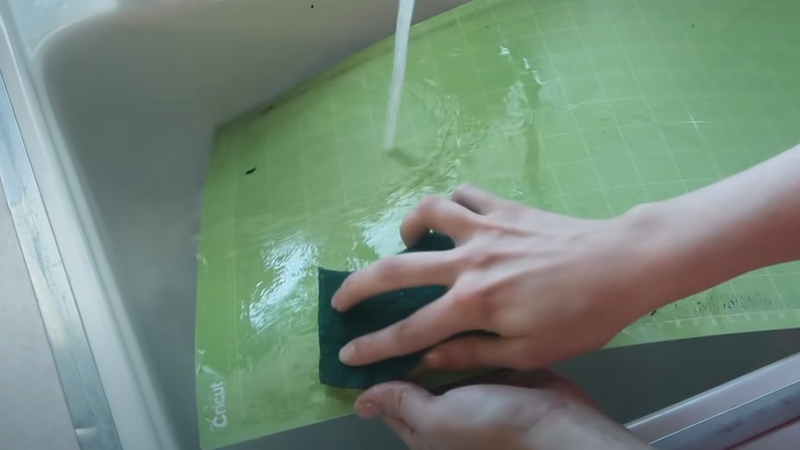
Fill a basin or sink with warm water. Add a few drops of mild dish soap to create a gentle cleaning solution. Submerge the mat in the soapy water, ensuring it’s fully covered. Allow it to soak for a few minutes to loosen any stubborn residue.
Using a soft-bristled brush or sponge, gently scrub the entire surface of the mat. Pay extra attention to areas that may have more significant buildup.
Rinse and Pat Dry
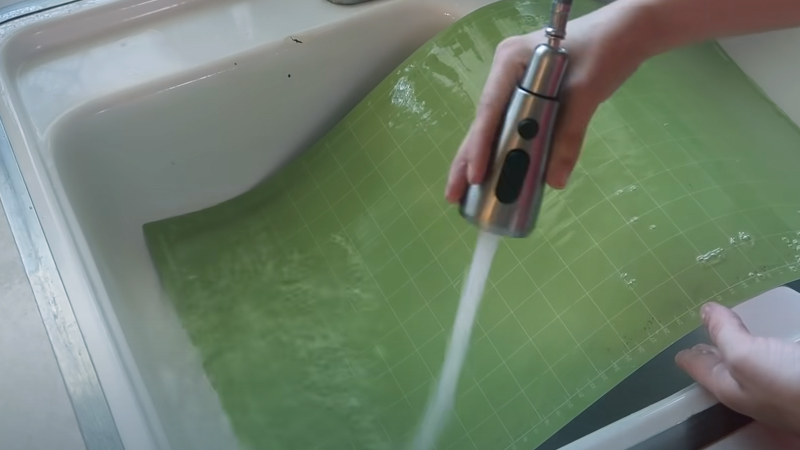
After scrubbing, rinse the mat thoroughly with clean water to remove any soap residue. Hold it under running water or gently swish it in a basin of clean water until all traces of soap are gone.
Once rinsed, carefully pat the mat dry with a clean towel or paper towel. Be sure to remove all excess water to prevent warping.
Apply Rubbing Alcohol
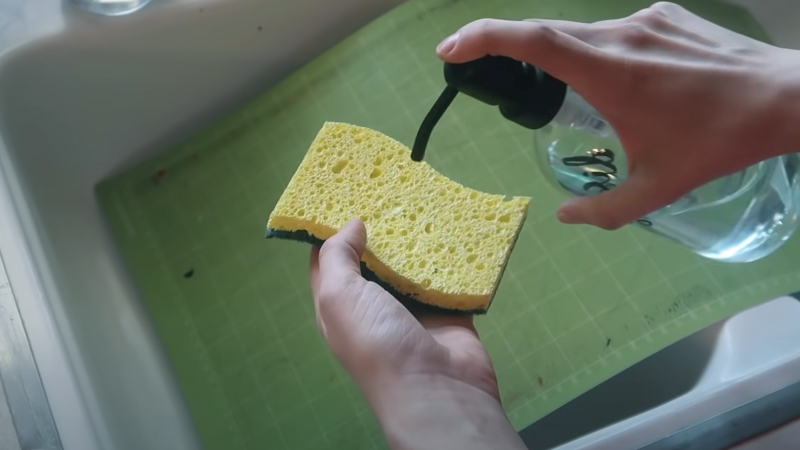
Pour a small amount of rubbing alcohol onto a clean cloth or paper towel. Gently rub the surface of the mat in a circular motion.
This step is crucial for removing any lingering residue and for revitalizing the mat’s stickiness. Be careful not to use too much alcohol, as it can dry out the surface.
Let it air-dry
Place the mat in a clean, dry area where it can air dry completely. This process allows the alcohol to evaporate fully, leaving the surface clean and slightly tacky. Ensure it’s completely dry before moving on to the next step.
Test the Stickiness
Once the mat is thoroughly dry, perform a stickiness test. Press a piece of scrap material onto the mat’s surface.
When it adheres well and holds in place, your mat is ready to use. If it’s not as sticky as you’d like, consider proceeding with the optional steps for enhancing stickiness.
How to Restore Cricut Mat When Make It Sticky Again?
Restoring a Cricut mat to its original stickiness is a crucial step in ensuring precise cuts for your crafting projects.
Here’s a step-by-step guide on how to rejuvenate a Cricut mat and make it sticky again:
Materials Needed:
- Rubbing Alcohol
- Lint-Free Cloth or Paper Towel
- Spray Adhesive
Clean the Mat
Ensure that your Cricut mat is thoroughly clean before attempting to restore its stickiness. This means removing any loose debris, dirt, or residue that may have accumulated from previous projects.
Follow the cleaning process outlined in the previous response to make sure the mat is in optimal condition for the restoration process.
Apply Rubbing Alcohol
Pour a small amount of rubbing alcohol onto a lint-free cloth or paper towel. Gently rub the surface of the mat in a circular motion.
The rubbing alcohol serves as a powerful solvent that helps break down any oils, adhesives, or residues that may be hindering the mat’s stickiness. Take care not to oversaturate the mat—use just enough to cover the surface evenly.
Allow the Alcohol to Evaporate
After applying rubbing alcohol, it’s crucial to allow the mat to air dry. This step is vital to ensure that all traces of the alcohol evaporate completely. The alcohol helps in removing any remaining residues and preps the surface for the restoration process.
Test the Stickiness
Before moving on to additional steps, perform a stickiness test. Press a scrap material onto the mat’s surface.
When it adheres well and holds in place, your mat is ready to use. If it’s not as sticky as you’d like, proceed with the optional steps for enhancing stickiness.
Use Spray Adhesive
When the rubbing alcohol alone doesn’t restore the stickiness to your satisfaction, you can consider using a light coat of spray adhesive specifically designed for cutting mats.
- Choose the Right Spray Adhesive: Select a spray adhesive that is compatible with cutting mats. Look for one that provides a temporary bond, as you want to be able to remove your materials easily after cutting.
- Apply the Spray Adhesive: Spray a light, even coat of adhesive over the surface of the mat. Be sure to hold the can at a consistent distance from the mat to ensure an even application.
Allow to Dry and Test the Stickiness
Follow the manufacturer’s instructions for drying time. Typically, it takes a few minutes for the adhesive to set.
Once the adhesive has dried, perform another stickiness test. Press a scrap material onto the mat. If it adheres well, your mat is ready to use.
Rejuvenating Options for Different Mat Types
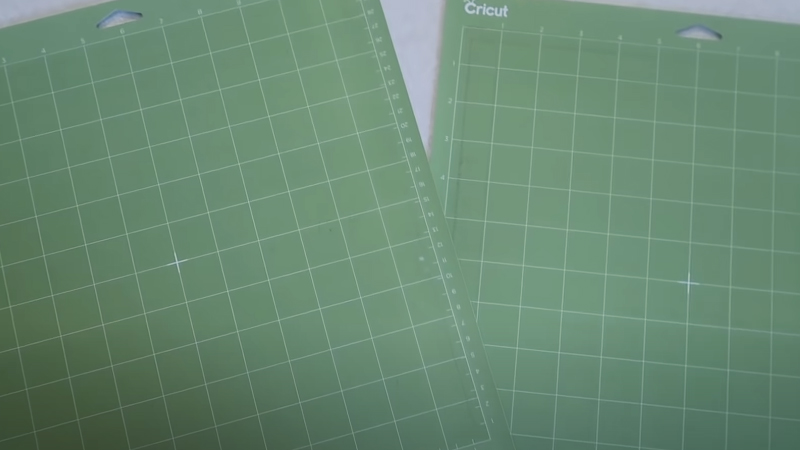
Cricut mats come in different varieties to accommodate various crafting materials and projects.
Over time, these mats may lose their stickiness due to usage and the nature of the materials they come into contact with.
Here are rejuvenation options for different Cricut mat types to help you maintain their usability and precision.
StandardGrip Mat
The StandardGrip mat is versatile and suitable for a wide range of materials including paper, cardstock, vinyl, and more.
- Rubbing Alcohol: Follow the general steps outlined previously, applying rubbing alcohol to clean the mat’s surface. This can help remove any residue and restore some stickiness.
- Spray Adhesive: When the rubbing alcohol doesn’t provide enough stickiness, consider using a light coat of spray adhesive specifically designed for cutting mats.
LightGrip Mat
The LightGrip mat is designed for more delicate materials like light cardstock, vellum, and thin patterned paper.
- Rubbing Alcohol with Caution: Use rubbing alcohol sparingly on a LightGrip mat, as it’s more sensitive to moisture. Apply a small amount and ensure it’s fully dried before testing.
- Adhesive Residue Remover: Use a gentle adhesive residue remover designed for delicate materials. Apply a small amount and wipe it off with a clean cloth. Test the stickiness after it dries.
StrongGrip Mat
The StrongGrip mat is suitable for heavy materials like chipboard, leather, and fabric with stiff backing.
- Rubbing Alcohol for Stubborn Residue: Use rubbing alcohol to clean a StrongGrip mat. For stubborn residue, a bit more pressure might be needed, but take care not to damage the mat’s surface.
- Spray Adhesive with Caution: When the mat still lacks sufficient stickiness, consider using a light coat of spray adhesive designed for cutting mats.
FabricGrip Mat
The FabricGrip mat is specially designed for use with fabrics and other soft materials.
- Lint Roller or Tape: Use a lint roller or strong tape to remove any loose fabric fibers or debris from the surface of the mat. This will help ensure a clean surface for cutting fabric.
- Wash and Air Dry: When the FabricGrip mat has become less sticky due to fabric fibers, you can gently wash it with warm water and mild dish soap.
- Spray Adhesive for Fabrics: When the stickiness still needs improvement, consider using a fabric-friendly spray adhesive. Apply a light coat according to the manufacturer’s instructions, and allow it to dry before using the mat.
Mats with Specialized Coatings
Some Cricut mats come with specialized coatings to better grip specific materials.
- Clean with Mild Solvents: For mats with specialized coatings, avoid using harsh chemicals. Instead, clean with a mild solvent recommended by the manufacturer. Ensure it’s compatible with the coating and follow usage instructions carefully.
- Avoid Rubbing Alcohol: Avoid using rubbing alcohol on mats with specialized coatings, as it may interfere with the coating’s effectiveness.
- Consult Manufacturer Guidelines: Always refer to the manufacturer’s guidelines for specific care instructions for mats with specialized coatings. They may provide specific recommendations for rejuvenation.
Customizing Stickiness with Masking Tape
For crafters who prefer a more customizable approach to stickiness:
- Apply Masking Tape Strips: When you want to adjust the stickiness of your mat, you can apply strips of masking tape to specific areas. This allows for a tailored level of stickiness for different materials.
- Adjust as Needed: Experiment with different amounts of masking tape to achieve the desired level of stickiness. Remember to remove and replace the tape as needed to maintain the custom stickiness level.
- Regular Cleaning: Continue to clean the mat regularly to ensure optimal performance and longevity.
Avoiding Common Mistakes That Reduce Stickiness
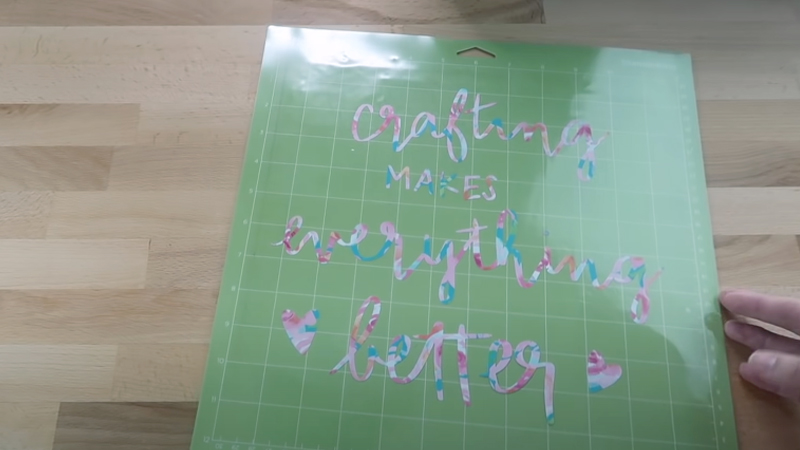
Avoiding common mistakes in caring for your Cricut mat is crucial for maintaining its stickiness and ensuring precise cuts.
Here are some tips to help you avoid these pitfalls:
Excessive Use of Cleaning Agents
- Mistake: Using harsh chemicals or excessive amounts of cleaning agents can strip the mat of its adhesive properties.
- Avoidance: Stick to mild dish soap or rubbing alcohol for cleaning. Use them in moderate amounts and ensure thorough rinsing.
Over-Saturating the Mat
- Mistake: Allowing the mat to become too wet during cleaning can lead to warping and reduce stickiness.
- Avoidance: Use a damp cloth or sponge rather than soaking the mat. Pat dry thoroughly after cleaning to remove excess moisture.
Using Incorrect Cleaning Tools
- Mistake: Using abrasive scrubbers or brushes with stiff bristles can damage the surface of the mat.
- Avoidance: Use a soft-bristled brush or a gentle sponge to clean the mat. Avoid any tools that could scratch or harm the surface.
Not Allowing the Mat to Dry Completely
- Mistake: Rushing to use the mat before it’s fully dry after cleaning can lead to poor adhesion.
- Avoidance: Always allow the mat to air dry completely before using it. This ensures that any residual moisture or cleaning agents have evaporated.
Applying Excessive Pressure
- Mistake: Pressing too hard when cutting materials can cause them to become embedded in the mat, reducing stickiness over time.
- Avoidance: Use the appropriate cutting settings for your material, and avoid excessive force when loading and unloading the mat.
Using Materials with Residue
- Mistake: Cutting materials with excess residue or debris can transfer it onto the mat, reducing stickiness.
- Avoidance: Always make sure your materials are clean and free from debris before placing them on the mat. Use a lint roller or tape if necessary.
Storing the Mat Improperly
- Mistake: Storing the mat with the adhesive side exposed can lead to dust and debris settling on it, reducing stickiness.
- Avoidance: When not in use, cover the adhesive side of the mat with the included plastic cover or a clean sheet of plastic wrap to protect it from dust and debris.
Neglecting Regular Cleaning and Maintenance
- Mistake: Failing to clean the mat regularly allows residue to build up, decreasing its stickiness over time.
- Avoidance: Make it a habit to clean your mat after each use, and perform a deeper cleaning when needed.
Storage Tips for Longevity
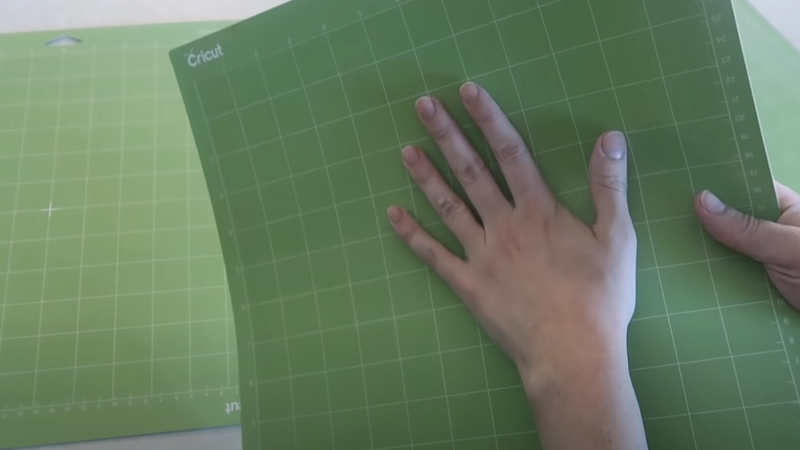
Proper storage of your Cricut mats is essential to extend their longevity and maintain their stickiness.
Here are some storage tips to keep your Cricut mats in excellent condition:
Use the Protective Cover
Cricut mats typically come with a protective cover. Always use it to shield the adhesive surface from dust, debris, and potential damage when not in use.
When your mat doesn’t come with a cover, you can use plastic wrap or purchase a separate protective cover designed for Cricut mats.
Clean Before Storage
Before storing your mats, make sure they are clean and free of any residue or debris from your last project. Follow the cleaning steps mentioned earlier to ensure the mat is in optimal condition for storage.
Avoid Sunlight and Extreme Temperatures
Store your Cricut mats in a cool, dry place away from direct sunlight and extreme temperatures. Exposure to heat or prolonged sunlight can cause the adhesive to degrade and reduce stickiness.
Flat Storage
Store your mats flat rather than rolled up or folded. Storing them flat helps prevent warping, which can occur if the mats are bent or creased.
Use a Clean Surface
When placing your mats on a surface for storage, ensure that the surface itself is clean. Avoid dusty or dirty areas that could transfer debris to the adhesive surface.
Keep Mats Separated
When you need to stack multiple mats for storage, place a sheet of wax paper or parchment paper between them to prevent the adhesive surfaces from sticking together. This will help maintain their stickiness.
Label Your Mats
When you have multiple mats of the same type, consider labeling them with a marker or tape to easily identify which one you need for your project.
Regularly Rotate Mats
When you have mats that you use less frequently, periodically rotate them into use to prevent one mat from bearing the brunt of wear and tear.
Replace Protective Covering
When the protective cover that came with your mat becomes damaged or loses its effectiveness, replace it with a new one or use plastic wrap to provide a barrier against dust and debris.
FAQS
How often should I clean my Cricut mat?
It’s recommended to clean your Cricut mat after each use to remove debris and maintain its stickiness.
Can I use any type of soap for cleaning the mat?
It’s best to use mild dish soap for cleaning. Harsh chemicals can damage the mat’s surface.
Can I use rubbing alcohol on all types of Cricut mats?
While rubbing alcohol is generally safe, use it with caution on mats with specialized coatings. Always refer to manufacturer guidelines.
Is it necessary to let the mat air dry after cleaning?
Yes, allowing the mat to air dry completely ensures that all moisture, including alcohol, has evaporated, leaving the surface clean and slightly tacky.
Can I use a hairdryer to speed up the drying process?
It’s not recommended as excessive heat can potentially damage the mat. Air drying is the safest method.
To Recap
Reviving a Cricut mat’s stickiness is a gratifying process, and with the right care, it can serve you for numerous projects to come.
By following the steps outlined in this guide, you’ve learned how to properly clean the mat, removing debris and residues that hinder precision.
Additionally, we’ve explored techniques to restore its stickiness, ensuring impeccable cuts. Remember, regular maintenance is key to prolonging the life of your Cricut mat.
With a clean, sticky surface, you’re equipped to tackle intricate designs and bring your creative visions to life. Embrace this newfound knowledge, and let your crafting endeavors flourish with every precise cut.
Leave a Reply