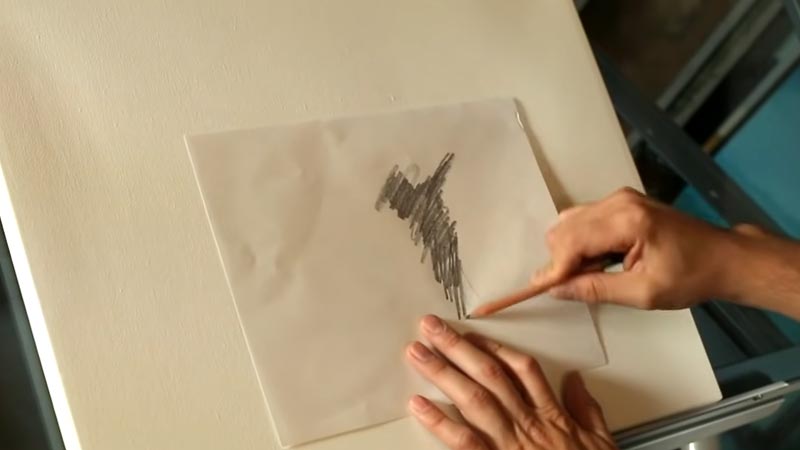
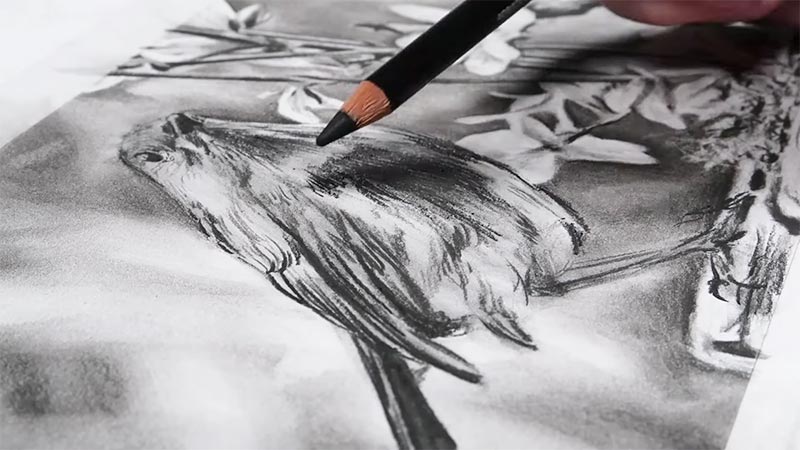
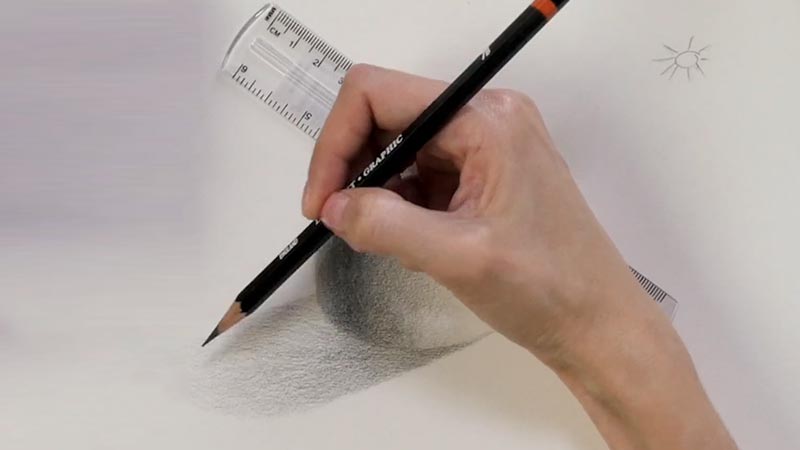
The practice of sketching on canvas with a pencil before applying paint is a foundational technique in the realm of visual arts. This preliminary step is a crucial bridge between the initial concept and the final masterpiece.
Artists employ this method to plan, refine, and establish the fundamental elements of their composition. The pencil’s precision allows for intricate detailing, shading, and erasing, ensuring a well-balanced and aesthetically pleasing artwork.
This preparatory sketch acts as a guiding framework, providing a roadmap for the subsequent layers of paint.
It is a versatile approach that seamlessly integrates drawing and painting techniques, facilitating the creation of visually captivating and harmonious art pieces.

Can You Draw on Canvas With Pencil Before Painting?
Yes, you can draw on canvas with a pencil before painting. Drawing with a pencil on canvas before painting is common among artists, especially those who work with various painting mediums such as acrylics, oils, or even watercolors.
This preparatory step serves several essential purposes:
Composition and Planning
Drawing with a pencil on canvas allows artists to explore different arrangements of elements within their artwork.
This initial sketch serves as a roadmap, helping the artist determine the placement of objects, figures, and other elements.
Artists can experiment with proportions, perspectives, and overall layout, ensuring a balanced and visually appealing composition.
Detail Work
Pencils offer precision and control, making them ideal for adding intricate details. Artists can use fine-tipped pencils to outline specific features, create precise edges, or add texture to certain areas.
This level of detail can be challenging to achieve directly with paint, making the pencil an invaluable tool for precision work.
Erasing and Correcting
The ability to easily erase and make corrections is a significant advantage of using a pencil.
If an artist encounters a mistake or wants to make alterations to the initial sketch, they can do so without compromising the canvas or the underlying layers of paint. This flexibility minimizes frustration and allows for a smoother creative process.
Value and Shading
Pencils enable artists to establish a range of values within their artwork. By varying the pressure applied to the pencil, artists can create gradations of light and shadow, enhancing the three-dimensional quality of the subject.
This preliminary shading helps set the tone for the painting process, providing a guide for applying paint.
Guideline for Paint
The pencil lines serve as a roadmap for applying paint. Artists can use them as reference points to ensure accuracy and precision during the painting stage.
This is particularly beneficial when working on complex or detailed pieces, as it helps maintain the intended proportions and placement of elements.
Underpainting
Some artists choose to incorporate the pencil sketch into their underpainting technique. This involves applying a thin layer of paint over the pencil lines, establishing the initial color palette and tonal values.
The underpainting provides a foundation for subsequent layers of paint, adding depth and richness to the final artwork. It can be particularly effective in creating a sense of luminosity and depth in the finished piece.
Common Mistakes and How to Avoid Them

Artistic endeavors can be both exciting and challenging, and painting is no exception.
Whether you’re a beginner or an experienced artist, it’s essential to be aware of common mistakes that can affect the quality of your artwork.
Here, we’ll explore some of these mistakes and provide insights on how to avoid them:
Skipping the Sketching Stage
Neglecting the sketching stage can lead to misproportioned subjects and a lack of visual coherence. Take your time during the sketching phase.
Pay attention to proportions, perspective, and the overall arrangement of elements. A well-planned sketch is a solid foundation for the rest of your painting process.
Neglecting Surface Preparation
Failing to prime your canvas properly can result in issues like paint absorption, uneven textures, and a less professional finish.
Apply a thin, even coat of gesso to your canvas before you begin painting. This primes the surface, providing a consistent texture and preventing the paint from soaking into the fabric. It’s a crucial step for achieving vibrant and long-lasting results.
Using Poor Quality Materials
Low-quality materials can limit your ability to achieve desired effects and compromise the longevity of your artwork.
Invest in artist-grade paints, brushes, and canvases. Quality materials ensure better color saturation, smoother application, and a more professional finish.
While they may cost more initially, they ultimately contribute to your work’s overall quality and durability.
Overloading the Brush
Applying too much paint to your brush can lead to imprecise and messy brushstrokes, especially in fine details.
Load your brush with the appropriate paint for the task at hand. Practice controlling the amount of paint on your brush to achieve the desired texture, coverage, and level of detail.
Neglecting Color Mixing
Ignoring color theory and not understanding how colors interact can result in unintended or muddy color combinations.
Study color theory and practice mixing colors to achieve your desired hues. Start with a limited palette and experiment to understand how different pigments interact to create the desired shades.
Impatient Drying Time
Rushing the drying process can cause colors to blend unintentionally, leading to muddy or blurred areas, especially in wet-on-wet techniques.
Allow each layer of paint to dry thoroughly before applying the next. Consider using a drying medium if you’re working with acrylics or want to speed up drying. This ensures that each layer remains distinct and the colors stay true.
Overworking the Painting
Continuously revising and overworking a painting can lead to a loss of freshness, spontaneity, and a muddied appearance.
Know when to step back and assess your work. Sometimes, less is more. Avoid the temptation to rework areas constantly. Trust your instincts and remember that a few well-placed brushstrokes can often convey more than excessive detail.
Effective Methods for Preventing Pencil Marks When Painting

Preventing pencil marks from showing through in your painting requires a combination of techniques and careful handling.
Here are some effective methods to ensure your pencil marks remain inconspicuous:
Use Light, Thin Lines
When sketching your initial composition, use a light touch with the pencil. Thin, delicate lines are less likely to show through multiple layers of paint.
Choose Hard Pencils
Select pencils with harder leads, such as H or 2H. These produce lighter marks that are easier to cover with paint. Avoid soft pencils (B or 2B) as they can leave darker, more visible lines.
Erase Gently
Before painting, review the pencil lines with a soft eraser, such as a kneaded eraser. Be gentle to avoid smudging or damaging the canvas.
Apply a Fixative
Spray a light coat of fixative over the pencil lines. This helps seal the graphite and prevents it from mixing with the paint. Make sure to use a workable fixative if you plan to make adjustments later.
Prime the Canvas
Apply a thin layer of gesso to the canvas before starting your painting. This creates a barrier that reduces the likelihood of the pencil marks seeping through the paint layers.
Work in Layers
Start with a thin underpainting layer and gradually build up the paint. This allows you to cover the pencil lines progressively while maintaining control over the opacity of your colors.
Use Opaque Paints
Consider using opaque paints like acrylics or gouache if pencil marks remain visible. These types of paints provide better coverage and can effectively hide pencil lines.
Blend and Feather Edges
When painting over pencil lines, use a soft brush and gentle strokes to blend and feather the edges of the paint. This helps seamlessly transition from the painted areas to the pencil lines.
Limit Pressure on Pencil
When making adjustments or adding details with the pencil, apply minimal pressure. This reduces the indentation made by the pencil and makes it easier to cover with paint.
FAQS
Can I draw on canvas with a regular pencil before painting?
Yes, you can use a standard graphite pencil to sketch or draw on canvas before applying paint.
Do I need to prepare the canvas in any special way before drawing with a pencil?
It’s advisable to prime the canvas with gesso before drawing. This provides a smoother surface and prevents the pencil from being absorbed into the canvas.
Will the pencil marks show through the paint after I’m done painting?
Pencil marks can sometimes show through if not properly addressed. Using light lines, sealing the pencil with a fixative, and layering paint can help minimize their visibility.
Can I erase pencil marks on the canvas if I make a mistake while drawing?
Yes, you can erase pencil marks on the canvas, but be gentle to avoid damaging the canvas. Kneaded erasers or vinyl erasers are suitable for this purpose.
What type of pencil should I use for drawing on canvas before painting?
Harder pencils like H or 2H are recommended. These produce lighter marks that are easier to cover with paint and are less likely to smudge.
To Wrap Up
The act of sketching on canvas with a pencil prior to painting is an essential technique in the realm of visual arts. This preliminary step empowers artists to plan, refine, and establish the foundation of their compositions.
It allows for precise detailing, shading, and erasing, ensuring a well-balanced and aesthetically pleasing artwork.
The pencil sketch is a guiding framework for the subsequent painting process, aiding in accuracy and proportionality.
By utilizing this versatile tool, artists seamlessly transition from the initial concept to the vibrant, layered depths of a finished masterpiece, showcasing the seamless integration of drawing and painting techniques in pursuing artistic excellence.
Leave a Reply