Discover the captivating world of resin art as we explore the question: Can you put printed paper in resin? This innovative technique transforms printed images into stunning, durable creations.
From preserving cherished photographs to incorporating intricate designs, embedding printed paper in resin opens up a realm of creative possibilities.
In this process, the choice of paper, meticulous preparation, and thoughtful resin application are crucial for achieving a professional finish.
Join us on a journey where vibrant colors, intricate details, and glossy finishes converge, merging traditional prints with the contemporary allure of resin art.
Explore the steps and considerations that bring printed paper to life within the captivating embrace of resin.

Can You Put Printed Paper in Resin? Can You Put a Printed Picture in Resin?
Yes, you can put printed paper in resin. However, it must be prepped and sealed before embedding it in resin.
There are several ways to prep paper for resin, including using a spray sealer for photos, Ultra Seal for sticker paper and cardstock, and clear drying glue.
Choosing the right type of paper for resin projects is important, such as high-quality paper that is not too thin or thick.
The paper must be sealed with a barrier layer, such as a sealer spray, decoupage glue, or acrylic paint, to prevent ink or carbon residue from bleeding into the resin.
Using a smooth surface when pouring resin onto the paper is also recommended to prevent any uneven patches or brush strokes.
How to Put Paper in Resin?
Embedding printed paper in resin can be a creative and visually appealing way to preserve and showcase images in various art and craft projects.
Here’s a more detailed exploration of the process:
Preparation
Choosing the right paper is crucial for a successful resin project. Opt for high-quality paper that is not too thin, as it may become too fragile, nor too thick, as it might create challenges during the resin pouring process.
Consider the intended use of the final piece when selecting the paper to ensure it aligns with the desired aesthetic and functionality.
Sealing the Paper

Selecting the appropriate sealer is essential to prevent ink bleeding and maintain the clarity of the resin. For photographs, a spray sealer designed for photos is recommended.
For sticker paper and cardstock, Ultra Seal is often a suitable choice. Clear-drying glue, decoupage glue, or acrylic paint can also be effective sealers, depending on the type of paper being used.
Thoroughly coat the paper with the chosen sealer, allowing it to dry completely before moving on to the resin application.
Choosing the Right Sealer
Consider the characteristics of the printed material when choosing a sealer. Different types of paper may require specific sealers to achieve optimal results.
Following the manufacturer’s recommendations and performing a small-scale test to ensure compatibility is essential.
Testing the sealer on a small paper section helps identify any adverse reactions or unexpected outcomes before committing to the entire project.
Application of Resin

Pouring resin onto the paper requires a deliberate and careful process. Use a smooth surface for pouring to achieve an even and bubble-free result.
Pour the resin gradually, ensuring complete coverage over the entire surface. This step demands patience to prevent the formation of air bubbles, which can compromise the transparency and overall quality of the resin.
Carefully inspect for any trapped air bubbles and remove them using a heat gun or other suitable tool.
Curing Process
The curing process is crucial for the resin to harden and achieve its final, transparent state. Follow the manufacturer’s instructions regarding the curing time and environmental conditions.
Avoid disturbances or dust during this phase to ensure a flawless finish. Patience is key, as rushing this step can lead to uneven curing or other imperfections.
Finishing Touches
After the resin has fully cured, the piece can be refined for a polished and professional appearance. Sanding any rough edges and polishing the surface enhances the overall aesthetic.
During this step, maintain the resin’s clarity and achieve a smooth, glossy finish that showcases the embedded printed paper.
Considerations
While the process of embedding printed paper in resin offers versatility and creative potential, it’s essential to consider the compatibility of materials.
Certain inks or printing methods may not react well with resin, leading to unintended consequences. Small-scale testing is a valuable practice to identify and address any issues before committing to larger projects.
Can You Put a Printed Picture in Resin?

Yes, you can put a printed picture in resin, resulting in stunning and durable art pieces.
The process involves encapsulating the printed image within transparent resin layers, preserving and protecting it for a unique and glossy finish.
Here’s a detailed guide on how to put a printed picture in resin:
Materials Needed:
- High-quality printed picture
- Epoxy resin (or any clear casting resin)
- Mixing cups and stir sticks
- Resin mold or a flat surface with a barrier
- Sealer (spray sealer for photos, clear-drying glue, or decoupage glue)
- Blowtorch or heat gun (for removing air bubbles)
- Sandpaper (for finishing touches)
Steps:
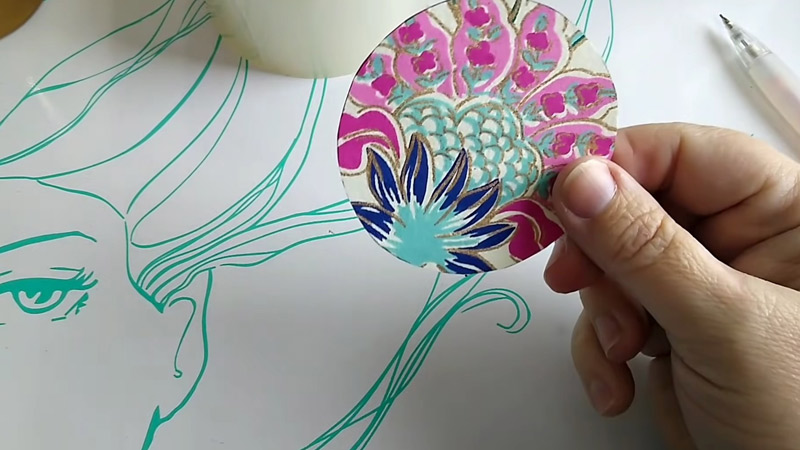
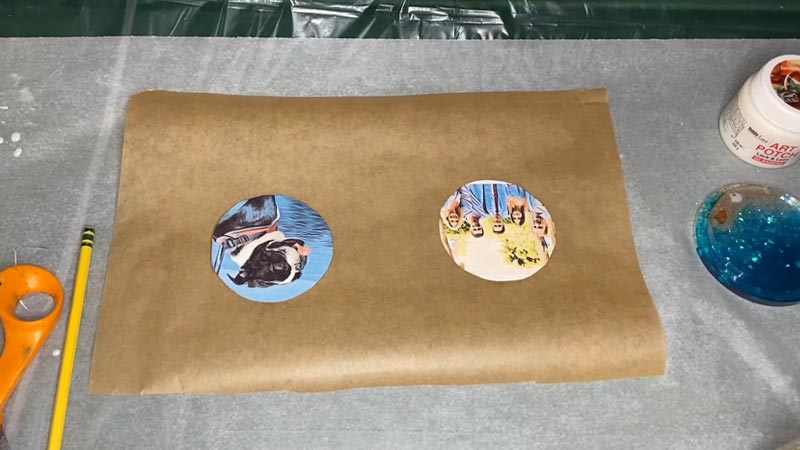
Select the Right Printed Picture
Opt for a high-resolution image with vibrant colors and sharp details when selecting a printed picture for resin embedding.
The quality of the printed picture significantly influences the final result. Ensure that the ink used in the printing process is compatible with resin to prevent any bleeding or fading during encapsulation.
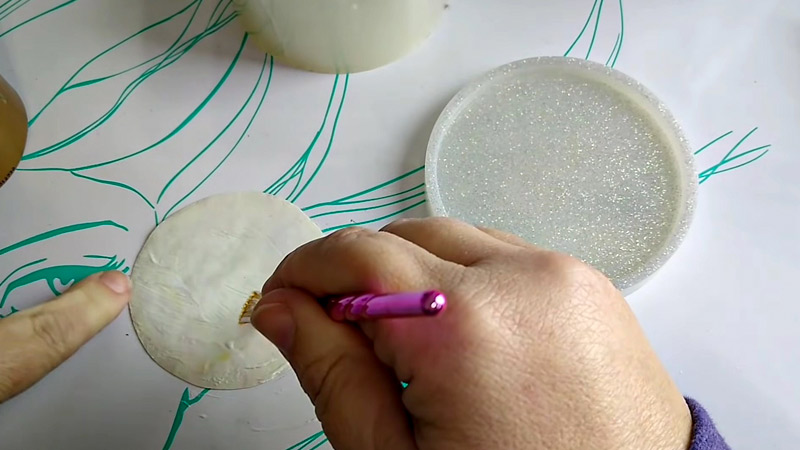
Seal the Printed Picture
After selecting the appropriate printed picture, the next crucial step is sealing it to protect against resin infiltration and potential ink-related issues.
It is recommended to use a specialized spray sealer designed for photos. Alternatively, clear-drying glue or decoupage glue can serve as effective sealers.
Thoroughly apply the sealer to the entire surface of the printed picture, and allow it to dry completely before proceeding to the resin application.
Prepare the Resin

Follow the precise instructions provided by the manufacturer for mixing the epoxy resin. Typically, epoxy resin involves an equal-parts ratio of resin and hardener.
Ensure a thorough mixing process while avoiding the introduction of air bubbles. This careful preparation is vital for achieving a clear and consistent resin result.
Pour a Base Layer
Pour a thin base layer into the chosen mold or onto a flat surface to begin the resin application. This initial layer provides a foundation for embedding the printed picture. Take care to spread the resin evenly, covering the entire area where the picture will be placed.
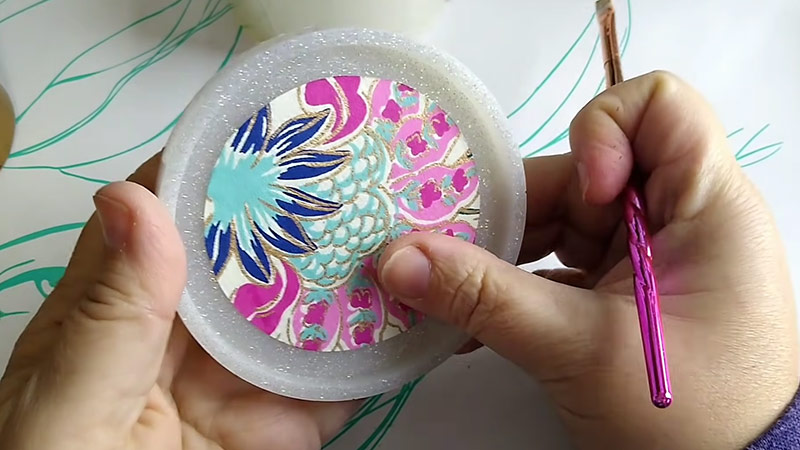
Place the Sealed Picture
Gently place the sealed printed picture onto the wet resin, adjusting as needed to achieve the desired positioning. Carefully position the picture to avoid trapping air bubbles between the paper and the resin.
If you are working with a mold, consider pouring an additional thin layer of resin over the picture to secure it in place and create a smooth surface.
Cover with Resin
After placing the printed picture, the next step is to pour an additional resin layer over it, ensuring complete and even coverage.
Use a stir stick to gently guide the resin, ensuring it flows smoothly over the picture’s surface.
This step is crucial for encapsulating the image entirely and creating a seamless, glossy finish. Be meticulous in your application to avoid uneven distribution and to maintain clarity.
Remove Air Bubbles
Air bubbles can form during the resin-pouring process, potentially affecting the transparency of the final piece.
To eliminate these bubbles, swiftly pass a blowtorch or heat gun over the resin surface. The heat causes the air bubbles to rise and pop, leaving a smooth and bubble-free surface. Exercise caution during this step to prevent overheating or scorching of the resin.
Curing
Once the resin is applied and any air bubbles are removed, allow the piece to cure according to the manufacturer’s instructions.
This involves undisturbed the artwork in a dust-free environment for the recommended curing time.
Curing times can vary, so patience is essential for optimal hardness and clarity in the resin.
Finishing Touches
After the resin has fully cured, carefully remove the piece from the mold if one was used. Inspect the edges for any roughness or irregularities.
Use sandpaper to smooth out imperfections, then polish the surface to achieve a lustrous and glossy finish.
This step enhances the overall visual appeal of the artwork and provides a professional touch.
Inspect and Adjust
Thoroughly examine the finished piece for any imperfections or irregularities. If needed, additional layers of resin can be applied to enhance the depth of the image or address any issues that may have arisen during the curing process.
This final inspection ensures that the artwork meets your expectations and is ready for display.
FAQs
Can I Put Laminated Paper in Resin?
Yes, laminated paper can be embedded in resin. However, it’s essential to consider the type of lamination and choose a suitable sealer to ensure proper adhesion and prevent any issues during the resin curing process.
Can You Put Paper in Epoxy Resin?
Absolutely! Paper can be successfully embedded in epoxy resin, creating unique and durable art pieces.
Last Words
The fusion of printed paper and resin unveils a realm of artistic expression, transforming ordinary images into timeless, glossy masterpieces.
Encapsulating vibrant prints in a clear, durable resin opens avenues for unique creations, preserving memories or elevating designs to new dimensions.
From meticulous sealing to precise resin application, this process demands both craftsmanship and creativity.
As the resin cures and the final piece emerges, a polished, glossy finish reflects the careful synergy of traditional printing and modern resin artistry.
With endless possibilities, the question of whether you can put printed paper in resin becomes an invitation to explore and redefine the boundaries of visual storytelling.
Leave a Reply