Embarking on creative endeavors often involves exploring unconventional materials and techniques. One intriguing combination in the crafting world is the fusion of resin with glass surfaces.
The question arises: Can you put resin on glass? The answer is a resounding yes, opening a realm of artistic possibilities. From crafting personalized jewelry to adding a glossy finish to glass decor, resin provides a versatile solution.
However, the process requires careful consideration of materials, techniques, and potential challenges.
In this exploration, we will delve into the captivating fusion of resin and glass, unraveling the nuances, best practices, and steps to create unique and enduring projects with a stunning aesthetic appeal.
Can You Put Resin on Glass?
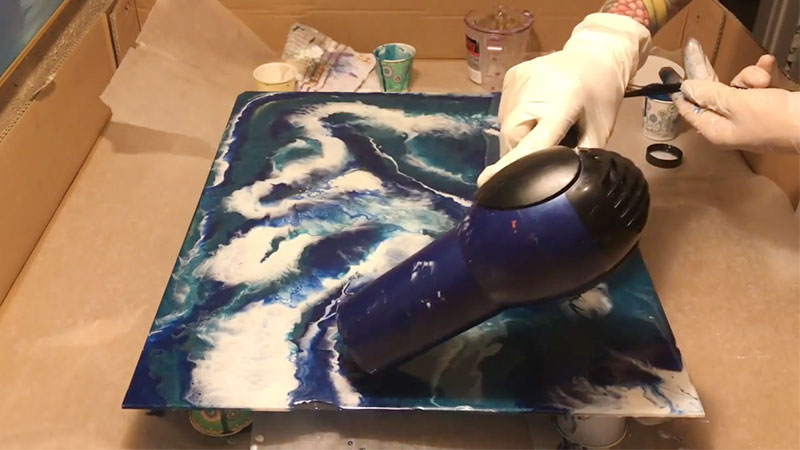
Yes, you can certainly put resin on glass. Applying resin to glass is a popular technique in various crafting, art, and DIY projects. Resin, such as epoxy resin, adheres well to glass surfaces, creating a clear, glossy finish.
Whether you’re making jewelry, creating custom decorations, or coating glass surfaces for a unique look, resin provides a versatile and durable solution.
The process involves cleaning the glass, optionally preparing the surface, selecting the appropriate resin, applying it evenly, and allowing it to cure.
Following specific guidelines for the chosen resin and project ensures a successful application of resin on glass.
How to Use Resin on Glass?
Using resin on glass can be a creative and rewarding process, resulting in a glossy, durable finish for various artistic and crafting projects.
Here is a detailed step-by-step guide on how to use resin on glass:
Materials You’ll Need
- Epoxy resin (or another suitable resin)
- Glass item or surface
- Mixing cups
- Stirring sticks or disposable brushes
- Disposable gloves
- Protective eyewear
- Sandpaper (optional)
- Rubbing alcohol or glass cleaner
- Heat gun or torch (for removing bubbles)
- Measuring tools
- Sealant or clear coat (optional)
Procedure:
Prepare the Glass
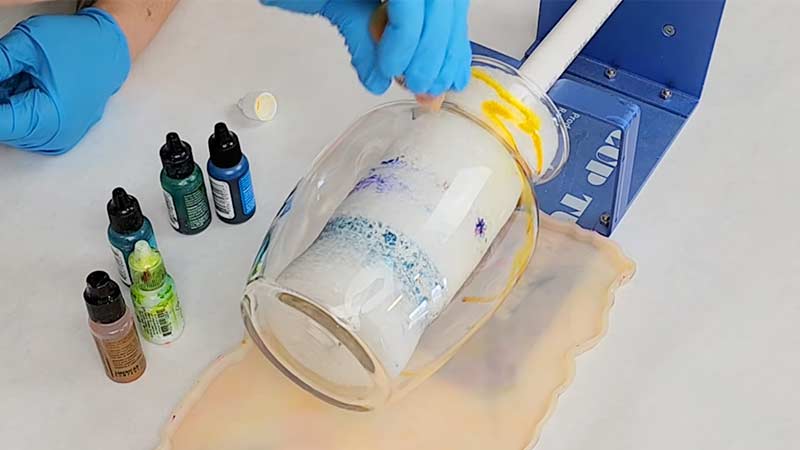
Start by ensuring the glass surface is clean and free from any dirt, fingerprints, or contaminants. Use rubbing alcohol or a glass cleaner and allow the glass to dry completely.
Optional Surface Preparation
Depending on your project, you may choose to lightly sand the glass surface with fine-grit sandpaper. This step is optional but can enhance the adhesion of the resin.
Set Up Your Workspace
Choose a well-ventilated and clean area to work. Cover the workspace with disposable material, such as plastic or wax paper, to catch any drips or spills.
Protect Yourself
Wear disposable gloves and protective eyewear to prevent skin contact with the resin.
Mix the Resin
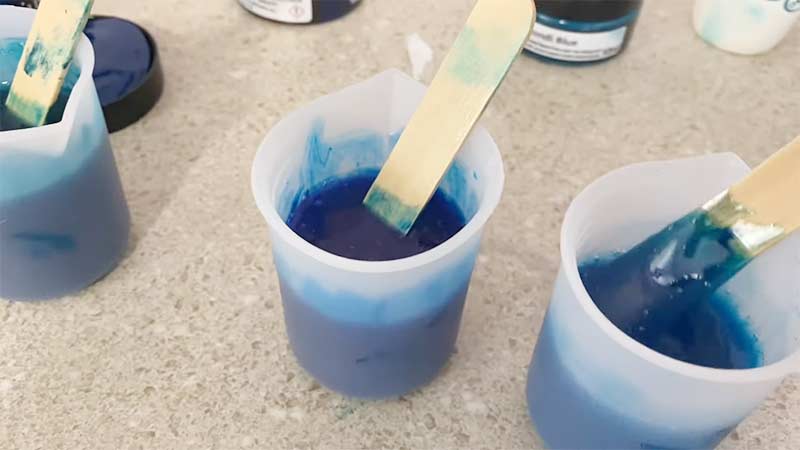
Follow the manufacturer’s instructions for mixing the resin and hardener. Ensure you measure the components accurately and mix thoroughly to create a homogenous mixture.
Apply the Resin
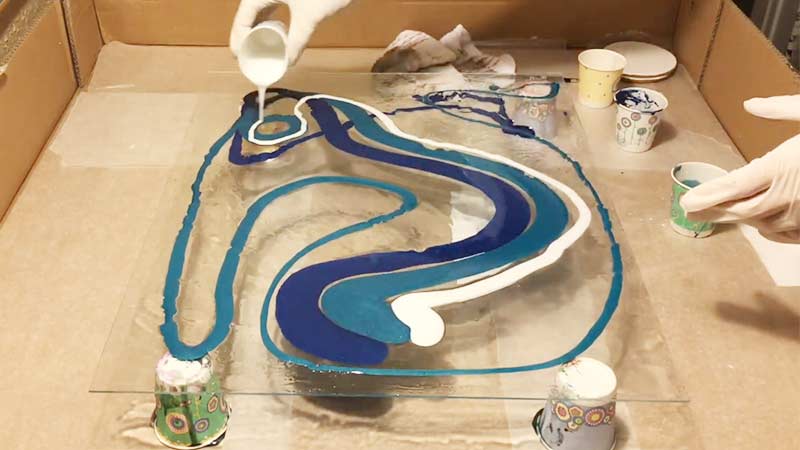
Pour or brush the mixed resin onto the glass surface. Use a brush or disposable applicator to spread the resin evenly across the glass. For precision, a heat-resistant syringe can be used.
Spread the Resin
Spread the resin uniformly to cover the entire glass surface. Use a heat gun or torch to help eliminate any bubbles that may form during the application process.
Remove Bubbles
If bubbles appear, use a heat gun or torch to gently pass over the resin. Alternatively, blowing over the surface through a straw can help pop the bubbles.
Allow Curing
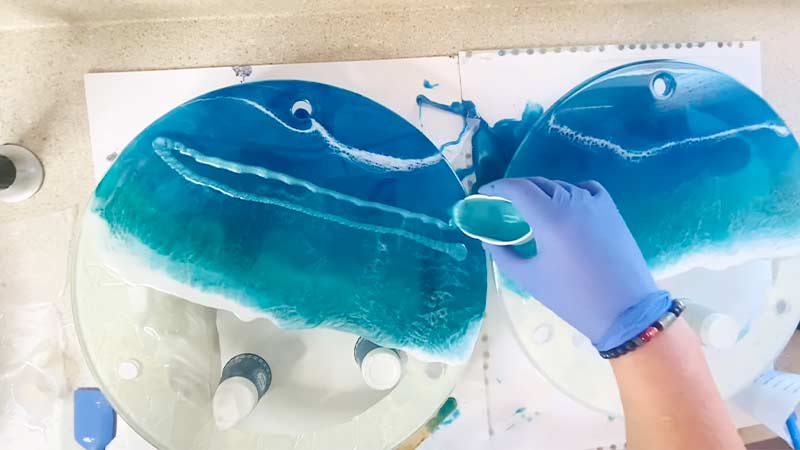
Let the resin cure according to the manufacturer’s instructions. Maintain a clean and dust-free environment during the curing process. Avoid moving or touching the glass to prevent distortion.
Post-Curing Inspection
After curing, inspect the surface for any imperfections, rough edges, or bubbles. Sand or trim if necessary to achieve the desired finish.
Optional Sealing
If you want to enhance the shine and durability of the resin-coated glass, consider applying a clear coat or sealant after the resin has fully cured.
Clean Up
Clean your tools and dispose of any disposable materials properly.
Does Resin Stick To Glass?
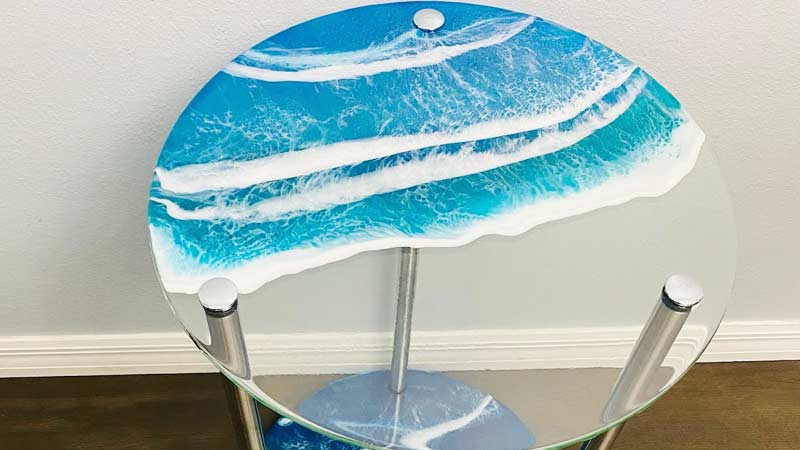
Yes, resin, particularly epoxy resin, adheres well to glass surfaces. When applied correctly, resin forms a strong bond with glass, creating a clear, glossy, and durable finish.
Here are some key points to consider:
Cleanliness
Ensure the glass surface is thoroughly cleaned and free from any dust, fingerprints, or contaminants. Cleaning with rubbing alcohol or a suitable glass cleaner is recommended.
Surface Preparation (Optional)
While epoxy resin generally adheres well to smooth glass surfaces, you may choose to lightly sand the glass if enhanced adhesion is desired. This step is optional and depends on the specific project requirements.
Mixing and Application
Follow the manufacturer’s instructions for mixing the epoxy resin and hardener in the correct ratio. Apply the mixed resin to the glass surface using a brush, sponge brush, or another suitable applicator.
Even Coating
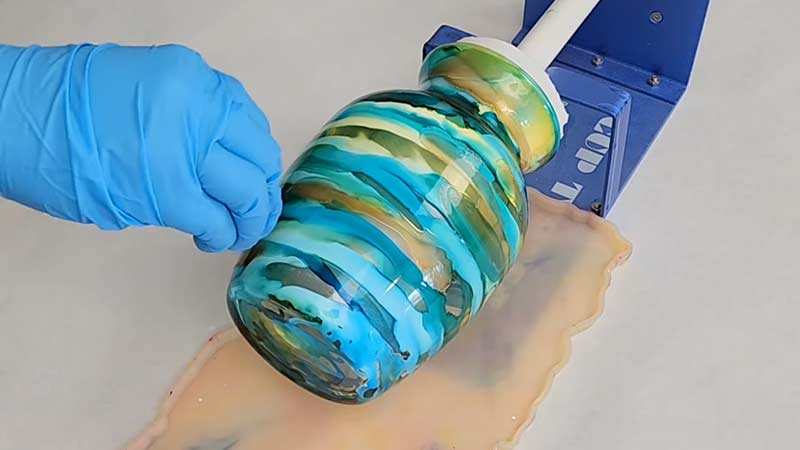
Spread the epoxy resin evenly over the glass surface to ensure uniform coverage. This helps in achieving a smooth and glossy finish.
Bubbles
Use a heat gun or torch to remove any air bubbles that may form on the surface of the epoxy resin. This step is crucial for obtaining a clear and bubble-free finish.
Curing
Allow the epoxy resin to cure according to the manufacturer’s recommended time and temperature. Maintain a clean, dust-free, and well-ventilated environment during the curing process.
Does Epoxy Resin Stick To Glass?
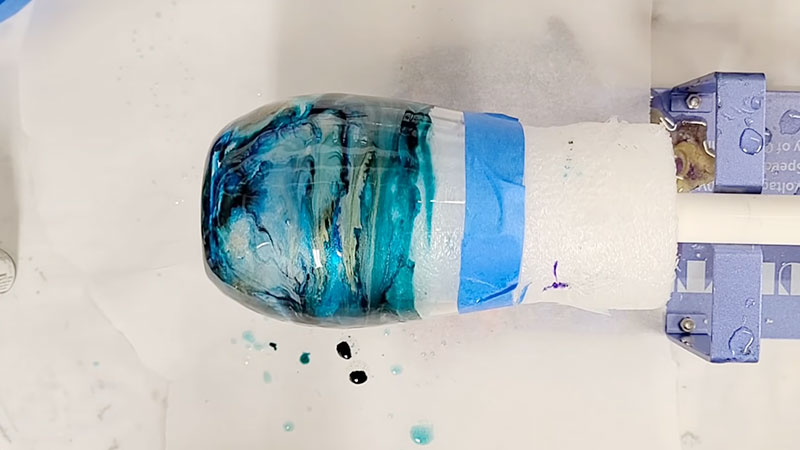
Yes, epoxy resin effectively adheres to glass surfaces, forming a strong and clear bond. To ensure optimal adhesion, start with a clean glass surface, free from dust or contaminants.
While epoxy resin generally bonds well to smooth glass, some projects may benefit from a lightly sanded surface. Follow the manufacturer’s instructions to mix the epoxy resin and hardener in the correct ratio, then apply it evenly to the glass.
Ensure thorough coverage and use a heat gun to eliminate bubbles. Allow the epoxy resin to cure undisturbed, following recommended guidelines. The result is a durable, glossy finish on the glass.
FAQs
Can resin be applied to glass surfaces for crafting projects?
Yes, resin, especially epoxy resin, can be applied to glass surfaces for various crafting, art, and DIY projects.
What are the key considerations before applying resin on glass?
Ensure the glass is thoroughly cleaned, consider optional surface preparation like light sanding, choose the right resin, and follow specific guidelines for the selected resin.
How to pour resin on glass?
Clean the glass, mix epoxy resin, pour onto the glass surface, spread evenly with a brush, remove bubbles with a heat gun, allow curing, and achieve a glossy finish.
Does epoxy resin adhere well to glass?
Yes, epoxy resin adheres excellently to glass surfaces, creating a strong and clear bond when applied correctly.
Are there specific project ideas for using resin on glass?
Yes, possibilities include creating personalized jewelry, and unique decorations, and transforming glass surfaces into glossy, durable works of art.
To Recap
The fusion of resin and glass presents an exciting avenue for creative expression. Through careful application and adherence to best practices, one can transform ordinary glass surfaces into personalized works of art.
The glossy finish, durability, and versatility offered by resin on glass open doors to crafting jewelry, unique decorations, and more. While challenges such as temperature sensitivity must be considered, the resulting projects are often worth the effort.
As you embark on your resin and glass journey, remember to follow specific guidelines, experiment with techniques, and enjoy the process of bringing your artistic visions to life, enhancing the beauty of glass through the transformative power of resin.
Leave a Reply