Lampshades serve as functional light diffusers and stylish interior decor elements, but over time, their fabric can wear out or lose appeal.
The good news is that you can breathe new life into your old lampshades by replacing their fabric coverings.
This DIY project offers a creative and cost-effective way to refresh your lighting fixtures and tailor them to match your evolving interior design preferences.
From selecting the right fabric to mastering the adhesive application and achieving a polished finish, this guide will walk you through the step-by-step process, ensuring your lampshades become stunning focal points in your home again.

Can You Replace the Fabric on the Lampshades?
Yes, you can replace fabric on lampshades. Replacing the fabric on a lampshade is a simple and cost-effective way to refresh the look of your lighting fixtures and give them a new lease on life.
Whether your lampshade is worn out, faded, or doesn’t match your current decor, replacing the fabric can bring new life into it.
Here is a step-by-step guide on how to replace the fabric on lampshades:
Materials and Tools You’ll Need:
- Lampshade.
- New Fabric.
- Fabric Scissors.
- Craft Knife.
- Spray Adhesive.
- Measuring Tape.
- Pencil or Fabric Marker.
- Ruler or Straight Edge.
- Binder Clips or Clothespins.
- Trim.
Step-by-Step Replacement:
Remove the Old Fabric
Carefully examine the lampshade to identify how the old fabric is attached. Look for seams, glue lines, or any other means of holding the fabric in place. Use a craft knife to cut along these attachment points delicately.
Take your time to avoid damaging the lampshade frame. If the old fabric is stubborn, you may need to apply a bit more pressure, but be cautious not to overexert and risk damaging the frame.
Measure and Cut the New Fabric
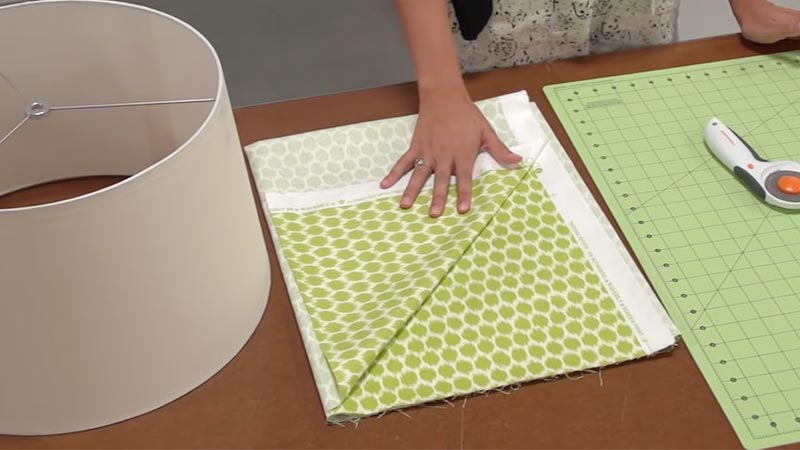
Lay out your chosen fabric on a clean, flat surface, ensuring the design side faces down. Place the old fabric on top as a template.
Using a fabric marker or pencil, trace around the edges of the old fabric, leaving a small margin for a clean, finished edge.
This extra margin will ensure that the new fabric covers the frame adequately. Take your time with this step to achieve precise measurements.
Apply Adhesive
Hold the spray adhesive at an appropriate distance from both the backside of the new fabric and the lampshade frame. Apply a thin, even layer of adhesive to both surfaces.
Following the manufacturer’s instructions for the specific adhesive you’re using is crucial, as drying times and application techniques may vary. Allow the adhesive to become tacky before proceeding.
Attach the New Fabric
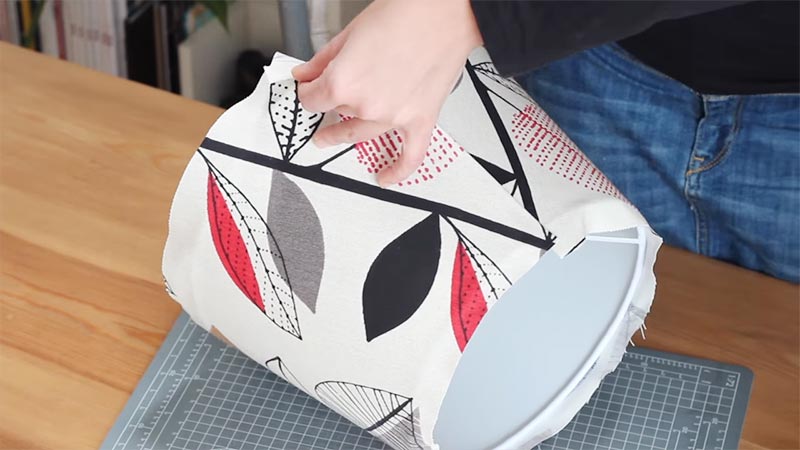
Starting at one end, align the edge of the new fabric with either the top or bottom of the lampshade frame, depending on your preference.
Gently press the fabric onto the frame, using your hands to smooth out any wrinkles or bubbles.
Take care to work slowly and methodically, ensuring that the fabric is applied evenly across the frame’s surface. Continue this process until the entire frame is covered.
Trim Excess Fabric
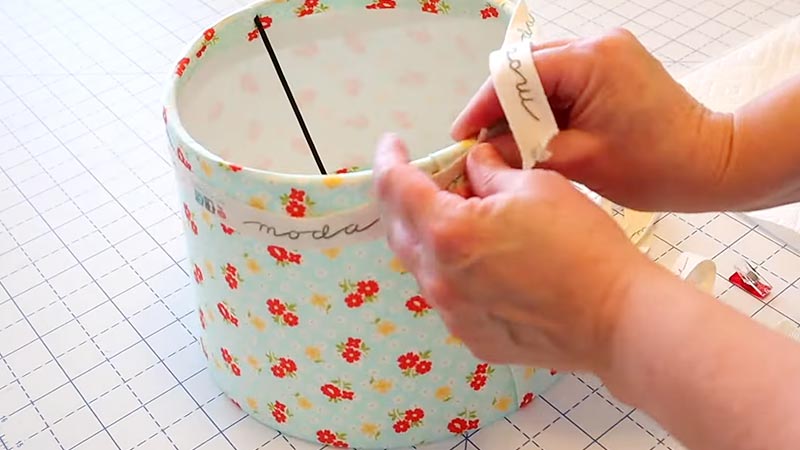
Once the fabric is securely attached to the frame, use a pair of fabric scissors to trim any excess material along the edges.
Aim for clean, straight cuts to achieve a polished look. Pay special attention to the edges, ensuring they are neat and tidy. This step is crucial for achieving a professional finish.
Add Any Decorative Trim
When you’ve chosen to include decorative trim, now is the time to attach it. Apply a thin line of adhesive or use a hot glue gun to affix the trim securely along the top and bottom edges of the lampshade.
Take your time to ensure the trim is applied evenly and that any seams or joins are discreet.
Allow It to Dry
Using binder clips or clothespins, gently secure the fabric in place while the adhesive dries. It’s crucial to follow the drying time specified by the adhesive manufacturer, which typically ranges from a few hours to overnight.
Avoid disturbing the lampshade during this time to ensure a strong bond between the fabric and the frame.
Reattach the Lampshade
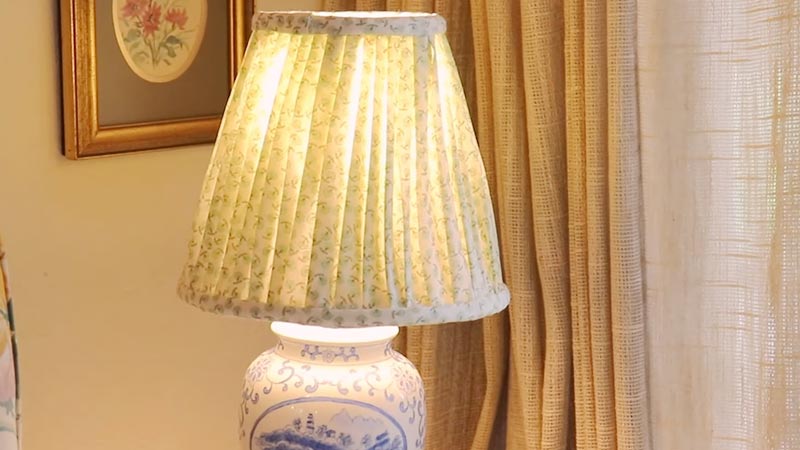
Once the adhesive is completely dry and you’re satisfied with the result, carefully reattach the lampshade to your lamp or light fixture.
Take a step back and admire your refreshed lighting accessory, now with a brand-new fabric that complements your decor perfectly.
What Kind of Fabric Can You Use to Replace Fabric on Lampshades?

When replacing fabric on lampshades, it’s important to choose a fabric that is suitable for the purpose.
Here are some types of fabrics that work well for lampshade replacements:
Cotton Fabric
Cotton is a versatile and widely available fabric that can be used for lampshades. It comes in various patterns, colors, and textures, making it easy to find a style that complements your decor.
Linen Fabric
Linen is a natural fiber that adds a touch of elegance to lampshades. It has a slightly textured appearance that can create a sophisticated look.
Silk Fabric
Silk is a luxurious option for lampshades. It has a smooth, shiny surface that adds a touch of opulence to the room. However, remember that silk can be delicate and may require extra care during installation.
Polyester or Blended Fabrics
These synthetic fabrics can be a practical choice for lampshades. They come in a wide range of colors and patterns and are often more durable and easier to clean than natural fibers.
Burlap
Burlap is a coarse, textured fabric that can create a rustic or farmhouse-style look for lampshades. It’s a great choice for adding a touch of natural, earthy charm to a space.
Velvet Fabric
Velvet adds a luxurious and plush texture to lampshades. It comes in various rich colors and can create a sense of warmth and sophistication.
Troubleshooting When Replacing Fabric on Lamp Shades

When replacing fabric on lampshades, you may encounter some common issues or challenges along the way. Troubleshooting these problems can help ensure a successful project.
Here are some troubleshooting tips for common issues that may arise:
Wrinkles or Bubbles in the Fabric
- Problem: Wrinkles or bubbles can appear if the fabric isn’t smoothed out properly during application.
- Solution: To address this issue, gently lift the fabric in the problem area and reapply it, making sure to smooth out any wrinkles or bubbles as you go. Work slowly and carefully to achieve a smooth surface.
Fabric Not Adhering Well
- Problem: The fabric may not adhere securely to the lampshade frame.
- Solution: Check the type of adhesive you’re using and ensure it’s suitable for both the fabric and the lampshade frame material. Apply a little more adhesive to the problem areas and press the fabric firmly against the frame.
Excess Adhesive Showing Through
- Problem: Excess adhesive may seep through the fabric, leaving visible spots or stains.
- Solution: Use adhesive sparingly, following the manufacturer’s instructions. If excess adhesive has already seeped through, wait until it dries completely, and then carefully scrape it off with a craft knife or sand it down.
Uneven Fabric Trim
- Problem: The fabric’s edge isn’t trimmed evenly.
- Solution: To achieve a neat and even edge, take your time when trimming the excess fabric. Use sharp fabric scissors and follow the shape of the lampshade frame closely. You can also use a ruler or straight edge as a guide to ensure straight cuts.
Fabric Doesn’t Diffuse Light Well
- Problem: The new fabric doesn’t diffuse light as effectively as the old one.
- Solution: Consider the thickness and opacity of the fabric. Thicker, more opaque fabrics will diffuse light differently than sheer or translucent materials.
Fabric is Too Loose or Too Tight
- Problem: The fabric may be too loose or tight, resulting in an uneven appearance.
- Solution: When the fabric is too loose, you can carefully lift it and reapply it more tautly.
Tips and Considerations

When replacing the lampshade fabric, there are several important tips and considerations to remember to ensure a successful and safe project.
Here’s a comprehensive guide to help you achieve the best results:
Safety First
Ensure that the replacement fabric you choose is fire-resistant or can be treated to meet safety standards. Safety should always be a top priority when working with lighting fixtures.
Fabric Selection
Consider the style and ambiance you want to create in the room. Choose a fabric that complements your decor, whether it’s a natural and rustic look with burlap or a luxurious feel with silk or velvet.
Fabric Amount
Calculate the amount of fabric you’ll need carefully. Measure the height and circumference of your lampshade and add a few extra inches for a clean finish. Having enough fabric ensures you don’t run out in the middle of the project.
Adhesive Choice
Select a high-quality spray adhesive designed for fabric that is appropriate for your specific fabric type. An adhesive that is too strong may damage delicate fabrics, so choose wisely.
Workspace Preparation
Set up a clean and well-ventilated workspace to avoid dust and fumes from the adhesive. Lay down a protective surface to catch any adhesive overspray.
Patience and Precision
Take your time when attaching the new fabric to the lampshade frame. Ensure the fabric is applied evenly, without wrinkles or bubbles, for a polished appearance.
Trimming Carefully
Use sharp fabric scissors to trim excess fabric along the edges. Make clean, straight cuts to achieve a professional finish.
Maintenance and Cleaning
Different fabrics require different care. Be sure to follow your chosen fabric’s cleaning and maintenance instructions to keep your lampshade looking its best.
Enjoy the Transformation
Finally, step back and admire your refreshed lampshade, now transformed with a new fabric that enhances the aesthetics of your space. It’s a satisfying DIY project that brings new life into your lighting fixtures.
FAQs
Can any fabric be used to replace lampshade fabric?
While a wide range of fabrics can be used, choosing fire-resistant or treatable fabrics is essential for safety reasons.
Do I need specialized tools to replace the lampshade fabric?
Basic tools like fabric scissors, a craft knife, and a spray adhesive suitable for fabric are typically sufficient for the project.
Is it necessary to remove the old fabric before applying the new one?
Removing the old fabric allows for a clean and even application of the new fabric, ensuring a polished finish.
Can I wash the lampshade fabric after replacement?
The washability of the fabric depends on the material chosen. Follow the fabric’s care instructions to maintain its appearance.
How long does it take for the adhesive to dry?
Drying times for adhesive vary by brand and type. Always refer to the manufacturer’s instructions for your specific adhesive.
Wrap Up
The art of replacing fabric on lampshades is a transformative DIY endeavor that marries creativity with functionality.
By carefully selecting the right fabric and adhesive and with meticulous attention to detail during application, you can revitalize your lampshades, infusing them with renewed charm and style.
This process breathes new life into your lighting fixtures and allows for a personalized touch that complements your interior decor.
With safety as a paramount consideration, this endeavor offers an economical alternative to purchasing new lampshades, demonstrating that a small effort can yield significant aesthetic rewards.
Embrace this craft and watch your living spaces illuminate with newfound warmth and character.
Leave a Reply