Have you ever found yourself wondering, “Can I sew a nylon jacket?” The good news is, yes, you can. Nylon is an incredibly durable and flexible material that’s perfect for jackets.
It’s also relatively easy to work with when it comes to sewing, making it a great choice if you’re looking to mend or customize your outerwear.
Before diving into the process of how to sew a nylon jacket, let’s first understand what makes this fabric unique.
Nylon was initially created as an alternative to silk and has since become renowned for its impressive strength and elasticity. Its popularity in apparel like jackets lies in its resistance to wear and tear, ability to fend off moisture, and lightweight feel.
Embarking on your nylon sewing journey may seem daunting at first glance, but don’t worry! With the right tools and techniques at your disposal – everything from choosing the appropriate needle size to mastering the stitch type – you’ll be able to navigate through this task with ease. So buckle up because we’re about to delve deeper into how to sew a nylon jacket.
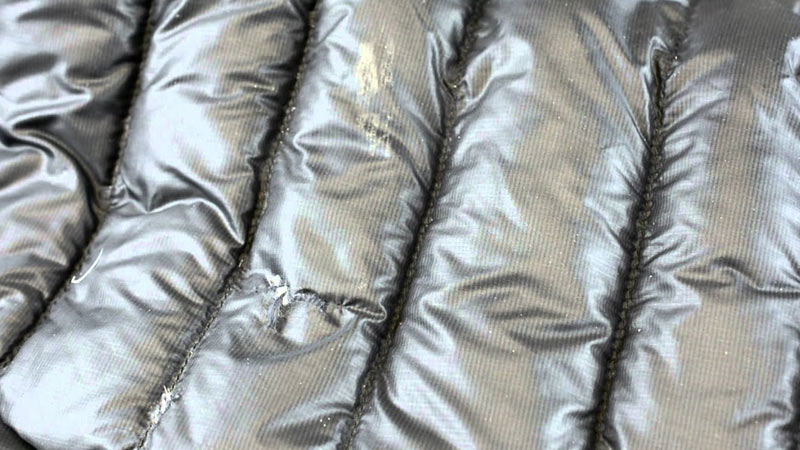
Essential Tools for Sewing Nylon Jackets
Before you dive headfirst into learning how to sew a nylon jacket, you must collect all the necessary tools. With the right equipment by your side, sewing a nylon jacket becomes a breeze. So, let’s explore what you’ll need:
A Good Quality Sewing Machine: First and foremost, an efficient sewing machine is vital. It needs to be capable of handling heavier fabrics like nylon while ensuring precision and control.
Various brands are offering machines with specific features for heavy-duty sewing; it’s worth checking them out.
Nylon-Specific Needles: Not just any needle can penetrate the tricky layers of nylon fabric. That’s where specialty needles come in handy. They’re typically numbered 70/10 or 80/12 and are perfect for stitching through nylon without causing damage.
Durable Thread: When you’re sewing a nylon jacket, using high-quality thread is non-negotiable. Polyester thread is often preferred due to its strength and resistance against wear and tear.
Here are some other essentials that should be part of your toolkit:
- Fabric Scissors: Sharp blades make clean cuts for precise measurements.
- Seam Ripper: In case there are mistakes along the way, this tool allows you to undo stitches without ruining the fabric.
- Tailor Chalk or Pens: Ideal for marking measurements or indicating where to position elements such as pockets or zippers.
- Pins & Pin Cushion: To hold pieces together before they’re permanently stitched.
With these tools at hand, learning how to sew a nylon jacket becomes less daunting – even exciting! The process may require patience and practice, but remember, every stitch brings you one step closer to crafting your unique piece of outerwear!
How to Sew a Nylon Jacket? Step by Step
Sewing a nylon jacket can be a rewarding project, allowing you to create custom outerwear that suits your style and needs. Nylon, being a slippery and somewhat stretchy material, requires some specific handling techniques for the best results.
Here’s a step-by-step guide to help you through the process:
1. Prepare the Fabric
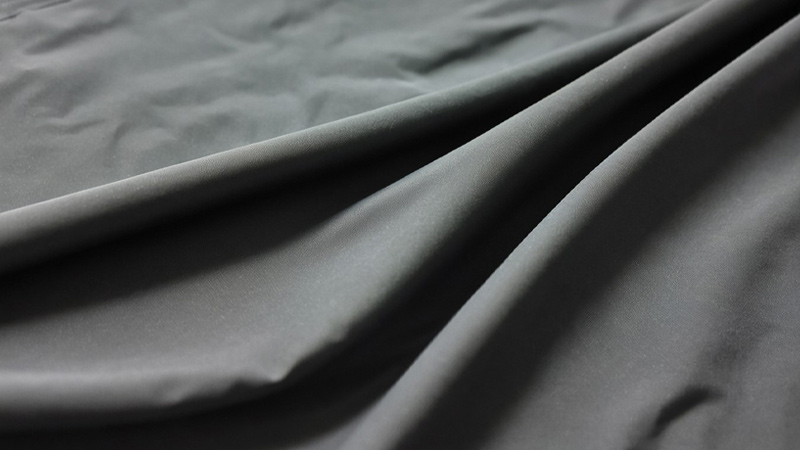
- Pre-Wash: Nylon doesn’t shrink much, but pre-washing can remove any manufacturing residues.
- Cutting: Use weights instead of pins to hold the pattern pieces in place to avoid puncturing the fabric unnecessarily.
2. Cutting and Marking

- Carefully cut out your pattern pieces according to the pattern instructions.
- Use chalk or a fabric marker for any markings, as these can be easily removed from nylon.
3. Sewing
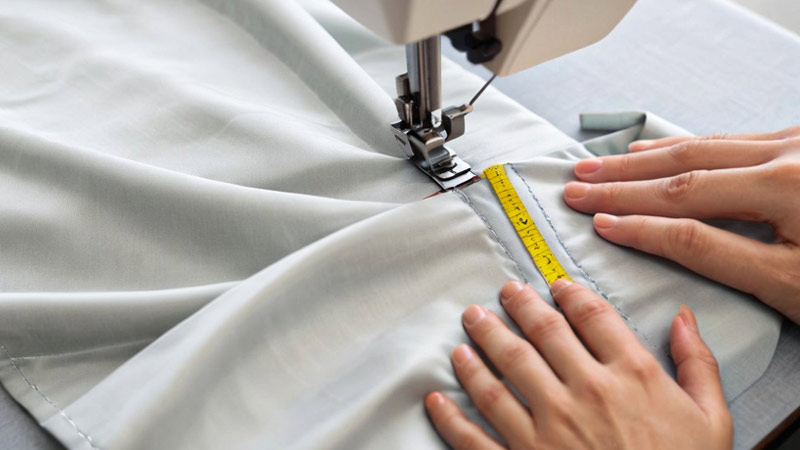
- Thread Tension: Adjust your machine’s tension to handle lightweight fabric. Test on scraps before starting.
- Stitch Length: Use a slightly longer stitch length (2.5-3mm) to prevent puckering.
- Seams: Consider using French seams or serging for a clean finish inside the jacket.
- Zippers and Closures: Use a zipper foot for sewing in zippers. If your jacket design includes buttons, make sure to reinforce the areas where buttons and buttonholes will be placed.
- Hemming: Use a double-fold hem for a neat finish. A narrow hem foot can help with this.
4. Adding Features
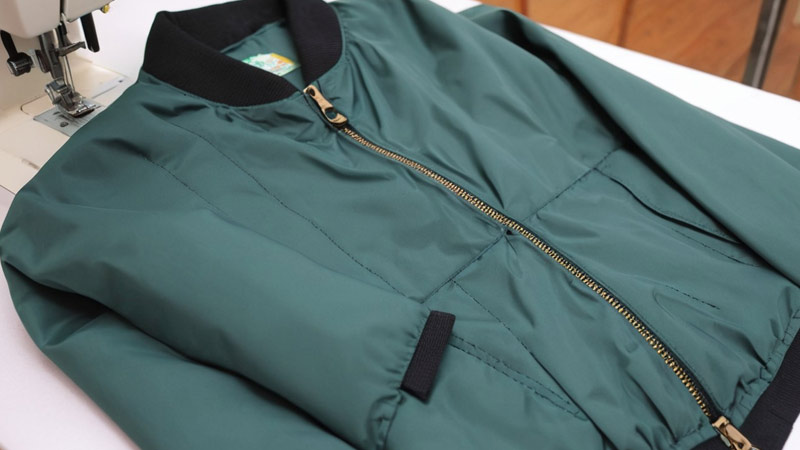
- Pockets: If your pattern includes pockets, attach them before sewing the main pieces together.
- Hood or Collar: Assemble and attach according to your pattern’s instructions.
- Elastic or Drawstrings: If your design includes these, make casings and thread them through as per the pattern.
5. Finishing Touches
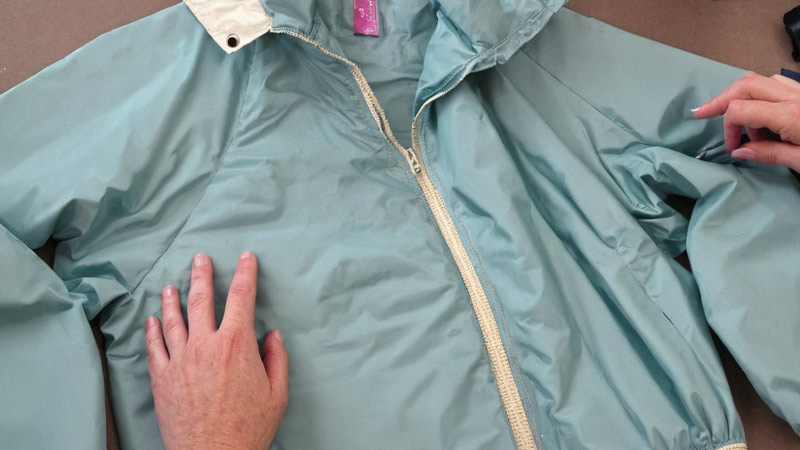
- Pressing: Use a cool iron and a pressing cloth to avoid melting or scorching the nylon.
- Lining: If you’re adding a lining, sew it separately and then attach it to the outer shell, leaving an opening to turn the jacket right side out. Close the opening by hand stitching.
The Right Thread and Needle for a Nylon Jacket
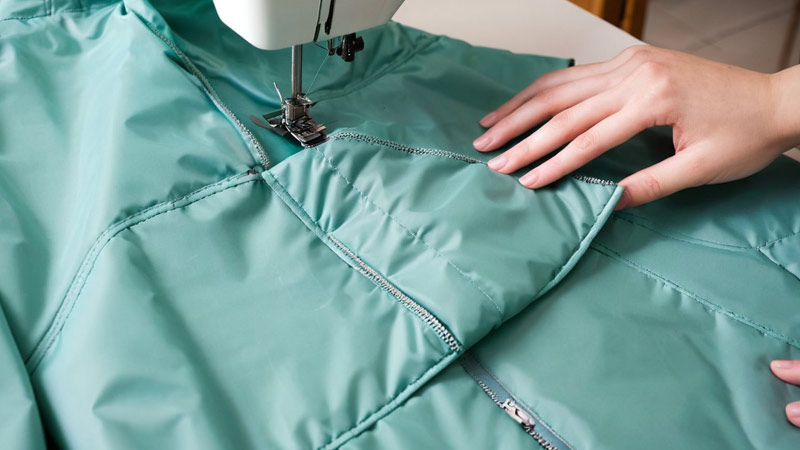
When you’re deciding how to sew a nylon jacket, the choice of needle and thread makes all the difference. It’s not just about stitching pieces together; it’s about ensuring durability, flexibility, and neatness.
Firstly, let’s talk about the thread. For sewing nylon jackets, 100% polyester or nylon threads are your best bet.
Both options share great attributes: they’re strong, elastic, and resistant to sunlight and moisture. However, if you’re working with heavyweight nylon fabrics like Cordura®, opt for heavy-duty polyester threads for their superior strength.
Here’s a quick rundown of some popular choices:
- Coats & Clark Outdoor Living Thread
- Gütermann Tera 1800 Heavy Duty Polyester Thread
- Madeira Aerofil No.120 Sew-all Polyester Thread
Moving onto needles – size does matter! You’ll need a sharp needle that can penetrate the tough fabric without tearing it.
Ballpoint needles might seem tempting due to their rounded tips, but resist the urge! They push fibers apart rather than pierce through them, which isn’t ideal for sturdy fabrics like nylon.
For lightweight to medium-weight nylons (think windbreakers), try Universal Needles sizes 70/10 or 80/12. If you’ve got heavier fabric on hand (like luggage material), go for Denim Needles in sizes 90/14 or 100/16.
Remember these key points:
- Use polyester or nylon threads.
- Opt for heavy-duty threads when dealing with heavyweight nylons.
- Sharp needles over ballpoint ones.
- Choose needle size based on your fabric weight.
Happy sewing! In no time at all, you’ll be making durable and stylish nylon jackets perfect for any weather conditions.
Overcoming Common Challenges in Sewing Nylon
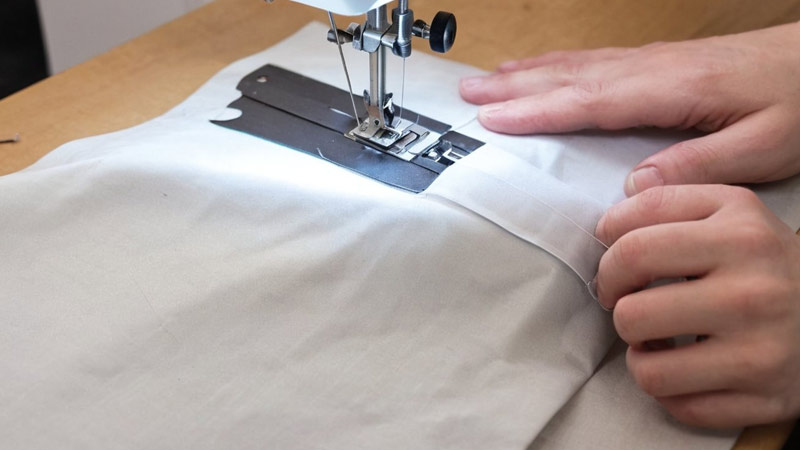
Sewing a nylon jacket can be a challenging task due to the unique properties of the material. However, with the proper techniques and tools, you can overcome these challenges and create a beautiful and durable jacket.
Here are some common challenges you may face when sewing nylon and how to overcome them:
Slippery nature
Nylon is a slick material that can be difficult to manage while cutting or stitching. To overcome this challenge, use tissue paper between the fabric pieces while sewing. Once you’ve finished sewing, gently tear the tissue away.
Seam puckering
Nylon’s elasticity can cause seam puckering, which can be unsightly. To avoid this, ensure your machine tension isn’t too tight, and try using a finer needle if needed.
Fraying edges
Nylon is susceptible to fraying, so it’s crucial to leave ample seam allowance when cutting out your pattern pieces for extra security against fraying.
Heat sensitivity
Nylon fabrics are sensitive to heat, which makes pressing seams tricky without causing damage. To overcome this challenge, always use a low-temperature setting, consider using a pressing cloth, and never press directly onto the right side of the material.
Choosing the right thread
Choosing the right thread makes a huge difference in your outcome. Synthetic threads like polyester work ideally as they have similar washing requirements and durability as most nylons.
Patchwork Tips: Fixing Tears in Your Nylon Jacket
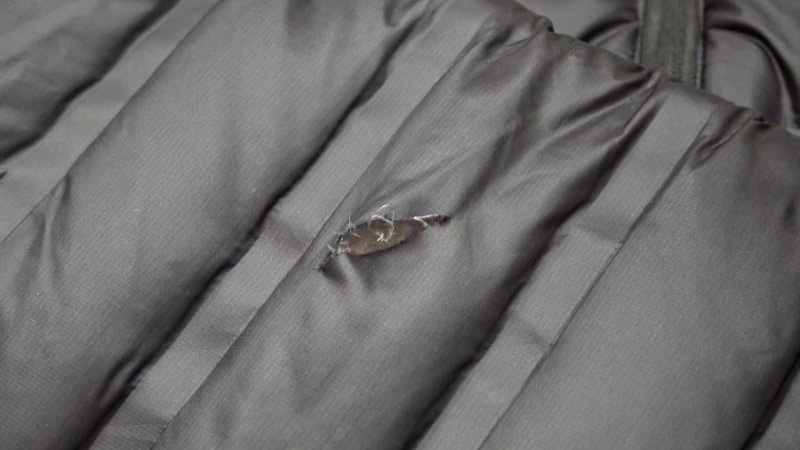
So, your favorite nylon jacket has taken a hit and is now sporting a noticeable tear. Don’t fret! With the proper knowledge and some patience, you can give it a new lease on life. Here’s how to sew a nylon jacket and fix those pesky tears without needing professional help.
Firstly, let’s gather the materials needed:
- A nylon repair kit or nylon patches
- Nylon thread that matches your jacket color
- A sewing needle
- A pair of sharp scissors
Now, ready to get started? Follow these steps:
- Prepare the area: Clean around the tear with mild soap and water. Make sure it’s scorched before proceeding.
- Apply the patch: If you’re using adhesive patches from a repair kit, peel off the backing paper and stick them onto the tear, making sure it covers all edges.
- Sewing: If opting for non-adhesive patches, align them with the tear and secure them with pins before starting to sew.
When sewing your nylon jacket, use tiny stitches for strength and durability. Ensure each stitch runs parallel to the edge of the patch so that they don’t fray or unravel over time.
It’s worth noting that while this DIY solution works well for small tears and punctures, more considerable damages might require professional intervention. In such cases, consider taking your beloved outerwear to an expert tailor who specializes in repairing synthetic fabrics like nylon.
And there you have it – step-by-step instructions on fixing tears in your nylon jacket yourself! While it may seem daunting at first, you’ll find that with a bit of patience and practice, it’s pretty doable. Happy mending!
Wrapping Up
Repairing a nylon jacket is a practical skill that can extend the life of your favorite outerwear. By following this comprehensive guide, you can confidently tackle common issues like rips, tears, and broken zippers with ease.
Remember to gather the necessary tools and materials, assess the damage carefully, and utilize appropriate techniques for each repair.
Whether you’re a seasoned seamstress or a novice DIY enthusiast, taking the time to mend your jacket not only saves money but also promotes sustainability by reducing waste.
So, roll up your sleeves, unleash your creativity, and breathe new life into your beloved nylon jacket today!
Leave a Reply