Embarking on a creative journey with craft foam often raises the question: “Do I need to seal craft foam before painting?”
The answer lies in achieving a polished and professional finish for your projects. Sealing craft foam is a crucial step that primes the surface, ensuring the paint adheres evenly and vibrantly.
This process prevents the paint from being absorbed unevenly, resulting in a smoother appearance.
Whether you’re delving into DIY crafts, cosplay, or artistic endeavors, understanding the importance of sealing craft foam lays the foundation for a successful and visually appealing outcome.
In this guide, we explore the steps involved in sealing craft foam for a seamless painting experience.
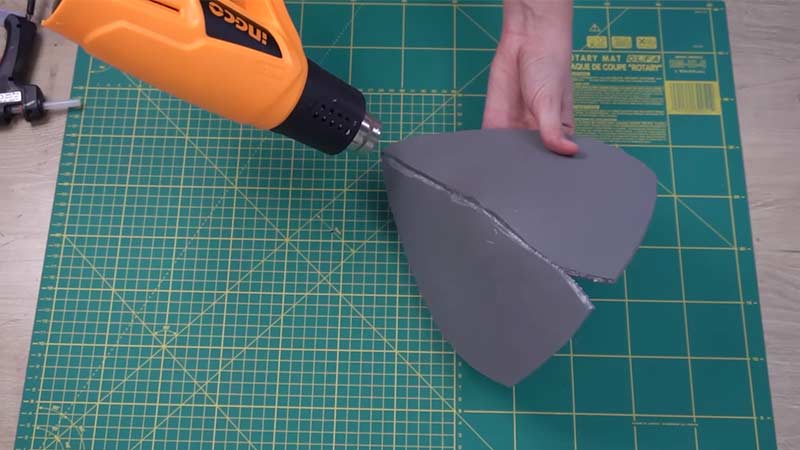
Why Do I Need to Seal Craft Foam Before Painting?
Yes, it is generally advisable to seal craft foam before painting.
Here are the reasons why do you need to seal craft foam before painting:
Improved Paint Adhesion
Craft foam, with its smooth and porous surface, poses a challenge for paint adhesion. Sealing the foam not only provides a better base for the paint but also enhances the grip of the paint on the surface.
This improved adhesion ensures that the paint adheres evenly across the foam, resulting in a polished and professional finish.
Without proper sealing, the paint might struggle to bond effectively with the foam, leading to an uneven and patchy appearance.
Prevention of Paint Absorption
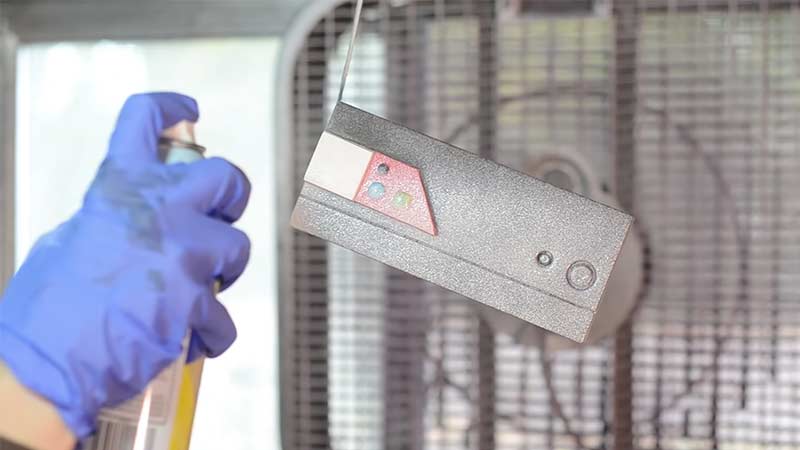
Craft foam’s porous nature makes it prone to absorbing paint, which can compromise the final appearance of your project. Sealing the foam acts as a protective barrier, preventing excessive absorption of paint.
This not only preserves the integrity of the foam but also allows the paint to stay on the surface, maintaining its color vibrancy and preventing it from seeping into the material.
Minimization of Texture Differences
Craft foam often exhibits a subtle texture that may affect the overall look of the painted project.
Sealing the foam helps to minimize these texture differences, creating a smoother and more uniform canvas for your artwork.
This is particularly crucial when aiming for a professional and polished finish, as any underlying texture variations can become more pronounced once painted.
Enhanced Durability
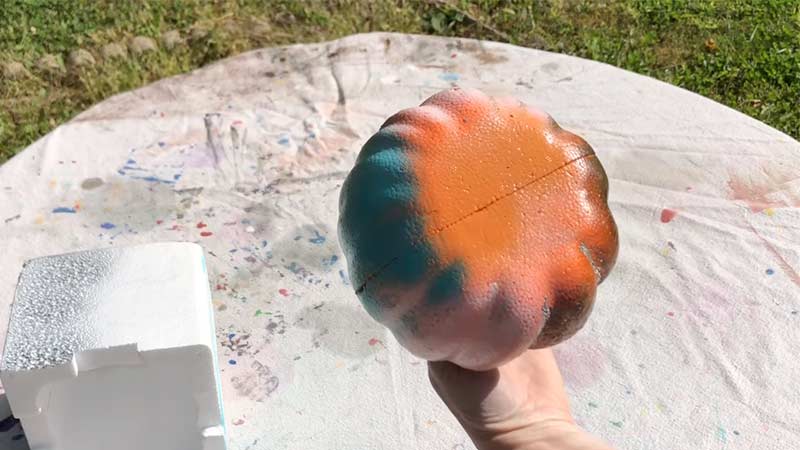
The process of sealing craft foam adds a protective layer that enhances the overall durability of the finished project.
This becomes especially important for crafts that may undergo handling or require longevity. The sealed surface acts as a shield against external elements, preventing premature wear and tear and ensuring the project maintains its quality over time.
Prevention of Warping
Craft foam is susceptible to warping or distortion when exposed to certain types of paint or excessive moisture.
Sealing the foam provides a protective barrier that safeguards against these potential issues.
By preventing warping, the sealed foam preserves the intended shape and structure of your craft project, ensuring it maintains its original form.
Compatibility with Different Paints
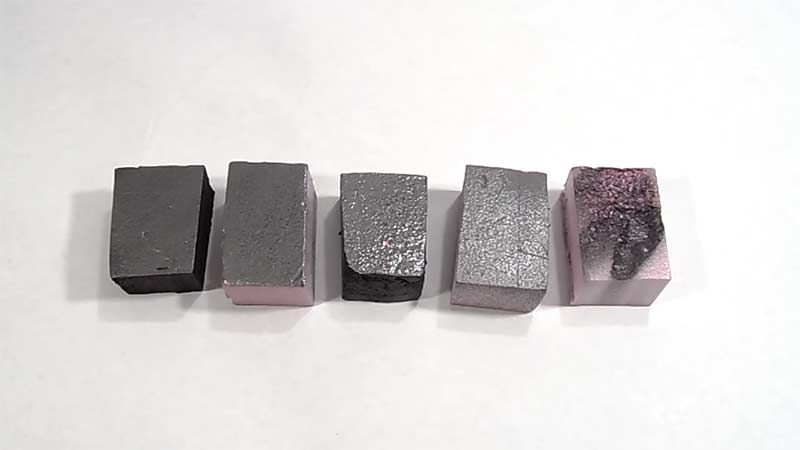
Sealed craft foam offers greater versatility by making it compatible with a variety of paints. Whether you prefer acrylics, spray paints, or other common crafting paints, the sealed surface provides a more adaptable canvas for your artistic endeavors.
This flexibility allows you to explore different paint mediums, expanding your options for achieving the desired look for your project.
Easier Surface Preparation
A sealed foam surface not only offers improved adhesion but also prepares for painting more manageable.
The smooth and sealed texture allows for easier sanding and smoothing, creating an ideal canvas for various painting techniques.
This streamlined surface preparation contributes to a more efficient and enjoyable crafting experience.
How Do You Prepare Craft Foam for Painting?
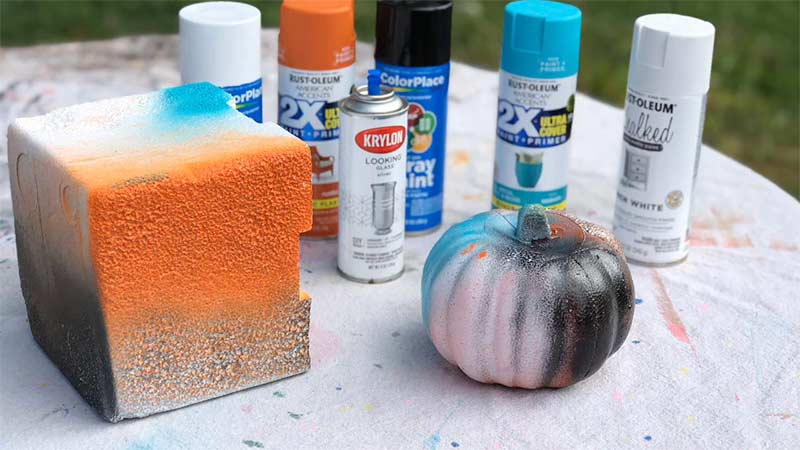
Preparing craft foam for painting is a crucial step to ensure a smooth and professional finish for your creative projects.
Here’s a step-by-step guide on how to prepare craft foam for painting:
Clean the Surface
Begin by thoroughly cleaning the craft foam surface to ensure an optimal painting base. Use a clean, dry cloth to wipe away any dust, dirt, or debris.
This step is crucial as painting over a dirty surface can compromise the adhesion of the sealer and paint, leading to an uneven finish.
Take the time to inspect the foam and make sure it is completely free from any particles that could affect the quality of your final project.
Sanding
If your craft foam exhibits a textured surface, lightly sanding it can enhance the overall smoothness. Choose a fine-grit sandpaper to gently buff out any rough spots or uneven areas.
This optional step is particularly beneficial when aiming for a polished and professional appearance.
Sanding creates a more uniform surface, allowing the subsequent layers of sealer and paint to adhere more effectively.
Choose a Sealer
Selecting the right sealer is crucial for the success of your painting project. Popular choices include gesso, Mod Podge, or a mixture of white glue and water.
Consider the specific needs of your project and the type of paint you’ll be using. The sealer acts as a protective barrier, enhancing paint adhesion and preventing the craft foam from absorbing paint excessively.
Ensure that the chosen sealer is compatible with both the foam material and the type of paint you plan to use.
Apply the Sealer
Using a brush or foam brush, apply a thin and even layer of the chosen sealer over the entire craft foam surface.
Pay close attention to crevices and textured areas to ensure complete coverage. The goal is to create a consistent and sealed surface for painting.
Allow the sealer to dry thoroughly according to the manufacturer’s instructions before proceeding to the next steps. Proper drying time is essential for the sealer to form a durable protective layer.
Sand Again
After the initial layer of sealer has dried, you have the option to sand the surface again. Lightly sanding helps to further smooth out the foam, providing an even more refined canvas for the subsequent layers of paint.
This additional step is especially beneficial if you want to achieve a flawless and professional finish in your painted craft foam project.
Apply Additional Sealant Layers
For an added layer of protection and durability, consider applying multiple layers of sealer. Each additional layer should be applied evenly and allowed to dry completely before proceeding to the next.
Building up multiple sealant layers enhances the resilience of the craft foam surface, making it more robust and better prepared to withstand potential wear and tear.
This optional step is particularly beneficial for projects that will be handled frequently or exposed to various environmental conditions.
Prime the Surface
If your painting project involves dark or vibrant colors, using a primer after the sealing process can be advantageous.
Priming provides a neutral base, preventing the underlying color of the craft foam from affecting the final appearance of your painted project.
Apply the primer evenly, allowing it to dry thoroughly before moving on to the painting phase.
This optional step ensures that your chosen paint colors will appear true to their intended shade and enhances the overall vibrancy of the final result.
Allow for Complete Drying
Patience is a crucial aspect of the preparation process. Allow the craft foam to dry completely between each step.
Rushing through the drying process may lead to uneven surfaces, compromised adhesion, or other issues that can affect the quality of your project.
Follow the recommended drying times for the sealer, primer, and any additional layers to achieve the best possible results.
Paint as Desired
Once all the preparatory steps, including sealing and optional priming, are complete, you can finally proceed to paint your craft foam. Use the desired colors and techniques to bring your creative vision to life.
The sealed surface will promote better paint adhesion, resulting in a more vibrant, even, and professional finish.
Take your time during the painting process, allowing each layer of paint to dry thoroughly before applying additional coats if needed.
How to Seal Craft Foam for Painting? 9 Steps
Craft foam is a versatile material commonly used for various DIY projects, cosplay, and arts and crafts.
When it comes to painting craft foam, it’s important to seal it first to create a smooth and even surface for the paint to adhere to.
Sealing helps prevent the paint from being absorbed unevenly into the foam, resulting in a more professional and polished finish.
Here’s a step-by-step guide on how to seal craft foam for painting:
Materials Needed:
- Craft Foam.
- Craft Sealer/Primer.
- Sandpaper.
- Paintbrush or Foam Brush.
- Drop Cloth or Newspaper.
Steps:
Step 1: Prepare Your Work Area
Before diving into the crafting process, it’s essential to establish a clean and organized workspace.
Lay down a protective drop cloth or spread newspapers to prevent any accidental spills or stains on your working surface.
This simple precaution ensures that your crafting environment stays tidy and free from unnecessary mess.
Step 2: Cut and Shape the Craft Foam
Carefully wield sharp scissors or a precision craft knife to cut the craft foam into the desired shapes for your project.
Take your time to ensure clean, precise cuts, and don’t hesitate to use a ruler or template for more intricate designs.
Additionally, consider the overall form and structure of your project, adjusting the foam accordingly to achieve the desired shape.
Step 3: Sand the Craft Foam
To create a smooth and even surface for sealing, gently sand the craft foam using fine-grit sandpaper.
This step not only removes any rough edges but also provides a slightly porous texture that promotes better adhesion of the sealing material. Be mindful not to press too hard to avoid distorting the foam’s shape.
Step 4: Remove Dust
After sanding, eliminate any lingering dust or particles from the foam’s surface. A clean, dry cloth or a tack cloth is effective for this task.
This ensures that the sealer will adhere seamlessly, without any interference from debris that might compromise the quality of the final finish.
Step 5: Apply Craft Sealer/Primer
Select a high-quality craft sealer or primer suitable for foam materials. Using a paintbrush or foam brush, apply a thin, even coat of the sealer across the entire surface of the craft foam.
Pay close attention to the edges and corners, ensuring complete coverage. Allow the sealer to dry thoroughly according to the manufacturer’s recommended drying time.
Step 6: Sand Again (Optional)
If, after the first coat of sealer has dried, the surface isn’t as smooth as desired, consider lightly sanding it again with fine-grit sandpaper.
This optional step provides an opportunity to refine the texture further and enhance the overall smoothness of the sealed surface.
Step 7: Apply Additional Coats
Depending on the specific sealer used and the desired finish, apply additional coats as necessary. Each coat should be allowed to dry completely before applying the next.
Two to three coats are typically sufficient, but this can vary based on the sealer’s thickness and the project requirements.
Step 8: Inspect for Smoothness
After the final coat has dried, carefully inspect the craft foam for any imperfections. Run your hands over the surface to ensure a smooth and even texture.
If any irregularities are found, address them by lightly sanding the affected areas to achieve the desired level of smoothness.
Step 9: Painting
With the craft foam now sealed and prepared, you’re ready to unleash your creativity through painting. Utilize acrylic paints or other suitable craft paints to bring your project to life.
The sealed surface provides an optimal canvas for paint adhesion, resulting in a vibrant and even finish that enhances the overall professional appearance of your craft.
FAQs
What kind of paint should I use on Styrofoam?
When painting Styrofoam, it’s advisable to use water-based acrylic paints.
Do I need a sealant spray for crafts?
Yes, using a sealant spray is recommended for various craft projects. A sealant spray helps protect the finished surface, enhances durability, and can prevent colors from fading.
Can I use Krylon H2O Latex Spray Paint for crafts?
Certainly! Krylon H2O Latex Spray Paint is suitable for various crafting applications.
Its water-based formula makes it safe for use on materials like foam, and it provides a smooth, even finish.
Last Words
The practice of sealing craft foam before painting emerges as an indispensable step in elevating your creative projects.
The meticulous process of sealing ensures a smooth and receptive surface for paint, preventing uneven absorption and enhancing the vibrancy of your colors.
Whether you’re crafting intricate cosplay pieces, engaging in DIY projects, or expressing artistic flair, the benefits of sealing craft foam are unmistakable.
This simple yet vital technique not only contributes to a professional finish but also opens up a world of possibilities for more vibrant, durable, and visually captivating creations.
Embrace the transformative power of sealing craft foam, and witness your artistic visions come to life with enhanced precision and appeal.
Leave a Reply