Stamped cross stitch, a delightful fusion of artistry and needlework, captivates enthusiasts with its pre-printed designs on fabric.
As creators invest time and skill into crafting intricate patterns, the question arises: Do you wash stamped cross stitches?
The answer lies in a delicate process that balances the need for cleanliness with preserving the meticulously stitched details.
Washing involves meticulous steps, from checking colorfastness to optional vinegar rinses and careful drying techniques.
This introduction sets the stage for exploring the essential considerations and gentle methods required to maintain the beauty of stamped cross-stitch creations through proper washing practices.
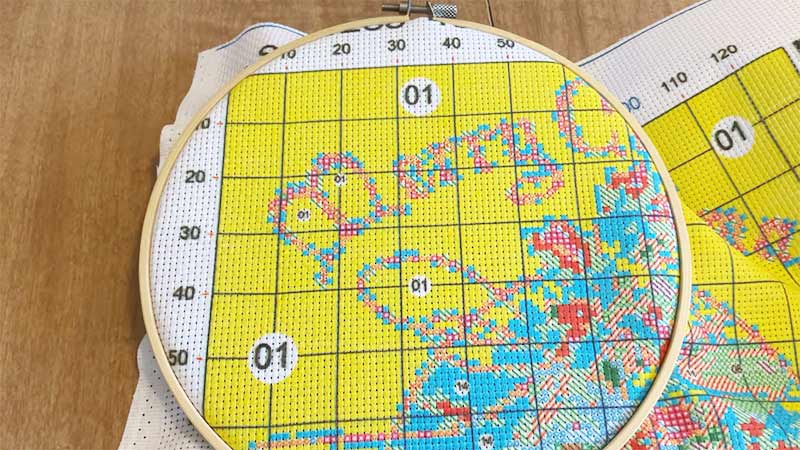
Do You Wash Stamped Cross Stitch?
Yes, washing a stamped cross-stitch project is crucial in ensuring the final result is visually appealing and durable. Stamped cross-stitch designs are typically imprinted onto the fabric using water-soluble ink.
Washing the project serves two primary purposes: removing any residual ink from the fabric and preventing it from staining or bleeding into the surrounding areas.
This step is essential for preserving the integrity of the design and maintaining the intended color scheme. Secondly, washing helps eliminate any oils, dust, or dirt that may have accumulated on the fabric during the stitching process.
This ensures a clean and professional finish to the project. To wash a stamped cross-stitch, gently agitate the fabric with a mild detergent or soap in lukewarm water.
After washing, it’s essential to thoroughly rinse and air-dry the project to avoid distortion or damage. By adhering to this washing routine, crafters can enjoy a beautifully finished stamped cross-stitch project that showcases the design in its full glory.
How to Wash Stamped Cross Stitch?
Washing stamped cross stitch is a delicate process that requires care to preserve the integrity of the stitching and the fabric.
Stamped cross stitch refers to a type of embroidery where the design is pre-printed on the fabric, providing a guide for stitching.
Here’s a step-by-step guide on how to wash stamped cross stitch:
Materials Needed:
- Mild detergent or cross-stitch washing solution
- Lukewarm water
- Soft towels
- White vinegar
- Mild fabric softener
- Large basin or sink
Instructions:
Check for Colorfastness
Before washing your stamped cross stitch, it’s crucial to determine if the threads used are colorfast. This step helps prevent any potential color bleeding during the washing process.
To check for colorfastness, take a damp white cloth and gently press it onto a small, inconspicuous area of the fabric.
If you notice any color transfer onto the cloth, the colors may not be stable. In such cases, opting for spot cleaning rather than submerging the entire piece is advisable. This precaution ensures that the vibrant hues of your cross stitch remain intact.
Remove Dust and Debris
Ensuring that your stamped cross stitch is free of loose dust and debris is essential before washing. Use a soft-bristled brush to sweep across the surface of the fabric gently.
This helps eliminate any particles that may have settled on the stitches. Take special care around intricate details to prevent damage to the delicate embroidery.
This step prepares the piece for washing and safeguards it from potential abrasions during the cleaning process.
Prepare the Washing Solution
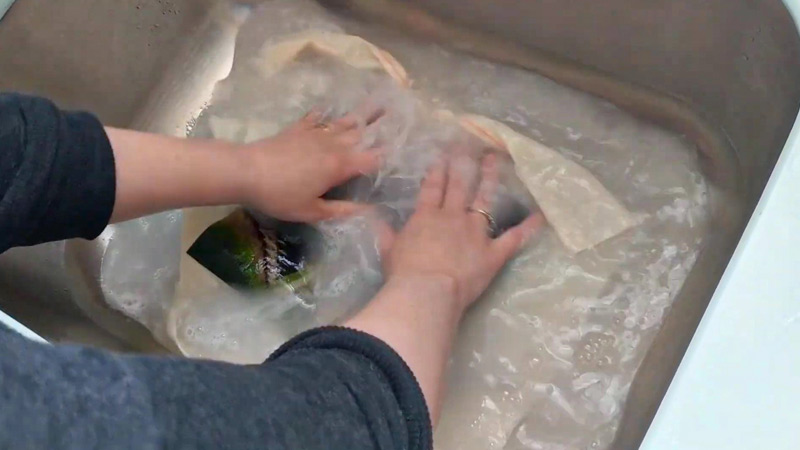
Creating a suitable washing solution is a critical step in the cleaning process. Fill a basin or sink with lukewarm water, maintaining a temperature that won’t harm the fabric or stitching.
Add a small amount of mild detergent to the water, specifically formulated for delicate fabrics. Alternatively, you can use a cross-stitch washing solution designed explicitly for needlework.
Choosing a gentle detergent is crucial to preserve the colors and fibers of your cross stitch while effectively removing any accumulated dirt or stains.
Soak the Cross Stitch
Submerging the stamped cross stitch in the prepared washing solution allows the detergent to work on dirt and stains while minimizing the risk of damage to the stitching.
Gently agitate the water with your hands, ensuring an even distribution of the detergent. Allow the piece to soak for 15-20 minutes, providing ample time for the cleaning solution to penetrate and lift any embedded contaminants.
Avoid excessive agitation during this phase to prevent potential distortion or fraying of the delicate stitches.
Gently Wash by Hand

After the soaking period, use your hands to wash the fabric gently. Focus on areas with visible stains or soiling, employing a light touch to avoid damage to the intricate stitches.
Pay special attention to delicate details and be cautious not to rub too vigorously, which could lead to distortion or fraying.
The gentle hand-washing process ensures thorough cleaning without compromising the integrity of your stamped cross stitch, allowing you to enjoy the finished piece for years to come.
Rinse Thoroughly
After the soaking process, removing any residual detergent from the stamped cross stitch is essential.
Begin by draining the soapy water from the basin or sink. Then, refill it with clean, lukewarm water. Submerge the cross stitch and gently agitate the water to ensure a thorough rinse.
Repeat this rinsing process until the water runs clear, indicating that all detergent has been successfully removed. This step is crucial to prevent soap residue from affecting the fabric or colors.
Optional Vinegar Rinse
To set colors and eliminate any remaining soap residue, consider adding a teaspoon of white vinegar to the final rinse water.
White vinegar acts as a natural fabric softener and helps neutralize alkaline residues. This can enhance color retention and leave your stamped cross stitch with a clean finish.
However, be mindful of the concentration, as excessive vinegar may adversely affect certain fabrics.
Remove Excess Water
Once the cross stitch has been thoroughly rinsed, it’s time to remove excess water before drying. Lay the piece on a clean, dry towel and gently press down, absorbing the water.
Rolling the cross stitch in the towel effectively extracts moisture without wringing or twisting, which could distort the delicate stitches. Taking care during this step ensures the fabric maintains its original shape and structure.
Dry Flat

After removing excess water, lay the damp cross stitch flat on another dry, clean towel. Reshape the piece to its original dimensions, ensuring the stitches are even and undisturbed. Allow the stamped cross stitch to air-dry completely.
Avoid exposing it to direct sunlight during this process, as prolonged exposure can lead to fading of the colors. Patience in allowing the piece to air-dry ensures it retains its vibrant appearance.
Optional Fabric Softener
If you desire a softer finish for your stamped cross stitch, add a small amount of mild fabric softener to the final rinse water.
However, exercise caution, as certain fabric softeners may cause discoloration or attract dust. Adjust the quantity based on personal preference, keeping in mind the delicate nature of the embroidery.
Ironing (if needed)
If your cross stitch requires ironing to eliminate wrinkles or folds, take precautions to protect the stitched surface. Use a clean, white cloth and a low-heat iron over the piece.
Iron from the backside to avoid direct contact with the stitches, ensuring that the embroidery remains unharmed.
Always follow any care instructions provided with the embroidery kit to maintain the quality of your finished work.
How to Wash Stamped Embroidery?
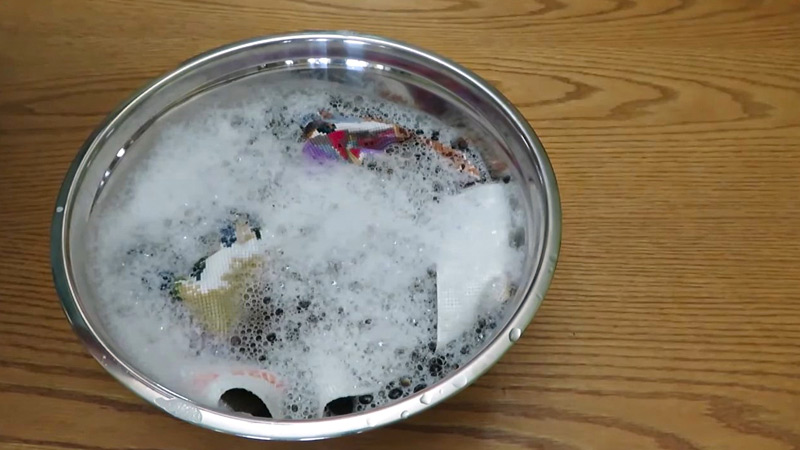
Washing stamped embroidery is a delicate process that requires special care to preserve the pre-printed design and the quality of the stitches.
Stamped embroidery involves a design pre-printed on the fabric, serving as a guide for stitching.
Follow these steps to wash stamped embroidery and keep your finished project in pristine condition:
Materials Needed:
- Mild detergent or embroidery washing solution
- Lukewarm water
- Soft towels
- White vinegar
- Mild fabric softener
- Large basin or sink
Instructions:
Check for Colorfastness
Before proceeding with the washing process, assessing the colorfastness of the threads used in your stamped embroidery is crucial.
This step ensures that the colors won’t bleed or fade during washing. Dampen a white cloth and press it onto a small, inconspicuous area of the fabric, then observe for any color transfer.
If you notice bleeding, it indicates that the colors are not stable. In such cases, opt for spot cleaning instead of submerging the entire piece to avoid compromising the integrity of the design. This preventive measure is essential for preserving the vibrancy of your embroidery.
Remove Dust and Debris
To prepare the stamped embroidery for washing, gently remove any loose dust or debris from the surface using a soft-bristled brush.
This step helps prevent particles from settling into the fabric during washing, ensuring a cleaner overall result.
Pay particular attention to intricate details and stitches, ensuring no foreign particles interfere with the delicate embroidery.
Brushing off debris not only aids in the washing process but also contributes to maintaining the visual appeal of your stamped embroidery.
Prepare the Washing Solution
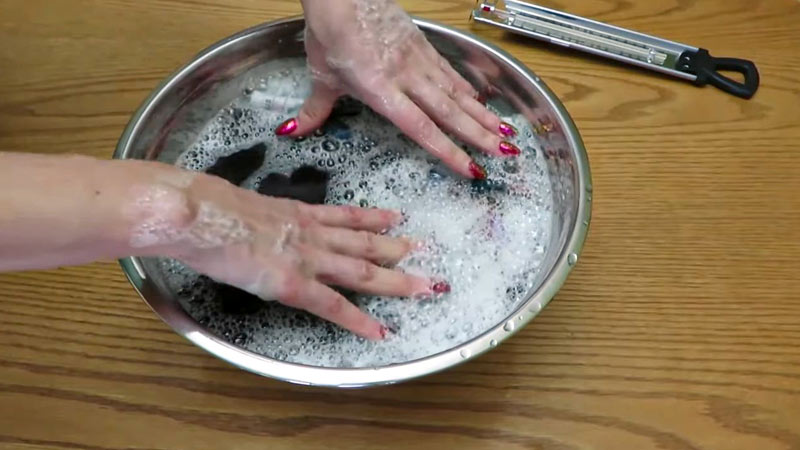
Creating a suitable washing solution is pivotal in caring for stamped embroidery. Fill a basin or sink with lukewarm water, maintaining a temperature that won’t harm the fabric or the pre-printed design.
Add a small amount of mild detergent formulated for delicate fabrics or an embroidery washing solution.
Ensuring the proper water temperature and using a gentle detergent are critical factors in preserving the stamped design and the quality of the stitches during the washing process.
Soak the Embroidery
Once the washing solution is prepared, carefully submerge the stamped embroidery in the water. Gently agitate the water with your hands to distribute the detergent evenly.
Allowing the piece to soak for 15-20 minutes facilitates the penetration of the cleaning solution, effectively lifting dirt and stains.
Exercise caution to avoid excessive agitation during this phase to prevent any potential damage to the pre-printed design and intricate stitches.
Gently Wash by Hand
Following the soaking period, use your hands to wash the fabric gently. Focus on areas with visible stains or soiling, employing a light touch to avoid any potential distortion or fraying around the pre-printed design and delicate stitches.
This careful washing process ensures that the stamped embroidery is thoroughly cleaned without compromising the integrity of the original design. You can enjoy a fresh and clean embroidery piece by maintaining a gentle touch.
Rinse Thoroughly
After the embroidery has soaked in the washing solution, it’s crucial to remove any residual detergent by thorough rinsing. Start by draining the soapy water from the basin or sink.
Refill the container with clean, lukewarm water and immerse the stamped embroidery. Gently agitate the water to ensure a comprehensive rinse, removing any remaining detergent from the fabric.
Repeat this rinsing process until the water runs clear, signifying the successful removal of all soap residues.
Thorough rinsing is essential to prevent potential skin irritation and maintain the fabric’s freshness and stamped design.
Optional Vinegar Rinse
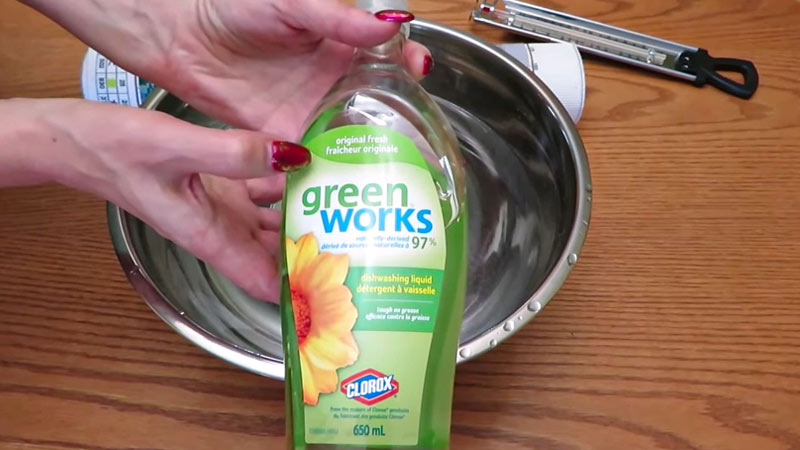
For an additional measure to set colors and eliminate lingering soap residue, consider incorporating a teaspoon of white vinegar into the final rinse water.
White vinegar acts as a natural fabric softener, neutralizing alkaline residues and enhancing color retention.
This optional vinegar rinse contributes to a more vibrant appearance in your stamped embroidery.
However, be mindful of the concentration, as excessive vinegar may adversely affect certain fabrics. This step is particularly beneficial for projects where color retention is a priority.
Remove Excess Water
Once thoroughly rinsed, it’s time to remove excess water from the stamped embroidery. Lay the embroidery on a clean, dry towel and gently press to absorb moisture.
Avoid wringing or twisting the fabric, as this can distort the stitches and the pre-printed design.
Rolling the embroidery in the towel is an effective method to extract water without compromising the integrity of the delicate stitches. This step ensures that the fabric maintains its original shape and structure during drying.
Dry Flat
Lay the damp stamped embroidery flat on another dry, clean towel for the drying process. Reshape it to its original dimensions if necessary, ensuring that the stitches and the pre-printed design are even and undisturbed.
Allow the embroidery to air-dry completely, keeping it away from direct sunlight.
Prolonged exposure to sunlight can lead to fading colors and the pre-printed design. It patiently allows the piece to air-dry and guarantees that it retains its vibrant and fresh appearance.
Optional Fabric Softener
If you desire a softer finish for stamped embroidery, consider adding a small amount of mild fabric softener to the final rinse water. However, exercise caution, as certain fabric softeners may cause discoloration or attract dust.
Adjust the quantity based on personal preference, keeping in mind the delicate nature of the embroidery. This optional step enhances the overall feel of the fabric without compromising the stamped design.
Ironing (if needed)
If your stamped embroidery requires ironing to eliminate wrinkles or folds, it’s essential to proceed with caution.
Use a clean, white cloth and a low-heat iron over the piece iron from the backside to avoid direct contact with the pre-printed design.
Following any care instructions from the embroidery kit ensures the finished piece retains its quality and appearance, providing a polished and well-maintained result.
Stamped vs. Counted Cross Stitch
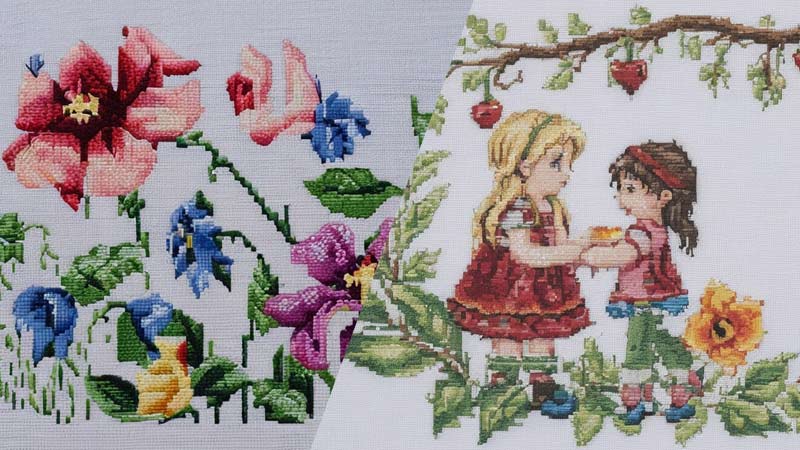
Stamped Cross Stitch and Counted Cross Stitch are two popular techniques within the world of embroidery, each offering unique characteristics and challenges.
Whether you’re a seasoned cross-stitch enthusiast or just starting, understanding the differences between these two methods can help you choose the right approach for your projects.
Stamped Cross Stitch
Stamped Cross Stitch is a technique where the design is pre-printed onto the fabric. This makes it especially suitable for beginners or those who prefer a more straightforward approach to cross-stitching.
The design is typically imprinted with washable ink or dye, providing a guide for the placement of stitches.
This method eliminates the need for counting threads and allows the stitcher to focus on following the printed pattern.
Counted Cross Stitch
On the other hand, Counted Cross Stitch requires the stitcher to follow a pattern that indicates the number of stitches and their placement on the fabric.
This method is considered more traditional and is often favored by experienced cross-stitchers who enjoy the precision and challenge of counting and creating stitches based on a chart. Counted Cross Stitch allows for greater flexibility in fabric and thread choices.
Now, let’s compare these two techniques in a table:
| Aspect | Stamped Cross Stitch | Counted Cross Stitch |
| Design Placement | Pre-printed on the fabric, providing a guide. | Requires counting and following a pattern. |
| Suitability for Beginners | It may be challenging for beginners, requiring precise counting. | Less precision and forgiving of errors are required. |
| Ease of Learning | It is ideal for beginners due to the guided design. | Requires practice and familiarity with counting and charts. |
| Variety of Fabrics | Limited by pre-printed designs on fabric. | Offers flexibility in choosing different fabrics. |
| Design Options | Limited to available stamped patterns. | Wide range of designs available for stitching. |
| Versatility | Limited design customization. | Allows for greater design creativity and personalization. |
| Precision | It may be slower as counting adds an extra step. | Requires precision in counting for accurate results. |
| Stitching Speed | Generally quicker due to guided patterns. | May be slower as counting adds an extra step. |
FAQs
Should I wash my stamped cross stitch after completing it?
Yes, removing oils, dirt, or markings is generally recommended. Follow the care instructions provided.
Can I wash stamped cross stitch in a washing machine?
Hand washing is advisable to prevent damage to stitches and the design.
How often should I wash stamped cross-stitch projects?
Wash as needed based on handling, exposure to dirt, or storage duration.
Can I use regular laundry detergent?
Use mild detergent or an embroidery washing solution for delicate fabrics.
Is testing for colorfastness necessary?
Yes, it’s crucial to prevent color bleeding; spot cleaning may be an option if colors are unstable.
To Recap
The artistry and dedication poured into stamped cross-stitch projects merit careful consideration when washing.
The meticulous steps outlined in this process ensure the preservation of the vibrant colors and delicate stitches that define these creations.
Each step contributes to a thorough yet gentle cleaning routine, from the initial check for colorfastness to the optional vinegar rinse and the final touch of optional fabric softener.
By adhering to these practices, enthusiasts can maintain the longevity and allure of their stamped cross-stitch pieces.
Embracing the art involves the creation and nurturing care that safeguards these cherished works of needlework for years to come.
Leave a Reply