Sea glass is small pieces of glass that have been naturally tumbled by the ocean, resulting in smooth, frosted surfaces. It is often found along shorelines and is prized for its unique appearance and its use in crafts and jewelry.
The process of using Elmer’s glue and food coloring to create sea glass involves coating small glass or plastic beads with a mixture of the glue and food coloring. The coated beads are then dried, either by air drying or using a low-heat oven, until the glue is fully hardened.
This process creates beads that resemble natural sea glass and can be used in a variety of crafts and decorative projects. The finished beads can be left as is, or additional layers of color or gloss can be added for a more polished look.
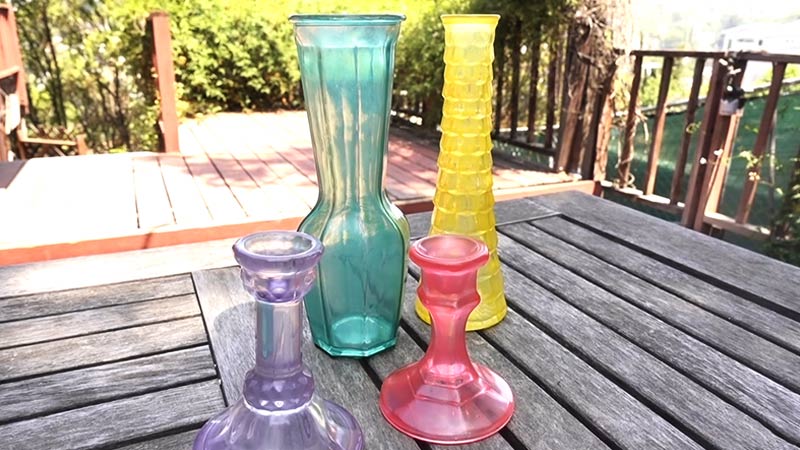
Gathering Materials for Making Sea Glass With Elmer’s Glue and Food Coloring
To gather the necessary materials for creating sea glass using Elmer’s glue and food coloring, you will need the following items:
Elmer’s Glue
You will need a small amount of Elmer’s glue to create the base for your sea glass beads. Any type of Elmer’s glue should work, including school glue or glue sticks.
Food Coloring
You will need food coloring to add color to your seaglass beads. You can use any type of food coloring, including liquid, gel, or powdered.
Small Bowl or Cup
You will need a small bowl or cup to mix the glue and food coloring together.
Spoon
You will need a spoon to stir the glue and food coloring together.
Clear Glass or Plastic Beads
You will need small, clear glass or plastic beads to coat with the glue and food coloring mixture. You can find these beads at craft stores or online. Make sure to select beads that are small enough to resemble natural sea glass.
Mixing the Glue and Food Coloring
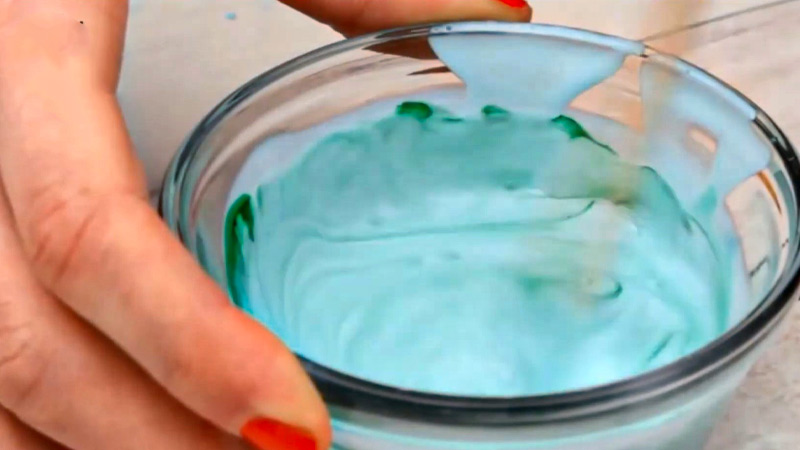
To mix the glue and food coloring to create the desired color for your seaglass beads, follow these steps:
- Begin by adding a small amount of Elmer’s glue to a small bowl or cup. You will need enough glue to coat your beads, but you don’t need a lot for each color. A few tablespoons of glue should be sufficient.
- Next, add a few drops of food coloring to the glue. The amount of food coloring you add will depend on the intensity of the color you want to achieve. For a bold, vibrant color, add more food coloring. For a softer, more subtle color, add less food coloring.
- Stir the glue and food coloring together until the color is fully combined and the glue has taken on the desired shade.
- If you want to create different shades or tones of the same color, you can experiment with adding more or less food coloring or mixing in different colors of food coloring. For example, to create a pale pink color, you can start with a small amount of red food coloring and then add small amounts of white food coloring until you achieve the desired shade.
- Repeat the process for each color of sea glass beads you want to create.
Remember to start with a small amount of food coloring and gradually add more as needed. It’s easier to add more color than it is to try to lighten a color that is too dark.
Also, keep in mind that the color of the finished beads may be slightly different from the color of the glue mixture, as the glue will lighten as it dries.
Coating the Beads for Making Sea Glass With Elmer’s Glue and Food Coloring
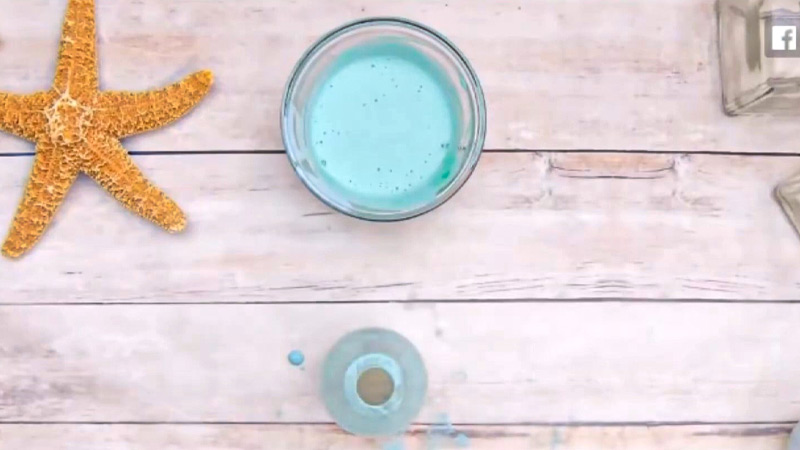
Coating beads to create a sea glass effect using Elmer’s glue and food coloring is a creative and fun DIY project.
Here’s a basic guide on how you can achieve this effect:
Prepare Your Workspace
Cover your work surface with wax paper or parchment paper to catch any drips and to make the cleanup easier.
Mix Elmer’s Glue with Food Coloring
In a small bowl or container, mix Elmer’s glue with the desired food coloring. Start with a small amount of glue and add food coloring gradually until you achieve the desired color.
For a sea glass effect, blues and greens work well.
Stir the Mixture
Use a toothpick or small stirring stick to thoroughly mix the Elmer’s glue and food coloring on the glass. Make sure the color is evenly distributed.
Coat the Beads
Dip each bead into the colored glue mixture, ensuring that it is fully coated. You can use a toothpick to help spread the glue evenly on the bead’s surface.
Remove Excess Glue
Allow any excess glue to drip off the beads. You can gently shake the bead or use the toothpick to remove excess glue.
Place on the Drying Rack
Place the coated beads on a small drying rack or any surface that allows air circulation. This prevents the beads from sticking to the surface as they dry.
Let Them Dry
Allow the beads to dry completely. The drying time may vary depending on the thickness of the glue coating.
Repeat if Desired
If you want a thicker or more vibrant color, you can repeat the process after the first layer is dry. Add additional layers as needed.
Finish and Seal (Optional)
Once the beads are completely dry, you can optionally seal them with a clear sealant or varnish to protect the color and give them a glossy finish.
Remember that this process is for decorative purposes, and the beads may not be suitable for items that will be submerged in water or heavily handled.
Additionally, experiment with the ratio of glue to food coloring to achieve the desired transparency and color intensity.
To ensure even coverage and avoid drips, try to work quickly and be gentle when rolling the beads in the glue mixture. You may also want to use a toothpick or small brush to help you apply the glue mixture to any areas that are difficult to reach.
Make sure to coat the beads completely, but be careful not to use too much glue, as this can make the finished beads too thick and heavy. Once the beads are coated, allow them to dry completely before handling them further. This will help ensure that the glue is fully hardened and the beads are ready for the next step.
Finishing Touches
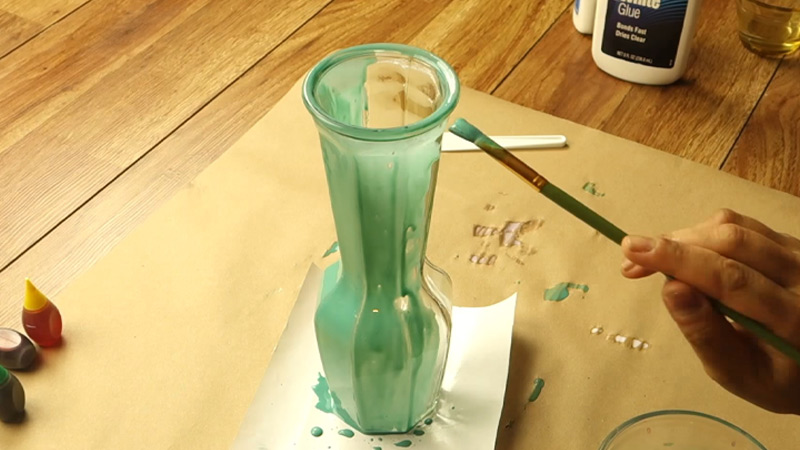
There are several optional steps you can take to add additional layers of color or gloss to your finished seaglass beads. Here are a few ideas:
- Add a second layer of glue and food coloring: Once the first layer of glue has dried, you can add a second layer of a different color to create a marbled or ombre sea glass effect with Elmer’s glue. Simply mix a new color of glue and food coloring, and apply it to the beads using the same process as before.
- Add a layer of gloss: To give your sea glass beads a shiny finish, you can add a layer of gloss. Simply mix a small amount of gloss medium with a few drops of food coloring, and brush the mixture onto the beads using a small paintbrush.
- Add glitter: If you want to give your sea glass beads some sparkle, you can add a layer of glitter. Simply mix a small amount of glitter with a few drops of glue, and brush the mixture onto the beads using a small paintbrush.
There are many ways you can use your completed sea glass beads, including in jewelry, home decor, and other crafts. Some ideas include:
- Make a necklace or bracelet: String your sea glass beads onto a piece of jewelry wire or cord to create a unique piece of jewelry.
- Add them to a terrarium or fairy garden: Use your sea glass beads as decorative elements in a small terrarium or fairy garden.
- Use them in a mosaic: Combine your sea glass beads with other small decorative elements, such as beads or shells, to create a mosaic project.
- Use them to decorate a vase or jar: Add your sea glass beads to a clear vase or jar to create a decorative accent.
The possibilities are endless, so get creative and have fun!
Tips to Make Sea Glass With Elmer’s Glue and Food Coloring
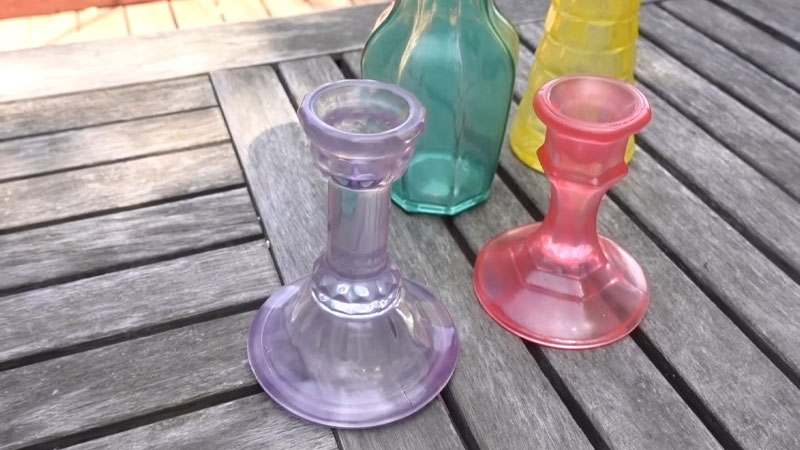
Creating faux sea glass with Elmer’s glue and food coloring is a creative and enjoyable DIY project. Here are some tips to help you achieve the best results:
Select Smooth Glass Beads
Start with smooth glass or plastic beads as your base. The smoother the surface, the more realistic your faux sea glass will look.
Clean the Beads
Ensure that the beads are clean and free from any dirt or residue before applying the glue mixture. Clean them with a mild detergent and let them dry completely.
Experiment with Colors
Play around with different food coloring combinations to achieve the color you desire. For a realistic sea glass look, consider using shades of blue and green.
Control the Intensity of Color
The intensity of the color depends on the concentration of food coloring. Start with a small amount and gradually add more until you achieve the desired hue.
Mix Glue and Food Coloring Thoroughly
Mix the Elmer’s glue and food coloring sea glass thoroughly to ensure an even distribution of color. You want a smooth and consistent mixture for coating the beads.
Apply Coating Evenly
Dip the beads into the colored glue mixture, making sure to coat them evenly. Use a toothpick or small brush to help distribute the glue and create a smooth surface.
Remove Excess Glue
Allow excess glue to drip off the beads to avoid clumps or uneven coatings. You can gently shake the beads or use a toothpick to remove any excess.
Use a Drying Rack
Place the coated beads on a drying rack to allow air circulation. This prevents the beads from sticking to the surface as they dry.
Allow Sufficient Drying Time
Be patient and allow the beads to dry completely before handling them. The drying time may vary based on the thickness of the glue coating.
Layering for Intensity
If you want a more intense color, let the first layer dry completely and then apply additional layers. Repeat until you achieve the desired color intensity.
Sealing (Optional)
Consider sealing the beads with a clear sealant or varnish after they have dried completely. This adds a protective layer and gives the beads a glossy finish.
Experiment and Have Fun
Feel free to experiment with different colors, layering techniques, and bead shapes. The beauty of this project lies in its creativity, so enjoy the process of crafting your faux sea glass.
Remember that the final result will have a translucent appearance, mimicking the look of genuine sea glass. These faux sea glass beads can be used for various craft projects, including jewelry-making and home decor.
Comparison of Elmer’s Glue and E6000
| Property | Elmer’s Glue | E6000 |
|---|---|---|
| Type of glue | School glue | Industrial strength craft adhesive |
| Drying time | 1-2 hours | 24-48 hours |
| Water resistance | Somewhat water resistant | Highly water resistant |
| Heat resistance | Can withstand moderate heat | Can withstand high heat |
| Flexibility | Somewhat flexible | Highly flexible |
| Cost | Inexpensive | More expensive |
FAQs
While Elmer’s glue is a common choice for creating sea glass, you can also use other types of glue, such as E6000 or Mod Podge. Keep in mind that these glues may have different properties than Elmer’s glue, so the finished beads may look slightly different.
Technically, you can use real sea glass instead of glass or plastic beads to create your sea glass beads. However, keep in mind that real sea glass is often more expensive and harder to come by than glass or plastic beads, and it may be more difficult to achieve a consistent color. If you do choose to use real sea glass, be sure to wash and dry it thoroughly before coating it with the glue mixture.
While this method is primarily intended for creating small beads, you can potentially use it to create larger pieces of sea glass by using larger pieces of glass or plastic. However, keep in mind that the larger the piece, the more Elmer’s glue and food coloring sea glass you will need, and the more difficult it may be to achieve an even coat. You may also need to use a different drying method, such as a low heat oven, to ensure that the glue is fully hardened.
Yes, you can mix different colors of glue and food coloring together to create new colors. This can be a fun way to experiment and come up with unique color combinations. Just keep in mind that the finished color may be slightly different than the colors of the individual components, as the glue will lighten as it dries.
To store your finished sea glass beads, place them in an airtight container or bag. This will help protect them from moisture and prevent them from picking up any unwanted odors or flavors. If you are planning to use your sea glass beads in a craft project, you may want to store them in a container that is easily accessible and organized by color.
Conclusion
Crafting sea glass with Elmer’s Glue and food coloring is a delightful, budget-friendly way to infuse coastal charm into your life. As we conclude this creative adventure, you’ve learned how to transform ordinary glass into stunning sea glass gems.
With a dash of imagination and a touch of DIY magic, you can now craft unique jewelry, home decor, or thoughtful gifts that capture the essence of the ocean.
This craft not only fosters creativity but also encourages eco-conscious crafting by reducing the demand for naturally sourced sea glass.
So, gather your supplies, let your creativity flow, and embark on a journey of crafting sea glass that adds a touch of coastal wonder to your world.
Leave a Reply