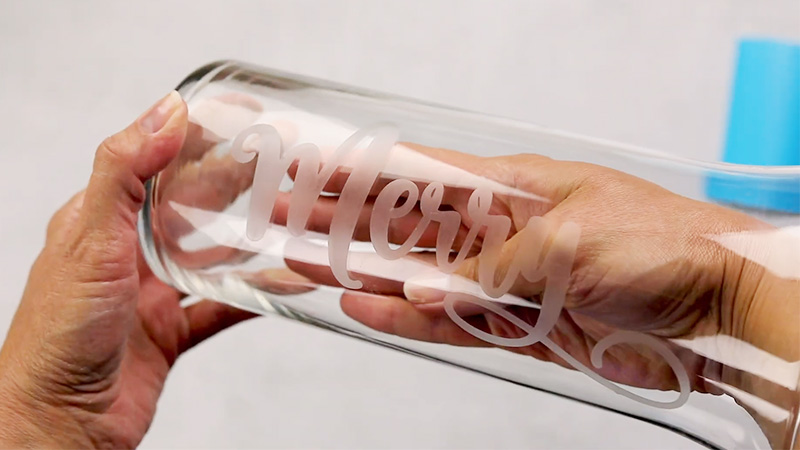
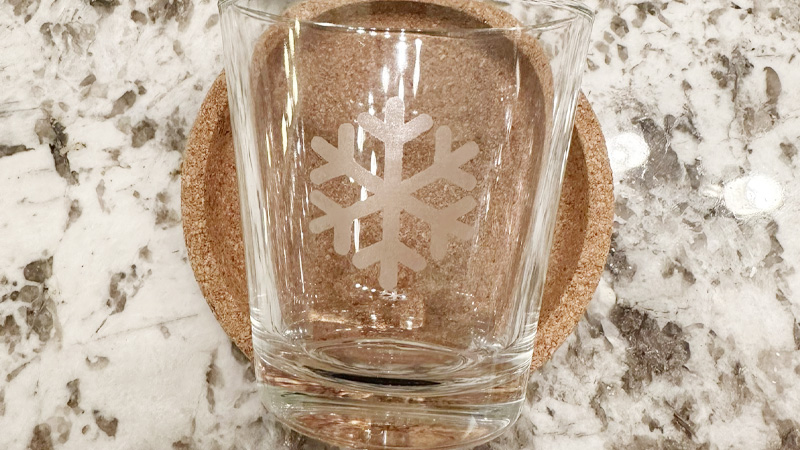
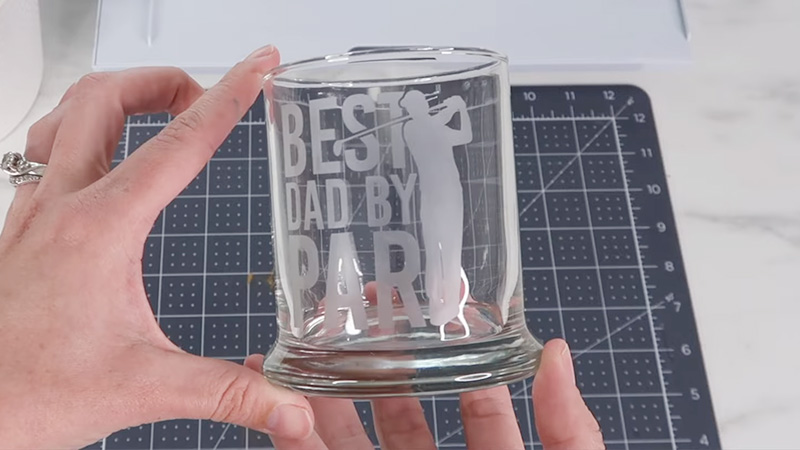
Glass etching is a captivating and versatile craft that allows you to transform ordinary glass surfaces into personalized and elegant works of art. Among the many methods available, etching glass with Armour Etch and a Cricut machine is a popular choice for enthusiasts and DIY crafters.
This creative process involves applying Armour Etch cream over a vinyl stencil created using a Cricut machine, resulting in beautifully etched designs on glass items.
Whether you want to create custom gifts, add a personal touch to glassware, or enhance the aesthetic of your home decor, this method offers a world of possibilities.
In this guide, we’ll explore How to Etch Glass with Armour Etch and Cricut, providing you with the knowledge and inspiration to embark on your own glass etching journey.

What Is Glass Etching?
Glass etching is a decorative technique that involves the creation of intricate, permanent designs or patterns on the surface of glass objects.
This process typically utilizes abrasive materials, such as sandblasting or chemical compounds, to remove tiny layers of glass, resulting in a frosted, textured, or translucent appearance.
Glass etching can be used to personalize glassware, mirrors, windows, and other glass surfaces, adding an elegant and artistic touch to a variety of items. It is commonly employed for customizing gifts, creating decorative art pieces, or adding branding to glass products.
The level of detail and design possibilities in glass etching is vast, making it a popular choice for both artistic expression and functional applications.
How To Etch Glass With Armour Etch And Cricut?
Here’s necessary instructions on how to Etch glass with Armour Etch and cricut-
Gather Materials and Safety Precautions
Before you begin, ensure you have all the necessary materials: Armour Etch cream, a Cricut machine, vinyl stencil, gloves, safety glasses, and a clean glass surface. Start by wearing gloves and safety glasses to protect your hands and eyes from the etching cream.
Design Your Stencil Using Cricut
Use your Cricut machine to cut out a design or text on adhesive vinyl. The design will act as a stencil, allowing the etching cream to only affect the exposed glass surface.
Ensure the vinyl adheres firmly to the glass, leaving no gaps where the etching cream could seep through.
Apply Armour Etch Cream
Apply a thick, even layer of Armour Etch cream over the stencil, covering the entire design area. Be generous with the cream, as it needs to have enough substance to etch the glass properly. Avoid spreading it too thin, which might result in uneven etching.
Wait and Let the Etching Process Occur
Follow the recommended time mentioned on the Armour Etch instructions. Typically, it takes about 5-10 minutes for the etching cream to work its magic. During this time, avoid moving or touching the glass.
You can gently tap the glass to ensure the cream is making proper contact with the surface.
Rinse Off the Etching Cream
After the specified time has passed, carefully take your glass object to a sink and rinse off the etching cream under running water. Be thorough in removing all traces of the cream to halt the etching process. Make sure to peel off the vinyl stencil gently as you rinse.
Clean and Dry Your Glass Object:
Clean the glass surface with mild soap to remove any remaining residue from the etching cream. Dry it thoroughly with a clean, lint-free cloth. Inspect the glass to ensure the etched design is to your liking.
Final Touches and Protection
If you want to enhance the visibility of your etched design, consider backlighting the glass or painting the etched area.
Additionally, to preserve the etched design, avoid using abrasive materials for cleaning, as they might scratch the surface. Your etched glass item is now ready to use or display.
Remember, practice makes perfect with glass etching. It’s advisable to experiment on small, inexpensive glass pieces before attempting intricate or valuable items to perfect your technique.
Why You’ll Love Glass Etching?

Here are some common reasons why you’ll love this masterpiece-
Personalization and Customization
Glass etching allows you to add a personal touch to various glass items, from glassware and mirrors to windows and decorative pieces. You can create unique, one-of-a-kind designs, making it a perfect choice for personalized gifts or home decor.
Endless Creative Possibilities
This art form offers limitless creative opportunities. Whether you’re into intricate patterns, elegant monograms, or eye-catching graphics, glass etching lets you explore a wide range of design choices to suit your preferences and style.
Permanent and Durable
Unlike many other decorative techniques, glass etching provides a long-lasting and durable result. The etched design becomes a part of the glass surface, resistant to fading, chipping, or peeling over time, ensuring your creations remain intact for years to come.
Elegance and Timelessness
Etched glass has a timeless and sophisticated appearance. The frosted, translucent look of etched glass adds an air of elegance and refinement to any object, making it a versatile choice for both modern and traditional settings.
Brand Identity and Marketing
For businesses, glass etching can be an effective way to brand glass products or add a logo to mirrors or windows. It offers a professional and high-quality branding solution that leaves a lasting impression on customers.
Easy to Learn
Glass etching can be learned and mastered relatively quickly, even for beginners. With the right materials and techniques, you can achieve impressive results in a short amount of time. It’s a satisfying hobby that doesn’t require extensive artistic skills.
Eco-Friendly and Safe
Glass etching is a relatively eco-friendly process as it doesn’t involve harmful chemicals that are hazardous to the environment. Additionally, when following proper safety precautions, such as using gloves and eye protection, it can be a safe and enjoyable craft for enthusiasts of all levels.
In summary, glass etching offers a combination of creativity, personalization, durability, and elegance that makes it a popular choice for DIY projects, crafting, and even business applications.
Its versatility and relatively low barrier to entry make it a beloved technique for a wide range of enthusiasts and professionals alike.
Mistakes To Avoid When Doing Etch Glass With Armour Etch And Cricut

Here are some mistakes to avoid-
Insufficient Stencil Adhesion
Failing to ensure that your vinyl stencil adheres tightly to the glass is a common mistake. If there are gaps or air bubbles around the design, the etching cream may seep under the stencil, resulting in a blurry or uneven etched pattern. Always take your time to properly smooth and secure the stencil.
Inadequate Safety Precautions
Neglecting safety precautions is a significant mistake. Armour Etch cream contains chemicals that can be harmful to skin and eyes. Always wear gloves and safety glasses when working with the cream, and work in a well-ventilated area to minimize fumes.
Overexposure to Etching Cream
Leaving the etching cream on the glass for too long can result in an overly deep and sometimes messy etching. Always follow the manufacturer’s instructions regarding the recommended etching time, which is usually 5-10 minutes.
Using Thin or Worn Vinyl
Choosing thin or worn-out vinyl for your stencil can lead to leaks in the design. Ensure that the stencil material is thick enough to prevent the etching cream from seeping underneath it. Regularly inspect and replace your cutting material as needed.
Incomplete Rinsing
Inadequate rinsing of the etching cream is another common mistake. Failing to thoroughly remove the cream from the glass can result in ongoing etching and a rough, uneven appearance.
Make sure to rinse the glass under running water for a sufficient amount of time, ensuring all the cream is completely washed away.
Overhandling the Glass
Excessive handling of the glass after applying the etching cream can lead to smudging or uneven results. Avoid moving or touching the glass while the cream is working, and handle it with care during the rinsing and cleaning process.
Improper Cleaning and Drying
After etching, it’s essential to clean the glass surface thoroughly to remove any residual etching cream or adhesive from the stencil. Failure to do so can lead to contamination and smudging of the design. Use mild soap and a lint-free cloth for cleaning, followed by thorough drying.
By being mindful of these common mistakes and taking the necessary precautions, you can ensure a successful and satisfying glass etching project with Armour Etch and Cricut.
Practice and attention to detail will help you achieve professional-looking results every time.
FAQs
What is the essential equipment needed for glass etching with Armour Etch and Cricut?
To etch glass using Armour Etch and Cricut, you’ll need Armour Etch cream, a Cricut machine for creating vinyl stencils, adhesive vinyl, safety glasses, and gloves. These materials are essential for the design, protection, and application processes.
Can I etch glass without a Cricut machine?
While a Cricut machine makes the process more efficient, you can create stencils manually or use pre-made ones. However, a Cricut provides precise and intricate designs, making it a valuable tool for glass etching.
How do I achieve the best results with glass etching?
Ensure your stencil adheres tightly to the glass, apply an even layer of Armour Etch cream, follow recommended etching times, and rinse thoroughly. Attention to detail and safety precautions are key to obtaining the desired outcome.
Can I etch any type of glass with Armour Etch?
Armour Etch is most effective on untreated, uncoated glass. It may not work well on some types of tempered or colored glass. Always test on a small area first.
How can I protect the surrounding glass from etching cream?
To prevent accidental etching, use masking tape or painter’s tape to cover areas of the glass you want to keep clear. Be careful to apply it precisely around the stencil’s edges, creating a protective barrier.
Conclusion
Etching glass with Armour Etch and a Cricut machine is an artful and accessible way to infuse your glass items with uniqueness and charm.
This method allows for endless creative possibilities, from intricate patterns to personalized monograms, and it bestows a timeless elegance upon glass surfaces.
While it requires attention to detail and adherence to safety precautions, the satisfaction of producing professionally etched glass pieces is immensely rewarding.
Whether for gifting, decorating your living space, or branding glass products, this technique serves as a testament to the magic of do-it-yourself craftsmanship.
As you embark on your glass etching endeavors, remember that practice hones your skills, and soon you’ll be etching glass creations that reflect your artistic vision and personal style.
Leave a Reply