Fabric marking is an essential skill for anyone engaged in sewing, quilting, or crafting with textiles.
Accurate markings on fabric are the foundation of precision in garment construction and fabric-based projects.
These markings serve as navigational guides, ensuring that every stitch and cut aligns flawlessly with the intended design.
Whether you’re a novice or a seasoned seamstress, understanding the art of fabric marking is crucial for achieving professional results.
In this guide, we will explore the step-by-step process of how to mark fabric effectively, from selecting the right tools to transferring pattern details and ensuring precision throughout your project.
Mastering fabric marking is the first stitch towards creating garments and crafts that reflect your creativity and attention to detail.
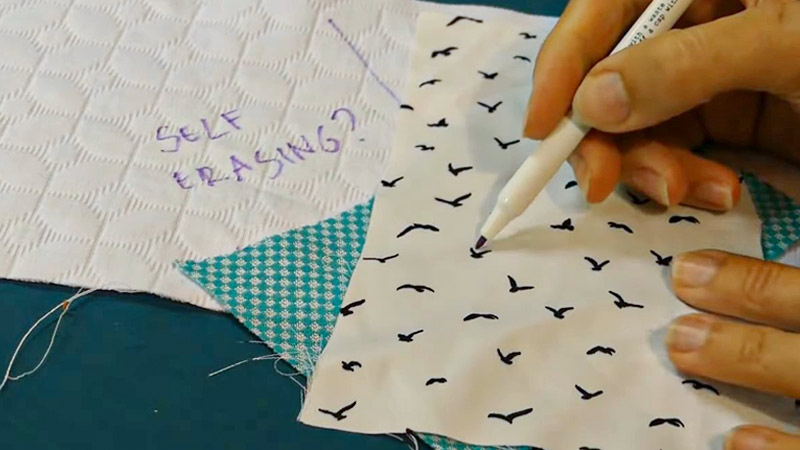
10 Steps for Fabric Marking to Know How to Mark Fabric Perfectly
Fabric marking is an essential step in the process of sewing, quilting, or any other fabric-related project.
Proper fabric marking can make a significant difference in the final result of your project, as it helps you maintain precision and reduce mistakes.
Here’s a guide on how to mark fabric effectively:
Tools for Fabric Marking: Before you start marking your fabric, gather the necessary tools:
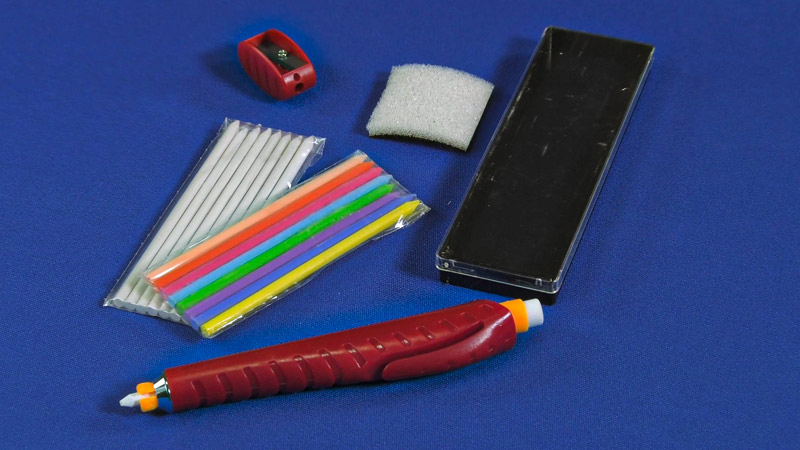
- Fabric Markers/Pens
- Chalk
- Tracing Paper and Wheel
- Tailor’s Tacks
- Templates and Stencils
Steps to Mark Fabric:
1. Prepare Your Fabric
Begin by inspecting your fabric for any dirt, stains, or wrinkles. It’s crucial to start with a clean and smooth surface.
If your fabric has wrinkles, use an iron set to the appropriate temperature for your fabric type to remove them. Make sure to press, not slide, the iron to prevent stretching or distorting the fabric.
2. Understand Your Pattern
Before marking your fabric, thoroughly read and understand the instructions provided in your pattern.
Patterns often include various markings, such as notches, grainlines, darts, and seam allowances. Take note of these and plan your fabric marking accordingly.
3. Choose Your Marking Method
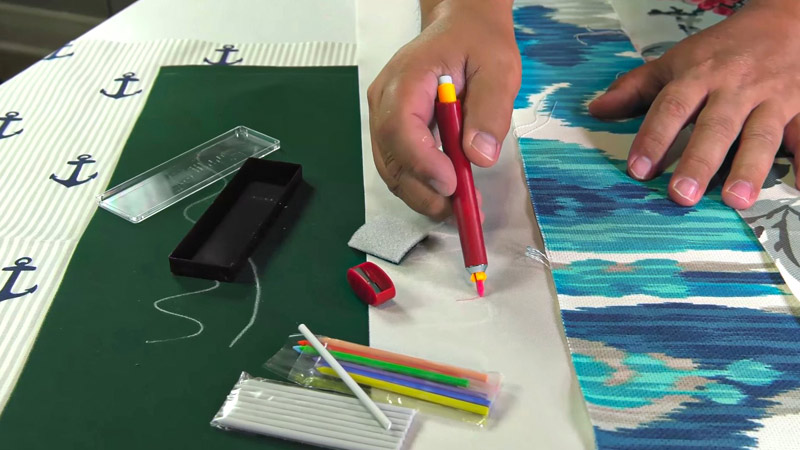
The choice of marking tool depends on your fabric and project. For light-colored fabrics, washable markers or chalk may work well, while for dark or heavy fabrics, consider using a disappearing ink marker.
If you’re uncertain, test the marker on a fabric scrap to ensure it won’t bleed or leave permanent marks.
4. Transfer Pattern Markings
If you’re using a commercial pattern, transferring the markings is essential for accuracy. Place your pattern piece on the fabric and sandwich a sheet of tracing paper between them.
Use a tracing wheel to follow the lines on the pattern piece, transferring the markings onto the fabric. This method ensures precise placement of pattern marks.
5. Mark Seam Allowances
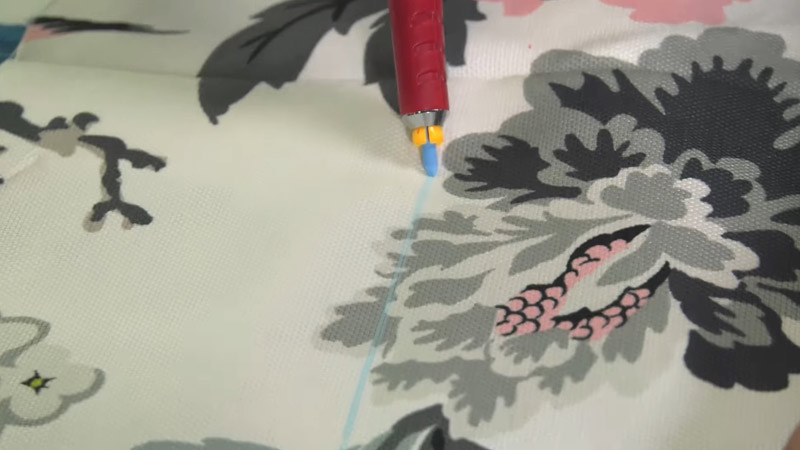
Using your chosen marking tool, clearly indicate the seam lines, notches, darts, and any other necessary information directly on the fabric.
Be meticulous, as these markings will guide your sewing and ensure that your pieces align correctly when assembled.
6. Tailor’s Tacks
Tailor’s tacks are particularly useful for transferring small, intricate details like pattern notches.
To create a tailor’s tack, thread a needle with a contrasting color thread and sew it through the fabric layers at the designated point. Leave a short tail on one side and a longer one on the other.
Cut the threads between the layers, effectively securing the tack. This method makes it easy to locate and match points during sewing.
7. Use Templates and Stencils
For projects requiring repetitive shapes or lines, such as quilting or embroidery, using templates or stencils can help maintain uniformity. Place the template or stencil on the fabric and mark around it with your chosen tool.
Templates and stencils are especially beneficial for maintaining consistent spacing and design elements.
8. Double-Check Your Markings
Before proceeding with cutting or sewing, take a moment to double-check all your fabric markings for accuracy.
Ensure that you’ve marked all the necessary points, lines, and details. Correct any mistakes promptly to prevent errors during the sewing process.
9. Remove Marks as Needed
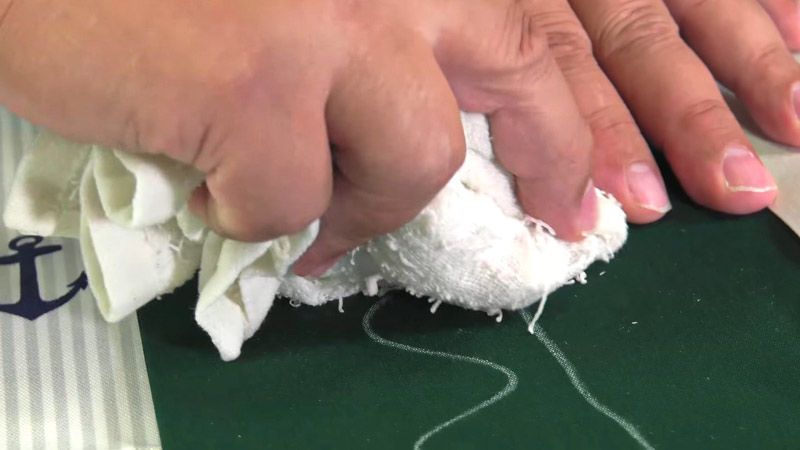
Some fabric marking tools may need to be removed after sewing to avoid visible markings on the finished project. Follow the manufacturer’s instructions for erasing or washing out the marks without damaging the fabric.
Typically, marks made with washable markers can be removed by gently washing the fabric, while disappearing ink marks should vanish on their own over time or when exposed to air.
10. Proceed with Your Project
With your fabric properly marked, you can now confidently proceed with your project. Follow the pattern instructions, aligning your pieces according to the markings you’ve made.
Your precise fabric markings will serve as invaluable guides throughout the sewing or crafting process, ensuring that your project turns out as intended.
How to Prevent Making Mistakes While Marking Fabric
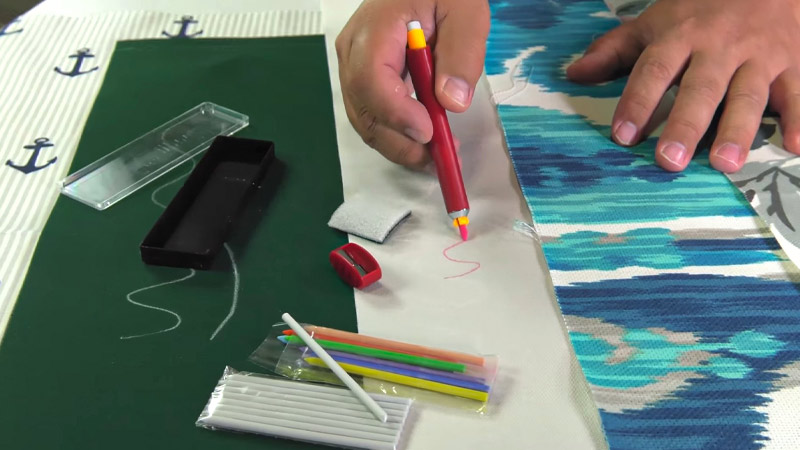
Preventing mistakes while marking fabric is crucial to ensure your sewing or crafting project turns out as planned.
Here are some valuable tips to help you avoid errors and achieve precise fabric markings:
Read Instructions Carefully
Always start by thoroughly reviewing your pattern instructions or project guidelines. Understanding the layout and markings required is the first step in preventing mistakes.
Use the Right Marking Tools
Choose the appropriate marking tool for your fabric type and project. Test the tool on a scrap piece of fabric to ensure it works as expected and doesn’t leave unwanted marks.
Test on Scrap Fabric
Before marking your actual fabric, practice on a scrap piece of the same material. This helps you become familiar with how the tool behaves on that specific fabric and gives you a chance to adjust your technique if needed.
Measure Twice, Mark Once
Double-check all measurements and markings before applying them to your fabric. Use a ruler or measuring tape to ensure accuracy, especially when marking seam allowances and other critical points.
Mark Lightly
When marking fabric, use a gentle hand and light strokes. Avoid pressing too hard, as this can leave permanent marks or distort the fabric. You want your markings to be visible but easy to remove if necessary.
Mark in Well-Lit Areas
Ensure you have adequate lighting when marking your fabric. Poor lighting can lead to inaccuracies in marking, so use natural light or a good-quality task lamp to illuminate your workspace.
Use Removable Markers
If you’re uncertain about the placement of markings or need to adjust them later, consider using removable fabric markers or chalk that can be easily erased or washed out.
Take Breaks
Fabric marking can be a meticulous task, and working for extended periods may lead to fatigue and errors. Take regular breaks to refresh your focus and reduce the likelihood of making mistakes.
Stay Organized
Keep your workspace tidy and organized. Misplacing pattern pieces or losing track of your markings can lead to confusion and errors.
Mark Key Reference Points
Focus on marking key reference points such as notches, grainlines, darts, and seam lines. These are essential for proper alignment during assembly.
FAQS
While it’s not recommended, you can use regular pencils or pens in a pinch. However, be aware that they may leave permanent marks or bleed through the fabric.
In cases where your pattern lacks notches or guidelines, it’s essential to measure and mark seam allowances accurately.
For removable marks like chalk or washable markers, simply erase or wash them out. If you’ve used a permanent marker, you might need to adjust your pattern or incorporate the mistake into your design creatively.
Disappearing ink markers are designed to fade over time, so it’s best to use them shortly before sewing.
Yes, an alternative to tailor’s tacks for marking small, intricate details is using hand basting with a contrasting thread.
To Recap
Mastering the art of fabric marking is the cornerstone of achieving precision and success in sewing and textile crafts. This seemingly humble yet vital step ensures that your creations take shape with accuracy and finesse.
By understanding your patterns, selecting the right tools, and employing meticulous techniques, you pave the way for flawless seam lines, well-placed darts, and perfectly matched pattern pieces.
Fabric marking isn’t just about lines and notches; it’s about the craftsmanship and attention to detail that elevate your projects to the next level.
As you embark on your sewing and crafting journey, remember that precision in marking fabric leads to confidence in crafting, ultimately resulting in stunning, professionally finished pieces.
Leave a Reply