Cross-stitching a pillowcase is a delightful craft that adds a personal touch to home decor. This artistic endeavor involves creating intricate designs on fabric through the meticulous placement of X-shaped stitches.
Whether done by hand or with a sewing machine, the process transforms a plain pillowcase into a unique and visually appealing piece.
From selecting suitable materials and preparing the canvas to threading needles and following intricate patterns, cross-stitching offers a therapeutic and rewarding creative experience.
The final result is a beautifully embellished pillowcase that reflects individual style and craftsmanship, making it a cherished addition to any bedroom or living space.
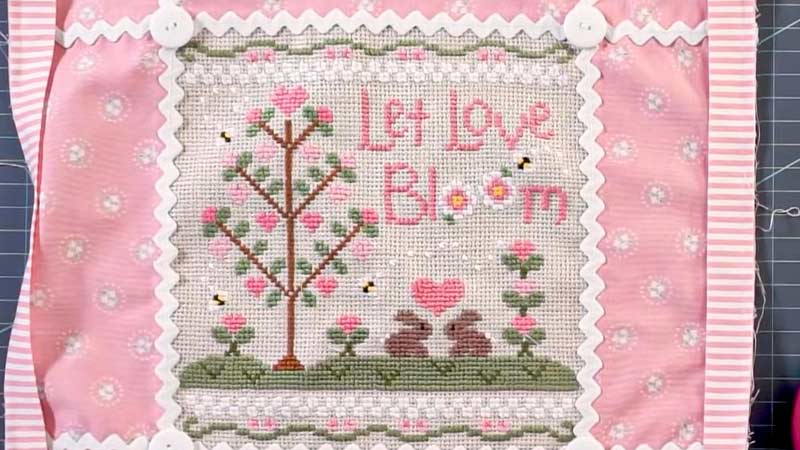
How to Cross Stitch a Pillowcase by Machine? Step-By-Step Guide
Cross-stitching a pillowcase by machine offers a quicker and more efficient alternative to the traditional hand-stitching method.
While it may lack the tactile, hands-on feel of traditional cross-stitching, machine embroidery allows for precise and intricate designs with less manual effort.
Here’s a step-by-step guide on how to cross-stitch a pillowcase using a sewing machine:
Materials Needed:
- Plain Pillowcase.
- Embroidery Machine.
- Embroidery Thread.
- Embroidery Needle.
- Stabilizer.
- Embroidery Hoop.
- Design Pattern.
Step-by-Step Guide:
Prepare the Pillowcase
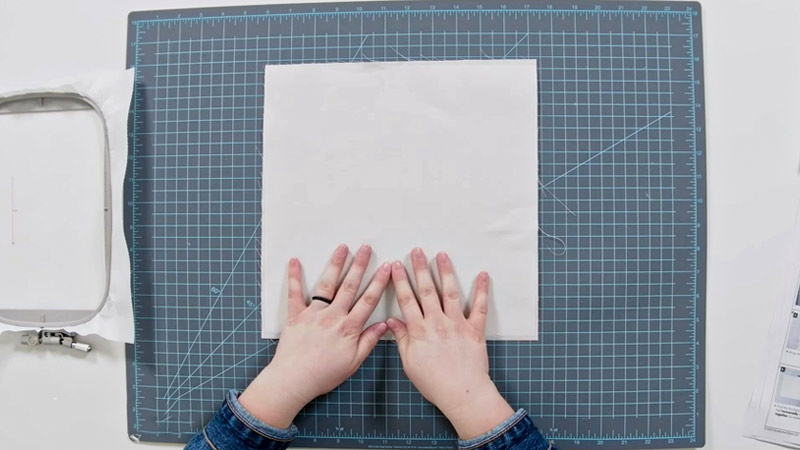
Begin the machine cross-stitching process by ensuring your chosen pillowcase is clean and devoid of any wrinkles. The key to a successful machine embroidery project lies in the preparation of your canvas.
Secure the pillowcase using an embroidery hoop and add a stabilizer underneath to support the intricate design that will soon unfold.
Load the Design
Modern embroidery machines offer the convenience of digital design uploads. Choose or create your cross-stitch pattern and seamlessly transfer it to your embroidery machine.
Utilize USB ports or memory card slots to effortlessly load the chosen design, setting the stage for the automated artistic process.
Thread the Machine
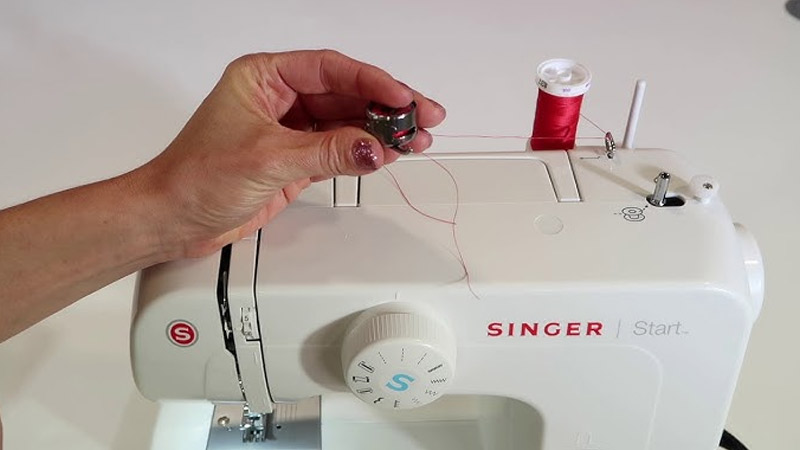
Thread selection plays a crucial role in the outcome of machine cross-stitching. Choose embroidery thread that complements your design and thread the machine carefully, considering the importance of proper tension for flawless execution.
Hoop the Pillowcase
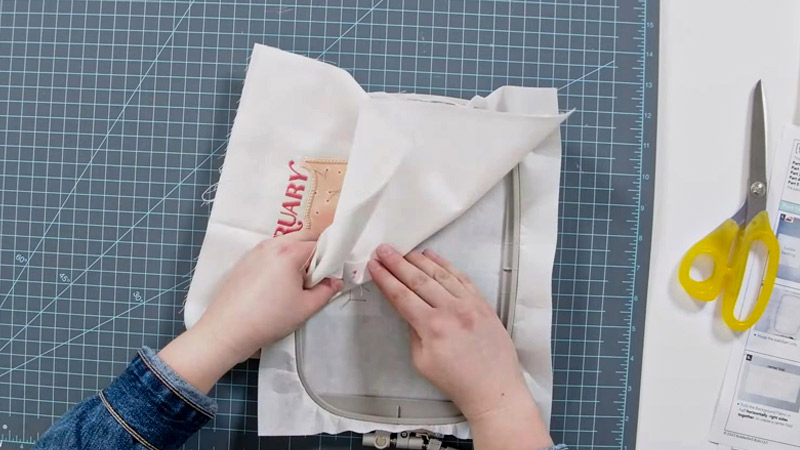
Securely attach the hooped pillowcase to your embroidery machine. The stabilizer, strategically placed between the hoop and fabric, is the foundation for the ensuing cross-stitch masterpiece.
The hoop ensures the fabric remains taut, preventing undesired distortions during stitching.
Position the Design
Use the machine’s controls to position the cross-stitch design precisely where you envision it on the pillowcase.
This step allows for customization, ensuring the final result aligns with your aesthetic preferences. Center and align the design for a visually appealing outcome.
Test Stitch
Before committing to the entire embroidery process, run a test stitch. This crucial checkpoint allows you to evaluate the design’s placement and make any necessary adjustments.
Ensuring accuracy at this stage contributes to the overall success of the machine cross-stitching endeavor.
Start Embroidering
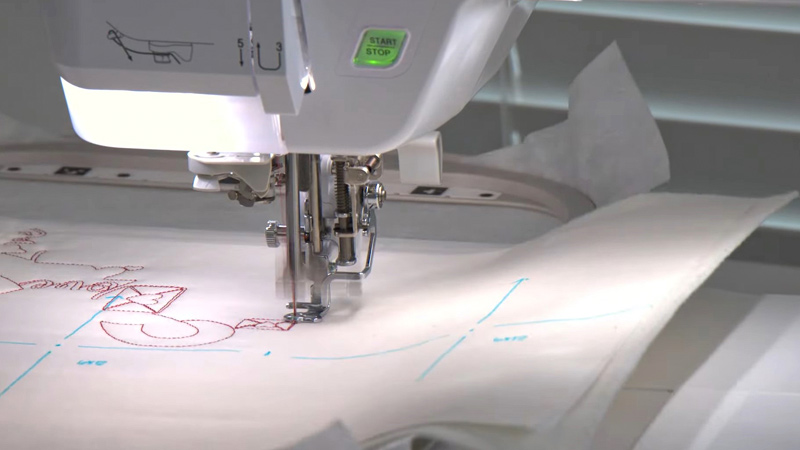
With all preparations in place, initiate the machine’s embroidery process. Observe as the machine follows the programmed design, seamlessly creating intricate cross-stitch patterns.
Sit back and appreciate the machine’s efficiency in bringing your envisioned design to life.
Change Colors as Needed
For designs incorporating multiple colors, rely on the machine’s prompts to seamlessly transition between threads.
This automated feature ensures that your machine cross-stitching project maintains a professional and cohesive appearance throughout, with minimal manual intervention required.
Finish the Embroidery
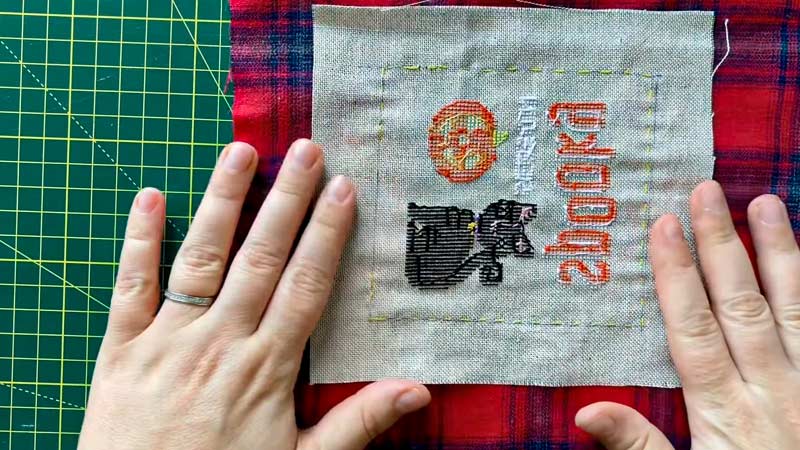
Allow the machine to complete the entire cross-stitch design. Depending on your machine’s specifications, manual intervention might be needed to trim thread ends between color changes, contributing to a polished and refined finish.
Remove from Hoop
With the embroidery phase concluded, delicately detach the pillowcase from the embroidery hoop. This careful removal is essential to prevent any unintended distortions to the fabric.
Admire your machine-embroidered cross-stitched creation, ready to grace your living space with its unique charm.
Final Touches
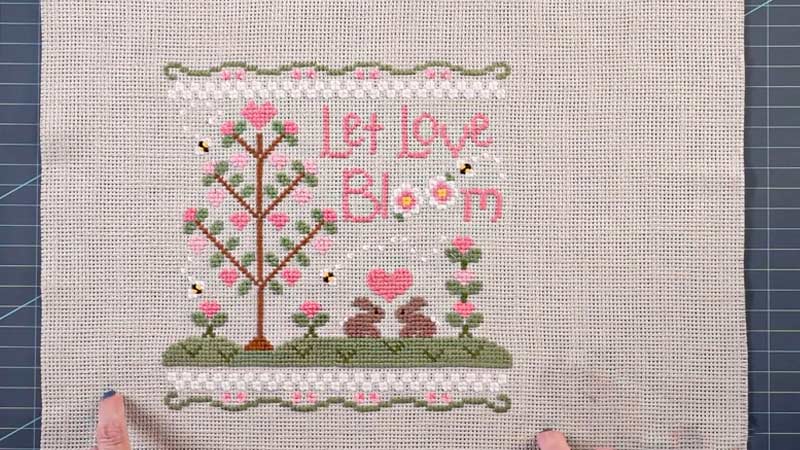
Iron the completed pillowcase, setting the stitches and removing any remaining wrinkles.
Revel in the satisfaction of a finished project and a machine-embroidered, cross-stitched pillowcase that effortlessly combines precision and personal flair.
Experiment with different designs and thread colors to create unique pieces that seamlessly integrate with your home decor.
How Do You Cross Stitch a Pillowcase by Hand?
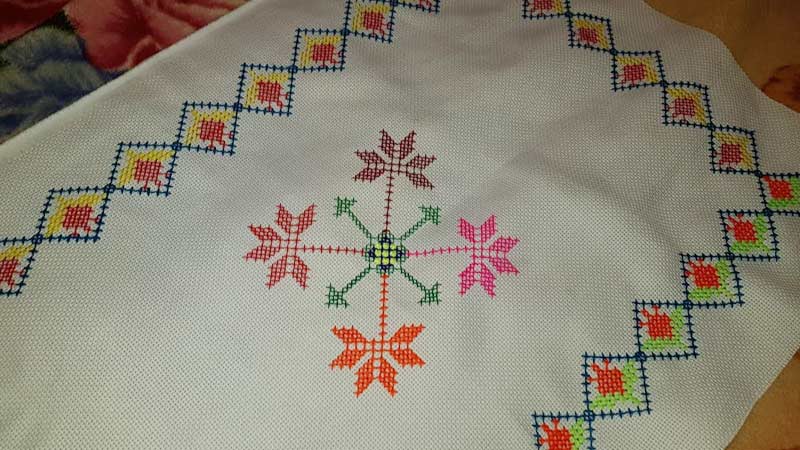
Cross-stitching a pillowcase by hand can be a delightful and rewarding craft project. It allows you to personalize your home decor and create a unique piece that reflects your creativity.
Here’s a step-by-step guide on how to cross-stitch a pillowcase:
Materials Needed:
- Pillowcase.
- Embroidery Floss.
- Embroidery Needle.
- Embroidery Hoop.
- Scissors.
Step-by-Step Guide:
Prepare Your Workspace
Before starting your cross-stitch project, setting up a workspace that promotes comfort and creativity is crucial.
Ensure the area is well-lit, allowing you to see your work. Additionally, take the time to wash and iron the pillowcase.
This not only creates a smooth canvas for your stitches but also enhances the overall appearance of the finished project.
Select a Design
Choosing the right design is critical in creating a unique and personalized pillowcase. Explore cross-stitch patterns online or in dedicated craft books, or unleash your creativity by designing your pattern.
Consider the pillowcase size to ensure that the chosen design fits perfectly and complements the overall aesthetic.
Transfer the Design
Once you’ve settled on a design, the next step is to transfer it onto the pillowcase. If you’re working with a printed pattern, use a water-soluble fabric marker to trace the design onto the fabric.
For those opting to create a custom design, lightly sketch your pattern directly onto the fabric with a pencil. This ensures precision and accuracy as you embark on your stitching journey.
Secure the Fabric in the Hoop
Properly securing the fabric in an embroidery hoop is essential for maintaining tension and achieving neat, uniform stitches.
Place the pillowcase in the hoop, ensuring the fabric is taut but not overly stretched. Tighten the hoop screw to secure the fabric in place, providing a stable foundation for your cross-stitching.
Thread the Needle
Selecting the right embroidery floss is crucial for achieving the desired effect in your cross-stitch project.
Cut a suitable length of floss, typically around 18 inches, and separate the strands based on the thickness you prefer.
Thread the needle with the chosen strands, ensuring it’s a smooth and hassle-free process before diving into your stitching adventure.
Start Stitching
Embark on your cross-stitching journey by starting from the center of your chosen design or a prominent point. Follow the pattern diligently, creating one cross-stitch at a time.
Pay attention to the direction of your stitches, ensuring a consistent and visually appealing result. This step sets the foundation for the intricate details that will bring your design to life.
Continue Stitching
Cross-stitching is a systematic process requiring patience and attention to detail. Work row by row, completing each cross-stitch before advancing to the next.
Maintaining an even tension throughout ensures a polished and professional appearance to your handcrafted creation.
Change Colors
If your design incorporates multiple colors, seamlessly transitioning between them is crucial for a harmonious outcome.
Change the floss colors as dictated by the pattern, and secure the ends of the floss neatly at the back of the fabric. This attention to detail enhances the overall quality of your cross-stitch work.
Finish and Secure the Back
As you approach the completion of your design, take care in securing the final stitch. Trim any excess floss, and for a professional finish, weave the loose ends through existing stitches on the backside of the fabric.
This not only tidies up the back but also ensures the longevity of your handiwork.
Remove from the Hoop and Iron
With your cross-stitch masterpiece complete, carefully remove the pillowcase from the embroidery hoop.
Iron the finished cross-stitch work on the reverse side of the fabric to enhance the aesthetic and eliminate any wrinkles. This final touch adds a polished and refined look to your personalized pillowcase.
Optional: Add Finishing Touches
For those seeking an extra layer of personalization, consider adding finishing touches to your pillowcase.
This could involve incorporating additional embellishments like buttons or beads or sewing a coordinating fabric border to frame your cross-stitch design.
These optional steps allow you to make the pillowcase your own, showcasing your unique style and creativity.
Cross Stitch Patterns for Pillowcases
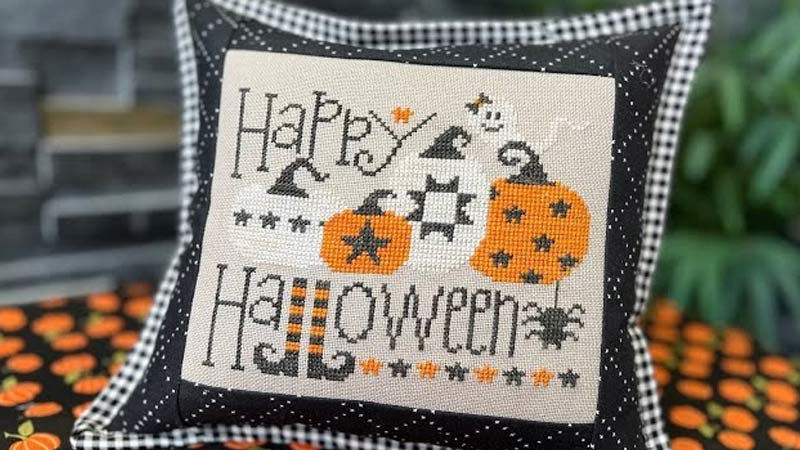
When choosing cross-stitch patterns for pillowcases, the options are vast and varied. The popularity of a pattern often depends on individual preferences, themes, and the desired aesthetic.
Here are some popular cross-stitch patterns for pillowcases that enthusiasts commonly enjoy:
Floral Designs
Regarding cross-stitch patterns, floral designs remain perennial favorites for pillowcases. The intricate beauty of flowers lends an air of elegance and sophistication to any living space.
From elaborate bouquets showcasing a variety of blossoms to simpler designs focused on individual flowers like roses, daisies, or lavender clusters, floral patterns offer a wide range of choices.
These patterns capture nature’s timeless appeal and allow stitchers to play with color combinations for a customized look.
Geometric Patterns
Geometric patterns in cross-stitching have gained popularity for their modern and clean aesthetics. Shapes like squares, triangles, and hexagons can be arranged in various ways to create visually striking designs.
Geometric patterns offer versatility, fitting seamlessly into contemporary home decor themes.
Whether you prefer a symmetrical arrangement or an abstract composition, geometric patterns on pillowcases add a touch of modernity to your living space.
Animals and Wildlife
Cross-stitching animals and wildlife brings a sense of whimsy and charm to pillowcases. These patterns are perfect for animal lovers, from adorable woodland creatures to majestic birds and even beloved pets.
The versatility of animal-themed designs allows for various options, from realistic depictions to stylized and cartoonish representations.
Stitching animals onto pillowcases adds a playful and endearing element to your home decor.
Quotes and Typography
Adding quotes or typography to cross-stitch patterns provides an opportunity for personalization.
Whether it’s an inspirational quote, a meaningful phrase, or simply names and dates, these patterns allow stitchers to infuse their creations with sentiment.
The beauty of quotes and typography lies in their ability to convey messages and memories, turning a pillowcase into a canvas for self-expression.
Seasonal and Holiday Themes
Capturing the essence of different seasons and holidays through cross-stitch patterns is a delightful way to celebrate the changing times of the year.
From snowflakes and cozy winter scenes to vibrant autumn leaves and festive Christmas motifs, seasonal patterns infuse a sense of celebration and warmth into pillowcases.
These patterns can be rotated throughout the year to reflect the current season, keeping your home decor fresh and festive.
Nautical and Coastal Themes
For those who love the sea, nautical and coastal-themed patterns are a popular choice. Anchors, seashells, sailboats, and other maritime motifs evoke a sense of tranquility and beachside charm.
These patterns are perfect for creating a relaxed and coastal atmosphere in bedrooms or living spaces, bringing a touch of the ocean indoors.
Vintage and Retro Motifs
Vintage-inspired cross-stitch patterns add a touch of nostalgia to pillowcases. Whether its designs are reminiscent of pin-ups, old-fashioned bicycles, or vintage advertisements, these patterns transport stitchers to a bygone era.
Vintage motifs are an excellent way to infuse a room with retro charm and showcase a love for classic aesthetics.
Hobbies and Interests
Cross-stitch patterns that reflect personal hobbies and interests add a unique and tailored touch to pillowcases.
Whether it’s music notes, book motifs, travel-themed designs, or sports-related patterns, these creations reflect the stitcher’s passions.
Infusing personal interests into cross-stitch projects allows for a truly customized and meaningful outcome.
Mandalas and Intricate Designs
For those seeking a more intricate and detailed stitching experience, mandalas and elaborate designs offer a captivating challenge. These symmetrical and carefully crafted patterns create mesmerizing focal points on pillowcases.
Stitchers can indulge in the meditative process of creating intricate details, resulting in a stunning and visually arresting finished product.
Whimsical and Fantasy Themes
Cross-stitch patterns featuring whimsical elements and fantasy motifs add an enchanting and magical touch to pillowcases.
These patterns, from fairies and unicorns to other mythical creatures, appeal to those who love imaginative worlds. The notion of fantasy themes brings home decor a playful and dreamlike quality.
Kitchen and Food Themes
Patterns inspired by the kitchen and food-related motifs offer a delightful and charming option for pillowcases.
Whether it’s depictions of kitchen utensils, fruits, or other culinary elements, these designs are perfect for adding a touch of warmth to dining spaces.
Kitchen-themed patterns provide a playful and inviting atmosphere, making them a popular choice for those who enjoy spending time in the heart of the home.
FAQs
Can I create my cross-stitch pattern for the pillowcase?
Absolutely! You can design your pattern or find one online that suits your preferences.
Transfer the pattern onto the fabric using a water-soluble fabric marker or by lightly tracing it with a pencil.
What type of embroidery floss and needle should I use?
Choose embroidery floss in desired colors and a needle with a blunt tip suitable for cross-stitching. Depending on your desired thickness, you can use a single strand or multiple strands of floss.
To Recap
Embarking on the journey to cross-stitch a pillowcase is a fulfilling endeavor that combines creativity and craftsmanship.
From selecting the perfect pillowcase and designing or choosing a pattern to threading needles with vibrant floss, each step is a thoughtful process.
The rhythmic dance of stitches brings the chosen design to life, transforming a simple fabric into a personalized masterpiece.
The sense of accomplishment is undeniable as the final stitches are secured, and the fabric is removed from the embroidery hoop.
Cross-stitching a pillowcase transcends mere crafting; it’s an expression of individuality, a labor of love that leaves a lasting mark on both the fabric and the heart.
Leave a Reply