Creating beautiful cross-stitch designs is a cherished art form that provides a wonderful outlet for creativity and self-expression.
However, left-handed individuals may find traditional cross-stitch instructions somewhat challenging to follow.
To bridge this gap, learning how to do a left-handed cross stitch is essential. This adaptation allows left-handed stitchers to comfortably and effectively engage in the craft, mirroring the techniques used by their right-handed counterparts.
In this guide, we will explore the step-by-step process of creating cross-stitches with your left hand, ensuring that you can embark on this creative journey with confidence and achieve stunning results while enjoying the therapeutic and artistic benefits of cross-stitching.
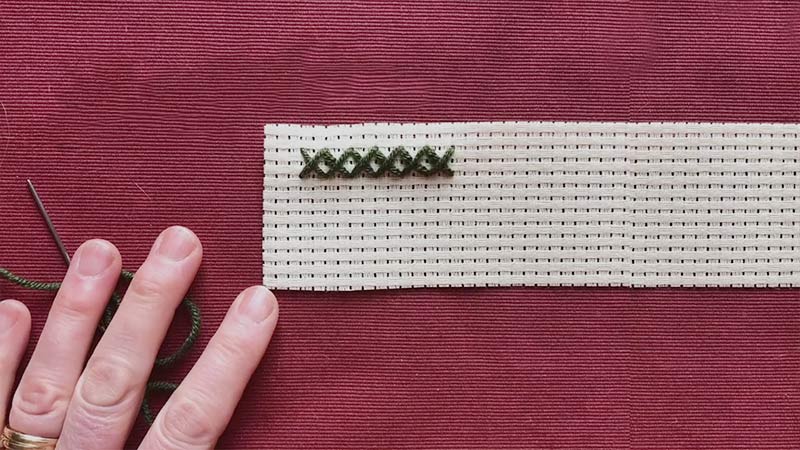
Easy 8 Steps on How Do You Do a Left-Handed Cross Stitch?
Cross stitching is a popular and relaxing needlecraft that allows you to create beautiful and intricate designs on fabric.
While it is often done with the dominant hand (right hand for most people), left-handed individuals might find traditional instructions challenging.
However, don’t worry; left-handed cross-stitching is entirely feasible and can yield stunning results. Here’s how to do a left-handed cross stitch:
Materials You’ll Need:
- Fabric
- Embroidery Thread
- Embroidery Hoop
- Needle
Step-by-Step Guide for Left-Handed Cross Stitch:
Step 1: Thread Your Needle
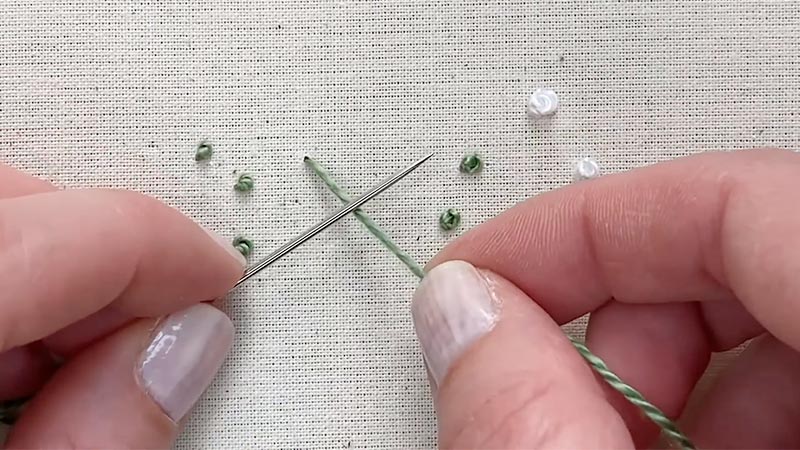
Begin by cutting a length of embroidery thread, typically between 12 to 18 inches long. Ensure the cut is clean and not frayed.
Thread the needle by inserting one end of the thread through the needle’s eye, which can be made easier by dampening the thread’s end slightly.
Step 2: Prepare Your Fabric
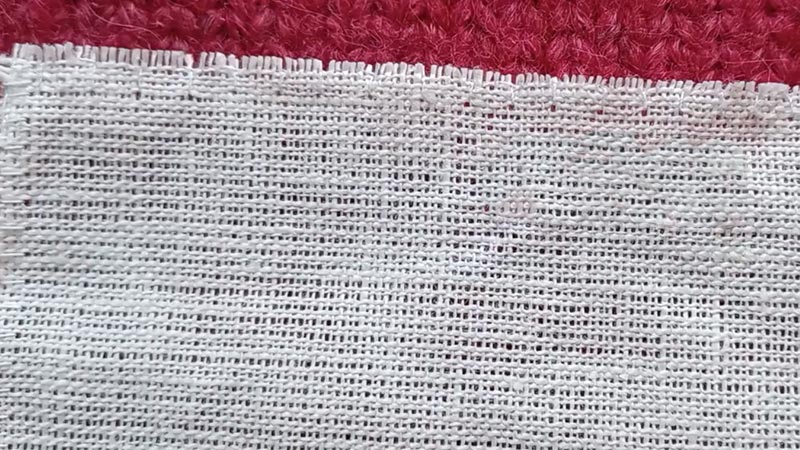
Place your chosen fabric in an embroidery hoop with the side you want to stitch on facing up. Adjust the hoop’s tension by tightening the screw so that the fabric is taut but not overly stretched. Proper tension is vital for creating neat and uniform stitches.
Step 3: Starting Point
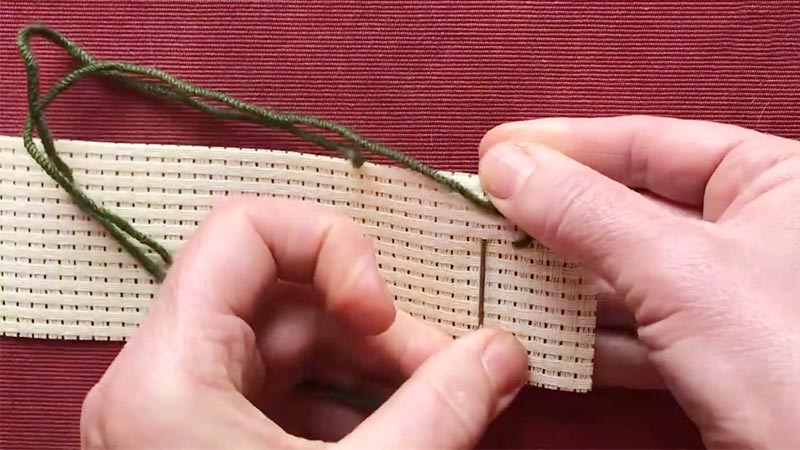
Identify the upper left-hand corner of your fabric as your starting point. Here, you’ll initiate your first stitch. Insert the threaded needle from the back of the fabric to the front at this point, leaving a small tail of thread on the back to secure it.
Step 4: First Half of the Cross Stitch
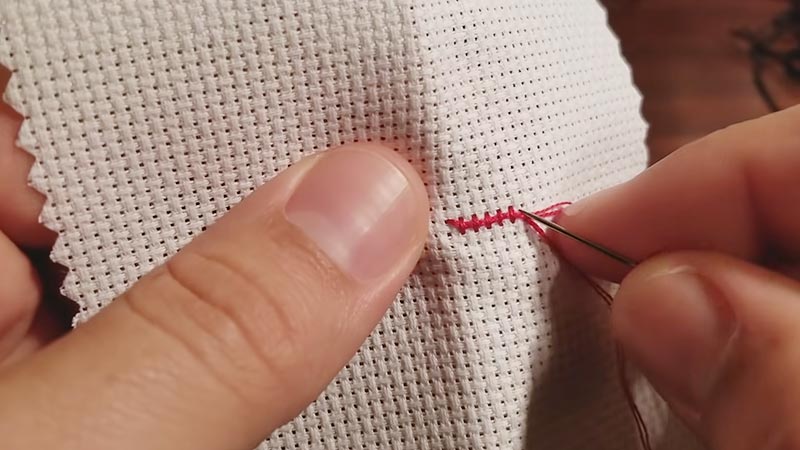
To create the first half of the cross, guide your needle down to the lower right corner of the square, ensuring it passes through the hole diagonally. The diagonal movement is crucial for achieving a proper cross stitch.
Step 5: Second Half of the Cross Stitch
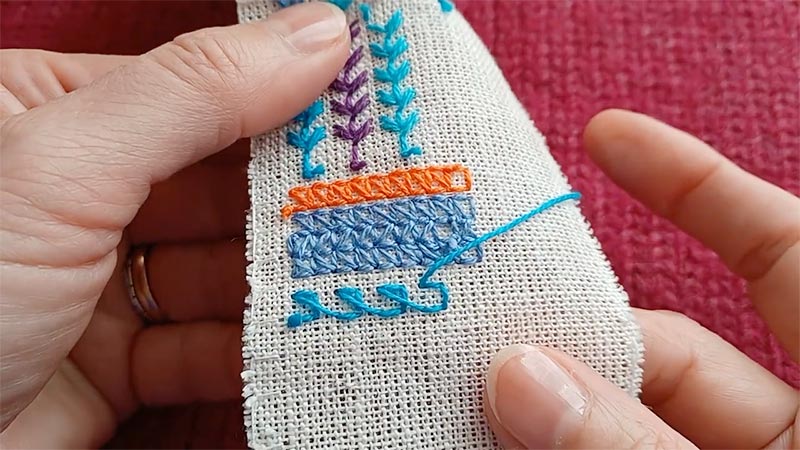
Bring the needle back up to the upper right corner of the square to complete the ‘X’ shape. Ensure that the needle passes through the same hole as the initial stitch to maintain uniformity.
Step 6: Continue Stitching
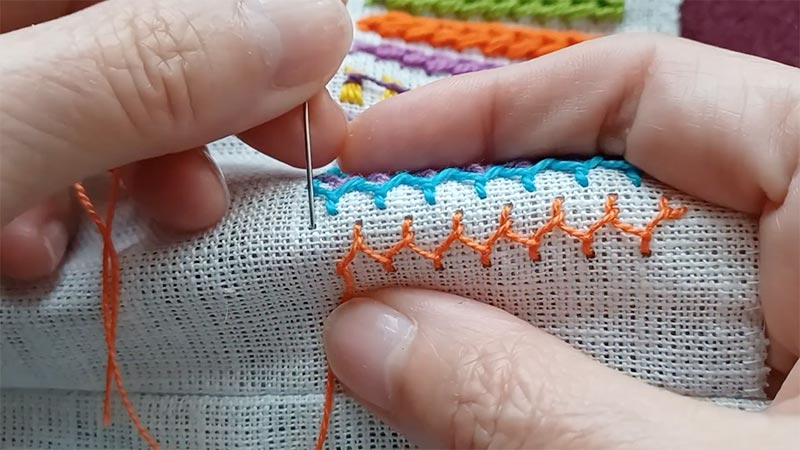
Continue stitching across your fabric, forming cross stitches based on your pattern or design. Ensure that your stitches all go in the same direction for a consistent and polished appearance.
If your design includes half stitches, quarter stitches, or backstitches, follow the pattern instructions accordingly.
Step 7: Counting
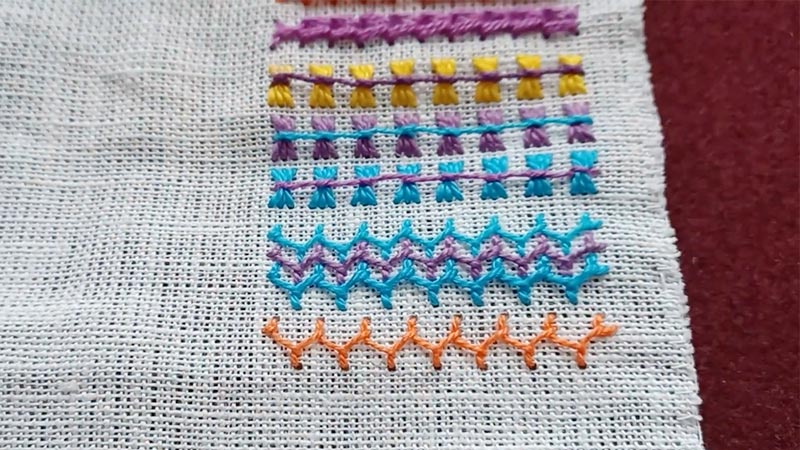
When following a pattern, it’s essential to count carefully to ensure your stitches are placed accurately. This may be more challenging for left-handed stitchers as most patterns are designed with right-handed stitchers in mind.
Use tools like a magnetic board, highlighter tape, or an electronic pattern viewer to help you keep track of your stitches, especially when working with intricate designs.
Step 8: Finishing
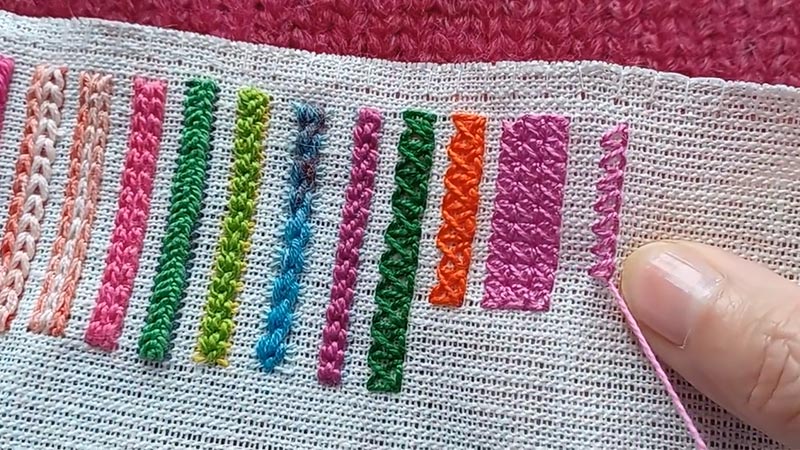
Once you’ve completed your design or a section of it, secure the loose ends of your thread on the back of the fabric. This can be done by weaving the thread through the back of your stitches.
Be cautious not to pull the front of your work too tightly. Trim any excess thread on the back to ensure your stitches remain secure and tidy.
Challenges for Left-Handed Cross Stitching
Left-handed cross-stitching can be a delightful and creative hobby, but it also comes with its unique set of challenges.
Cross-stitching is a craft that requires precision, patience, and attention to detail, and these challenges can be particularly pronounced for left-handed individuals.
Here are the common challenges faced by left-handed cross-stitchers:
Pattern Orientation
Many cross-stitch patterns are designed with right-handed stitchers in mind. This can be challenging for left-handed individuals who may find it uncomfortable to follow patterns from left to right.
It can be tricky to adapt to the mirror image of a pattern and ensure that stitches are placed correctly.
Thread Management
Left-handed stitchers may need to adapt their thread management techniques. For example, threading the needle and anchoring the thread can feel awkward, as many instructions are given for right-handed stitchers.
Left-handers may need to experiment with different methods to find what works best for them.
Hoop or Frame Placement
The orientation of the hoop or frame used to hold the fabric can be an issue for left-handed stitchers.
Most cross stitchers are used to the right-handed setup, and left-handed stitchers might have to adjust the placement of the hoop to work comfortably.
Counting Stitches
Counting stitches and following patterns often involves moving from right to left, which can be challenging for left-handed individuals. This can lead to miscounts and mistakes, as the natural flow of stitching is disrupted.
Finger Dexterity
Left-handed stitchers may find that some stitching techniques, such as French knots or certain specialty stitches, are more challenging due to the dominance of their left hand. Developing finger dexterity and control with the right hand can help overcome this obstacle.
Scissors and Tools
Many embroidery and cross-stitch tools are designed with right-handed users in mind. Left-handed stitchers may need to invest in specially designed scissors and other tools to make their stitching experience more comfortable and efficient.
Learning Resources
Finding comprehensive and easily accessible learning resources for left-handed cross-stitchers can be a challenge.
Instructional videos and books often cater to the right-handed majority, making it important for left-handed individuals to seek out specialized guidance.
Workspaces
Left-handed stitchers may need to adapt their workspaces to accommodate their dominant hand. This includes setting up the lighting, seating, and the angle of their work to suit their specific needs.
How to Tie off Cross Stitch?
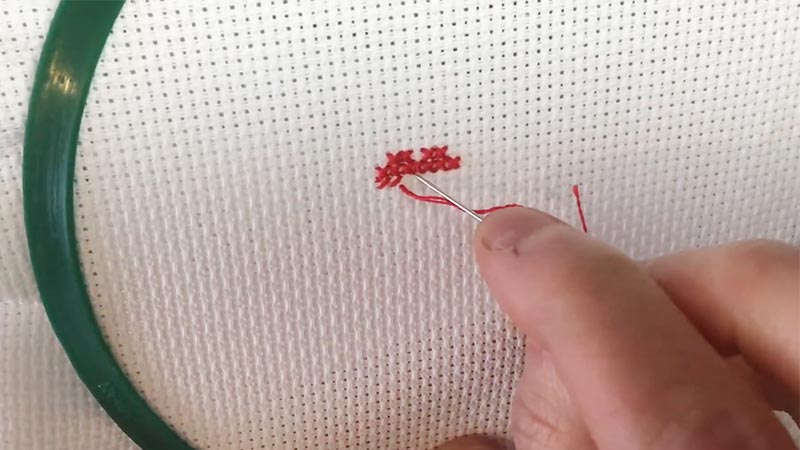
Tying off or finishing your cross stitch is an essential step to secure your work and prevent your stitches from unraveling.
Here’s how to tie off your crossstitch:
Materials You’ll Need:
- Needle
- Scissors
Step-by-Step Guide to Tie Off Cross Stitch:
Leave a Tail
When you reach the end of your stitching or want to pause your work, ensure you leave a small tail of thread on the backside of your fabric, typically about an inch long. This tail will be used to secure your stitches.
Pass the Needle Under the Stitches
Thread your needle with the tail of the thread you’ve left behind. On the backside of your fabric, gently pass the needle under several of the nearby stitches.
These stitches should be of the same color or located within the same section of your design. This action helps anchor the thread securely.
Pull Gently
After passing the needle under the stitches, gently pull the needle through. Be cautious not to pull too tightly; the aim is to secure the thread without distorting the front of your cross stitch. The stitches should remain flat and free from puckering.
Clip Excess Thread
Using small, sharp embroidery scissors, carefully trim the excess thread as close to the fabric as possible without cutting any of your stitches or the tail you’ve just anchored. This ensures a clean cut and prevents fraying.
Optional: Weave the Tail
For added security and to prevent the tail from coming loose over time, you can choose to weave it under a few more stitches on the backside of your work.
Pass the needle under several stitches in one direction, then bring it back in the opposite direction. This process creates a loop that effectively locks the tail in place under the stitches.
Repeat for Other Tails
If you have multiple tails of thread due to color changes or starting and finishing new threads within your project, repeat the above steps for each tail.
Treat each tail individually, ensuring they are all securely tied off to maintain the neatness and integrity of your cross stitch.
How to Start Cross-Stitch?
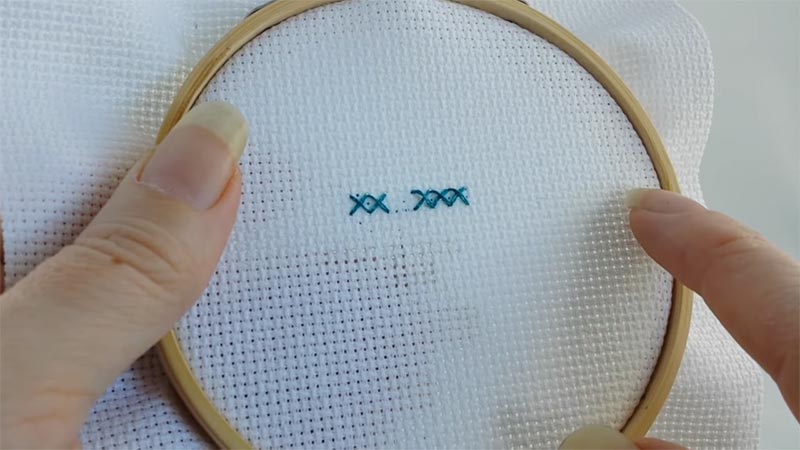
Cross stitch is a delightful and timeless needlecraft that allows individuals to create beautiful, intricate designs with a series of small, X-shaped stitches. If you’re new to cross-stitching, getting started is a straightforward process.
Here’s a step-by-step guide to help you embark on your cross-stitch journey:
Materials You’ll Need:
- Fabric
- Embroidery Thread
- Embroidery Hoop
- Needles
- Pattern
Step-by-Step Guide to Starting Cross Stitch:
1. Prepare Your Fabric
To begin, select the fabric you want to use for your cross-stitch project. Aida cloth and even weave are popular choices.
Place the fabric in an embroidery hoop, ensuring that the side you want to stitch on is facing up. It’s essential to strike a balance between keeping the fabric taut and avoiding excessive stretching. Tighten the screw on the hoop to secure the fabric in place.
2. Cut Your Thread
Choose the color of embroidery thread you want to start with. Cut a length of thread, typically around 18 inches long. Embroidery floss usually consists of six strands twisted together.
For cross stitch, you will commonly use two strands at a time. Carefully separate two strands from the six in the floss.
3. Thread Your Needle
Take one end of the two strands of thread and thread it through the eye of your needle. Leave a small tail, approximately an inch long. This tail will be secured later.
4. Start at the Center
To ensure that your design is centered on your fabric, locate the central point. You can do this by folding the fabric in half and then folding it in half again. Mark or remember this center point as your starting point for stitching.
5. Begin Stitching
Now, it’s time to create your first cross stitch. Bring the threaded needle up from the back of the fabric to the front at the starting point you identified. This marks the beginning of your stitch.
To form the first half of the ‘X’, move the needle diagonally across the fabric, leaving a small gap in the center.
6. Complete the ‘X’
To complete the ‘X’ shape, return the needle to the back of the fabric. Pass it through the small gap you left in the center. This action forms the second half of the ‘X’.
7. Continue Stitching
Continue stitching by repeating these steps. Create a series of cross stitches according to your chosen pattern. Keep all your stitches going in the same direction for a neat and uniform appearance.
8. Secure Loose Ends
As you finish stitching with a particular thread or complete a section of your design, it’s essential to secure the loose ends on the back of the fabric.
To do this, weave the thread through the back of your stitches. This ensures that your work remains in place and doesn’t unravel.
FAQS
Can You Cross Stitch with One Hand?
Cross stitching typically involves using both hands. The dominant hand holds the needle, while the non-dominant hand manages the fabric and helps with tension.
Some stitchers with dexterity challenges may adapt techniques to stitch one-handed, but it’s generally easier and more precise with both hands.
Which Direction Should Half Cross Stitches Go?
Half cross stitches can go in either direction, depending on your pattern and personal preference.
However, most patterns use a consistent direction (either “///” or “\\”) to maintain uniformity throughout the design. Check your pattern’s instructions for specific guidance on half-stitch direction.
How Do You Do Left-Handed Cross Stitch?
Left-handed cross-stitching involves adapting traditional cross-stitch techniques for comfortable stitching with your left hand.
Can I create my own left-handed cross-stitch patterns?
Absolutely, you can design your own patterns regardless of your dominant hand. Use graph paper or cross-stitch design software to create customized patterns that suit your preferences and skill level.
Wrap Up
Left-handed cross stitching, though an adaptation of a traditionally right-handed craft, offers a unique avenue for creative expression and artistic accomplishment.
This guide has explored the steps and techniques necessary to embark on a left-handed cross-stitching journey.
With patience, practice, and a little adjustment, left-handed individuals can master this age-old art form.
Whether you’re crafting your own designs or following patterns, the process can be both relaxing and rewarding.
The world of cross-stitching opens up for everyone, emphasizing the beauty of diversity in crafting.
Left-handed stitchers now have the tools and knowledge to create intricate and beautiful works of art with their preferred hand.
Leave a Reply