Creating a Crazy Quilt is a mesmerizing journey through the world of textile artistry, where color, texture, and intricate stitching combine to produce a one-of-a-kind masterpiece.
The Crazy Quilt Stitch, also known as “Crazy Patchwork,” is a technique that brings together disparate fabric pieces into an asymmetrical mosaic, adorned with an array of decorative stitches, embroidery, and embellishments.
This craft allows artisans to break free from the constraints of traditional quilting, encouraging boundless creativity.
Each Crazy Quilt is a unique tapestry of memories and emotions, where irregular shapes and textures intermingle, and the rich history of this art form is woven into every stitch.
In this exploration, we will unravel the steps to master the Crazy Quilt Stitch, enabling you to embark on your own artistic journey.
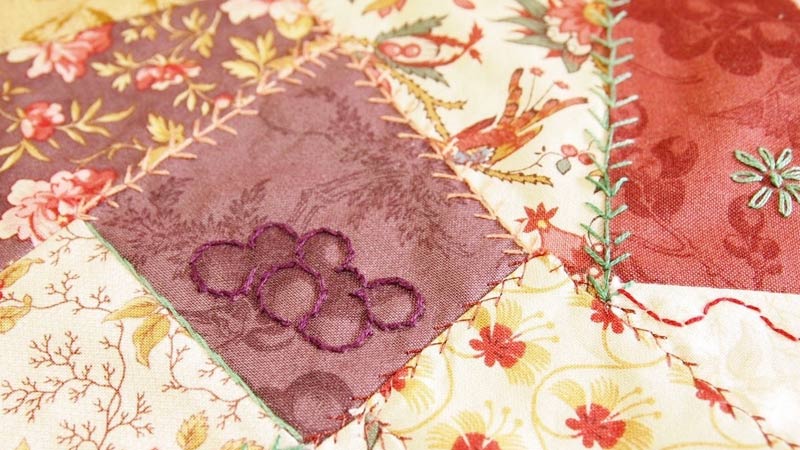
How Do You Do the Crazy Quilt Stitch?
Creating a Crazy Quilt is a fascinating and intricate needlework technique that combines various fabrics and stitches into a visually captivating design.
The Crazy Quilt Stitch, also known as the “Crazy Patchwork” or “Crazy Quilting,” involves joining irregularly shaped fabric pieces in an asymmetrical manner and embellishing them with a variety of decorative stitches, embroidery, and embellishments.
Here’s a step-by-step guide on how to do the Crazy Quilt Stitches:
Materials and Tools:
- Assorted fabric scraps
- Scissors
- Sewing machine or needle and thread
- Embroidery hoop (optional)
- Embroidery floss or decorative threads
- Embroidery needles
- Beads, sequins, and other embellishments
- Silk or satin ribbon
- Fusible interfacing (optional)
Steps:
Step 1: Prepare the Fabric
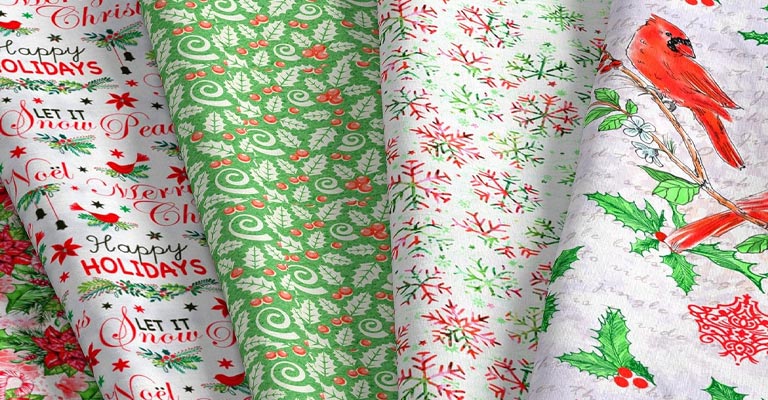
Gather a variety of fabric scraps in different colors, patterns, and textures. You can use silk, satin, velvet, lace, or any other luxurious materials to create a rich texture.
Step 2: Cut and Assemble the Fabric Pieces
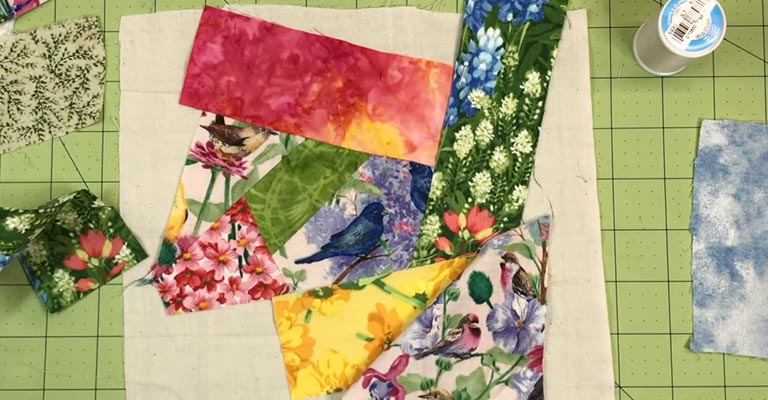
Cut irregularly shaped fabric pieces. There’s no need to follow any specific pattern; the more asymmetrical, the better.
Create a base fabric by sewing these pieces together. You can use a sewing machine or hand stitch them.
Step 3: Embellish the Fabric
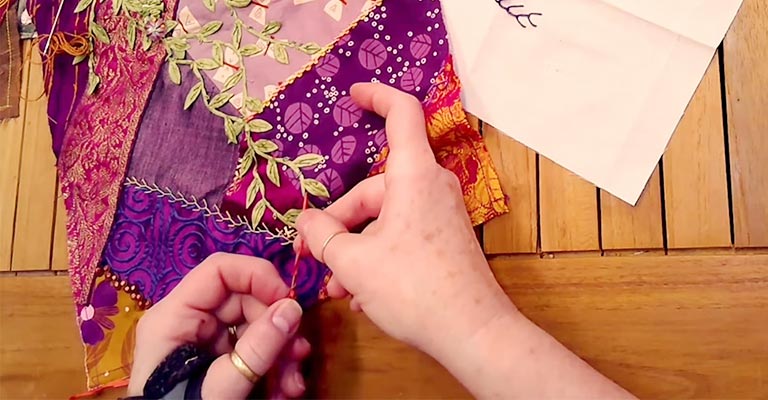
Use embroidery floss, decorative threads, and a variety of stitches to embellish the fabric patches. Popular stitches for Crazy Quilting include the feather stitch, herringbone stitch, and the lazy daisy stitch.
Experiment with different colors and thread combinations to add depth and texture to your design.
Step 4: Add Embellishments
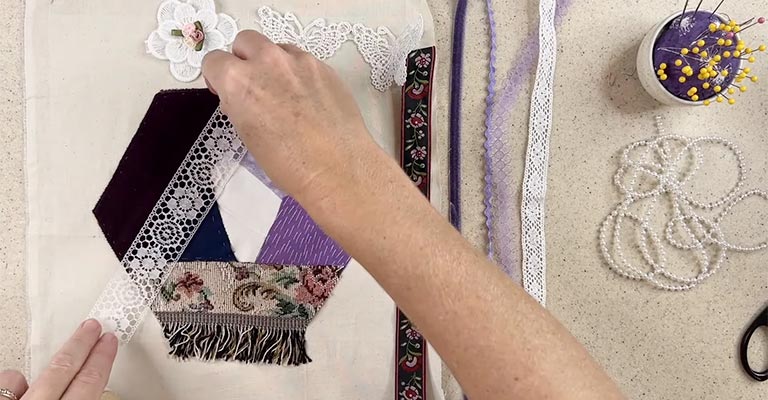
Sew beads, sequins, and other embellishments to your fabric patches. This is where you can get creative and really make your quilt unique. Use a variety of textures and colors to create an eye-catching design.
Step 5: Incorporate Ribbon Embroidery
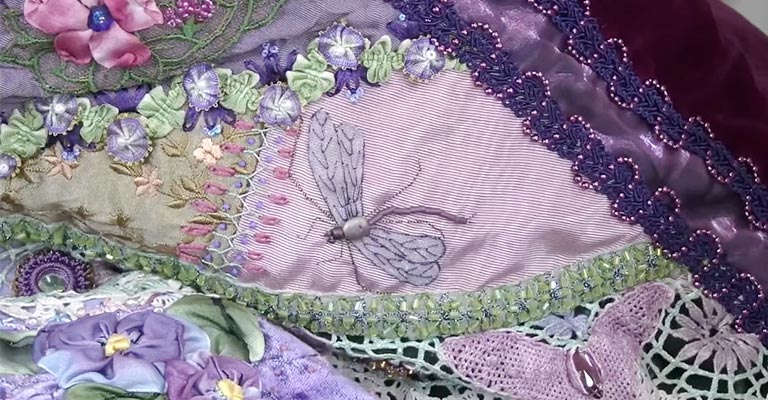
Silk or satin ribbon is often used to add a touch of elegance to Crazy Quilts. Create ribbon flowers, bows, or vines using various ribbon embroidery techniques.
Step 6: Layer and Back the Quilt
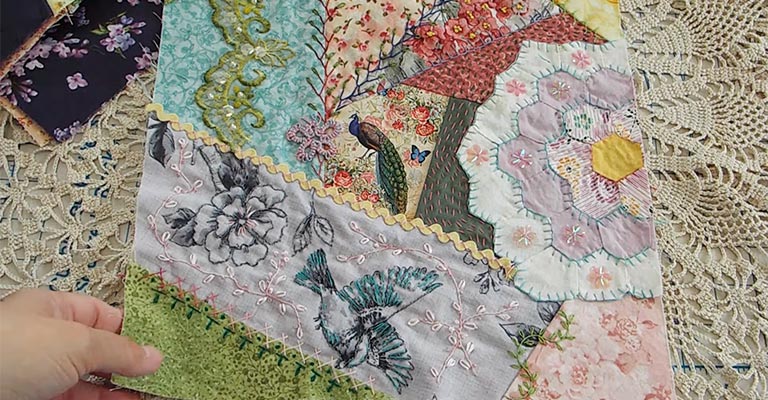
Once you’ve completed your embellishments, layer your Crazy Quilt with batting and a backing fabric. You can use fusible interfacing to stabilize the fabric if needed. Baste the layers together.
Step 7: Quilt the Layers
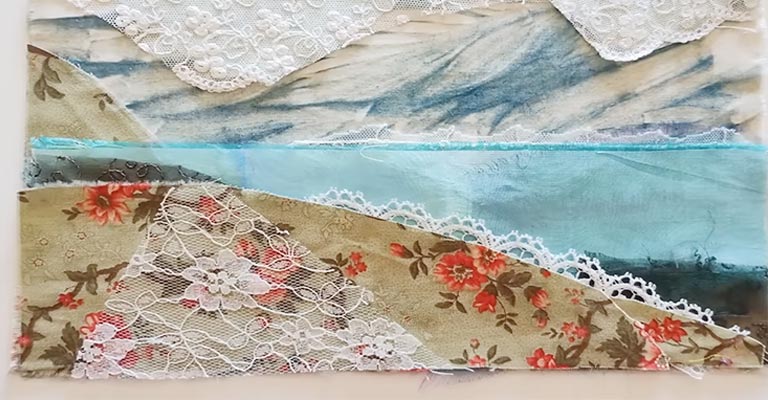
Secure the layers together by quilting. This can be done using a sewing machine or by hand. You can choose to follow the seams of your fabric patches or create a different quilting pattern.
Step 8: Trim and Finish
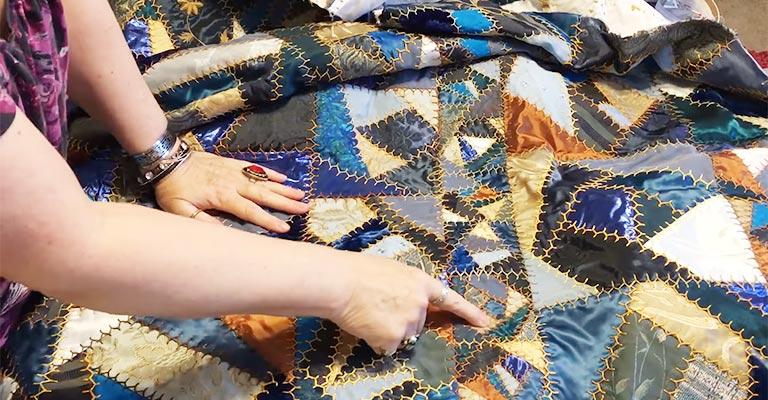
After quilting, trim any excess fabric and batting from the edges. Create a binding by sewing a fabric strip around the outer edge of the quilt to finish it neatly.
Step 9: Carefully Press
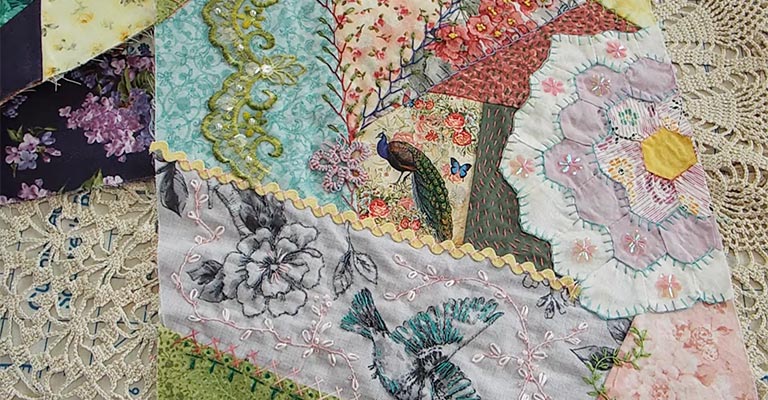
Gently press your Crazy Quilt to set the stitches and give it a polished look. Be cautious with heat-sensitive fabrics.
Step 10: Enjoy Your Crazy Quilt
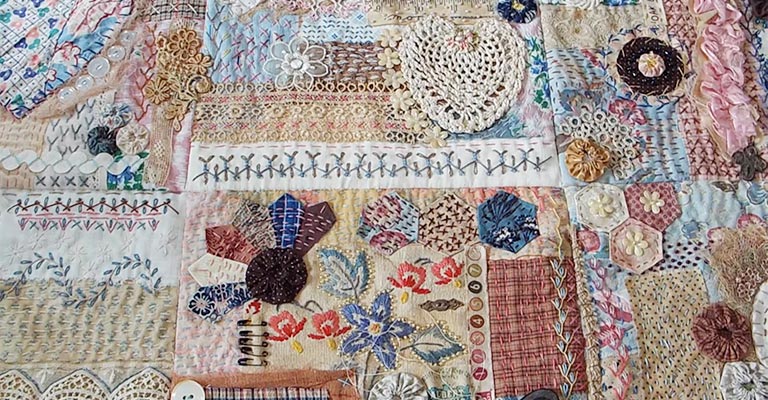
Your Crazy Quilt is now complete! Display it as a wall hanging, use it as a throw, or incorporate it into various craft projects.
How to Make a Victorian Crazy Quilt
Creating a Victorian Crazy Quilt is a delightful project that allows you to infuse a touch of the past into your modern-day crafting.
Victorian Crazy Quilts are characterized by their opulent, ornate design featuring intricate embroidery, luxurious fabrics, and a strong sense of nostalgia.
Here’s a step-by-step guide on how to make a Victorian Crazy Quilt:
Materials and Tools:
- Assorted fabric scraps (silk, velvet, brocade, lace, etc.)
- Scissors
- Sewing machine or needle and thread
- Embroidery hoop
- Embroidery floss or decorative threads
- Embroidery needles
- Beads, sequins, and other embellishments
- Silk or satin ribbon
- Fusible interfacing
- Batting
- Backing fabric
- Quilting frame or hoop (optional)
Step 1: Prepare the Fabric
Gather a wide variety of richly textured fabric scraps in Victorian-inspired colors and patterns. These can include deep jewel tones, floral prints, and opulent fabrics like silk and velvet.
Step 2: Cut and Assemble the Fabric Pieces
Cut irregularly shaped fabric pieces and assemble them into a pleasing design on your work surface.
There’s no need to follow a specific pattern; the asymmetry adds to the charm of Crazy Quilting. Sew these pieces together, either by hand or with a sewing machine.
Step 3: Embellish the Fabric
Use embroidery floss or decorative threads to create intricate embroidery stitches on the fabric patches.
Victorian Crazy Quilts often feature delicate motifs like flowers, fans, and animals. Experiment with various stitches like the feather stitch, herringbone stitch, and the lazy daisy stitch.
Step 4: Add Embellishments
Sew beads, sequins, and other embellishments onto your fabric patches. These can be placed at the seams or scattered across the quilt to add a touch of opulence.
Step 5: Incorporate Ribbon Embroidery
Use silk or satin ribbon to create delicate ribbon flowers, bows, or other Victorian-inspired motifs. Ribbon embroidery adds an extra layer of elegance to your quilt.
Step 6: Layer and Back the Quilt
Layer your Crazy Quilt with batting for added warmth and backing fabric to finish the quilt. Use fusible interfacing to stabilize the fabric, if needed.
Step 7: Quilt the Layers
Secure the layers together by quilting. You can do this with a sewing machine or by hand. Consider following the seams of your fabric patches or creating a unique quilting pattern to complement the design.
Step 8: Trim and Finish
After quilting, trim any excess fabric and batting from the edges. Create a binding by sewing a fabric strip around the quilt’s outer edge to give it a neat finish.
Step 9: Carefully Press
Gently press your Victorian Crazy Quilt to set the stitches and give it a polished look. Be cautious with heat-sensitive fabrics.
Step 10: Display and Enjoy
Your Victorian Crazy Quilt is now a splendid piece of textile art. Display it as a wall hanging or use it as a throw to add a touch of Victorian elegance to your living space.
The rich, opulent, and ornate nature of the quilt brings a taste of the Victorian era into the modern world, creating a work of art that tells a story of history and creativity.
FAQS
What is the Crazy Stitch Embroidery?
Crazy Stitch Embroidery, often used in Crazy Quilt projects, is a freeform embroidery technique that combines various decorative stitches and intricate patterns on fabric scraps to create a visually captivating and unique design.
What is a Patchwork Stitch?
A Patchwork Stitch is a basic sewing stitch used to join individual fabric pieces together in a patchwork or quilting project, creating a larger, cohesive textile.
Can you explain Crazy Quilt Embroidery Stitches?
Crazy Quilt Embroidery Stitches refer to the decorative and ornate stitching applied to the fabric patches in a Crazy Quilt.
These stitches can include the feather stitch, herringbone stitch, and others, adding an artistic and vintage touch to the project.
Can Crazy Quilt Stitching be done entirely by hand, or is a sewing machine necessary?
Crazy Quilt Stitching can be done by hand, and many crafters prefer the hand-stitched look for its authenticity.
However, using a sewing machine for some parts, like joining fabric patches, can be more efficient and is a matter of personal preference.
Last Words
In textile artistry, the Crazy Quilt Stitch stands as a testament to creativity unbridled. Through the fusion of irregularly shaped fabric pieces, a tapestry of colors, textures, and stories emerges.
This unique stitching technique invites both novice and experienced crafters to explore their artistic inclinations, fostering a canvas where imagination knows no bounds.
The Crazy Quilt Stitch, with its opulent embroidery, ribbon work, and embellishments, takes us on a journey into the past, evoking the elegance of Victorian craftsmanship.
As you bring your own Crazy Quilt to life, you weave a fabric of history, personal expression, and boundless artistry, creating a masterpiece that captures the essence of creativity.
Leave a Reply