Embroidering a bird’s beak is a delicate and intricate art that can breathe life and realism into your embroidery projects.
Just as a bird’s beak is a distinct feature of its character, embroidering it with precision and care can bring a sense of authenticity to your design.
This guide explores the step-by-step process of creating a lifelike bird’s beak through embroidery.
From choosing the right materials to mastering the stitches and details, you’ll discover how to capture the essence of different bird species, whether you’re embroidering a majestic eagle or a delicate songbird.
Embroidering a bird’s beak is a skillful endeavor that adds depth and charm to your needlework.
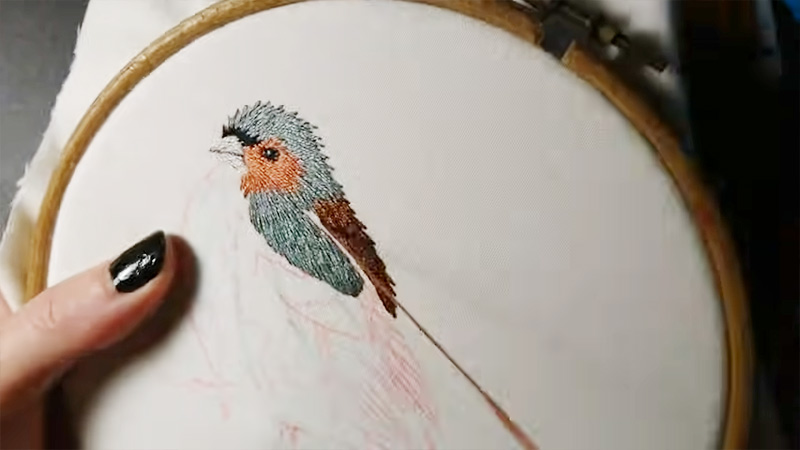
9 Steps on How Do You Embroider a Bird’s Beak?
Embroidering a bird’s beak can add intricate and lifelike details to your embroidery project, whether it’s a nature-inspired piece or part of a larger design.
Here’s a step-by-step guide on how to embroider a bird’s beak:
Materials You’ll Need:
- Fabric
- Embroidery Hoop
- Embroidery Thread
- Embroidery Needle
- Embroidery Pattern
Step-by-Step Guide:
Step 1: Prepare Your Fabric
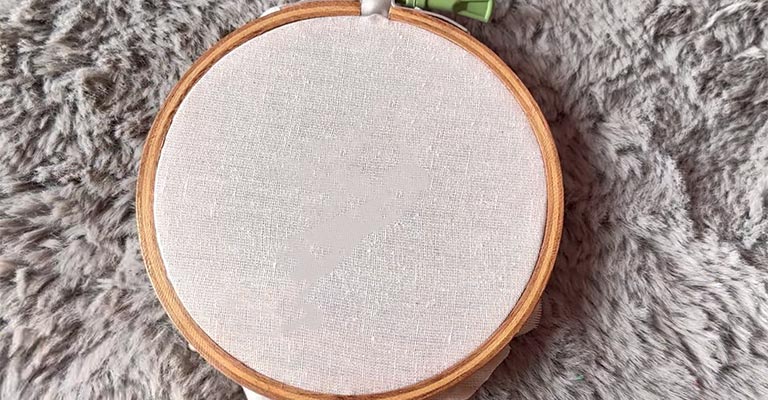
Choosing the right fabric is crucial for successful embroidery. Ensure the fabric is clean, free from any stains or wrinkles, and adequately sized for your project.
It’s essential that the fabric is secured within an embroidery hoop, a circular device with two parts that hold the fabric taut.
To do this, loosen the outer hoop, place your fabric over the inner hoop, and then press the outer hoop down to hold the fabric in place.
This not only makes it easier to work on but also helps prevent distortion of the design as you stitch.
Step 2: Thread Your Needle
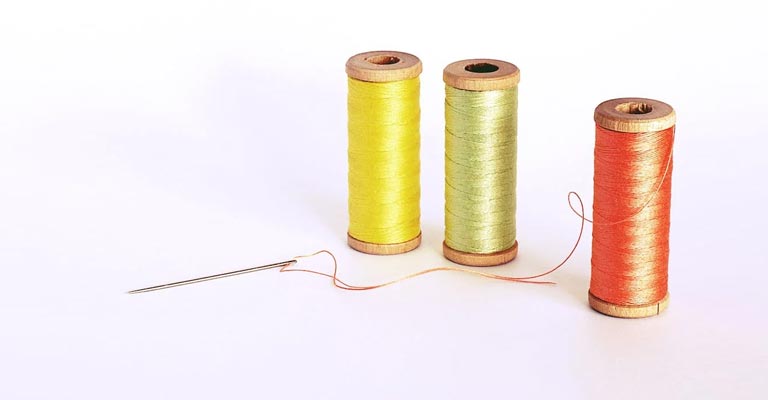
When threading your needle, ensure that you cut an appropriate length of embroidery floss, typically around 18 inches.
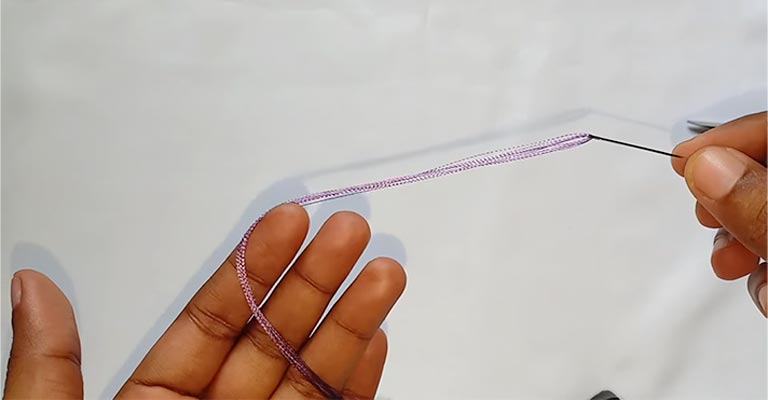
You should also consider separating the six strands of floss into the number of strands you want to work with, usually two for a bird’s beak.
Carefully thread your needle, making sure the floss is securely in place, and the strands are not twisted.
Step 3: Choose the Right Colors
Selecting the right thread colors is essential for capturing the realism of the bird’s beak. Observe reference images or illustrations of the specific bird species you are depicting.
It may be necessary to blend or mix thread colors to create the perfect shade, especially if the beak features subtle color variations.
Step 4: Stitch the Outline
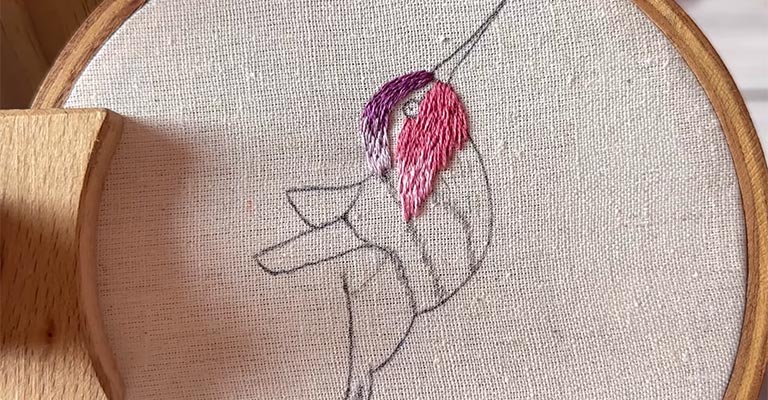
Starting with the outline of the beak, choose an appropriate stitch for this purpose. A backstitch creates a fine, continuous line, while a split stitch offers a textured look.
A satin stitch, which provides a smooth, glossy surface, can also be used for a neater appearance. Follow your pattern or sketch closely to ensure the accurate placement of the beak’s outline.
Step 5: Fill the Beak
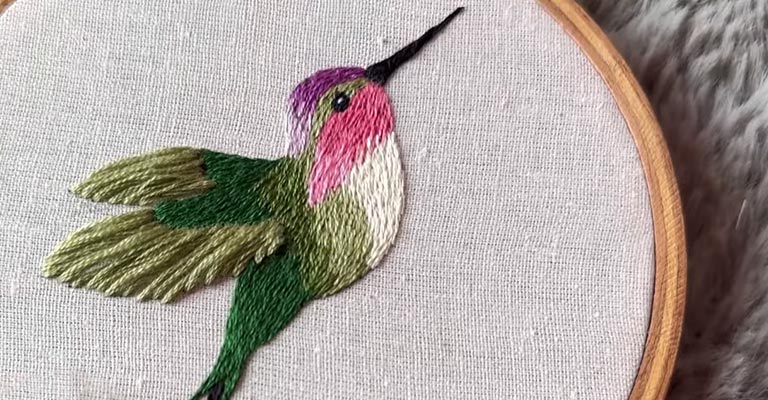
With the outline in place, proceed to fill the beak. Utilize long, even stitches to create a seamless and flat surface.
Consider the bird’s beak shape, and adjust your stitches to match it. If your design requires shading, you can incorporate a gradient of colors, with lighter shades at the top of the beak and darker shades toward the bottom, to add depth and dimension.
Step 6: Shading
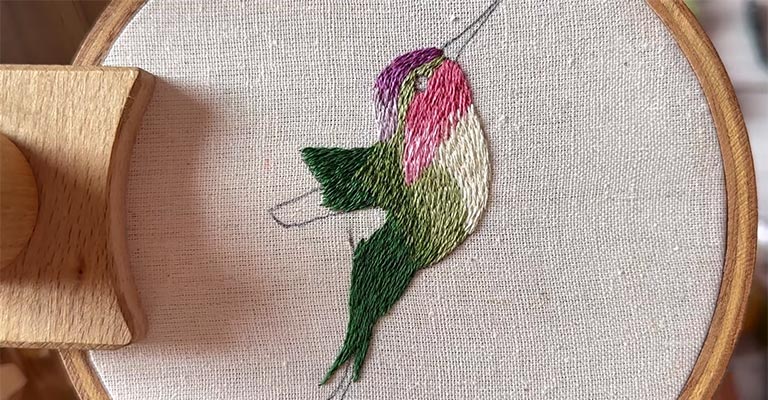
To give the beak a realistic and three-dimensional look, add shading using a darker thread color. The choice of stitches depends on your preference and the complexity of the shading needed.
Long and short stitches work well for a textured, feather-like appearance, while satin stitches create a smoother, polished finish. This step enhances the depth and highlights the contours of the beak.
Step 7: Final Details
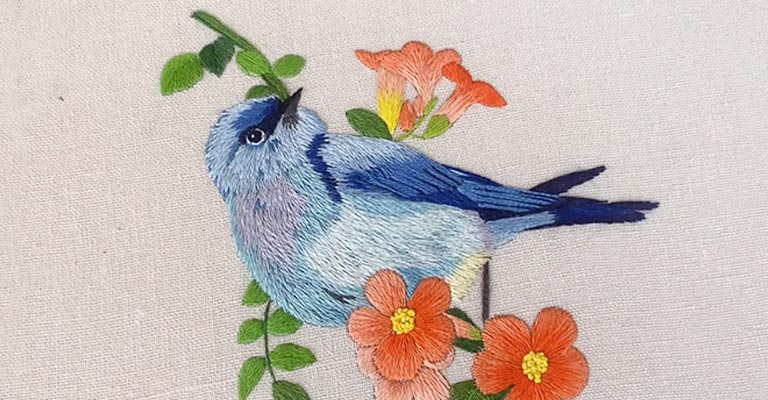
For an extra touch of authenticity, consider adding fine details to the beak. These might include small lines, tiny spots, or unique textures that are characteristic of the bird species you’re embroidering.
These small embellishments make your embroidered bird’s beak more lifelike and add character to your work.
Step 8: Secure Your Thread
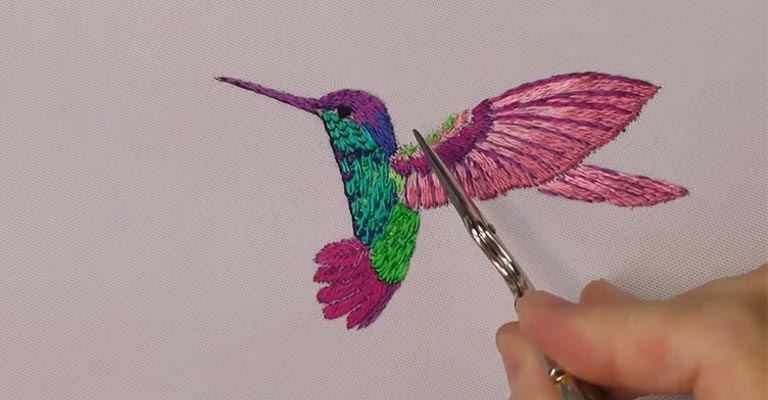
After completing the beak embroidery, it’s crucial to secure your thread on the back of the fabric. Tie a secure knot to prevent the thread from unraveling or coming loose. Trim any excess thread to ensure it doesn’t show through to the front of your design.
Step 9: Finishing
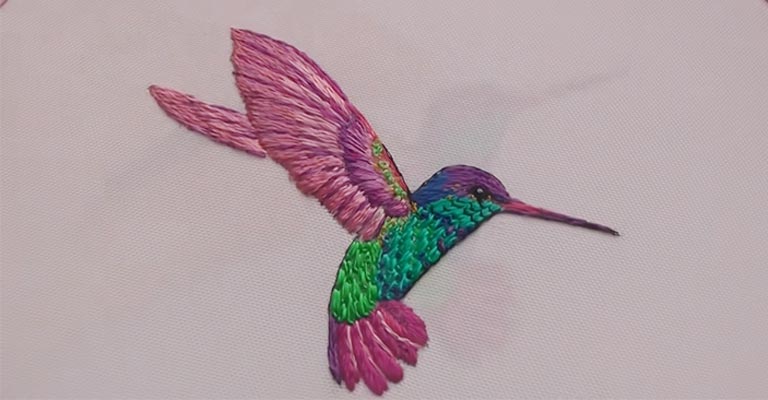
Once the beak is expertly embroidered, you can continue with the rest of your design or proceed with any additional embroidery work needed.
If this beak is part of a larger composition, be sure to maintain consistency in the overall design. If you’re creating a standalone piece, consider framing or displaying it as desired.
Take pride in your work and showcase your beautifully embroidered bird’s beak with confidence.
Tips for Embroidering a Bird’s Beak Perfectly
Embroidering a bird’s beak can be a challenging yet rewarding aspect of your embroidery project.
Achieving a lifelike and accurate representation of a bird’s beak requires attention to detail and careful execution.
Here are some tips to help you embroider a bird’s beak perfectly:
Choose the Right Materials
Begin with the right materials: quality embroidery floss, a suitable fabric, and a fine embroidery needle. The choice of materials can significantly impact the final result.
Reference Images
Before you start, gather reference images of the bird species you’re embroidering. These images will help you understand the beak’s shape, color, and any distinct features.
Sketch or Pattern
Create a clear pattern or sketch of the bird’s beak on your fabric before you begin. This will serve as a guide and help you maintain accurate proportions and positioning.
Stitch Selection
Choose appropriate stitches for different aspects of the beak. For outlining, a backstitch or split stitch can provide clean, defined lines, while a satin stitch is ideal for a smooth, polished look.
Start with the Outline
Begin by stitching the outline of the beak, carefully following your pattern or sketch. Ensure the shape is accurate and proportional to the bird’s head and body.
Use Gradations
If the bird’s beak has color gradations, work on shading. Use a gradient of thread colors to create the illusion of depth and texture, with lighter colors at the top and darker shades at the bottom of the beak.
Texturing and Detailing
Incorporate fine details such as lines, spots, or markings found on the bird’s beak. These details contribute to the realism of your embroidery.
Shading and Highlights
Add shading and highlights with slightly darker and lighter thread colors to create a three-dimensional effect. This will make the beak appear more realistic.
Practice Patience
Embroidering a bird’s beak, especially if it has intricate details, may require time and patience. Don’t rush the process; take your time to achieve precision.
Precision is Key
Pay close attention to details like the beak’s shape, the alignment with the bird’s eyes, and the relative size compared to the head. Precision is key to creating a convincing beak.
Fine-Tuning
Continuously assess your work and make adjustments as needed. Fine-tune the beak’s shape, texture, and color to ensure it meets your desired level of realism.
Secure Your Threads
Knot your threads securely on the back of the fabric to prevent unraveling, and trim any excess thread carefully to avoid visible knots or frayed ends on the front.
Practice Makes Perfect
Like any embroidery skill, practice is essential. Don’t be discouraged if your first attempt doesn’t meet your expectations. With practice, your bird beak embroidery will improve over time.
How to Embroider a Bird?
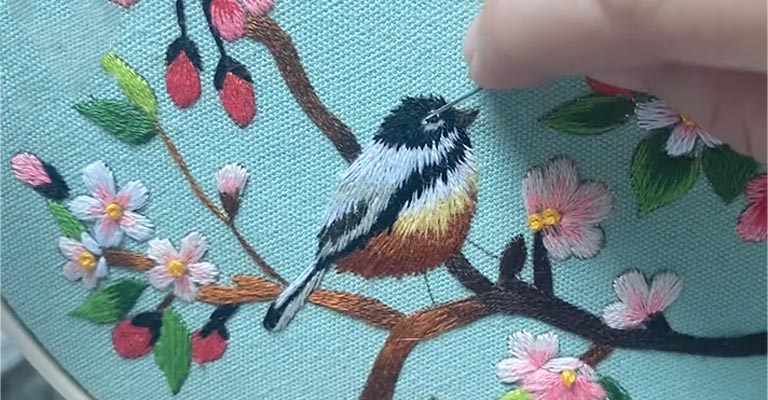
Embroidering a bird can be a beautiful and intricate project, allowing you to create a lifelike representation of your favorite avian species.
Here’s a step-by-step guide on how to embroider a bird:
Materials You’ll Need:
- Fabric
- Embroidery Hoop
- Embroidery Thread
- Embroidery Needle
- Embroidery Pattern
Step-by-Step Guide:
Prepare Your Fabric
Place your fabric into the embroidery hoop, ensuring it’s stretched evenly and taut. The hoop will keep the fabric secure and flat, making it easier to work on your bird embroidery.
Thread Your Needle
Cut a length of embroidery floss, typically around 18 inches, and separate the desired number of strands (usually two for most bird embroidery). Thread your needle with these strands.
Select the Right Colors
Choose thread colors that closely match the bird species you’re embroidering. It’s important to observe reference images to accurately represent the bird’s colors and markings.
Stitch the Outline
Begin by stitching the outline of the bird. You can use stitches like the backstitch, split stitch, or satin stitch, depending on the level of detail you want to achieve. Follow your pattern or sketch closely for accuracy.
Fill the Bird’s Body
After outlining, start filling in the bird’s body with long, even stitches. The direction of your stitches should follow the contours of the bird’s feathers and body shape.
Consider using a gradient of colors to create a realistic appearance, with lighter shades in the areas where light hits the bird’s plumage and darker shades in shadowed regions.
Adding Details
To make your embroidered bird more realistic, add details such as the bird’s eye, beak, feet, and any distinct markings or features. Pay close attention to the specific details of the bird species you’re embroidering.
Shading
Enhance the three-dimensional look of your bird by adding shading. Use a slightly darker thread color for this purpose, creating shadows and depth in areas like the wings, tail, and body.
Finer Details
Embellish your bird with fine details such as small lines, spots, or textures to capture the unique characteristics of the species. These details will give your embroidery depth and authenticity.
Secure Your Thread
After completing your bird embroidery, knot the thread securely on the back of the fabric to prevent unraveling. Trim any excess thread carefully to avoid it showing through to the front.
Finishing
Once your bird is beautifully embroidered, you can continue with the rest of your design if it’s part of a larger composition or frame your bird embroidery as a standalone piece.
Display your embroidered bird with pride and admiration for your attention to detail and craftsmanship.
How to Embroider a Bird by Hand?
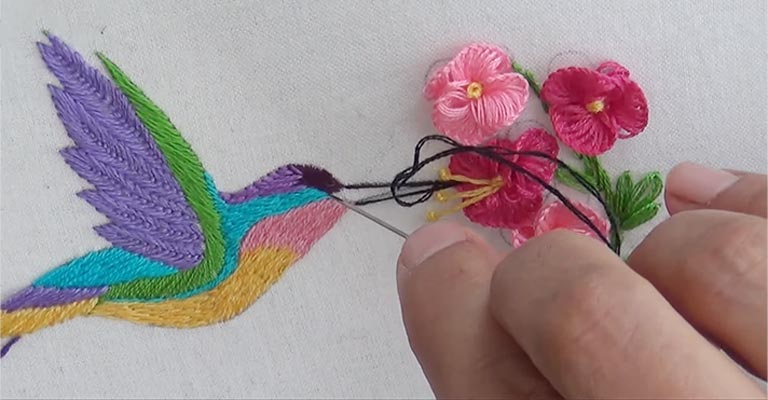
Embroidering a bird by hand is a rewarding and creative endeavor that allows you to capture the intricate beauty of these feathered creatures.
Here’s a step-by-step guide on how to hand embroider a bird:
Materials You’ll Need:
- Fabric
- Embroidery Hoop
- Embroidery Thread
- Embroidery Needles
- Embroidery Pattern
Step-by-Step Guide:
Prepare Your Fabric
Begin by placing your chosen fabric into the embroidery hoop. Make sure it’s stretched evenly and taut within the hoop. This will provide a stable and flat surface for your embroidery.
Thread Your Needle
Cut a suitable length of embroidery floss, typically around 18 inches. You may need to separate the six strands of floss into the number of strands you want to use. For most bird embroideries, two strands work well. Thread your needle with the chosen strands.
Select the Right Colors
Choose thread colors that closely match the bird species you’re embroidering. Reference images or illustrations of the bird to ensure your colors are accurate and lifelike.
Stitch the Outline
Begin by stitching the outline of the bird. Use stitches such as the backstitch, split stitch, or satin stitch, depending on the level of detail you want to achieve. Follow your pattern or sketch closely to maintain accuracy.
Fill the Bird’s Body
After outlining the bird, start filling in the bird’s body with long, even stitches. The direction of your stitches should follow the natural contours of the bird’s feathers and body.
To create a realistic appearance, consider using a gradient of colors, with lighter shades in well-lit areas and darker shades in shadowed regions.
Adding Details
Embroider the bird’s eyes, beak, feet, and any distinct markings or features. Pay close attention to the specific details of the bird species you’re working on, as these details will bring authenticity to your embroidery.
Shading
Enhance the three-dimensional look of your bird by adding shading. Use a slightly darker thread color to create shadows and depth in areas such as the wings, tail, and body. Incorporate various stitch techniques, like long and short stitches, for a textured effect.
Finer Details
Embellish your bird with fine details, such as small lines, spots, or textures, to capture the unique characteristics of the species. These details will add depth and personality to your embroidered bird.
Secure Your Thread
After completing your bird embroidery, knot the thread securely on the back of the fabric to prevent unraveling. Carefully trim any excess thread to ensure it doesn’t show through to the front.
Finishing
Depending on your project, you can continue with additional embroidery work or frame your bird embroidery as a standalone piece.
Whether displayed in a frame or part of a larger composition, take pride in your hand-embroidered bird, showcasing your artistry and attention to detail.
How to Embroider Bird Feathers?
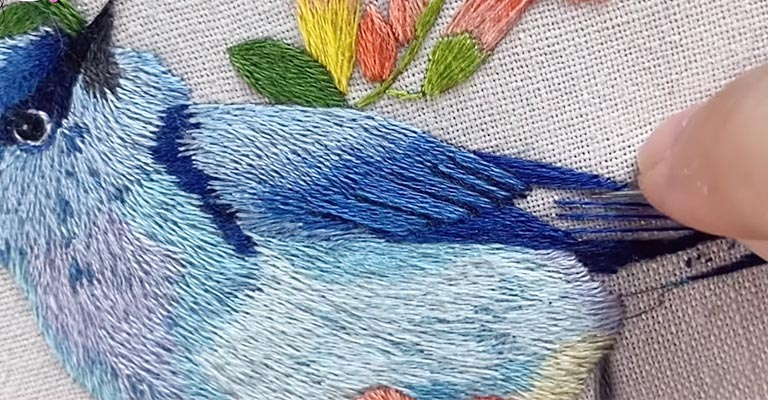
Embroidering bird feathers can add a beautiful and intricate touch to your embroidery project, creating the illusion of texture and depth.
Here’s a step-by-step guide on how to embroider bird feathers:
Materials You’ll Need:
- Fabric
- Embroidery Hoop
- Embroidery Thread
- Embroidery Needles
- Embroidery Pattern
Step-by-Step Guide:
Prepare Your Fabric
Place your fabric into the embroidery hoop, ensuring it’s stretched evenly and taut. The hoop provides a stable and flat surface for working on your feather embroidery.
Thread Your Needle
Cut an appropriate length of embroidery floss, usually around 18 inches. Separate the six strands of floss into the number of strands you want to work with; typically, two strands are suitable for feather embroidery. Thread your needle with the chosen strands.
Select the Right Colors
Choose thread colors that closely match the bird species you’re embroidering. Refer to images or illustrations of the bird for color accuracy.
Stitch the Feather Shaft
Start by stitching the central shaft of the feather. Use a stitch technique like a stem stitch or split stitch to create a solid, raised line that represents the feather’s central quill.
Outline the Feather
Following the shape of the feather, outline it using fine stitches. The choice of stitch depends on the type of feathers you’re embroidering, but a simple backstitch or split stitch often works well.
Add Feather Texture
To create the texture of bird feathers, use long and short stitches, which are also known as feather or fly stitches.
Start at the base of the feather and work your way toward the tip, varying the lengths of your stitches to mimic the layered appearance of feathers. Continue this process until you’ve filled in the entire feather.
Feather Details
Depending on the bird species, you may need to add specific markings, spots, or unique features to the feathers. Reference images are invaluable for ensuring these details are accurate.
Shading and Highlights
For a more realistic look, consider shading and highlights. Use slightly darker thread for shading and slightly lighter thread for highlights, creating a subtle sense of dimension within the feathers.
Secure Your Thread
After completing the feather embroidery, knot the thread securely on the back of the fabric to prevent unraveling. Trim any excess thread carefully to ensure it doesn’t show through to the front.
Finishing
Once you’ve embroidered the bird feathers, you can either continue with the rest of your design or frame your embroidered feathers as a standalone piece.
Display your artwork with pride, showcasing your skill in capturing the delicate details and textures of bird feathers.
FAQs
What is the bird beak design that allows a bird to sew leaves?
The bird beak design that enables a bird to sew leaves is typically seen in species such as the tailorbird. This unique avian trait allows them to weave leaves together to construct their nests.
Which bird species is known for using its beak to sew leaves?
The tailorbird is a renowned example of a bird that uses its beak to sew leaves.
They adeptly pierce and stitch leaves to create intricate and secure nests, showcasing their remarkable sewing skills.
How does a bird with this beak design sew leaves together?
Birds with this beak design use their beaks to grasp and pierce leaves, then skillfully weave them together.
Their precise and intricate movements result in the formation of a leafy nest, providing a safe haven for their offspring.
Can I add texture to a bird’s beak with embroidery, or is it usually flat in appearance?
Yes, you can add texture to a bird’s beak using embroidery techniques.
Wrap Up
Embroidering a bird’s beak, one discovers the fusion of creativity and precision. The process, though intricate, offers the opportunity to infuse lifelike authenticity into your embroidery work.
Selecting the right materials, mastering various stitches, and staying faithful to the bird’s unique features all play pivotal roles in the creation of a perfectly embroidered beak.
As each thread intertwines, an intricate masterpiece unfolds, bringing forth a vivid representation of nature’s diversity and beauty.
The process teaches patience, attention to detail, and the rewards of practice. Ultimately, the perfectly embroidered bird’s beak serves as a testament to the skill and dedication of the embroiderer, breathing life into the artistry of avian embroidery.
Leave a Reply