Embroidering a saree is a captivating art form that intertwines tradition, creativity, and craftsmanship. Sarees, the quintessential Indian attire, are a canvas waiting to be adorned with intricate and personalized designs.
This delicate and time-honored process involves selecting the perfect design, choosing threads and embellishments that harmonize with the fabric, and executing meticulous stitches with precision.
Whether you seek to enhance a cherished heirloom or transform a plain saree into a work of art, embroidering a saree allows you to express your unique style while paying homage to the rich tapestry of Indian culture.
In this guide, we’ll explore the intricate steps involved in creating an embellished masterpiece, turning a simple saree into a wearable piece of art.
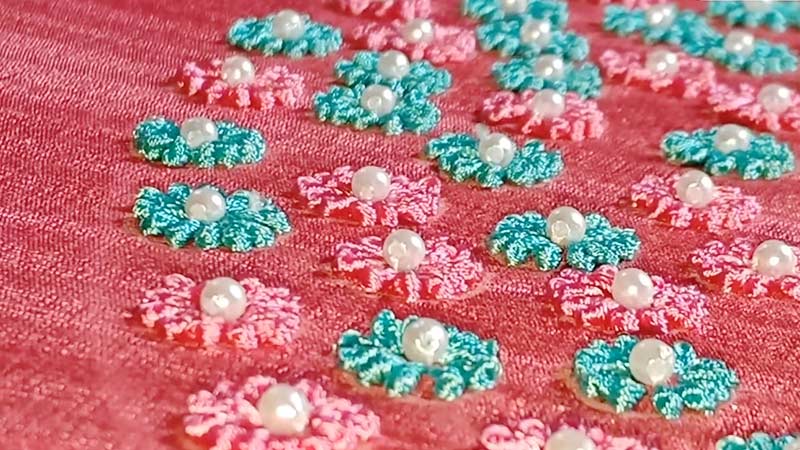
12 Easy Steps to Embroider a Saree
Embroidering a saree can be a beautiful and creative way to enhance the elegance of this traditional Indian garment.
Sarees come in various fabrics, designs, and colors, and adding embroidery can make them even more exquisite.
Here’s a step-by-step guide on how to embroider a saree:
Materials You’ll Need:
- Saree
- Embroidery Hoop
- Needles
- Embroidery Thread
- Embroidery Patterns
- Scissors
- Fabric Markers or Pencils
Steps to Embroider a Saree:
1. Prepare Your Workspace
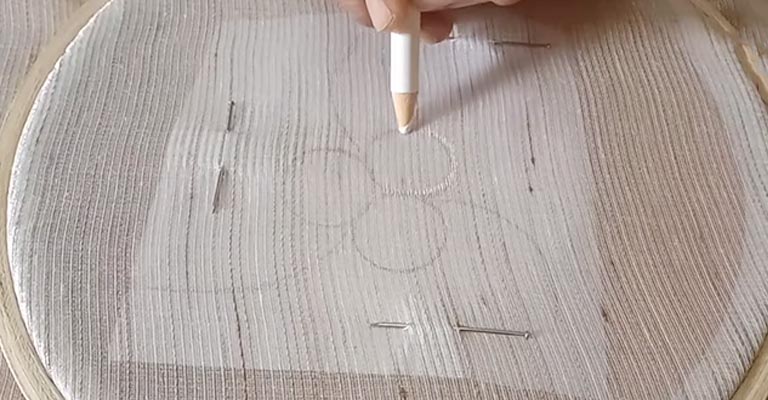
Before you begin embroidering your saree, it’s crucial to set up your workspace correctly. Find a quiet and well-lit area that allows you to focus on your work without distractions.
Ensure that the space is clean and that your saree is spread out on a flat surface. Smooth out any wrinkles, folds, or creases in the fabric to create an ideal working environment.
2. Select Your Design
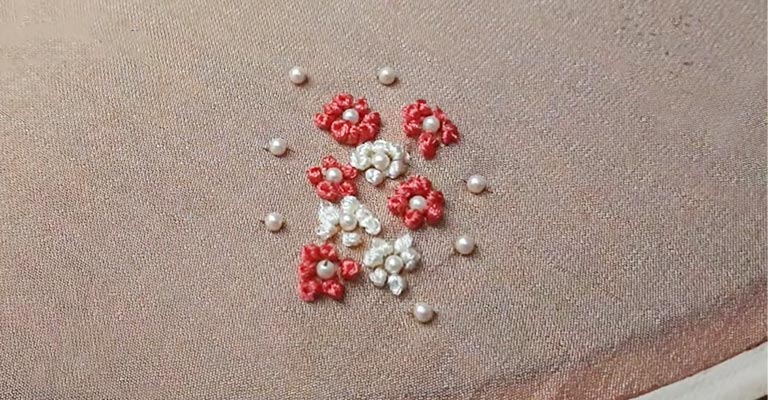
Your choice of design is a pivotal step in the process. It can be influenced by your personal taste, the occasion you plan to wear the saree for, or traditional motifs.
Take the time to decide on the design you want to create or use a pre-made pattern that complements your saree’s color and fabric. This design will guide your embroidery work, so choose it carefully.
3. Hooping the Fabric
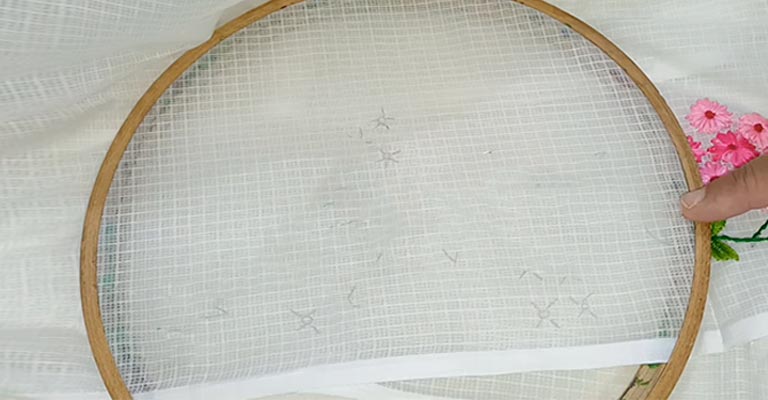
The embroidery hoop is a valuable tool in maintaining the tension and stability of your saree fabric while you work.
Gently open the hoop, lay your saree within it, and ensure the portion you intend to embroider is centered.
When tightening the hoop, be cautious not to overstretch the fabric. The goal is to keep it taut but not too tight to avoid damaging the fabric.
4. Thread the Needle
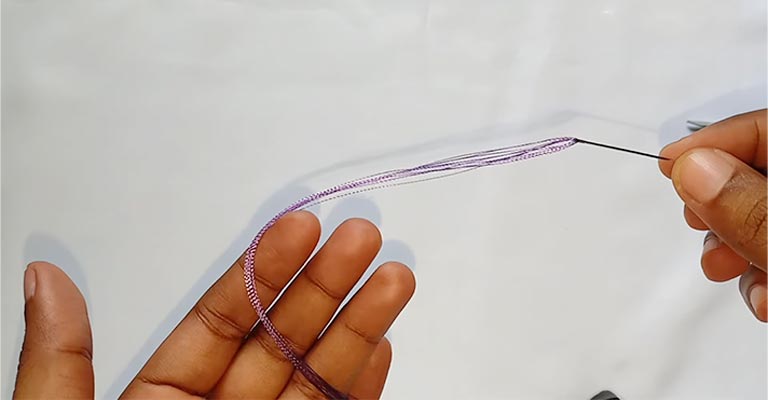
Your choice of thread plays a significant role in the final look of your embroidery. Select a thread color that complements your saree and design.
Thread your embroidery needle, making sure the thread is securely knotted at the end. A well-prepared needle ensures your stitches are tidy and consistent.
5. Start Embroidering
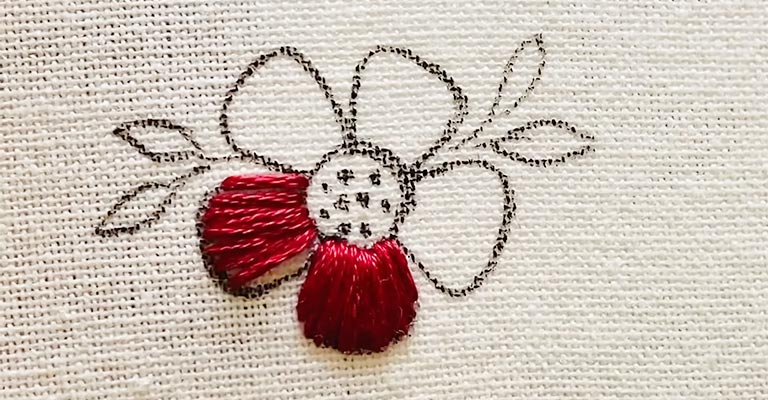
Begin your embroidery work by focusing on the central elements of your design. You may start with the outline or any intricate features that you wish to accentuate.
Choose the appropriate embroidery stitch for your design. For example, if you’re creating floral motifs, you might use satin stitch for filling petals and leaves and chain stitch for creating delicate lines and outlines.
6. Secure Knots
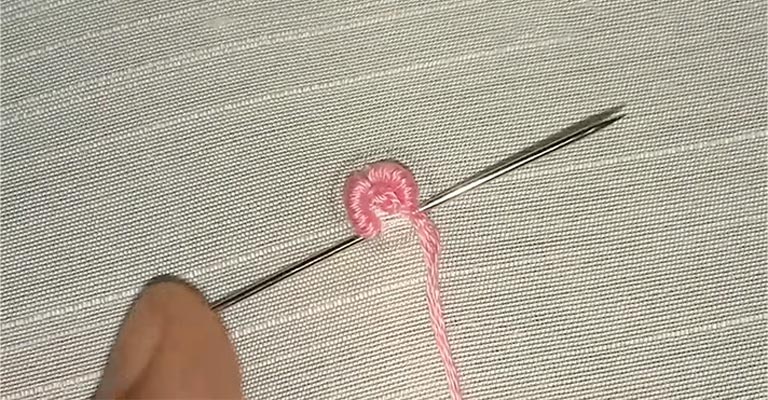
It’s essential to secure the thread at the beginning and end of each stitch to prevent your embroidery from coming undone.
Ensure that knots are neatly hidden on the wrong side of the saree to maintain a clean look from the front.
7. Be Patient and Precise
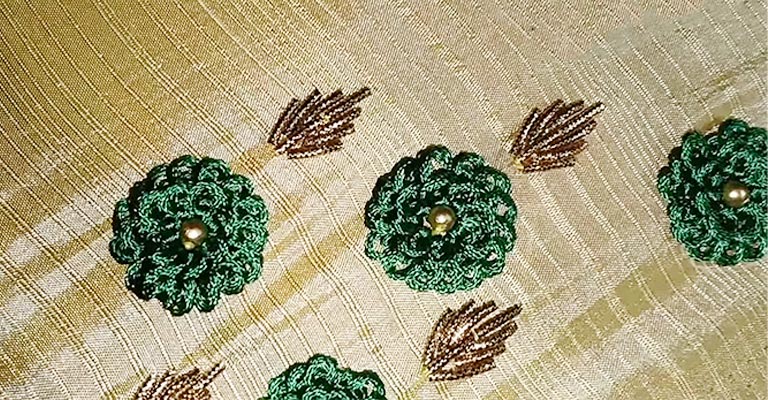
Embroidering a saree is a meticulous process, and patience is key. Take your time with each stitch, maintaining a high level of precision.
Even, neat stitching enhances the overall quality of your embroidery and ensures a polished appearance.
8. Regularly Check Your Work
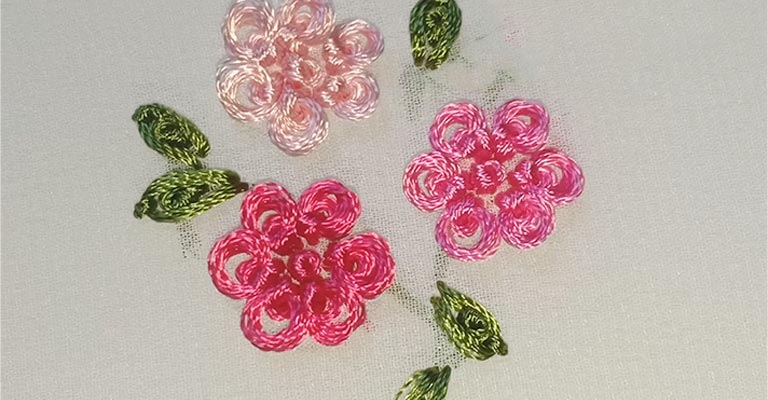
To maintain consistency and ensure that your embroidery matches the design, periodically flip your saree to examine your work from the right side.
This step helps you detect any issues or irregularities and make necessary adjustments in real-time.
9. Add Decorative Elements
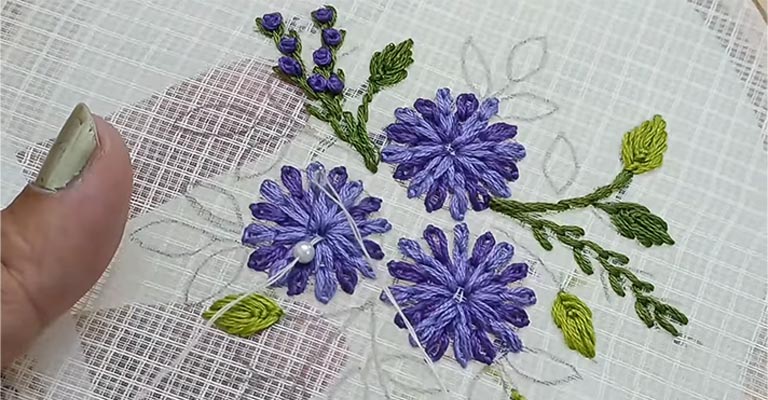
If your design calls for it, incorporate decorative elements such as sequins, beads, or zari work to enhance the beauty of your saree.
Pay attention to the placement and spacing of these elements to achieve a harmonious and balanced look.
10. Finishing Touches
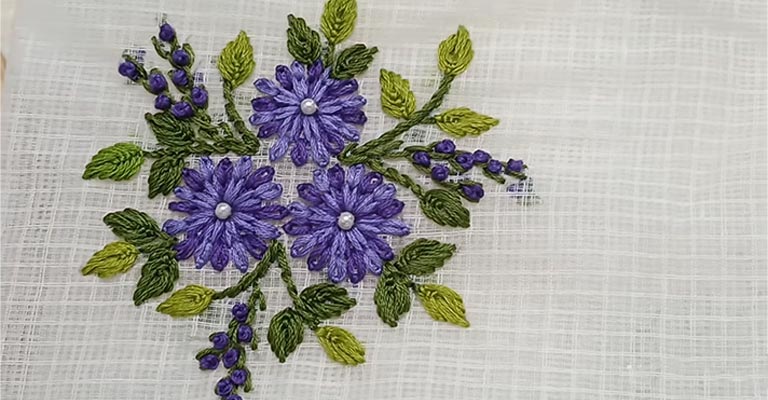
Once you have completed your embroidery, gently remove the saree from the hoop. Be careful not to stretch or distort the fabric during this process. Trim any excess thread from the wrong side, ensuring that it appears neat and tidy.
11. Press the Saree
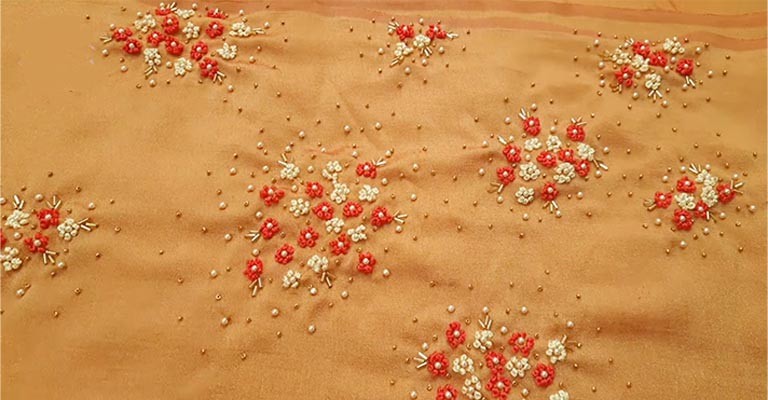
After you’ve finished your embroidery, give your saree a final touch by pressing it gently. Iron the saree on the wrong side using a low-heat setting.
This helps to smooth out any remaining wrinkles or creases. Avoid ironing directly over the embroidered areas, as excessive heat can damage the thread or fabric.
12. Wear and Flaunt
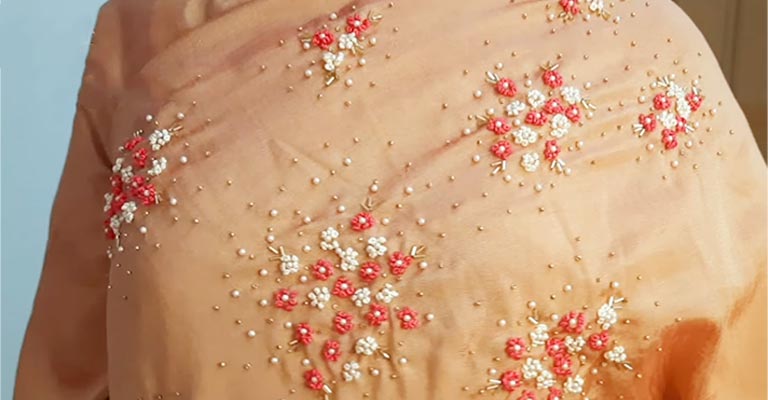
Your beautifully embroidered saree is now ready to be worn and admired. Dress in your saree with pride on special occasions, and relish the compliments and admiration from friends and family as you showcase your personalized, artistic masterpiece.
Your embroidered saree is a testament to your creativity and skill, making it a cherished addition to your wardrobe.
Simple Hand Embroidery Designs for Sarees
Simple hand embroidery designs for sarees can add a touch of elegance and personalization to this traditional Indian attire. These designs are often favored for their understated beauty and timeless appeal.
Whether you’re a novice or an experienced embroiderer, here are 12 easy yet charming saree hand embroidery designs you can consider for your sarees:
1. Floral Motifs
Floral designs are a timeless choice for saree embroidery. You can select your favorite flowers or create abstract floral patterns.
Choose thread colors that complement your saree, and use stitches like satin stitch for petals and stem stitch for the stems, which offer a realistic and textured appearance.
2. Buttas (Scattered Dots)
“Buttas” are small scattered dots that can be embroidered in various patterns. You can create a uniform grid of dots or a more organic, random arrangement. These add subtle texture and elegance to the saree without overwhelming it.
3. Border Embroidery
Saree borders are an excellent canvas for embroidery. Enhance the border with simple and repetitive patterns like leaves, vines, or geometric shapes. This design choice can give your saree a classic and refined look.
4. Paisley Patterns
The paisley motif is a traditional favorite in Indian embroidery. These teardrop-shaped designs can be used as a central focus, border, or scattered across the saree. They lend a touch of grace and sophistication.
5. Basic Geometric Shapes
Simple geometric shapes, such as triangles, squares, or diamonds, can be used to create clean and contemporary patterns on your saree. This is a great choice for those who prefer a minimalist and modern aesthetic.
6. Lines and Stripes
Use lines and stripes to create a sleek and stylish design. You can incorporate vertical or horizontal lines, chevrons, or even zigzags in contrasting or matching thread to achieve a sleek and modern look.
7. Peacock Designs
Peacock motifs are a symbol of beauty and grace. Embroider a single or a pair of peacocks in vibrant colors, placing them strategically on the saree, perhaps on the pallu or near the hem, to create a striking and eye-catching effect.
8. Alphabets and Monograms
Personalize your saree by embroidering your initials or a meaningful word. This personal touch adds sentimental value and uniqueness to your outfit. Place it discreetly in a corner or along the border.
9. Mirror Work
Add a touch of glamour to your saree by incorporating mirrors or sequins along with your basic embroidery stitches.
These reflective elements create a shimmering effect that’s especially captivating in evening wear.
10. Leaves and Vines
Embrace nature-inspired patterns by creating a vine-like design with leaves. This style works well for both traditional and contemporary sarees, and it lends an earthy and graceful charm.
11. Feather Patterns
Feathers, when embroidered elegantly, add a light and airy quality to your saree. These motifs can be placed on the pallu or cascading along the length, creating a sense of movement and grace.
12. Abstract Designs
Allow your creativity to run free by designing abstract patterns and shapes. Using various stitches and thread colors, you can create a one-of-a-kind, artistic design that represents your unique style.
FAQS
What are Saree End Knots?
Saree end knots, also known as “pallu knots,” are decorative tassels or ornamental designs often found at the end of the saree pallu.
Where can I find Saree Hand Embroidery Designs Images?
You can find a wide array of saree hand embroidery design images online.
How can I get Saree Hemming Done?
To get your saree hemmed, can also choose to hem it yourself if you have sewing skills.
What Are Some Popular Saree Embroidery Patterns?
Popular saree embroidery patterns include floral motifs, paisley designs, intricate butas (small motifs), traditional Indian motifs, and abstract contemporary patterns.
To Recap
Embroidering a saree is a labor of love, a blend of tradition and creativity that transforms a simple piece of fabric into a work of art.
The intricacy of each stitch, the choice of design, and the harmony of colors are a testament to the rich heritage of Indian craftsmanship.
Whether it’s traditional motifs or contemporary patterns, hand-embroidered sarees bear the mark of the artisan’s dedication. Each thread tells a story, and every knot weaves a memory.
The art of saree embroidery, handed down through generations, allows wearers to express their individuality, embrace culture, and embrace a timeless symbol of grace, elegance, and femininity. It’s a craft that transcends time and remains an enduring symbol of beauty and tradition.
Leave a Reply