Embroidering on dark fabric introduces unique challenges and opportunities for creativity. The interplay of vibrant thread against a deep, contrasting backdrop can yield striking results.
However, achieving clarity and precision requires specialized techniques. This guide outlines essential steps for embroidering on dark fabrics, from selecting the right materials to employing contrast techniques effectively.
With careful attention to lighting, thread selection, and stitching methods, you’ll master the art of creating intricate, visually captivating designs on dark fabric.
Whether you’re a seasoned embroiderer or new to the craft, this guide will empower you to produce stunning embroidery on even the darkest canvases.
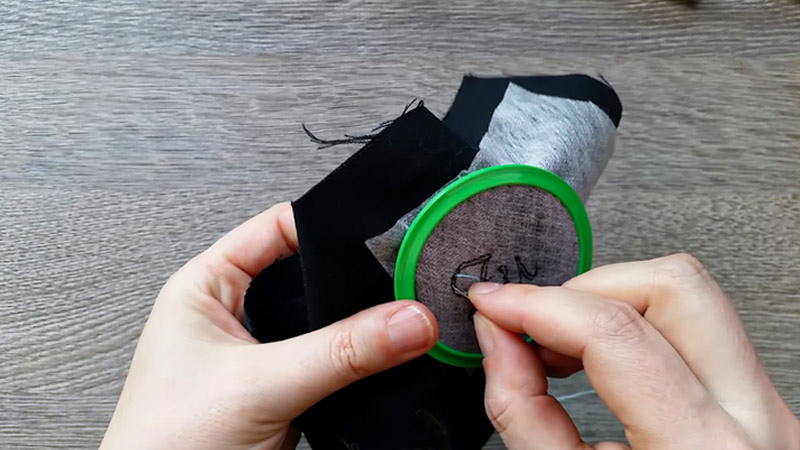
How Do You Embroider on Dark Fabric? 13 Steps
Embroidering on dark fabric can be challenging but also rewarding. The contrast between the bright threads and the dark background can create stunning effects.
However, transferring a pattern onto dark fabric can be tricky, as many methods rely on light-colored markings that are hard to see on dark fabric.
Here’s a step-by-step guide to help you achieve beautiful results:
Materials You’ll Need
- Dark fabric of your choice.
- Embroidery hoop.
- Embroidery needles.
- Embroidery floss or thread in your desired colors.
- Embroidery pattern or design.
- Water-soluble fabric marker or tailor’s chalk.
- Scissors.
- Backing fabric.
- Iron and ironing board.
Step 1: Prepare Your Fabric
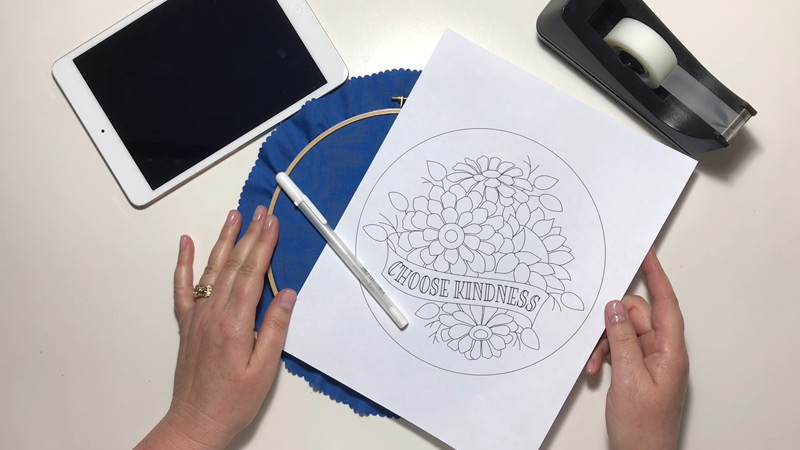
Before you start embroidering, it’s crucial to ensure your fabric is in optimal condition. Ironing out any wrinkles provides a smooth surface and prevents distortion during stitching. Take extra care with dark fabrics, as imperfections can be more pronounced.
Consider the fabric type as well; certain materials may require special treatment. If your fabric tends to shrink, consider prewashing and ironing it before you begin.
Step 2: Choose the Right Thread
Selecting the appropriate thread color is paramount when working with dark fabric. Lighter shades are recommended, as they contrast well and make your stitches more visible.
You might want to hold different thread colors against the fabric to see the best contrast. Additionally, consider thread material; silk, cotton, or metallic threads bring a different texture and shine to the final piece.
Step 3: Select Your Design
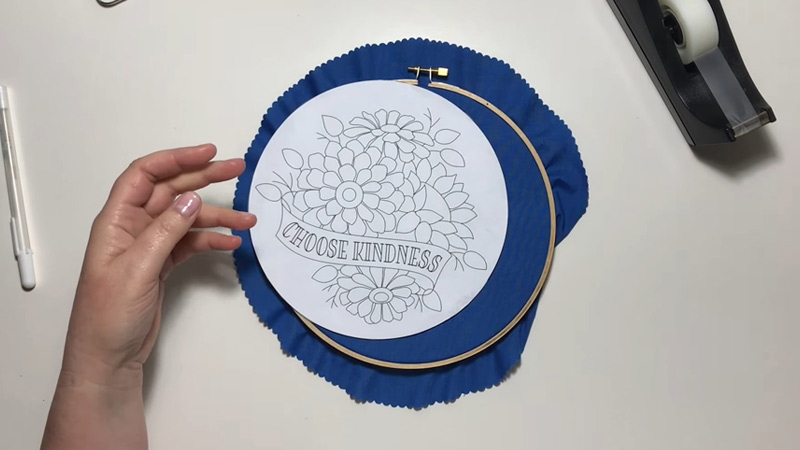
Consider designs with bold lines and distinct shapes when choosing or creating an embroidery pattern. These tend to stand out more effectively on dark fabric.
Intricate patterns with fine details might not translate as well, so opt for simpler, more pronounced designs for optimal results.
Step 4: Transfer the Design
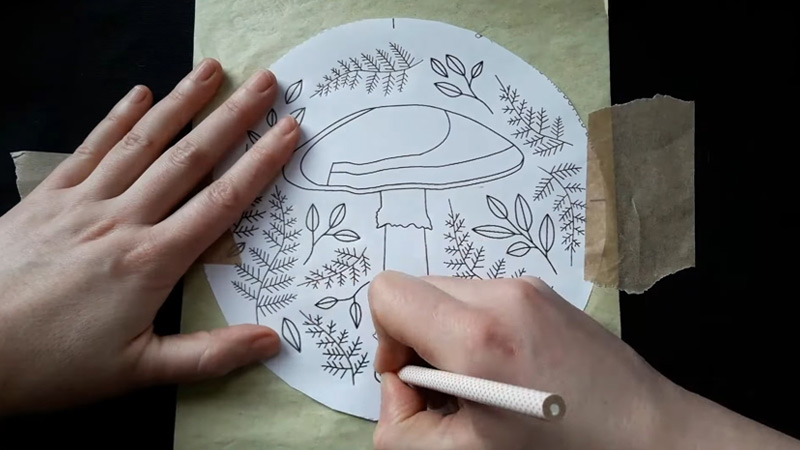
Gently trace or draw your chosen design onto the fabric using a water-soluble fabric marker or tailor’s chalk. Avoid applying too much pressure, as dark fabrics can be more susceptible to marking. This step ensures that you have a clear guide to follow while embroidering.
Remember to trace only what’s necessary; excessive markings can be challenging to remove later.
Step 5: Set Up Your Hoop
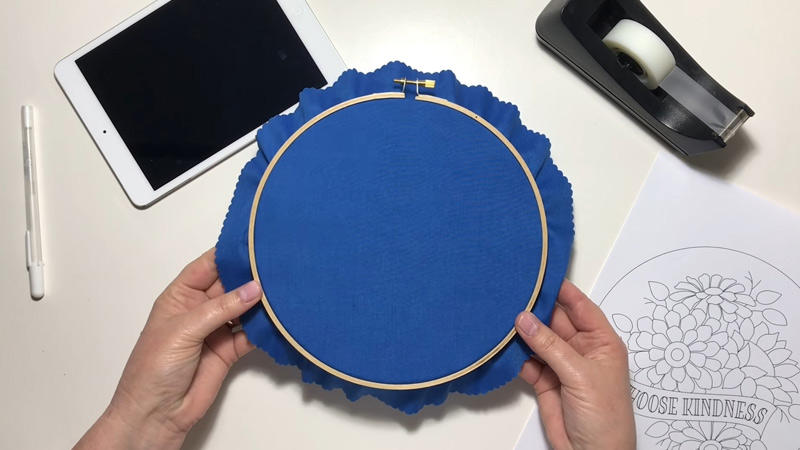
Placing your fabric in the embroidery hoop is a critical step. Ensure the fabric is taut but not overly stretched to prevent distortion. A well-positioned fabric in the hoop provides stability, making it easier to work on intricate details.
Consider adjusting the tension as you work on different design sections, ensuring the fabric remains taut for precise stitching.
Step 6: Thread Your Needle
Threading the needle requires attention to detail. Use a single strand of embroidery floss or thread, as too much can overwhelm the dark fabric. Ensure the thread is secured at the end to prevent it from slipping out while you work.
Consider using a needle threader if your thread is particularly fine or if you’re working with limited light.
Step 7: Begin Stitching

Start by securing the thread on the back of the fabric. This can be done with a small knot or by weaving it into the fabric. This initial step is crucial for maintaining the integrity of your stitches throughout the embroidery process.
Take your time with this step, as a secure start sets the foundation for the rest of your work.
Step 8: Use Contrast Techniques
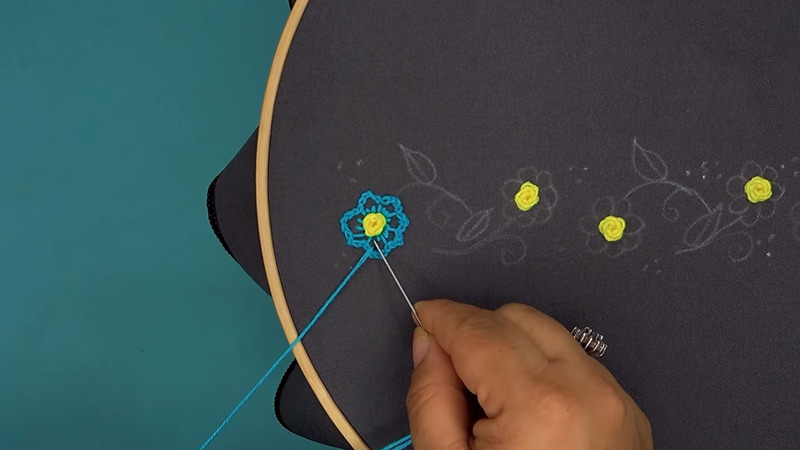
Experiment with various stitching techniques like backstitching, satin stitch, or split stitch. These techniques create a contrast against the dark background, adding depth and dimension to your embroidery.
Consider how the stitches interact with the fabric; a satin stitch might catch the light differently than a backstitch.
Step 9: Mind Your Tension
Pay close attention to your tension while stitching. Stitches should neither be loose nor tight, ensuring a consistent and visually appealing result. Adjust your technique as needed to achieve the desired effect.
Take breaks if you find your hands fatigued, as hand fatigue can affect tension.
Step 10: Adjust Lighting
Adequate lighting is essential when working on dark fabric. Position a lamp or utilize natural light sources to illuminate your workspace, allowing you to see your stitches and maintain precision.
Consider using a flexible desk lamp that you can adjust as needed to ensure consistent lighting throughout your work session.
Step 11: Add Additional Layers
For added stability and contrast, consider using a backing fabric. This extra layer not only supports the embroidery but also enhances the visibility of your stitches against the dark background.
Choose a backing fabric that complements your main fabric in color and weight.
Step 12: Finish and Secure Your Work
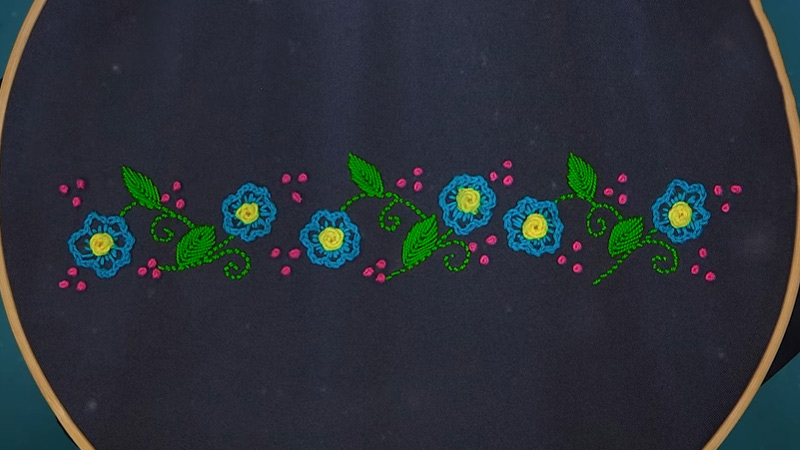
Upon completing your embroidery, gently remove the fabric from the hoop. Trim any excess threads and secure loose ends on the back to ensure your work remains intact.
Consider using a fray-check solution on the back of your embroidery to prevent any potential unraveling over time.
Step 13: Final Touches
Give your finished embroidery a final touch by pressing it on the reverse side with an iron set to an appropriate fabric setting. This step helps to ensure a smooth finish and sets the stitches in place.
Use a pressing cloth to protect your embroidery from direct contact with the iron.
Some Embroidery Techniques on Dark Fabric
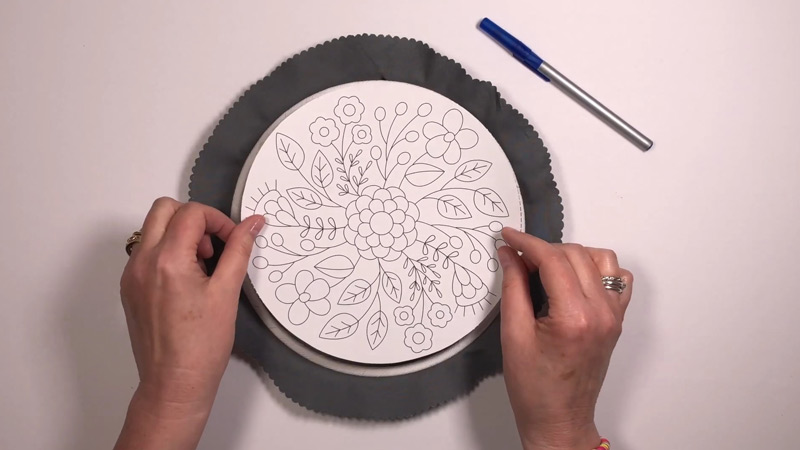
Embroidering on dark fabric can present unique challenges and opportunities for creative embroidery techniques.
Here are some embroidery techniques that work particularly well on dark fabric:
Backstitch
Backstitch is an excellent choice for dark fabric as it creates a bold, visible line. It involves stitching backward to create a solid line of embroidery. You can vary the length of your stitches to add texture and dimension to your design.
Satin Stitch
Satin stitch is ideal for filling in areas of your design with smooth, glossy threads. This technique can create a striking contrast on dark fabric and make your embroidery pop. Ensure the stitches are tightly packed for a smooth, satin-like finish.
French Knots
French knots are small, raised knots that add texture and depth to your embroidery. They work well for creating intricate details, such as stars in a night sky or textured patterns on dark backgrounds. Experiment with different thread thicknesses for varied effects.
Whipped Backstitch
This technique involves adding a contrasting thread around a completed backstitch, creating a raised or roped effect. It’s a great way to outline and emphasize your embroidery on dark fabric.
Chain Stitch
Chain stitch can be used to create bold outlines or delicate lines, depending on the thickness of the thread you use. It’s versatile and can add texture and dimension to your dark fabric embroidery.
Split Stitch
Split stitch is another option for outlining and adding texture to your design. It creates a line of small, closely spaced stitches that resemble a solid line. It’s particularly effective for outlining and adding detail.
Effective Tips for Embroidering on Dark Fabric
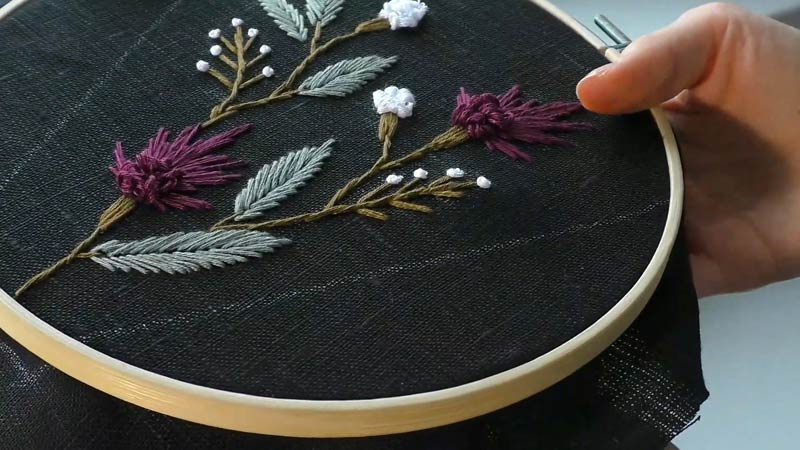
Embroidering on dark fabric can be both challenging and rewarding. The rich, contrasting effect of colorful thread against a dark background can create stunning results.
However, it requires some special considerations; here are some effective tips for embroidering on dark fabric:
Proper Lighting
Ensure you have adequate lighting in your workspace. Good lighting is essential for seeing your stitches clearly and maintaining precision while working on dark fabric.
Consider using a flexible desk lamp or natural light to illuminate your embroidery area.
Use Light-Colored Threads
Opt for embroidery floss or threads in lighter colors. Light threads stand out beautifully against dark fabric, enhancing the visibility of your stitches. Experiment with various thread colors to achieve the best contrast for your design.
Choose the Right Fabric
Select dark fabrics with a tight weave or a smooth surface. Fabrics like black cotton or denim work well for embroidery, providing stability and contrast.
Avoid fabrics with a loose weave, as they can make it challenging to maintain consistent tension.
Pre-Wash and Iron
Pre-wash and iron your dark fabric before starting your embroidery project. This removes any sizing or dirt and helps prevent shrinkage or distortion that might occur later.
Test Stitches
Before starting your embroidery, practice your stitches on a scrap piece of the same dark fabric. This allows you to adjust your tension and stitch length and ensures you’re comfortable with your chosen technique.
Use a Tracing Tool
Trace your embroidery design onto the dark fabric with a water-soluble fabric marker or tailor’s chalk. Be gentle during this process to avoid leaving permanent marks. This tracing serves as your guide for stitching.
Hooping Technique
When using an embroidery hoop, ensure the fabric is taut but not overly stretched. Proper hooping keeps the fabric stable, preventing puckering and distortion during embroidery.
FAQS
Why is embroidering on dark fabric different?
Embroidering on dark fabric presents a challenge because it can be harder to see your stitches. Achieving contrast between the thread and the fabric is crucial for a visually appealing result.
What thread colors work best on dark fabric?
Lighter thread shades are recommended for dark fabric to create a striking contrast. Metallic or iridescent threads can add a beautiful shimmer against the dark backdrop.
How do I transfer a design onto dark fabric?
Use a water-soluble fabric marker or tailor’s chalk to trace or draw your chosen design lightly. Be gentle to avoid leaving permanent marks on the fabric.
Can I use the same embroidery techniques on dark fabric?
Yes, but some techniques work particularly well on dark fabric. Backstitching, satin, and split stitch effectively create bold, visible lines and textures.
What’s the importance of good lighting when embroidering on dark fabric?
Adequate lighting is essential for clear visibility of your stitches. Position a lamp or use natural light sources to ensure you can precisely see your work.
To Wrap Up
Embroidering on dark fabric unveils a realm of artistic possibilities. The juxtaposition of vivid threads against a deep backdrop creates a mesmerizing visual impact.
By adhering to key steps and techniques outlined in this guide, you can navigate the challenges and unlock the full potential of dark fabric embroidery.
With careful consideration of lighting, thread selection, and stitching methods, your creations will radiate a distinctive charm.
Whether you’re crafting intricate details or bold patterns, mastering this art form on dark fabric is an achievement worth celebrating. Embrace the richness of color and texture, and let your imagination unfurl on this captivating canvas.
Leave a Reply